Nonprofits and Social Media: Before You Get Started, Get Organized!
This article was written by Heather Mansfield, founder of Nonprofit Tech 2.0 (Bio) (LinkedIn), author of Social Media for Social Good: A How-To Guide for Nonprofits and owner of DIOSA Communications.
Many nonprofits rush into creating profiles on Facebook, Twitter, Pinterest and other social media sites without understanding that some of the decisions made during the set-up process will impact your social media campaigns for years to come. There are some basic steps that need to be made to both protect your nonprofit’s brand on the Social Web and to lay a solid foundation upon which to build your nonprofit’s presence.
Step 1: Create a unique email address for your social networking accounts.
The first step is creating an email address to be used solely for creating and managing your nonprofit’s accounts on social networking sites. Since staff turnover is a reality of professional life, having a staff person use their personal work email address to create the accounts is not a best practice. At some point when they leave your organization all the accounts will have to be handed over to a new staff person and all email logins modified, so it’s best to set up the accounts correctly from the beginning.
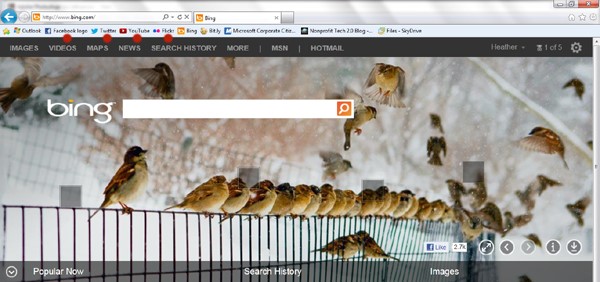
Named one of the Top 50 Websites of 2012 by TIME Magazine, Outlook.com is a new Web-based email client that also includes access to SkyDrive (a cloud-based file-hosting service) and a suite of Office Web Apps (Excel, PowerPoint, Word and OneNote) – all for free. To get started, create a Microsoft account. During the process you’ll be prompted to create a new Outlook.com email address. If possible, your new email address should be the same as your nonprofit’s website URL, such as yourwebsiteurl@outlook.com. Once you have created your new Microsoft account, you will then be given instant access to your new Outlook.com email address:
Step 2: Create a social media dashboard.
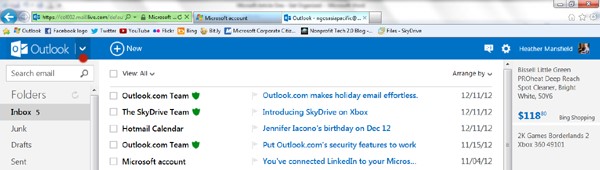
Logging in and navigating multiple social networks daily can be time consuming and most nonprofits have limited time to dedicate to social media. Save yourself 10-20 minutes a day by taking a few minutes now to organize your desktop. In Internet Explorer you can easily drag and drop any website into the navigation bar atop the browser, which then allows easy access to your nonprofit’s social networking communities. If you have opted to stay logged into Facebook, Twitter and other sites, then you do not have to log in individually each time you click on any given social network you have featured in your navigation bar:
Step 3: Create a Master Login Spreadsheet
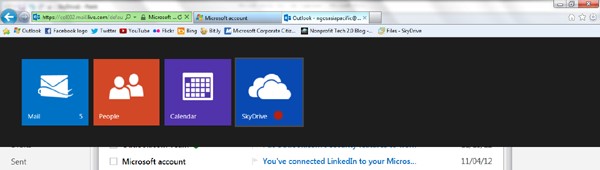
As the Social Web becomes more integrated into nonprofit communications and fundraising strategies, it’s likely that you will have five, 10 or even 20 separate logins to maintain and remember. To keep the process as simple and organized as possible – and to avoid the very common problem in which a volunteer, intern or staff person leaves an organization abruptly and takes with them the institutional memory of your social network logins – it’s a best practice to organize your logins in one Excel spreadsheet. To do so in Outlook.com, in the upper left-hand corner of the screen, click on the down arrow and select the “SkyDrive” pop-down > SkyDrive > Excel:
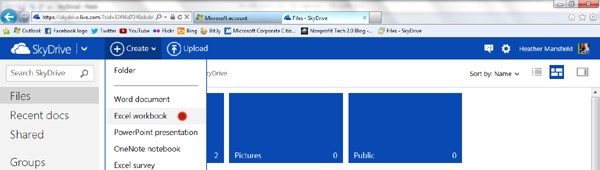
Next, create the following columns in the Excel document: Website Name, Email Address, Password, URL and Date Created:

Then each time you create a new community on the Social Web, enter the login information into your new Master Login Spreadsheet. Ensure that at least one person at your organization other than the social media manager has access to this Outlook.com > SkyDrive > Excel document. This ensures that your login history is secure, stored and easily accessible anytime, anywhere since the data is stored in the cloud.
Getting organized on the Social Web is a critical step that many social media managers skip altogether. Investing the time - up front - to organize yourself and store your passwords in the cloud will save you hours of time and prevent some big headaches down the line.