How to setup a VM to boot to last good known configuration (ARM)
Symptom:
- VM stuck in Reboot Loop. Often due to Failed Windows Updates.
Resolution:
1) If Azure PowerShell is not installed, please install it from https://azure.microsoft.com/en-us/downloads/
2) Delete the broken VM. All disks will be kept automatically.
3) Wait for the disk lease to expire. (About 3 mins)
4) Attach the OS disk of the broken VM to a recovery VM located in the same Resource Group and Storage Account.
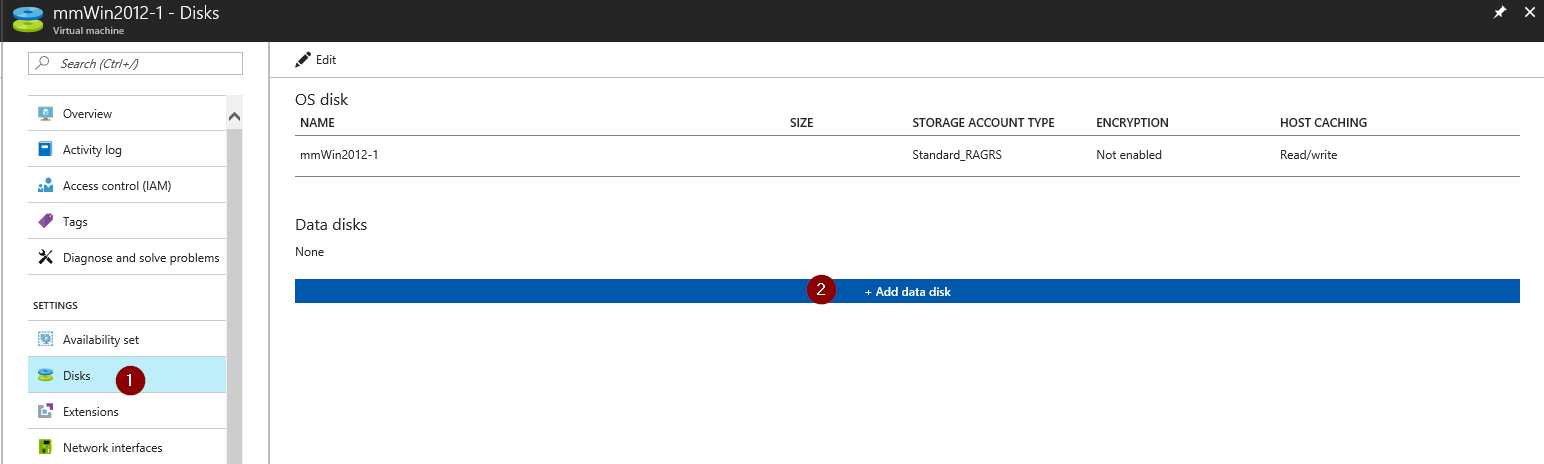
5) Change the Source Type to Existing Blog and browse to the broken VHD.
6) Select the broken VHD and continue to attach it to the recovery VM
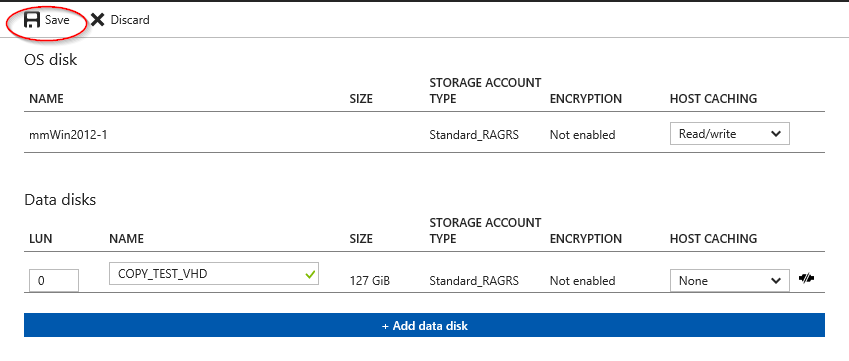
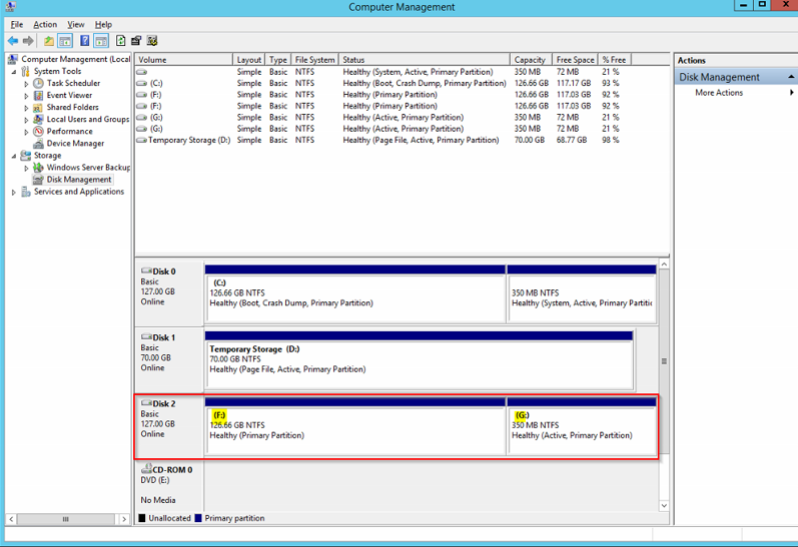
7) Once the disk is attached RDP to the recovery VM and ensure that the attached disk is flagged as ONLINE in the Disk Management console.
8) Before doing any changes create a copy of the folder \windows\system32\config incase rollback is needed
9) On the recovery machine open up regedit
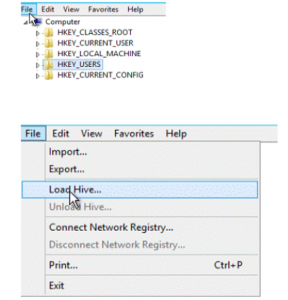
10) Select ‘HKEY_USERS' and select File -> Load Hive
11) Browse up to the file \windows\system32\config\SYSTEM of the attached affected VMs OS Disk. Most likely this will be Drive E: or F:
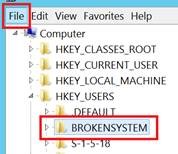
12) When opening it will ask for a name, put ‘BROKENSYSTEM’ and select okay
13) Unfold HKEY_USERS and there will be a folder called ‘BROKENSYSTEM’
14) In there, make the following changes:
HKEY_USERS\BROKENSYSTEM\Select\Current From 1 to 2
HKEY_USERS\BROKENSYSTEM\Select\Default From 1 to 2
HKEY_USERS\BROKENSYSTEM\Select\Failed From 0 to 1
HKEY_USERS\BROKENSYSTEM\Select\LastKnownGood From 2 to 3
HKEY_USERS\BROKENSYSTEM\ControlSet002\Control\CrashControl\Autoreboot From 1 to 0
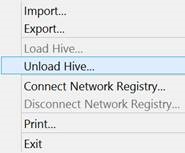
15) Select ‘HKEY_LOCAL_MACHINE\BROKENSYSTEM’ then select File -> Unload Hive from the menu
16) Remove the now fixed disk from the recovery VM in the Azure Portal
17) Wait for the disk lease to expire. (About 3 mins)
18) Recreate the original VM using the following script in PowerShell. All this information can be found by selecting the individual resources in the Portal if you are unsure.
Login-AzureRmAccount
Get-AzureRmSubscription
Get-AzureRmSubscription –SubscriptionID “ SUBID ” | Select-AzureRmSubscription $rgname = "<your RG name>"
$loc = "<your VM location>"
$vmsize = "<your VM size>"
$vmname = "<your VM name>"
$vm = New-AzureRmVMConfig -VMName $vmname -VMSize $vmsize;
$nic = Get-AzureRmNetworkInterface -Name ("YourNICName") -ResourceGroupName $rgname;
$nicId = $nic.Id;
$vm = Add-AzureRmVMNetworkInterface -VM $vm -Id $nicId;
$osDiskName = "YourDiskOSName"
$osDiskVhdUri = "YourDiskOSUri"
$vm = Set-AzureRmVMOSDisk -VM $vm -VhdUri $osDiskVhdUri -name $osDiskName -CreateOption attach -WindowsNew-AzureRmVM -ResourceGroupName $rgname -Location $loc -VM $vm -Verbose
Here is an example of what is should look like:
# To login to Azure Resource Manager
Login-AzureRmAccount# To view all subscriptions for your account
Get-AzureRmSubscription# To select a default subscription for your current session
Get-AzureRmSubscription –SubscriptionID “12345678 -1234-123r-5332-522214446c32 ” | Select-AzureRmSubscription$rgname = "server2012r2"
$loc = "southcentralus"
$vmsize = "Standard_A1"
$vmname = "server2012r2"
$vm = New-AzureRmVMConfig -VMName $vmname -VMSize $vmsize;
$nic = Get-AzureRmNetworkInterface -Name ("server2012r2577") -ResourceGroupName $rgname;
$nicId = $nic.Id;
$vm = Add-AzureRmVMNetworkInterface -VM $vm -Id $nicId
$osDiskName = "server2012r2"
$osDiskVhdUri = " https://server2012r23384.blob.core.windows.net/vhds/server20121163546110340.vhd "
$vm = Set-AzureRmVMOSDisk -VM $vm -VhdUri $osDiskVhdUri -name $osDiskName -CreateOption attach -WindowsNew-AzureRmVM -ResourceGroupName $rgname -Location $loc -VM $vm -Verbose
19) Run the script and head to the portal. Once the VM is finished being created connect via RDP