How to rebuild an Azure VM from an existing OS disk (RDFE)
Method 1: Azure Portal
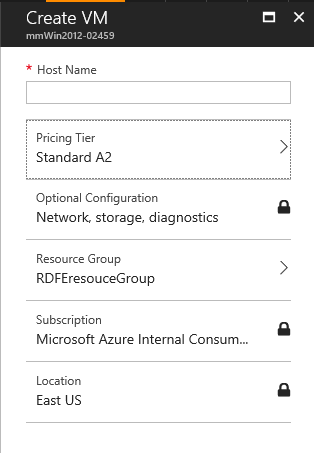
1) Navigate to the Azure Portal
2) Select OS Disks (Classic)

3) Select the VHD you use to use to rebuild the VM

4) Continue the steps inputting in the required information to recreate
Mitigation 2: PowerShell
Use the below script to recreate a Classic VM via PowerShell. Modify the highlighted sections only
#Required Variables
$SubID = 'Subscription ID'
$StorageAccountName = 'Storage Account Name'
$DiskName = 'OS Disk Name'
$Size = 'VM Size'
$VmName = 'VM Name'
$Subnet = 'Subnet Name'
$CloudService = 'Cloud Service Name'
$Location = 'Location'
$VnetName = 'Vnet Name'#Optional Variables
#$AVsetName = 'Availbility Set Name'
#$AffinityGroup = 'Affininity Group Name'#Login to Azure
Add-AzureAccount#Set subscription and storage account for session
Set-AzureSubscription -SubscriptionId $SubID -CurrentStorageAccountName $StorageAccountName
#Create VM config for existing VHD
$vm = New-AzureVMConfig -DiskName $DiskName -InstanceSize $Size -Name $VmName #-AvailabilitySetName $AVsetName#Setup networking VNet and static IP, if applicable
$vm | Set-AzureSubnet -SubnetNames $Subnet
Test-AzureStaticVNetIP -VNetName $VnetName -IPAddress 10.0.0.5
$vm | Set-AzureStaticVNetIP -IPAddress 10.0.0.5#Create endpoint for VM
$vm | Add-AzureEndpoint -Name "PowerShell" -Protocol TCP -LocalPort 5986 -PublicPort 5986
$vm | Add-AzureEndpoint -Name "RemoteDesktop" -Protocol TCP -LocalPort 3389 -PublicPort 66666#Create VM
New-AzureVM -ServiceName $CloudService -VMs $vm -Location $Location -VNetName $VnetName #-AffinityGroup $AffinityGroup