How to Present a new NIC to an Isolated VM (ARM)
Symptoms:
- Disabled Network Interface Card from inside the OS
- Disabled DHCP by manually assigning an IP address inside the OS
- Manually set the VM to use a DNS server by specifying an IP address
Resolution:
- Navigate to the Azure Portal
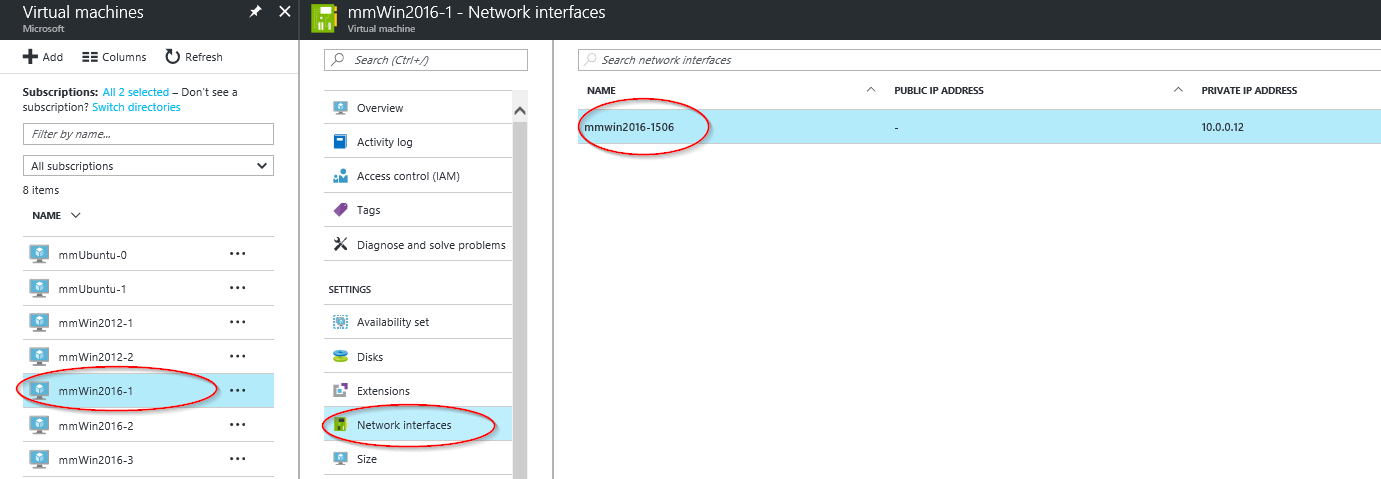
- Select the affected Virtual Machine
- Select Network Interfaces
- Select the Network Interface associated with your machine
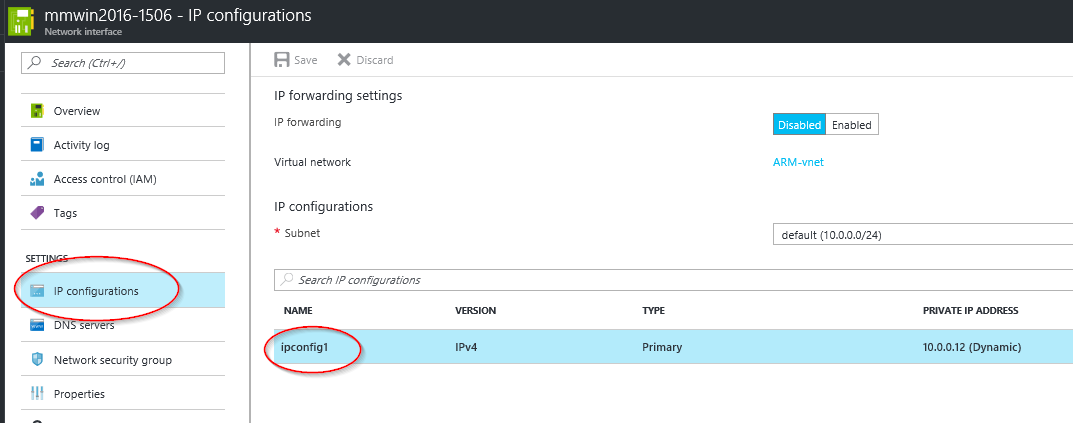
- Select IP configurations
- Select the IP
- Set the Private IP address as STATIC if you do not have it set that way already
- Change the IP address to another IP that is available in that subnet. Such as 10.0.0.12 to 10.0.0.13 and select Save
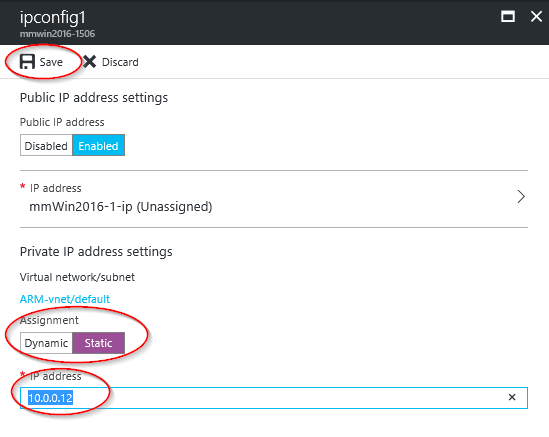
- Your virtual machine will restart to initialize the new NIC to the system
- Attempt to RDP to your machine
- If successful, you can change the Private IP address back to the original if you would like.
- Once inside the machine check for Ghost NICs
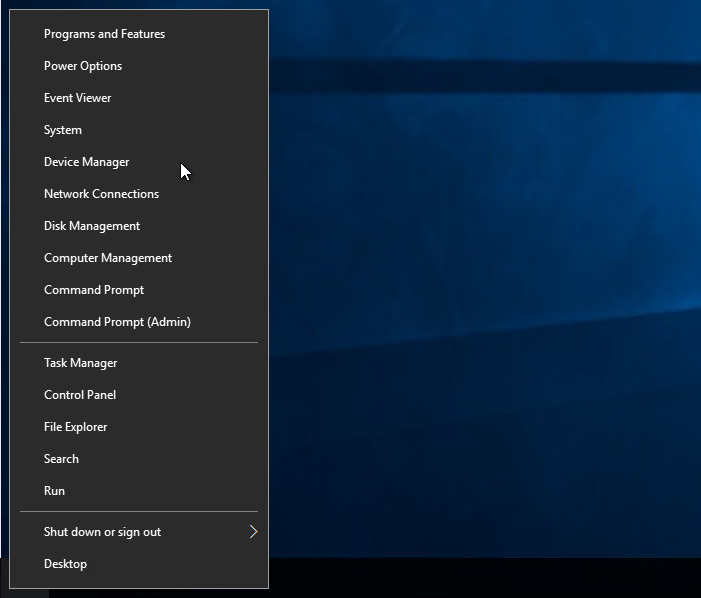
- Open up Device Manager
- Select View -> Show hidden devices
- Select Network Adapters
- Here you should see some adapters called "Microsoft Hyper-V Network Adapter
- You might see one with that name that is greyed out
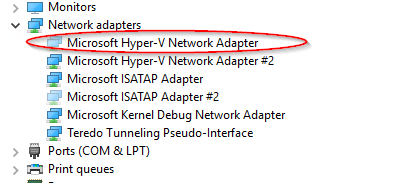
- If you do such as in the picture above, select to uninstall it
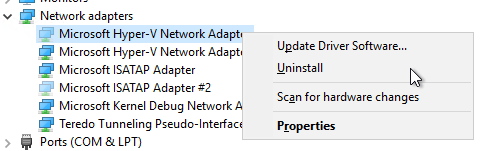
NOTE: Only uninstall GREYED out adapters that have the name Microsoft Hyper-V Network Adapter #_
If you uninstall any of the other hidden adapters it could cause additional issues