How to Disable the Guest OS Firewall of an Azure VM (ARM)
Mitigation 1: Custom Script Extension
1) Open up a Blank Notepad and paste the following into it:
Set-ItemProperty -Path 'HKLM:\SYSTEM\CurrentControlSet\services\SharedAccess\Parameters\FirewallPolicy\DomainProfile' -name "EnableFirewall" -Value 0
Set-ItemProperty -Path 'HKLM:\SYSTEM\CurrentControlSet\services\SharedAccess\Parameters\FirewallPolicy\PublicProfile' -name "EnableFirewall" -Value 0
Set-ItemProperty -Path 'HKLM:\SYSTEM\CurrentControlSet\services\SharedAccess\Parameters\FirewallPolicy\Standardprofile' -name "EnableFirewall" -Value 0
2) Save the file as disablefirewall.ps1
3) Navigate to the Azure Portal
4) Select the impacted VM
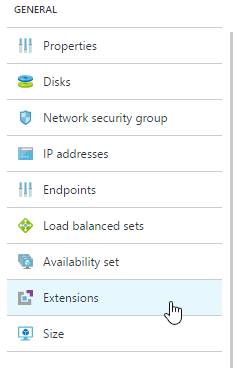
5) Select extensions
6) Select Add
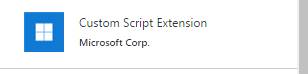
7) Select Custom Script Extension
8) Select Create
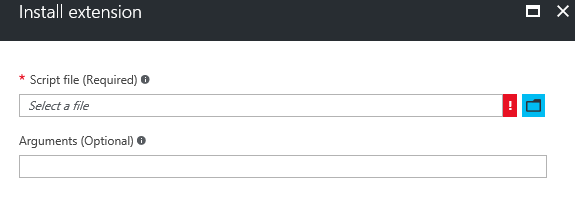
9) Select the disablefirewall.ps1 created in the previous steps
10) Install the .ps1 file. No arguments are needed.
11) Go back to the extensions tab and wait for the Custom Script to report as successful
12) Attempt to RDP to the machine. If it fails, restart the VM and attempt to RDP to it again.
Mitigation 2: Remote Registry
1) Login to another virtual machine located in the same Vnet as the impacted machine
2) Open up Regedit
3) Select File -> Connect Remote Registry
4) Input the internal IP address of the impacted machine and select Check Names
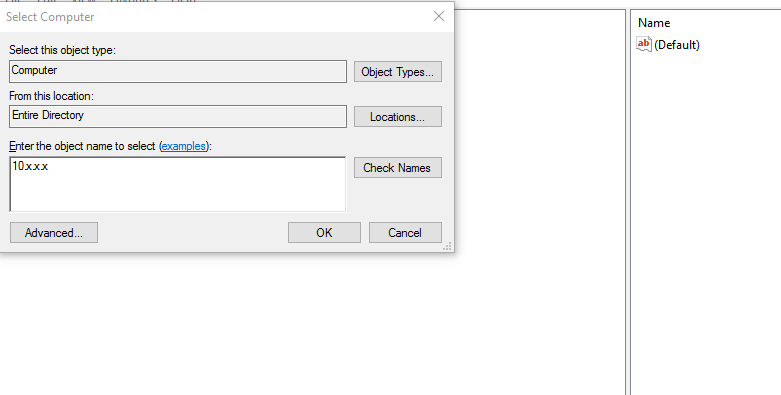
5) If the machine is found select OK and connect to the Registry
6) Once connected navigate to HKEY_LOCAL_MACHINE\SYSTEM\ControlSet001\SharedAccess\Parameters\FirewallPolicy
7) Change Domain Profile\EnableFirewall from 1 to 0
8) Change Public Profile\EnableFirewall from 1 to 0
9) Change Standard Profile\EnableFirewall from 1 to 0
10) Disconnect from Remote Registry
11) Try to RDP to the virtual machine
12) If it fails restart the VM and try again
Mitigation 3: Manual Registry Changes
1) If Azure PowerShell is not installed, please install it from https://azure.microsoft.com/en-us/downloads/
2) Delete the VM.
3) Wait about 3 mins for the disk lease to expire
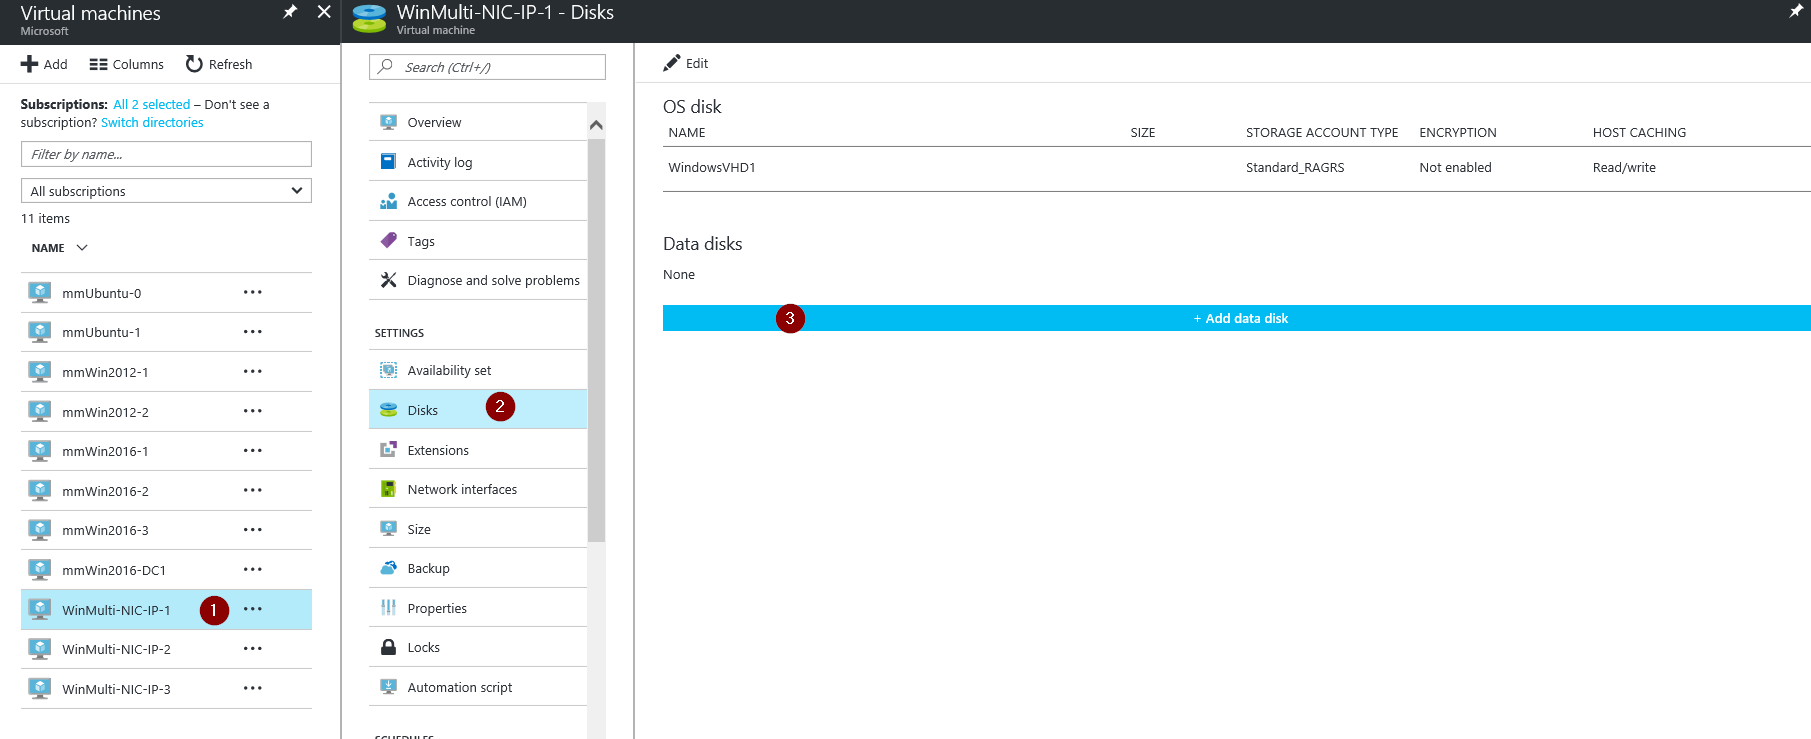
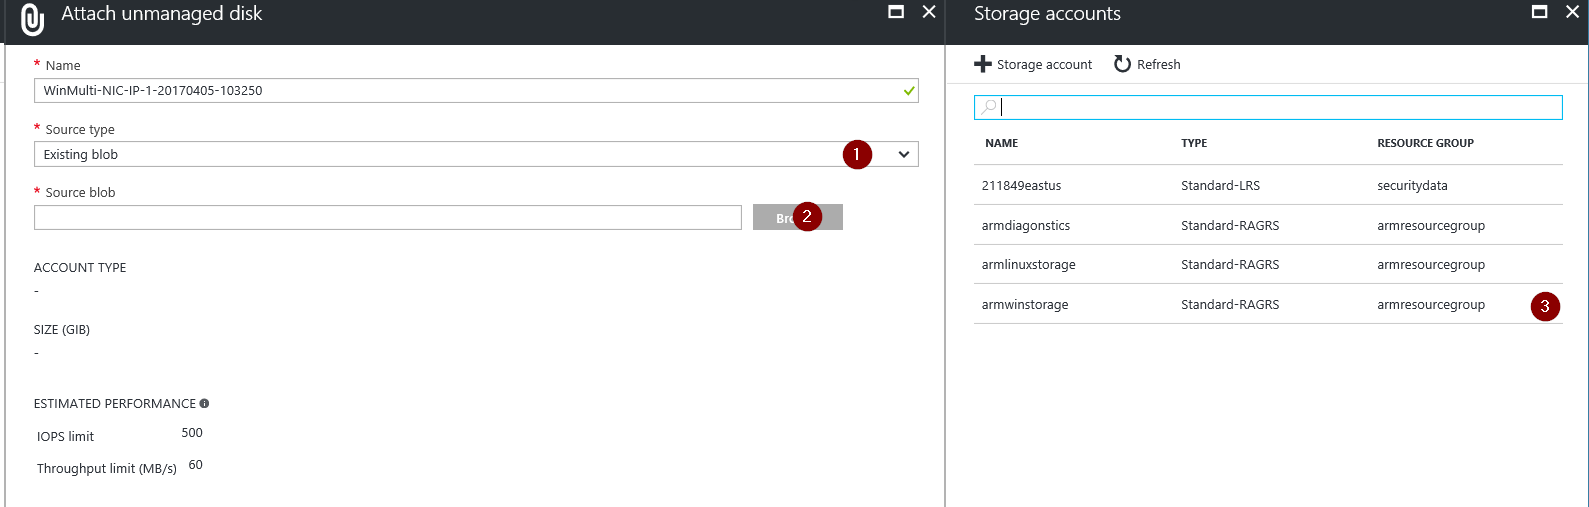
4) Under the Virtual Machines section select a working VM in the same Resource Group (Or create one) where the impacted VM was. Go to Virtual Machines -> Select the VM you want to use -> Disks -> Add Data Disk -> Change the source type to "Existing Blob" -> Browse ->Â Navigate to the location of the VHD you want to attach -> Select OK -> Select Save.
5) Now that we have the OS disk of the affected VM attached to the recovery machine RDP into the recovery VM
6) Navigate to Disk management and ensure that the disk is attached and online. If it is not make sure to right click and select "Online"
7) In the windows explorer navigate to ATTACHED_DRIVE:\Windows\System32\config and copy the entire config file onto the desktop so there is a backup copy if needed.
8) Open regedit
9) Highlight the key HKEY_LOCAL_MACHINE and select File -> Load Hive from the menu
10) Browse up to the file \windows\system32\config\SYSTEM of the attached affected VM. Not the C drive of the machine you are currently connected to.
11) When hit open its going to ask for a name, put BROKENSYSTEM and then just unfold HKEY_LOCAL_MACHINE and you'll have an extra key called BROKENSYSTEM
12) Make the following changes to disable the firewall
HKLM:\SYSTEM\CurrentControlSet\services\SharedAccess\Parameters\FirewallPolicy\DomainProfile\EnableFirewall From 1 to 0
HKLM:\SYSTEM\CurrentControlSet\services\SharedAccess\Parameters\FirewallPolicy\PublicProfile\EnableFirewall From 1 to 0
HKLM:\SYSTEM\CurrentControlSet\services\SharedAccess\Parameters\FirewallPolicy\Standardprofile\EnableFirewall From 1 to 0
13) Highlight HKEY_LOCAL_MACHINE\BROKENSYSTEM and select File -> Unload Hive
14) Detach the disk from the troubleshooting VM in the Azure Portal
15) Now we need to recreate the original VM
16) Open up PowerShell ISE as an administrator
17) Modify the highlighted portions below and run in PowerShell:
# To login to Azure Resource Manager
Login-AzureRmAccount# To view all subscriptions for your account
Get-AzureRmSubscription# To select a default subscription for your current session
Get-AzureRmSubscription –SubscriptionID ' SUBSCRIPTIONID ' | Select-AzureRmSubscription$rgname = " RESOURCEGROUPNAME "
$loc = " LOCATION "
$vmsize = " VMSIZE "
$vmname = " VMNAME "
$vm = New-AzureRmVMConfig -VMName $vmname -VMSize $vmsize;
$nic = Get-AzureRmNetworkInterface -Name (" NETWORKINTERFACENAME ") -ResourceGroupName $rgname;
$nicId = $nic.Id;
$vm = Add-AzureRmVMNetworkInterface -VM $vm -Id $nicId;
$osDiskName = " OS DISK NAME "
$osDiskVhdUri = " OS DISK URI "
$vm = Set-AzureRmVMOSDisk -VM $vm -VhdUri $osDiskVhdUri -name $osDiskName -CreateOption attach -WindowsNew-AzureRmVM -ResourceGroupName $rgname -Location $loc -VM $vm -Verbose
18) Let the script finish running and go back to the Azure Portal
19) You should see the recreated VM now
20) Attempt to RDP to the VM