Moving SharePoint content DB files to a different location on same server
As every one of us know, when a database is created in Microsoft SQL server MDF file and LDF file will be created automatically. Generally these files will be located at c:\ (or the driver where MSSQL is installed)->Program files -> MSSQL.1 -> MSSQL -> Data.
For example: Whenever we create a Database in SQL server ‘A’, in the above mentioned data folder 2 files will be created as, A.mdf and A_log.ldf.
MDF file is the main database file to store the data in MSSQL and each MDF file will be associated with an LDF file. The LDF file contains the Transaction log by MSSQL. It is recommended to keep LDF along with MDF so that recovering of data will be easier when needed.
The situation is not different when we create databases though SharePoint commands/UI .There are circumstances where we start with a small infrastructure where very few number of web applications and later on it keeps increasing to a medium or large infrastructure. Its quite natural that the Database server may run out disc space in a later point of time.
This article will help you to move the content DB from a physical location to another on the same SQL server itself. Please make sure that we have all backups in place note that the site will not be accessible till we finish the steps.
1. Login to Central administration site and click on “Application management”
2. Click on Content databases (under SharePoint web application management)
3. Select the web application from the drop down list and click on the database name listed
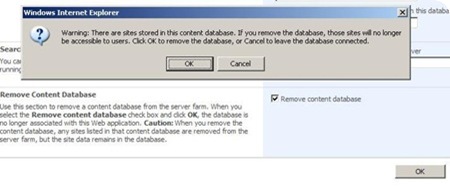
4. click on Remove Content database then click OK
1. Login to the SQL server with Admin privilege
2. Open the SQL management studio and find out the database
3. Right click the Database and click on Task->Backup; provide the path and compete the backup
4. Once the backup is completed successfully right click on the database again and click on Task->Detach
5. Access the location of MDF file and LDF file
6. Move the corresponding MDF file and LDF file to a new location
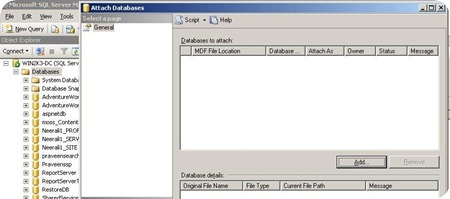
7. Come back to SQL server management studio Right click on “Databases” and click on “Attach”
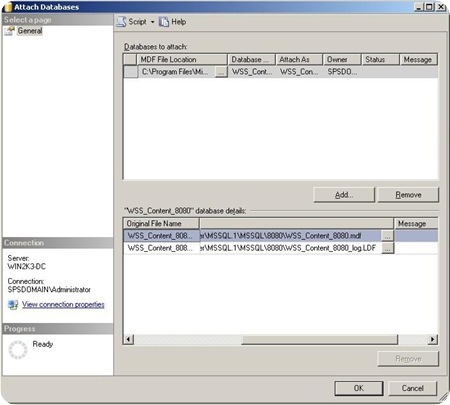
8. Click on Add and point the MDF file at new location
9. Click on OK and make sure you have the Database back in Management studio
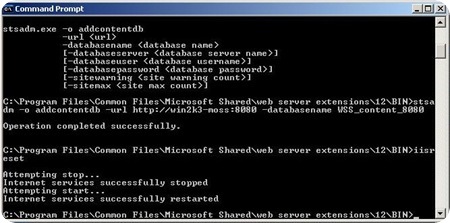
10. Now login to SharePoint server Run the command stsadm –o addcontentdb with appropriate attributes.
11. Perform an IISRESET and you can access the site.


