Guidelines for Publishing to the Cortana Analytics Gallery
In a previous blog post, we talked about how the Cortana Analytics Gallery offers our community of data scientists and developers a place where they can discover and share advanced analytics solutions created using the Cortana Analytics Suite.
The Gallery steadily continues to grow each day, with over 886 published entities now. So why publish to the Gallery? For one thing, it's a great way to share your work with colleagues and the wider community, to contribute to a public body of work based on all the tools in the Cortana Analytics Suite. Also, as others in the community build on your solutions, their feedback and comments can help you learn and grow your skills, and popular contributions can even help you establish an online reputation and following.
Contributing to the gallery is easy. The guidelines and tips below will help you through the relatively simple and short publishing process. You can also go to this collection where we have additional details and examples of good gallery content. We also have FAQs here.
Suggestions for Publishing and for Quality Documentation
- While you can assume that the reader has prior data science experience, it still helps to simplify your language and explain things in detail wherever possible.
- Not all readers will be familiar with the Cortana Analytics Suite, given that it is relatively new; therefore, provide enough information and step-by-step explanations to help such readers navigate through your work.
- Visuals including experiment graphs or screenshots of data can be very helpful for readers to interpret and use your content the right way. See this collection for more information on how to include images in your documentation.
- If your dataset is part of your experiment and not being imported through a reader module, it is part of your experiment and will get published to the Gallery. Therefore, ensure that the dataset you're publishing has appropriate licensing terms for sharing and downloading by anyone. Gallery contributions are covered under the Azure Terms of Use.
Process for Publishing Azure ML Experiments
When you are ready to publish to the Gallery, follow the five steps below.
1. Fill out the title and tags fields. Keep them descriptive, highlighting the techniques used or the real-world problem being solved, for instance, “Binary Classification: Twitter Sentiment Analysis”.
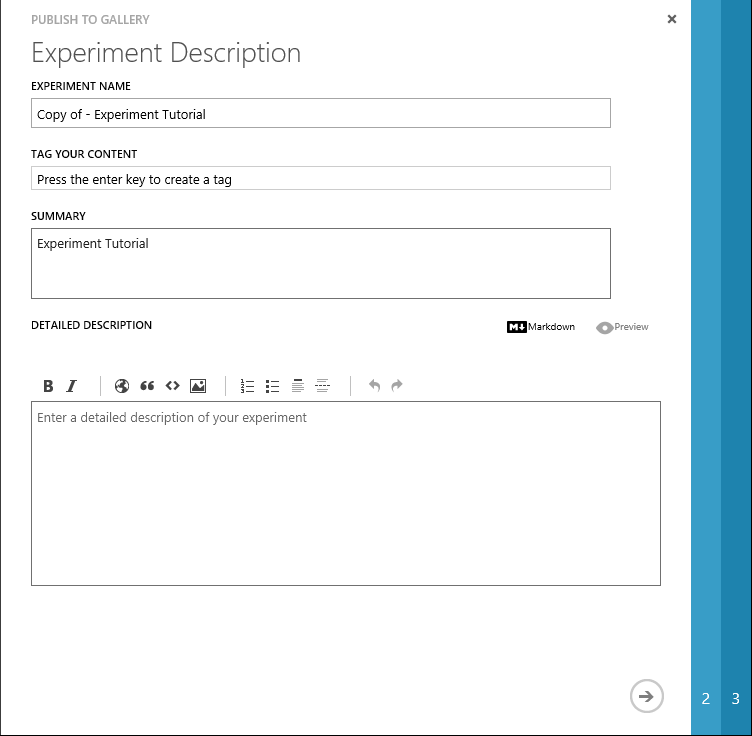
2. Write a summary of what your content covers. Briefly describe the problem being solved and how you approached it.
3. Use the detailed description box to step through the different parts of your experiment. Some useful topics to include here are:
- Experiment graph screenshot.
- Data sources and explanation.
- Data processing.
- Feature engineering.
- Model description.
- Results and evaluation of model performance.
You can use Markdown to format as needed. Click the Preview icon to see how things will look when published. The examples in this collection show what to include and how you might organize the information.
TIP:The box provided for Markdown editing and preview box is quite small. We recommend that you write your documentation in a Markdown editor and paste the completed document into the text box. After you have published your experiment, you can use standard web-based tools in Markdown for editing and preview, to make necessary tweaks and corrections.
4. Upload a thumbnail image for your gallery item. This will appear at the top of the item page and in the item tile when browsing the gallery. You can choose an image from your computer or select one of the stock images.
5. Choose whether to publish your content publicly, or have it only accessible to people with the link.
TIP:If you want to make sure your documentation looks right before releasing it publicly, you can publish it as unlisted first, and then switch it to Public from the item page.
That’s it – you’re all done.
You can now view your experiment in the Gallery and share the link with others. If you have published it publicly, your experiment will show up in browse and search results in the Gallery. You can also edit your documentation on the item page any time you are logged in.
TIP:To make changes to the experiment you have published, go back to the experiment in Azure ML Studio, make changes, and publish again. By default, it will update your existing published content and not create a new one.
Post-Publishing
Now that you have published your work to the Gallery, others can download and start using it right away, either to learn or for use in their own projects.
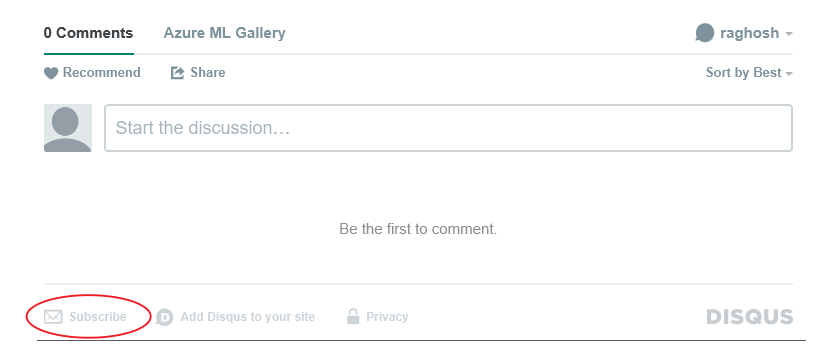
Subscribe to Comments
People often use comments on Gallery items to ask questions or discuss methodologies. Make sure that you are notified about these – go to the bottom of the item page and create or log into a Disqus account. You will then be able to click Subscribe to be notified by email when there is a new comment on that item:
Share Your Work
You can share Gallery content via Twitter, LinkedIn and email directly from the right hand side of the item page:
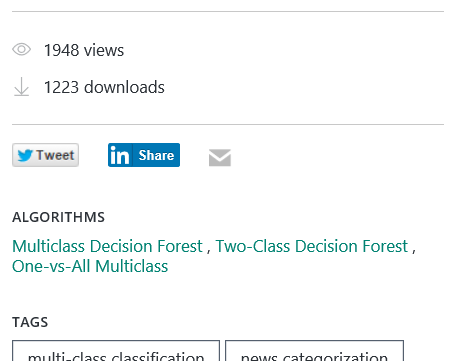
Sharing Gallery content via blogs and social media is a great way for you to showcase your work and get broader community feedback.
ML Blog Team