Build & Deploy Predictive Web Apps Using RStudio and Azure ML
Authored by Raymond Laghaeian, Senior Program Manager at Microsoft.
In this post, we will walk through the process of building a machine learning model in R, deploying it as a web service in Azure ML, and then creating and deploying a web application that does predictions in real time.
To run this example, you will need:
RStudio
Azure ML Workspace ID and Workspace Authorization Token. If you don’t have a Workspace, you can create a free workspace using a Microsoft ID at https://studio.azureml.net (don’t use Guest for access for this example).
An Azure subscription: If you don’t have one, see the free trial offer.
Build the Machine Learning Model
We build the model using RStudio running on a local machine. Using the Iris dataset, we first create a model that classifies the species of the Iris flower. The R script and the dataset are available for download on GitHub. (More detail on the Iris dataset can be found here.)
Start RStudio, then copy and paste the following code into a new script.
# Get IRIS dataset
library ( RCurl )
iris_url = "https://archive.ics.uci.edu/ml/machine-learning-databases/iris/iris.data"
iris_txt = getURL ( iris_url )
iris_data = read.csv ( textConnection ( iris_txt ) , header = FALSE )
#Rename the columns
library ( plyr )
names ( iris_data )
iris = rename ( iris_data, c ( "V1" = "Sepal_Length", "V2" = "Sepal_Width","V3" = "Petal_Length", "V4" = "Petal_Width", "V5" = "Species" ))
names ( iris )
#Fit the model
library ( e1071 )
fit <- naiveBayes ( Species ~ ., data = iris )
#Summarize model accuracy
table ( predictions, iris $ Species )
#Do a prediction using the model and a row of data
predict <- predict(fit, c(5.1,3.5,1.4,0.2))
predict[4]
Define the Predictive Function
We can now create the function that will do the prediction. The function takes four input parameters (the features of the Iris dataset), and returns a prediction (the name of the Species) using the model called “fit” created above. Note that the data-frame’s column names must match those of the dataset.
predictSpecies <- function ( sepalLength, sepalWidth, petalLength, petalWidth ){
predictDF <- predict ( fit, data.frame ( "Sepal_Length" = sepalLength,
"Sepal_Width" = sepalWidth, "Petal_Length" = petalLength,
"Petal_Width" = petalWidth ) , type = "raw" )
return ( colnames ( predictDF )[ apply ( predictDF, 1, which.max )])
}
Deploy the Model as a Web Service
Next, we will use the AzureML R CRAN package to create and deploy a web service. To use the function, we need to pass the Azure ML Workspace ID and Workspace Authorization Token to the API.
From your Azure ML Studio Workspace, go to the Settings tab, and copy the Workspace ID and Workspace Authorization Token.
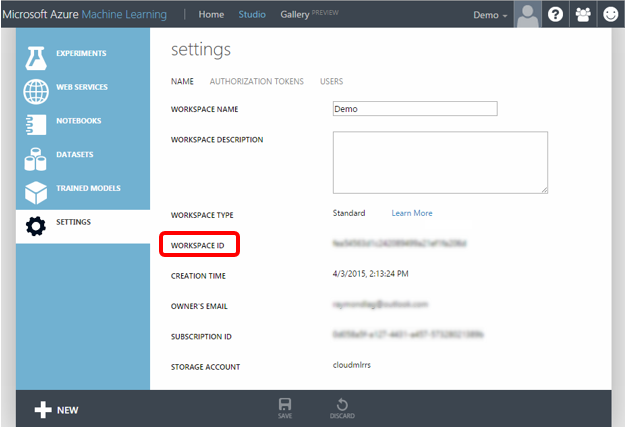
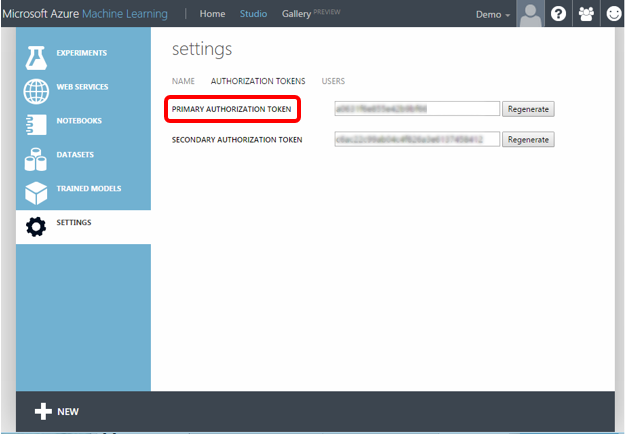
Enter those values in your R script at the end of your code.
wsID = "<your workspace ID>"
wsAuth = "<your workspace auth. token>"
Next, install the AzureML package and reference the library.
require ( AzureML ) || install.packages ( "AzureML" )
library ( AzureML )
Call the Azure ML’s PublishWebService method to create and deploy a service. Note that you will need to define the types of the input parameters (here all “float”), and the return parameter (called Species) with a type of int. Here we also need to pass the Azure ML Workspace ID and Authorization Token that we retrieved above.
irisWebService <- publishWebService ( "predictSpecies",
"irisSpeciesWebService", list ( "sep_len" = "float",
"sep_wid" = "float","pet_len" = "float","pet_wid" = "float" ) ,
list ( "species" = "int" ) , wsID, wsAuth )
This function will create a web service on Azure ML.
Next, we need to get the return values of the API. These include the API URL, API Key and Help Page URL.
irisWebService [[ 2 ]]
Run the script to create a web service. Then view the results in the RStudio Console.
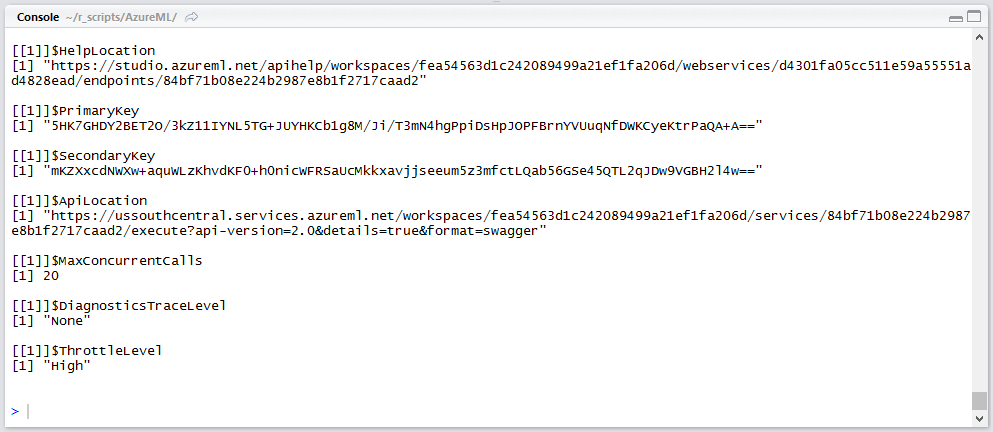
We now have the API Location (the Post URL of the web service) and its key. We will use this information in the next section to create and deploy a web application that can call the API for real-time predictions.
Create an ASP.NET Web App
The web service we created has a REST interface which allows it to be called from many platforms. Using the web service URL and API Key, you can construct a JSON request that can call the service to make predictions in real time or in batch mode. This will open up many possibilities for adding predictive capabilities to any mobile or web application.
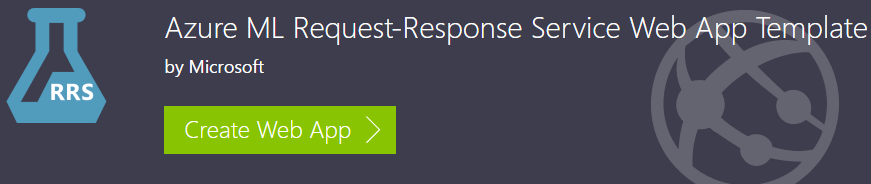
In this example, we will use the Azure ML Request-Response Service Web App Template to build and deploy a web application. The template uses the web service’s API URL and Key from the response to the PublishWebService function call above to auto-generate and deploy an Azure web application so there is no code to write. The app will be deployed to your Azure account.
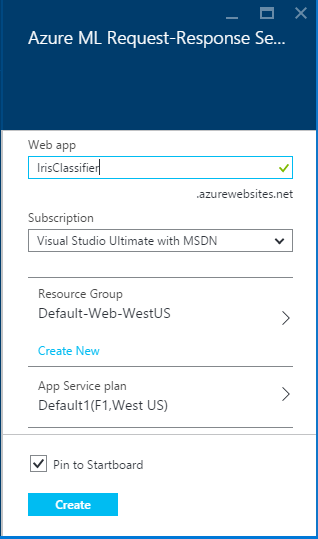
On the template page, click Create Web App. You will need an Azure Subscription to complete the next steps as this web app will be deployed to Azure.
It will take a couple of minutes for the application to be deployed to Azure. When prompted, enter a unique name for your application (we will use IrisClassifier here). Then click Create.
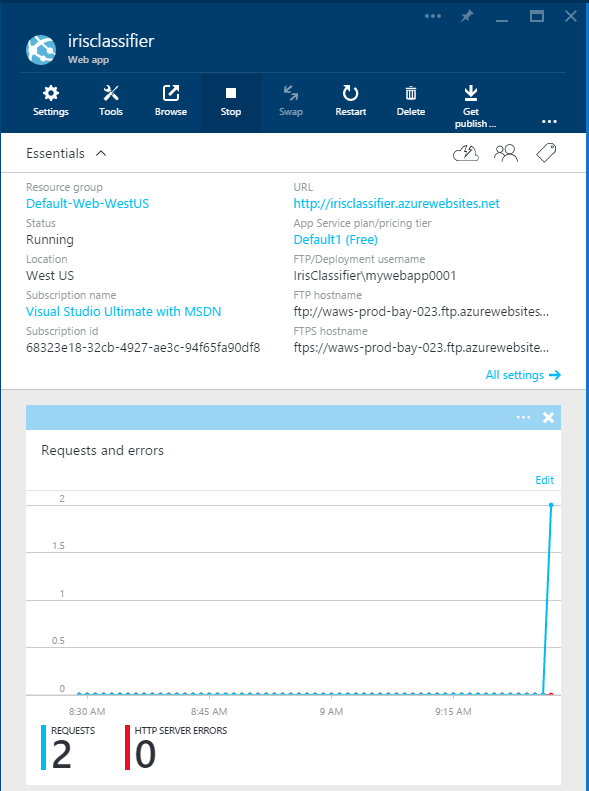
After the application is deployed, click Browse in the top menu to browse to the new web site.
When prompted, enter the API URL and Key by copying them from the RStudio console the APILocation and PrimaryKey values.
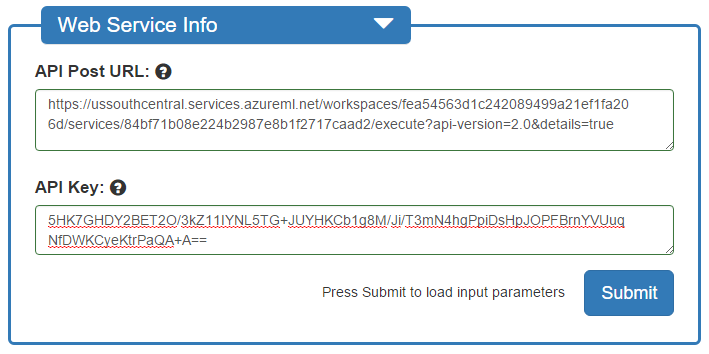
Note that the URL should not include the “&format=swagger” or quotation marks (same as the API Key).
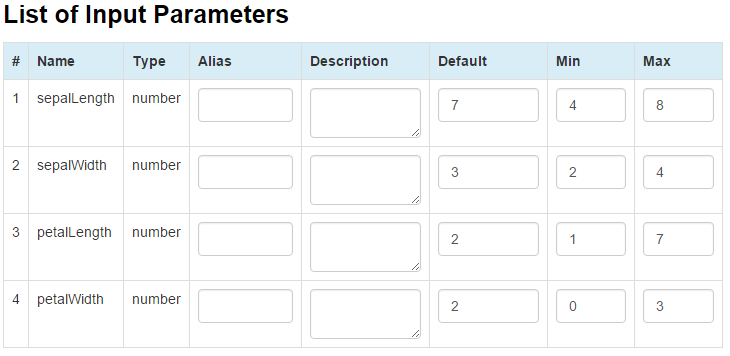
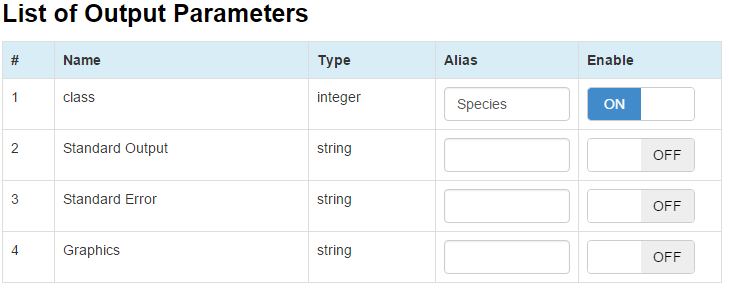
Click Submit, and view the list of Input Parameters in the resulting dialogue. Here you can set the field Alias for each field to be more descriptive than the parameters defined by the web service. You can also set default values and ranges for inputs.
In the List of Output Parameters, we set the alias of the return parameter to Species. We can also turn off the outputs 2-4. Click Save Changes.
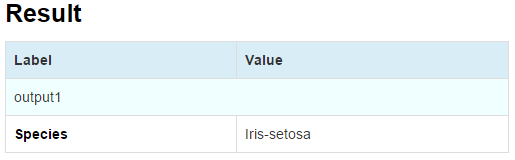
On the default.aspx page, you can modify the parameters, then click Submit to make a prediction using the web service API.

The result of the classification is then displayed.
The initial few prediction calls to the web service may take 30 seconds as the server initializes. After that, the web service will become more responsive.
To modify the settings of the default page, you can go to the setting.aspx page. You will be prompted to re-enter the API Key to access the page.
Summary
In this post, we built a machine learning model in R, deployed it as a web service on Azure ML, and created and deployed a web application to Azure without writing any ASP.NET Code. Azure ML Operationalization APIs let you deploy machine learning models as web services from familiar authoring environments such as RStudio and Jupyter (formerly iPython) making them accessible over the internet at a high scale. This opens up many possibilities for integrating machine learning into mobile, web and other apps.
This service is in technical preview. We welcome your questions and comments.
Raymond
Follow me on twitter