Build and Deploy a Predictive Web App Using Python and Azure ML
Authored by Raymond Laghaeian, Senior Program Manager at Microsoft.
In this post, we will walk through the process of building a machine learning model, publishing it as a web service, and creating a web application that does predictions in real time.
To run this example, you need:
Python 2.7 with Anaconda.
Azure ML Client Library: Download from PyPi.Python.org. Install using the “pip install azureml” command from the Anaconda command prompt.
Azure ML Workspace ID and Workspace Auth. Token. If you don’t have a Workspace, you can create a free workspace using a Microsoft ID at https://studio.azureml.net (don’t use a guest workspace for this example).
Azure subscription: If you don’t have one, see the free trial offer.
Build the ML Model
We build the model using Python 2.7 and Anaconda with Jupyter (formerly IPython) Notebook running on a local machine. The Notebook is available for download on GitHub. Note that you can also use the Azure ML Notebook service for creating this example (more on the service here).
Using the Iris dataset, we first create an ML model that classifies the species of the Iris flower. More detail on the dataset is here.
#Build the model
from sklearn import svm
from sklearn import datasets
clf = svm . SVC ()
iris = datasets . load_iris ()
X , y = iris . data , iris . target
clf . fit ( X , y )
#Predict using sample
sample = [ 7 , 3.2 , 4.7 , 1.4 ]
result = clf . predict ( sample )
#Check the result
result [ 0 ]
Publish the ML Model as a Web Service
Next, we will use the Azure ML Python Client Library to create a web service.
From your Azure ML Studio Workspace, go to the Setting tab and copy the Workspace ID and Workspace Authorization Token. Enter those in the code below and then run.
#Publish as a web service
from azureml import services
@services.publish ( '<Your AzureML workspace ID>' , 'Your AzureML Workspace Auth Token' )
@services.types ( sep_l = float , sep_w = float , pet_l = float , pet_w = float )
@services.returns ( int ) #0, or 1, or 2
def predictIris ( sep_l , sep_w , pet_l , pet_w ):
inputArray = [ sep_l , sep_w , pet_l , pet_w ]
return clf . predict ( inputArray )
Running this code will publish the model as a web service which creates a RESTful API of the model, enabling it to be called from web and mobile apps for real-time predictions. For more information see the Azure ML website.
Call the New Web Service
We are now ready to make a real time prediction call using our web service which is running on Azure. Using a sample row of data, we can call the new web service.
predictIris . service ( 3 , 2 , 3 , 4 )
To check the published web service’s properties, enter the following command:
dir ( predictIris )
Note that the initial 2-3 calls may be slow as the service initializes. Next, we can get the new service’s properties that we will need to make prediction calls from the web application:
predictIris . service . help_url
predictIris . service . url
predictIris . service . api_key
The service’s Help Page provides information and sample code on consuming the web service. You can view that information by coping the Help Page URL into the browser. Make sure to remove any special characters such as quotes.
The web service URL and API Key can be used from various clients such as web and mobile apps and dashboards to make prediction calls.
Create an ASP.NET Web App
The web service we created has a REST interface which allows it to be called from many platforms. Using the web service URL and API Key, you can construct a JSON request that can call the service to make predictions in real time or in batch mode. This will open up many possibilities for adding predictive capabilities to any mobile or web application.
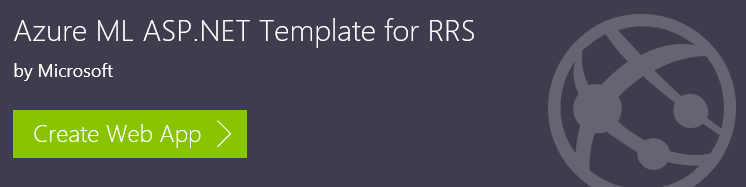
In this example, we will use the Azure ML ASP.NET Template to build a web application. The template uses the web service’s API URL and Key from the publish call above to auto-generate and deploy an Azure web application so there is no code to write. The app will be deployed to your Azure account.
On the template page, click on Create Web App. You will need an Azure Subscription to complete the next steps as this web app will be deployed to Azure.
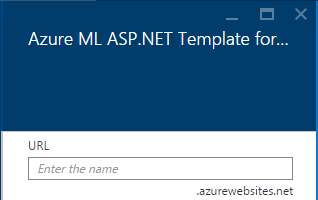
It will take a couple of minutes for the application to be deployed to Azure. When prompted, enter a unique name for your application.
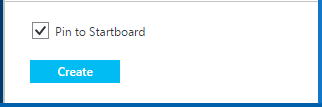
Then click on the Create button.
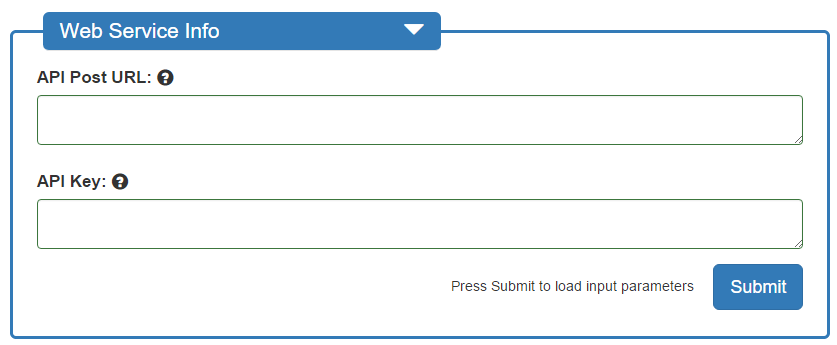
After the application is deployed, click on the URL to browse to the new web site. When prompted, enter the API URL and Key.
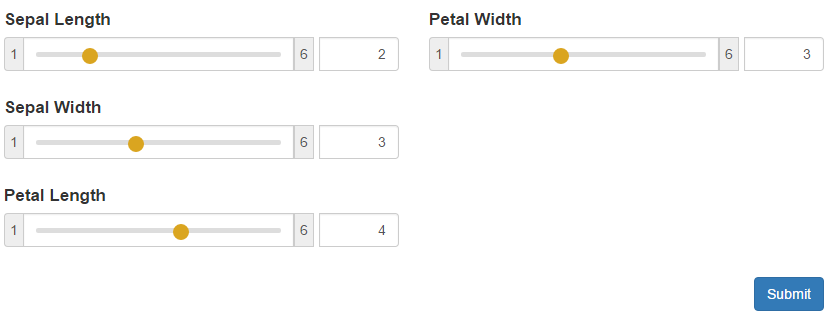
On the Setting.aspx page, you can set the field Alias for each field to be more descriptive than the parameters defined by the web service. You can also set default values and ranges for inputs.

Next, click on Save Changes. This will take you to the home page of the new web application.
On the default.aspx page, you can modify the parameters, then click Submit to make a prediction.
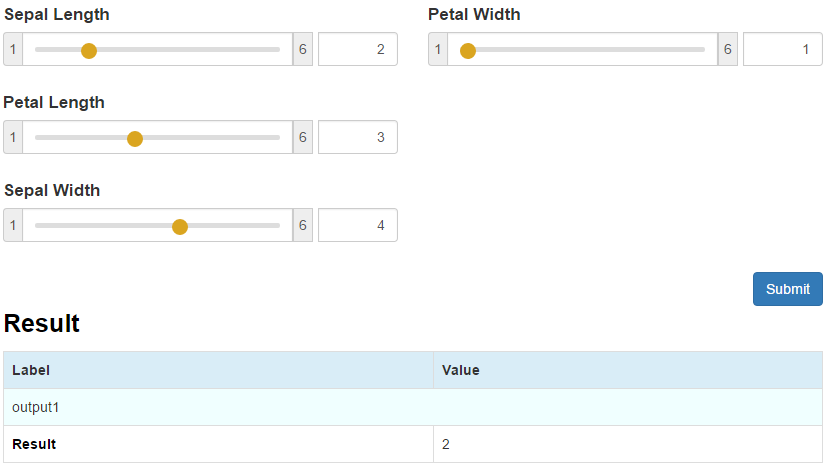
Note that the initial 2-3 calls may take 30 seconds as the server initializes. After which, the web service will become more responsive.
To modify the settings, you can go back to the setting.aspx page of the site by typing /setting.aspx in the browser address bar. You will be prompted to re-enter the API Key to access the settings page.
Finally, this app template is tablet and mobile-friendly so it should render properly on a smaller screen.
Summary
In this post, we built an ML model in Python, published it as a web service on Azure ML, and created and deployed a web application to Azure without writing any ASP.NET Code. Azure ML Operationalization APIs let you publish ML models as web services from familiar authoring environments such as Jupyter and RStudio making them accessible over the internet at a high scale. This opens up many possibilities for integrating ML into mobile, web and other apps.
Note that this service in in technical preview and currently only supports Python 2.
Feel free to post your questions or comments below.
Raymond
Follow me on twitter
Related Link:
https://blogs.technet.com/b/machinelearning/archive/2015/07/28/publishing-azure-ml-web-services-from-jupyter-notebooks.aspx