Publishing Azure ML Web Services From Jupyter Notebooks
This post is authored by Raymond Laghaeian, Senior Program Manager at Microsoft.
Azure ML lets you build and deploy web services that expose machine learning models as RESTful APIs. With the release of the Azure ML APIs through the Python SDK, we bring the ease of publishing predictive web services to Jupyter (formerly IPython). Using this SDK, you can now do data manipulation and feature engineering using the Jupyter REPL experience and publish the final model as a web service. The published web services provide a RESTful interface that can then be called from variety of platforms and clients including Excel, .NET, Java, Python, R, etc.
This post walks you through the steps needed to create and publish an Azure web service from a Jupyter Notebook. Additional SDK information is here.
Sign Up for Azure ML
To publish a web service, you need an Azure ML Workspace ID and Authorization Token. You can get these for free with just an email address:
Go to https://studio.azureml.net. Click the Get Started button, then Sign in. Enter a Microsoft ID (e.g. @outlook.com, @live.com, @hotmail.com, @msn.com, etc.) to log in. This will create a free Azure ML Workspace for you.
Click on Settings on the left pane, then copy your Workspace ID. Paste it somewhere you can access it later such as in Notepad.
Click on Authorization Tokens, then copy your Primary Authorization Token. Paste it to the same place.
You will use these two parameters when publishing a web service from Jupyter.
Download and Install the SDK
To download the Azure ML SDK go to https://pypi.python.org/pypi/azureml/0.1.1. Then install it using the “pip install” command.
Publish Your First Function as a Web Service
Start Jupyter Notebook, and type in the following commands. Note that you need to enter your Azure ML Workspace Id and Token (see the Sign Up section above).
from azureml import services
#Use your own workspace information below!
@services.publish('<you workspace id>', '<your auth. token>')
@services.types(a = float, b = float)
@services.returns(float)
def myfirstservice(a, b):
return a / b
After the web service is published, you can get its properties using the following commands:
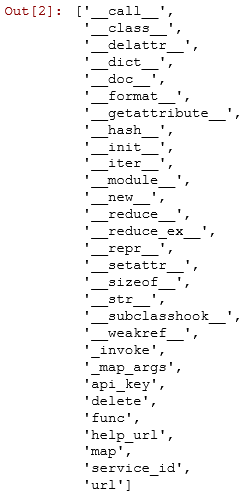
To get a list of the properties of the published service, type:
dir(myfirstservice)
Which will return the following:
To get the Post URL of the published service, type:
Myfirstservice.service.url
The output will be the URL to call to post requests similar to below:

To get the help page URL of the service, type:
Myfirstservice.service.help_url

This page contains sample request and response and sample code for calling the service from .NET, Python and R.
To get the API key to call the web service, type:
Myfirstservice.service.api_key

This key is required for consuming the API when making a request from client applications.
Call Your Web Service
To call the web service from Jupyter, use this command and pass in the required parameters. Note that the initial call to the web service may take up to 30 seconds to complete as the system initializes.
Myfirstservice.service(2,3)
To call the web service from other client applications, you will need to use the API Key and the URL you retrieved above. Use the Help Page URL to construct a request using the sample code for calling your web service from client applications such as .NET. R and Python.
Preview Limitations
This feature is currently in preview. Operationalization (web services) only supports Python 2.
Summary
Using the Azure ML Python SDK, you can now package and run any Python function, including those creating ML models, as an Azure ML web service. These functions can be called from a variety of clients and applications including Excel, mobile and web apps, and dashboards.
Related Link: https://blogs.technet.com/b/machinelearning/archive/2015/07/24/introducing-jupyter-notebooks-in-azure-ml-studio.aspx
Raymond
Follow me on twitter
Myfirstservice.service.url