How to Change Portal Banner Images in the Dynamics 365 for Marketing Event Portal
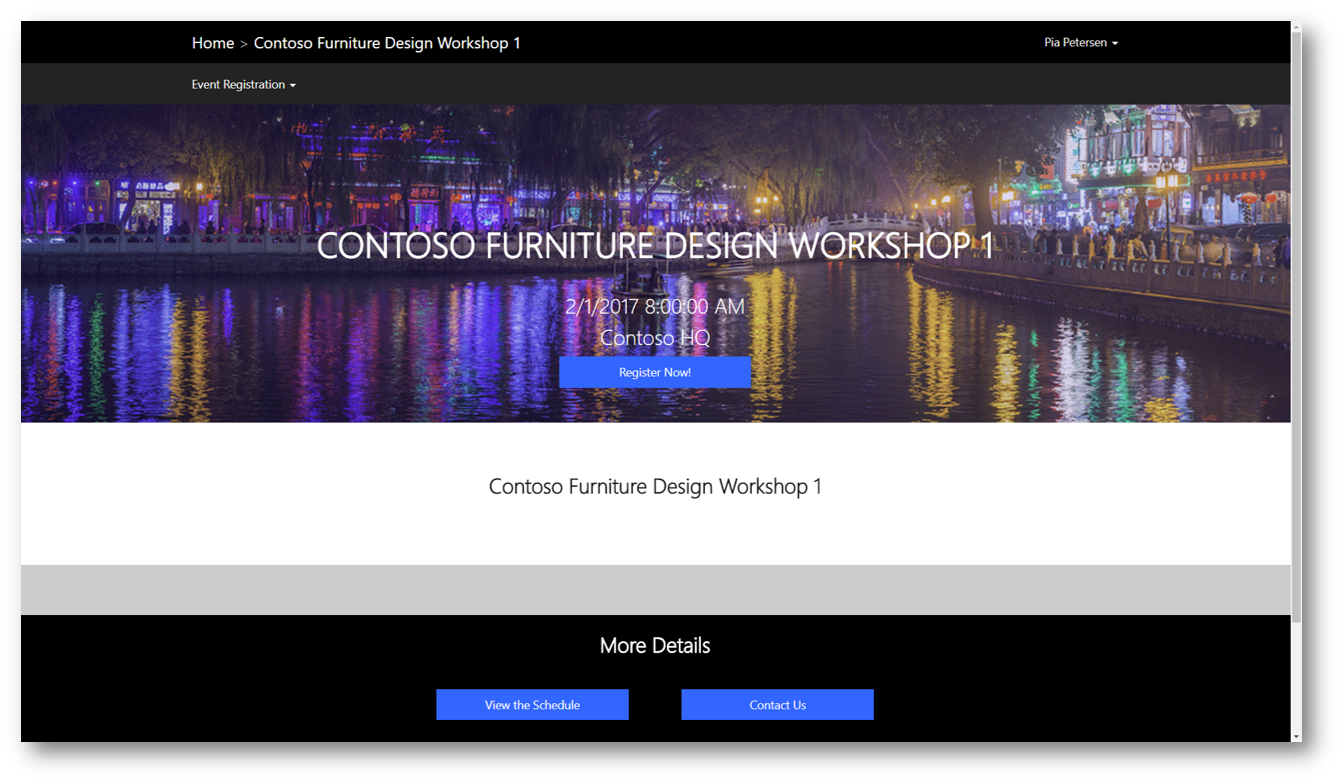
In Dynamics 365 for Marketing you can manage events and expose these events to your audiences via the event portal included with Dynamics 365 for Marketing. The portal page for new events will leverage a default image of a vivid city channel by night.
In my previous blog post "Event Management in Dynamics 365 for Marketing – Quick Start Guide" I walked through the creation of a new event, and you perhaps noticed that the event portal page featured another image than the above mentioned default image. In this blog post I'll show you how to change the default image for the portal - the so called Portal Banner Image.
To change the Portal Banner Image
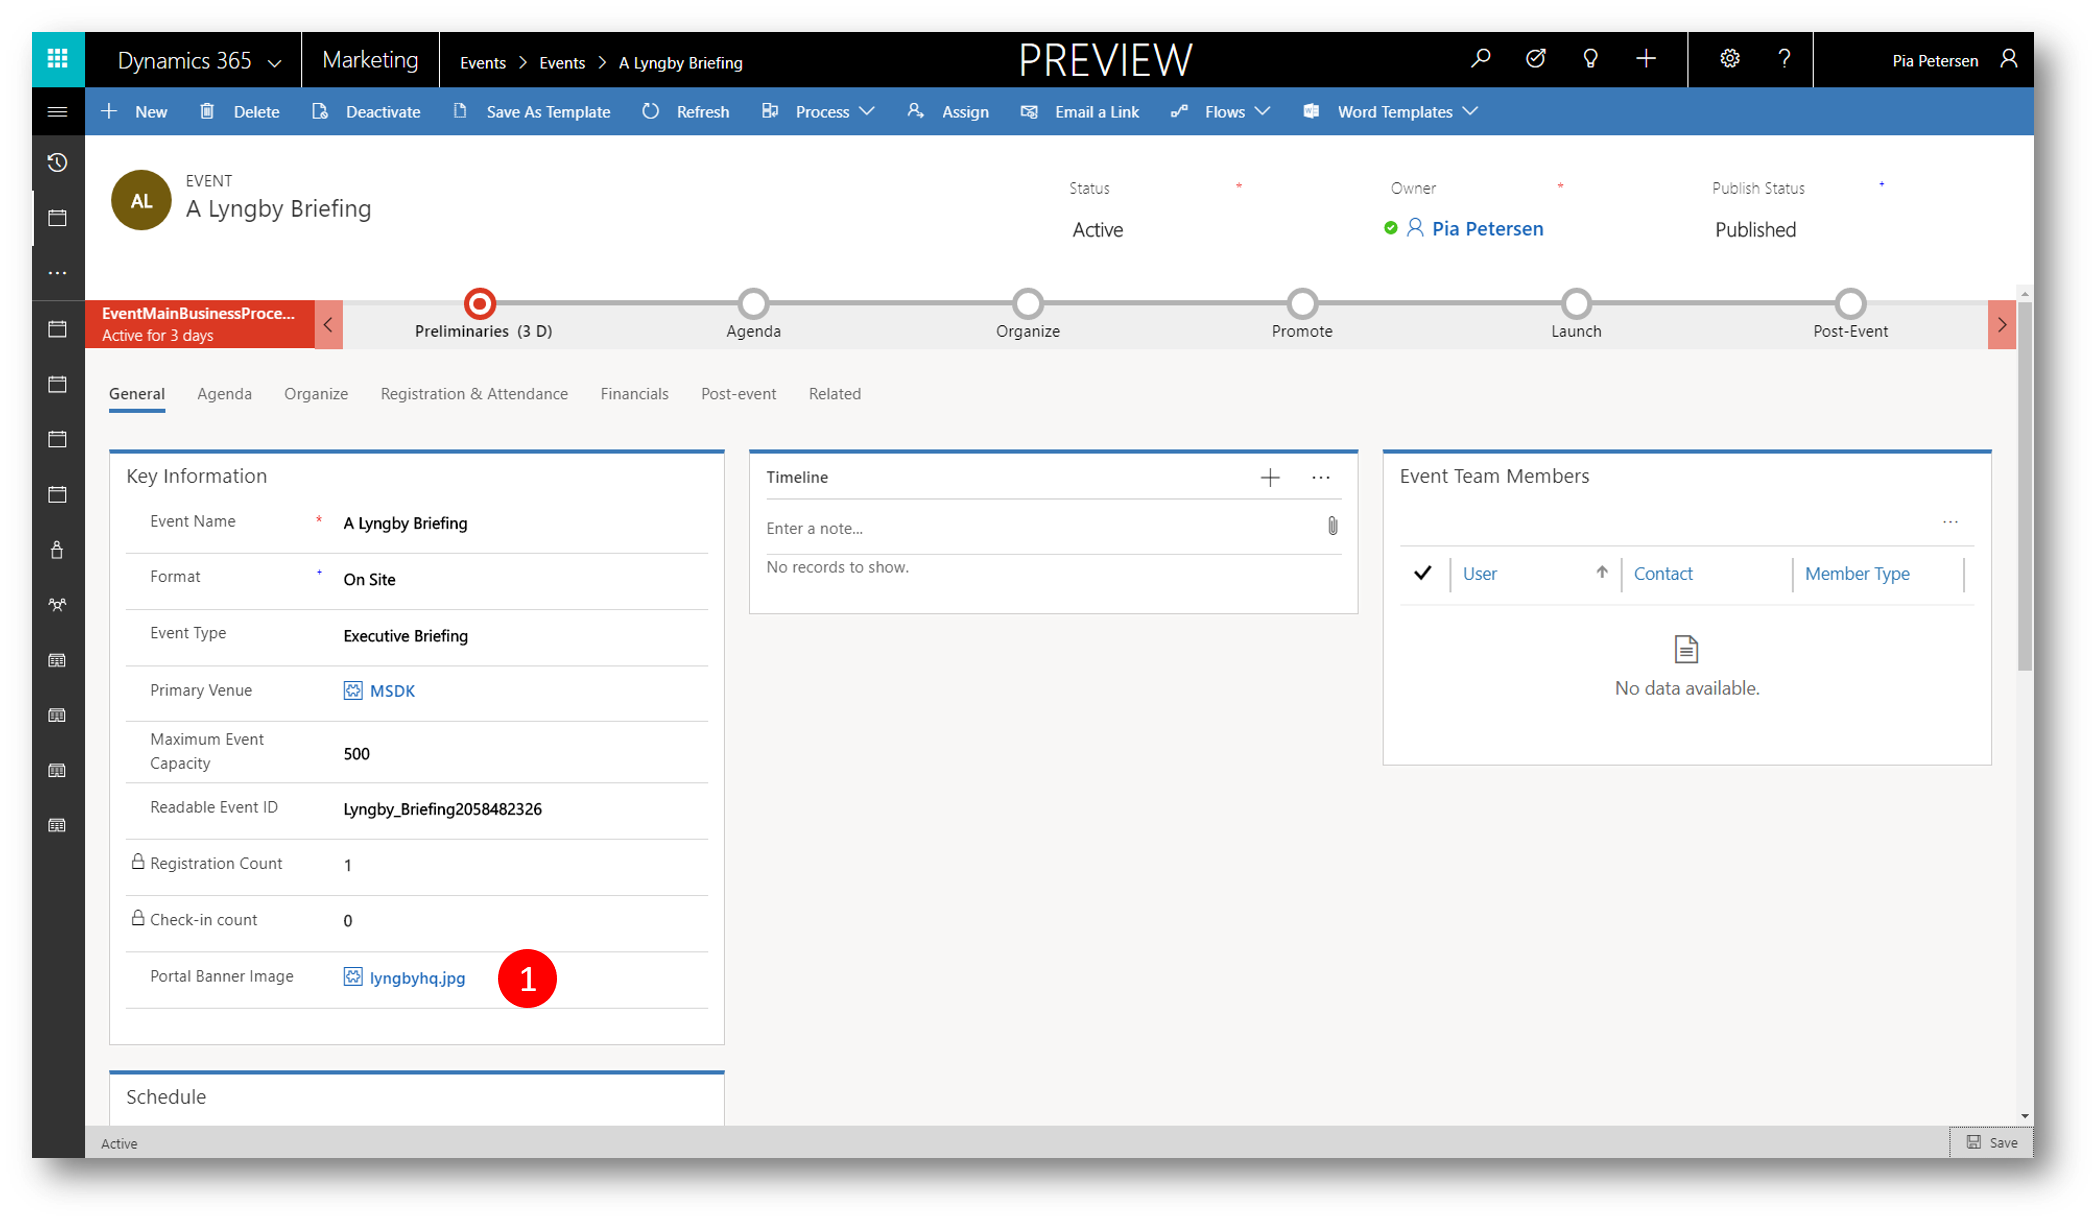
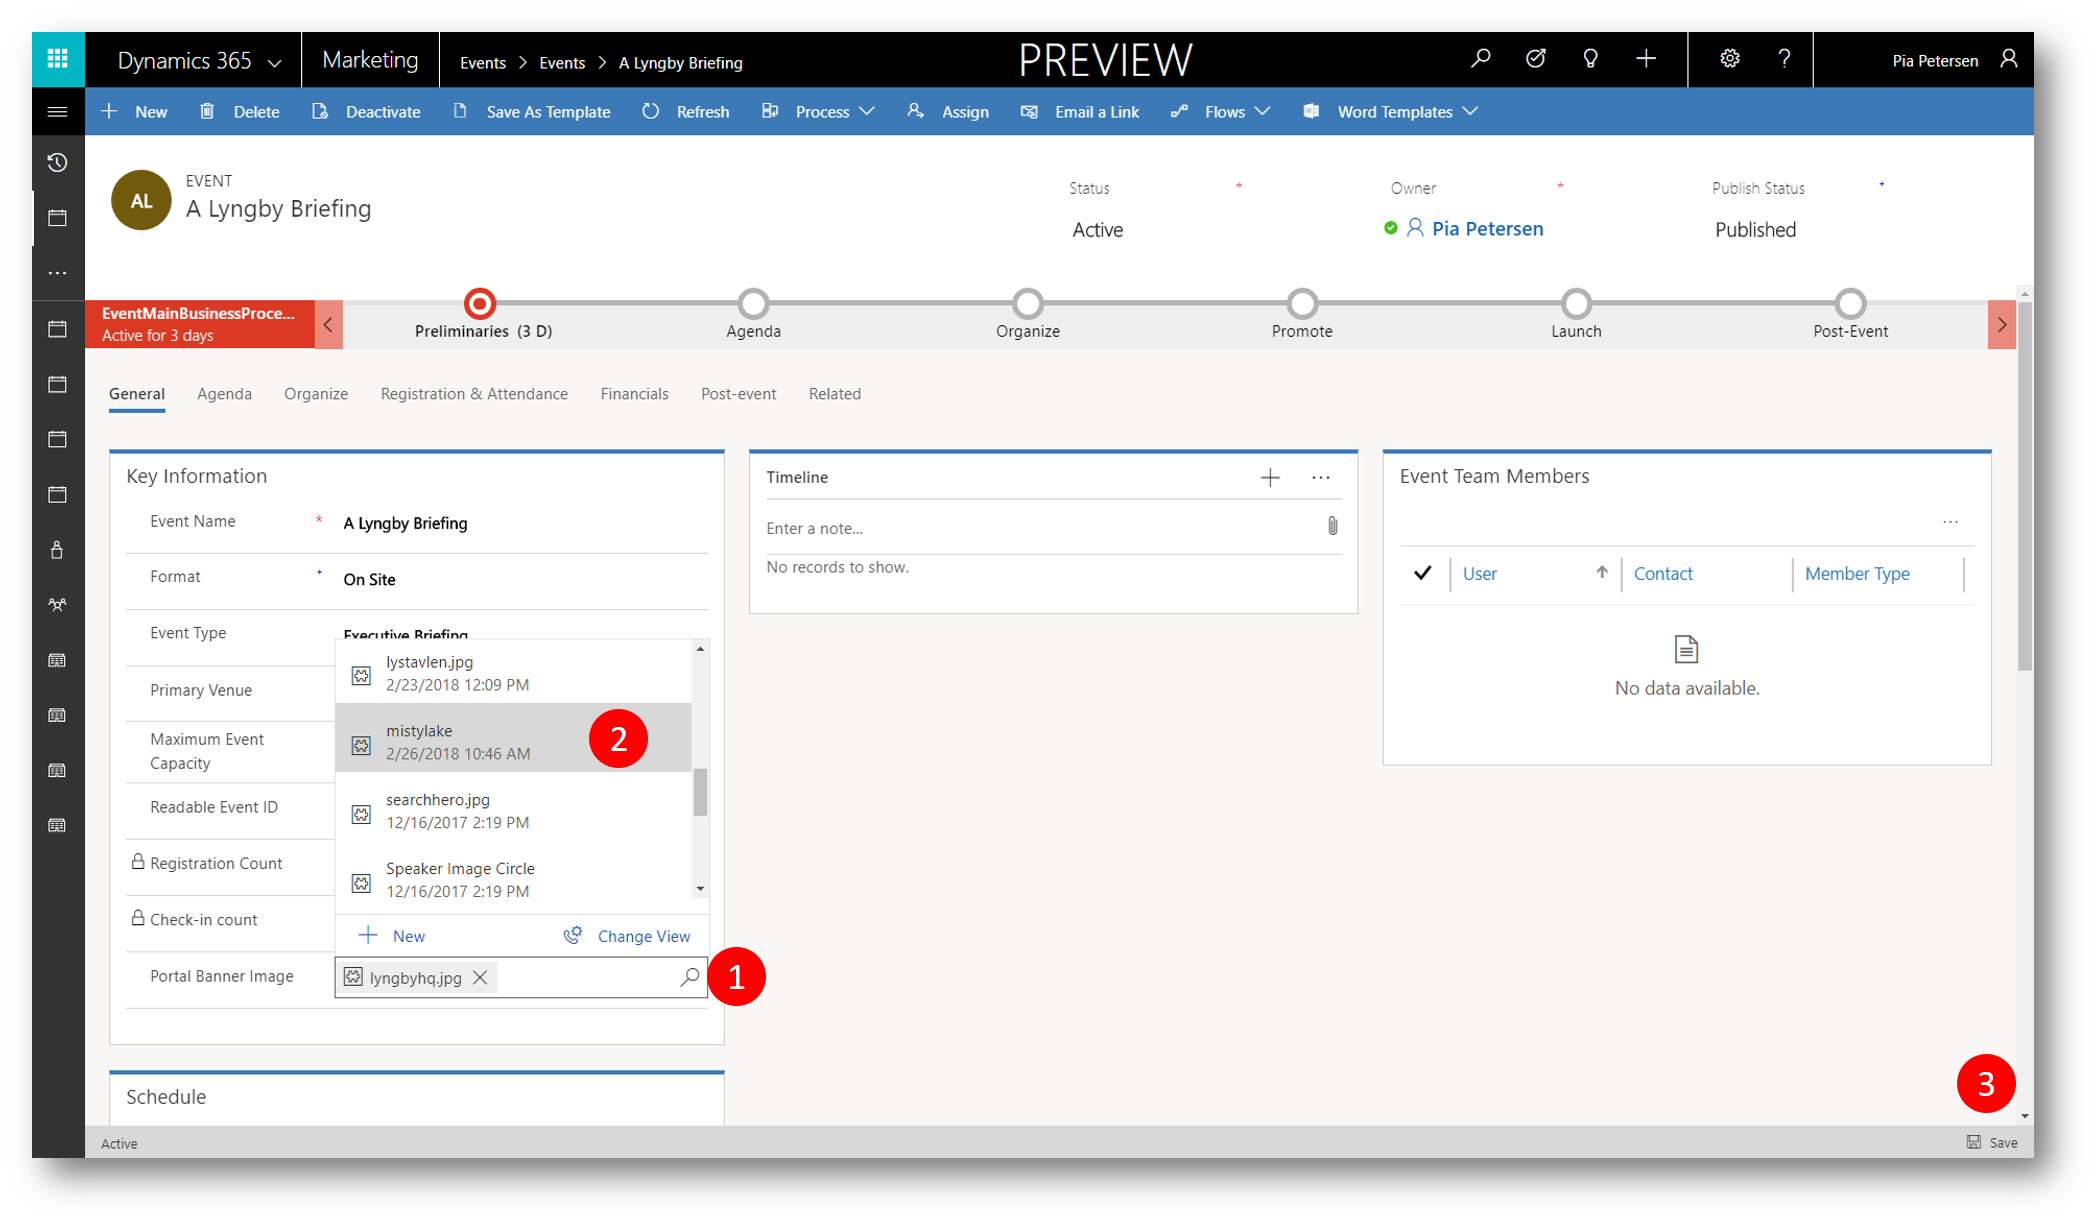
Open an event, eg "A Lyngby Briefing".
On the General tab look for the Portal Banner Image drop down (1).
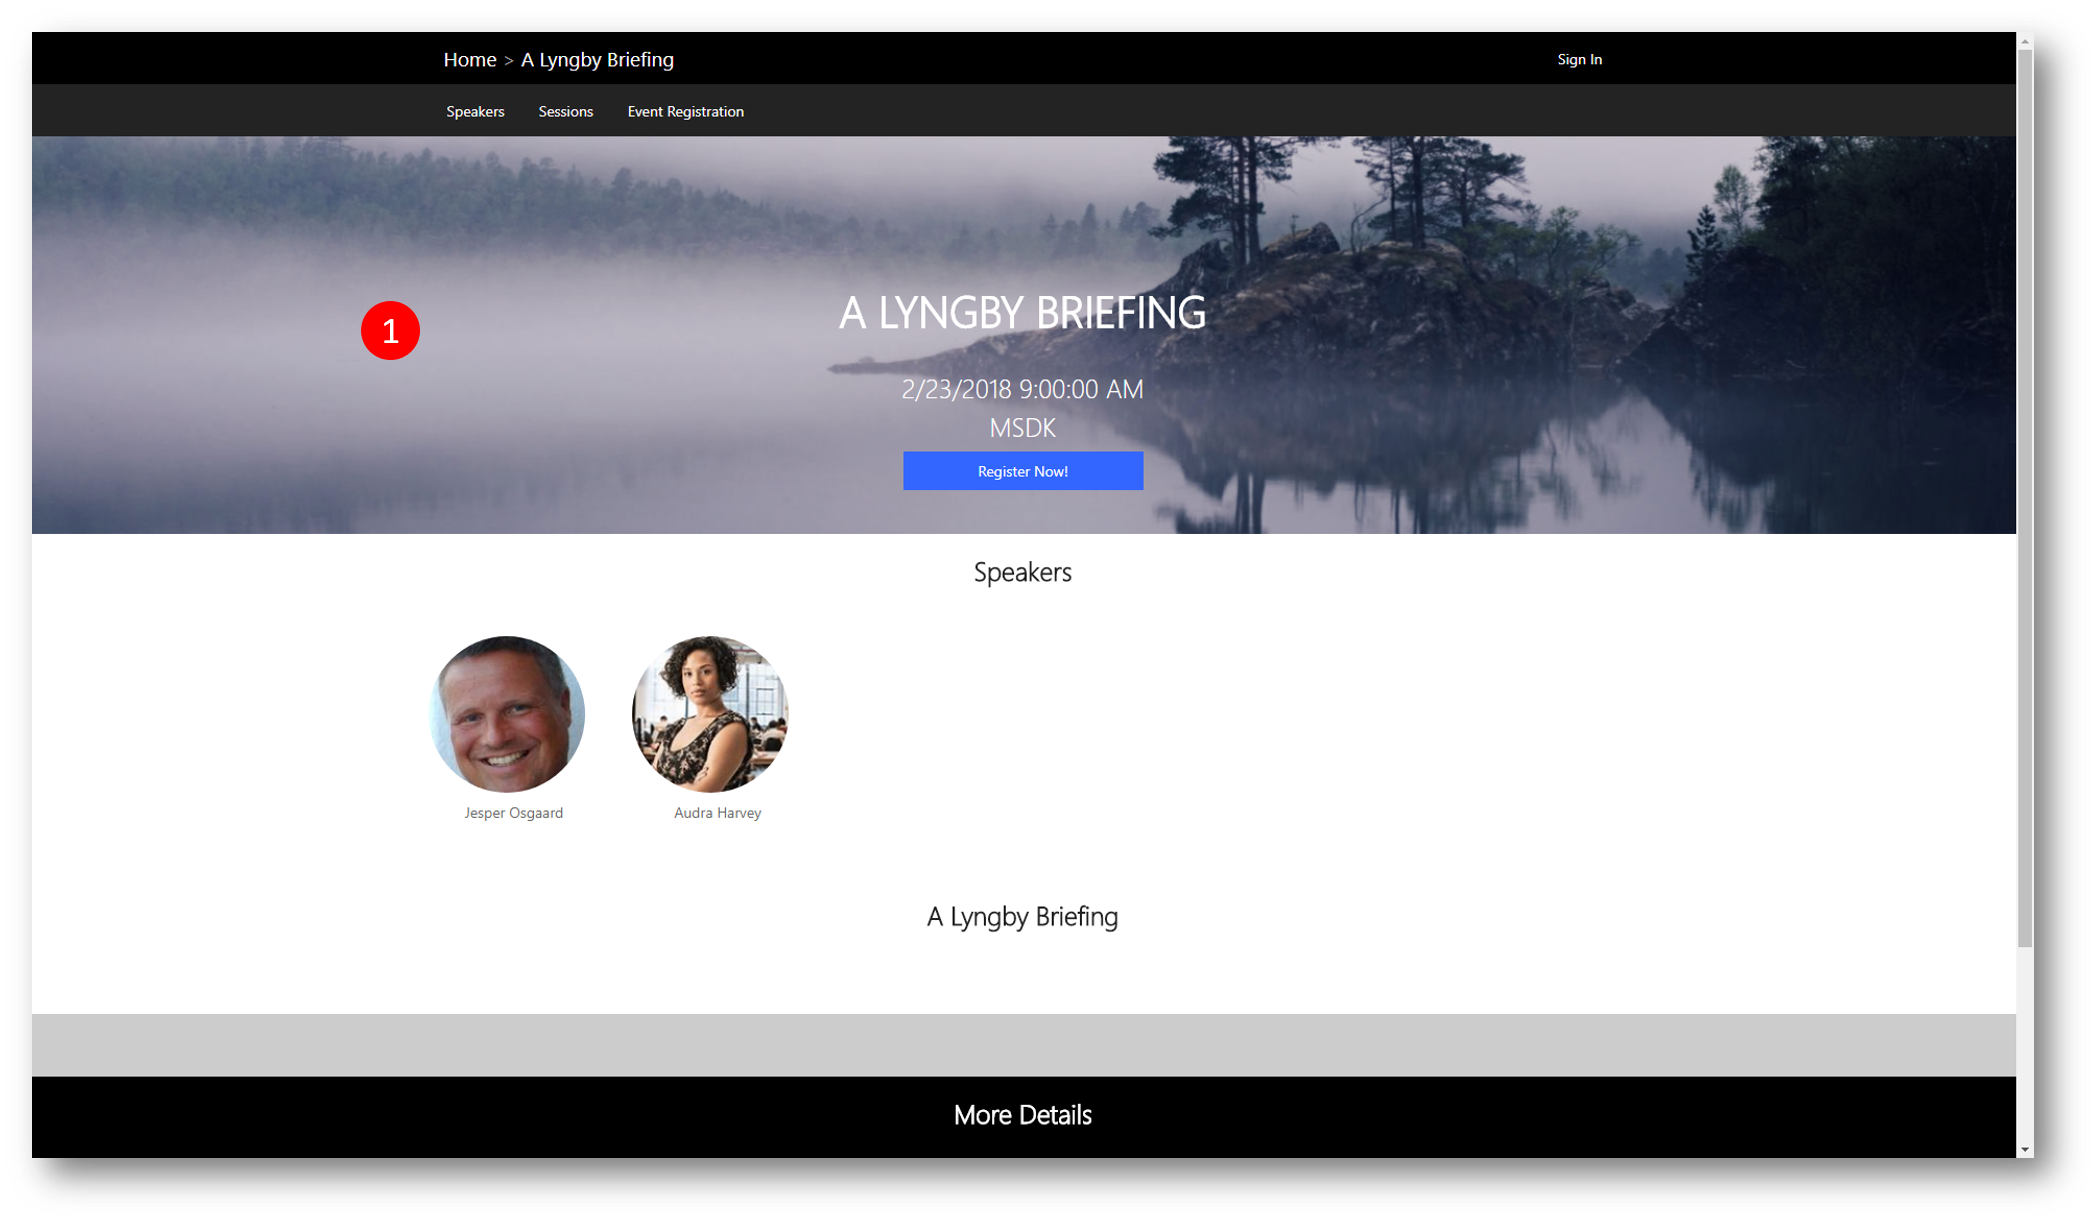
In the below example notice I'm showing an image with the name "lyngbyhq.jpg"...
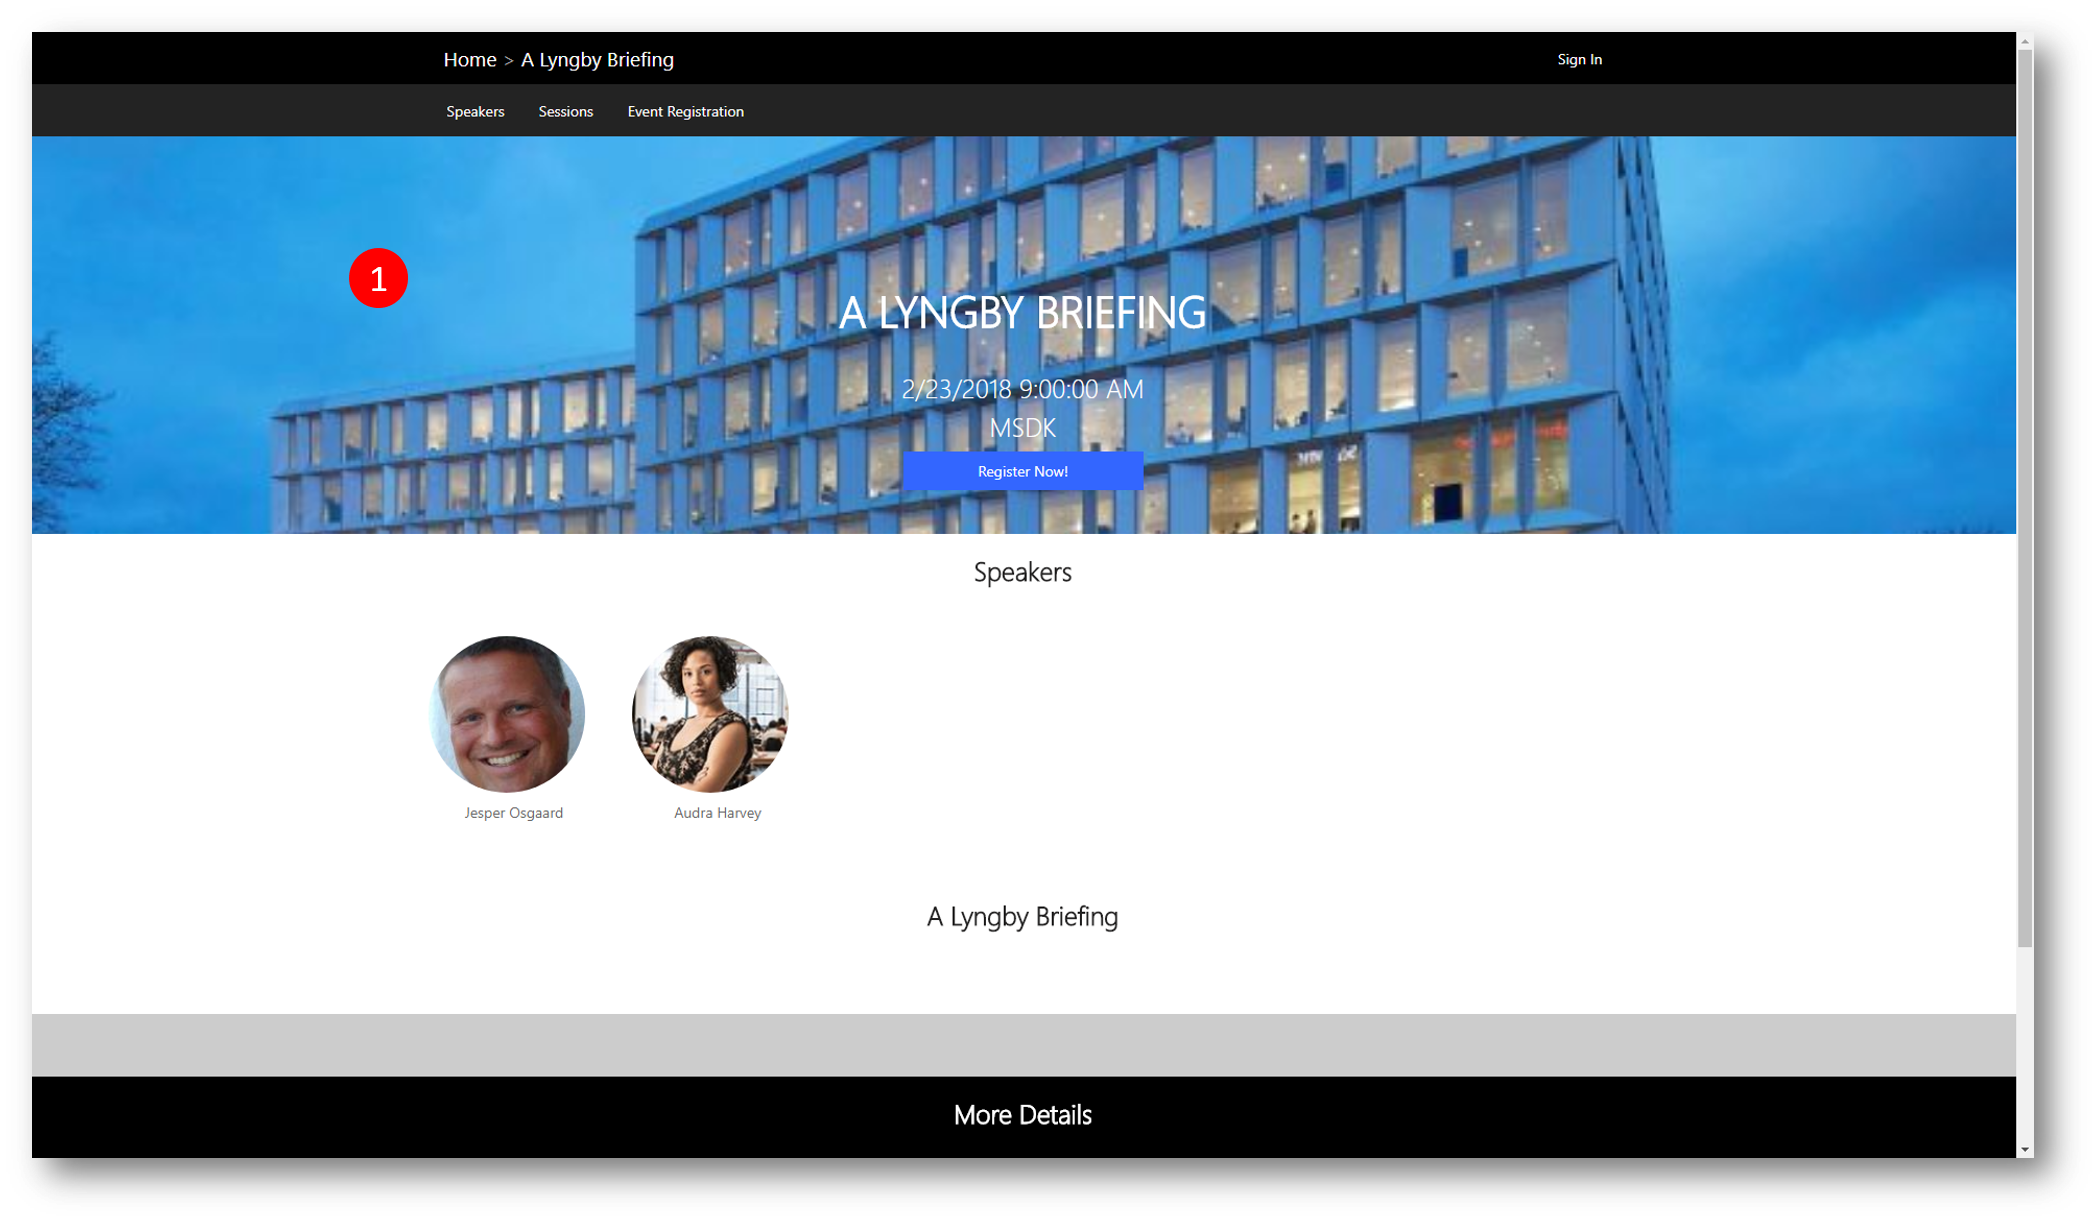
...which makes my portal page look like this (1)
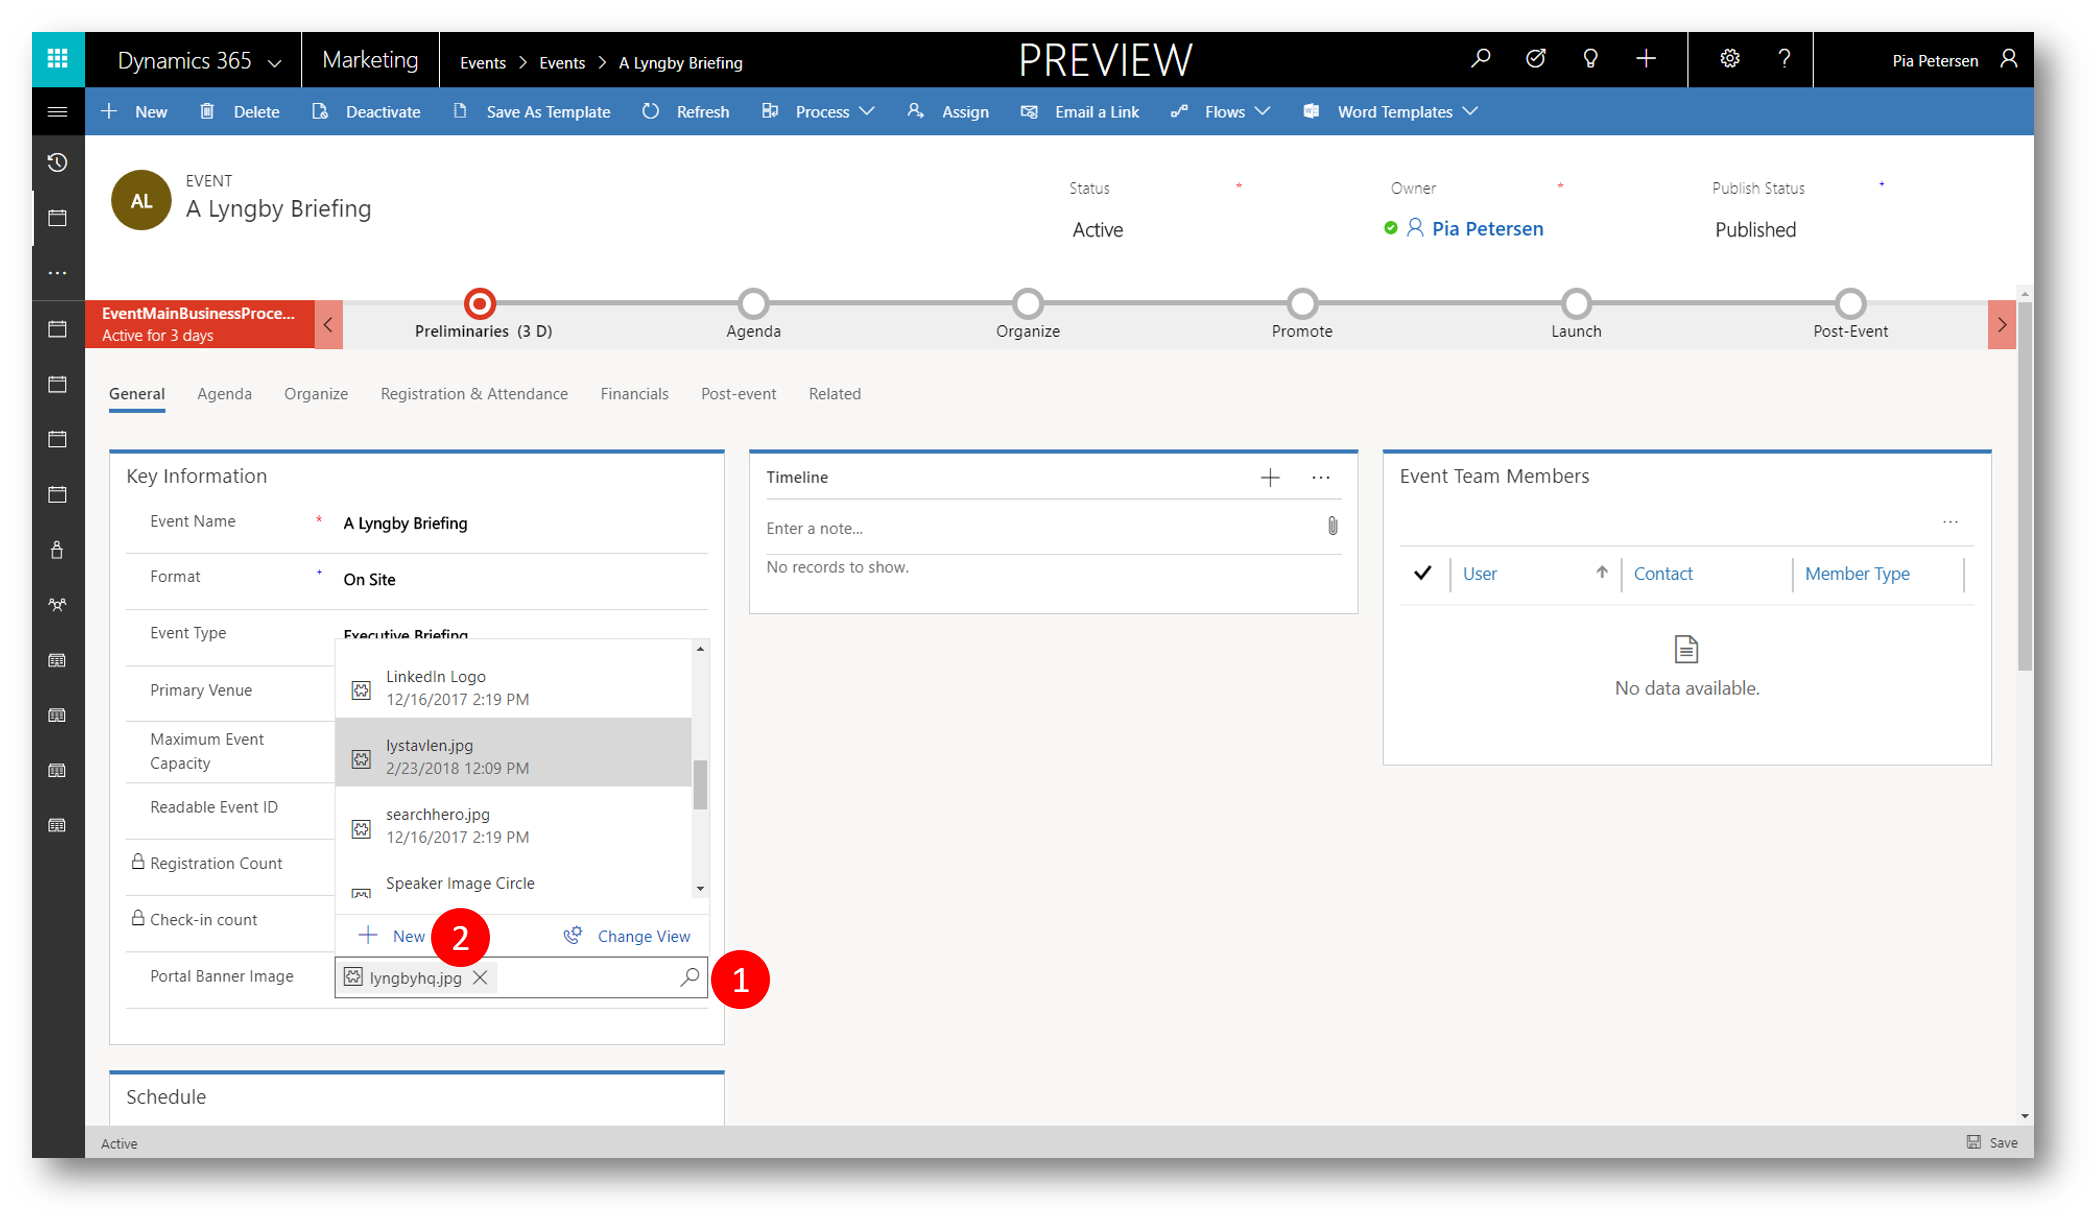
To change the Portal Banner Image
- In the Portal Banner Image drop-down click the magnifier icon
- Click + New to display the New Web File form
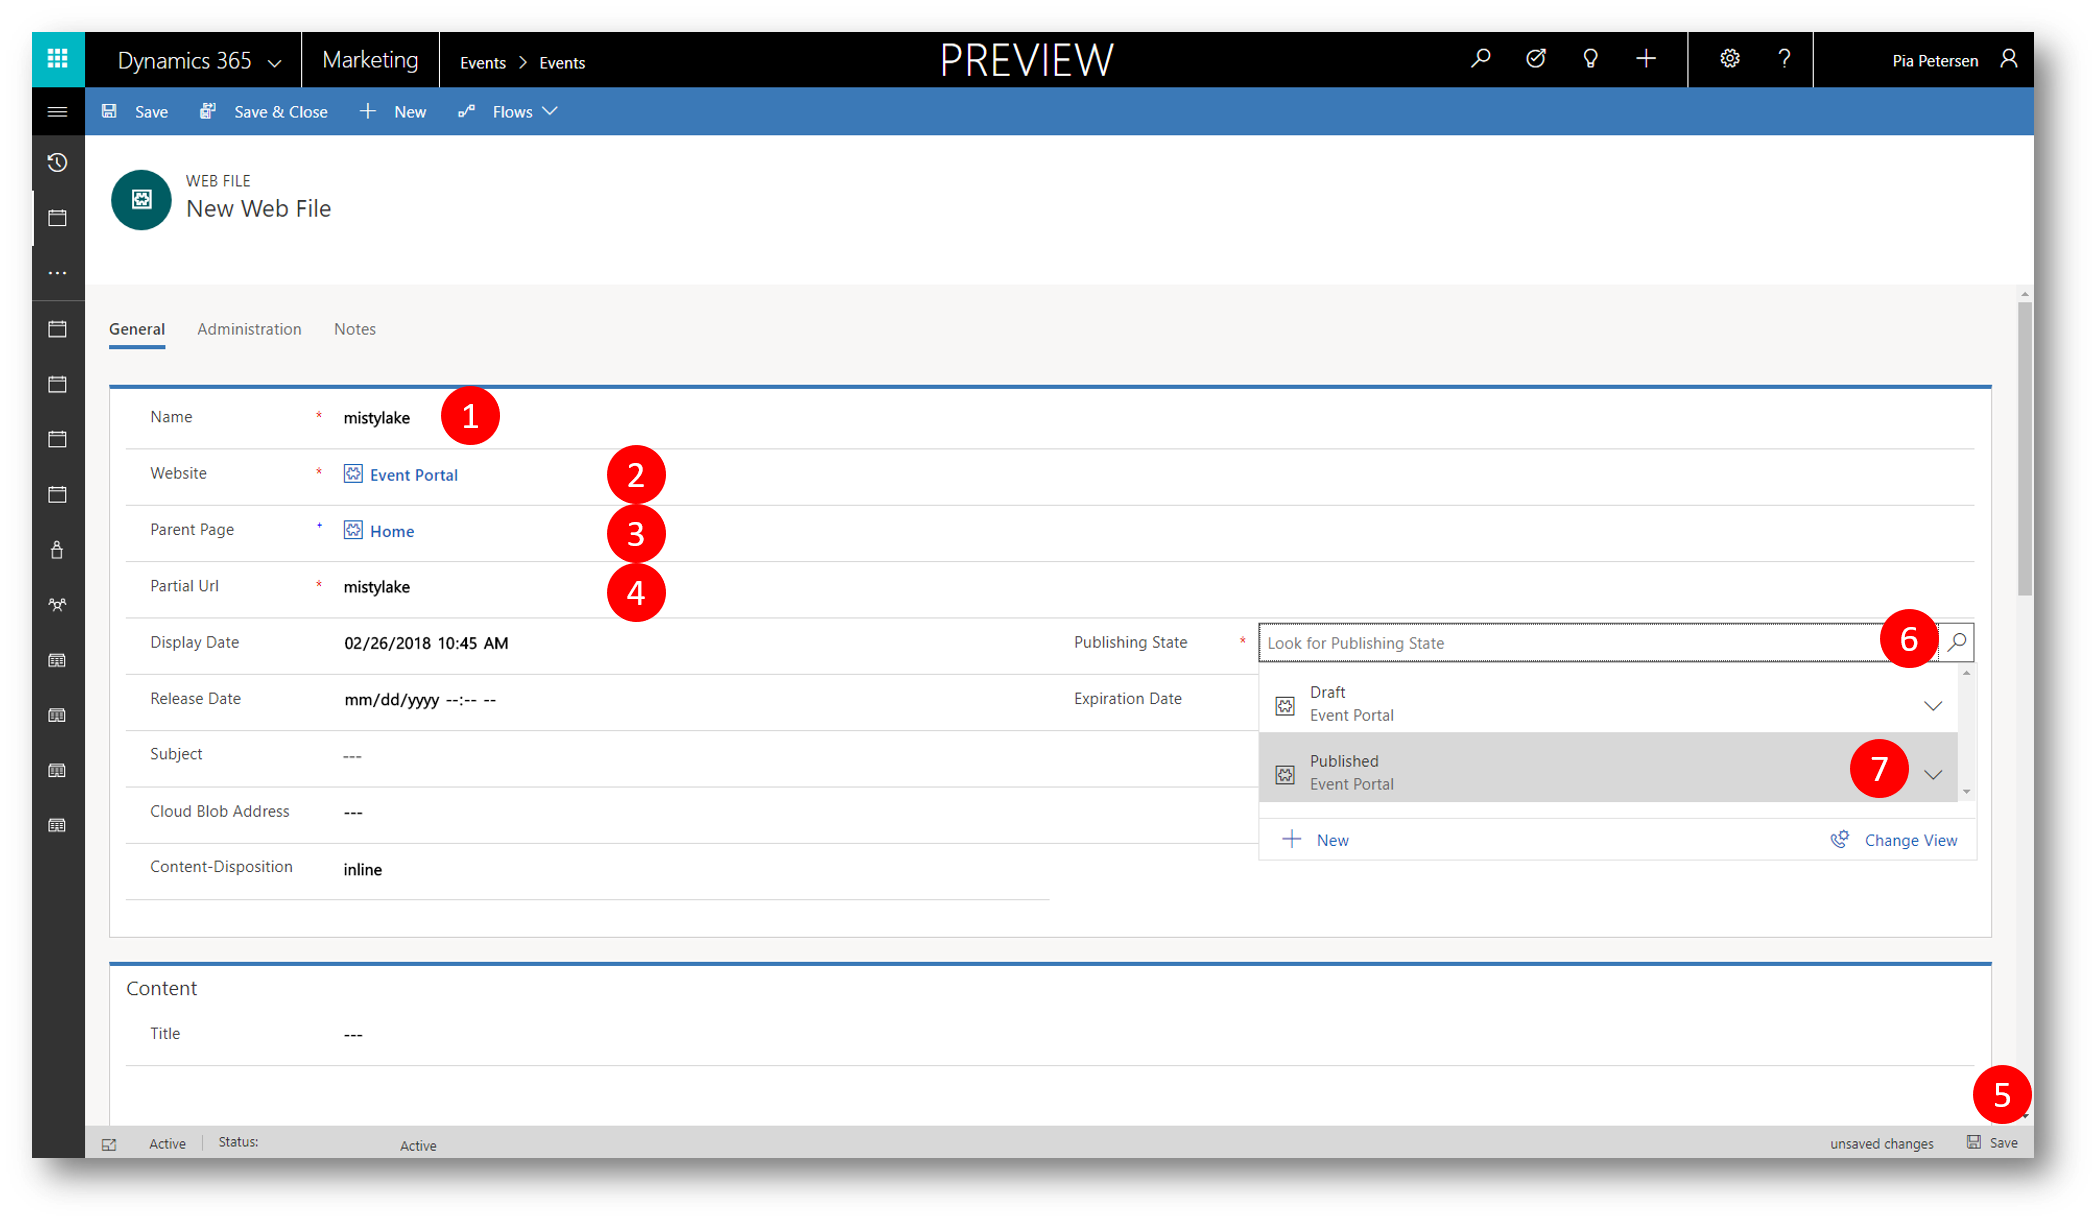
On the New Web File form specify/do the following
- Name = (type a name without special characters in it, eg "mistylake")
- Website = Event Portal
- Parent Page = Home
- Partial Url = (type a name without special characters in it, eg "mistylake")
- Click Save
- Click the magnifier icon in the Publishing State field
- Select Published
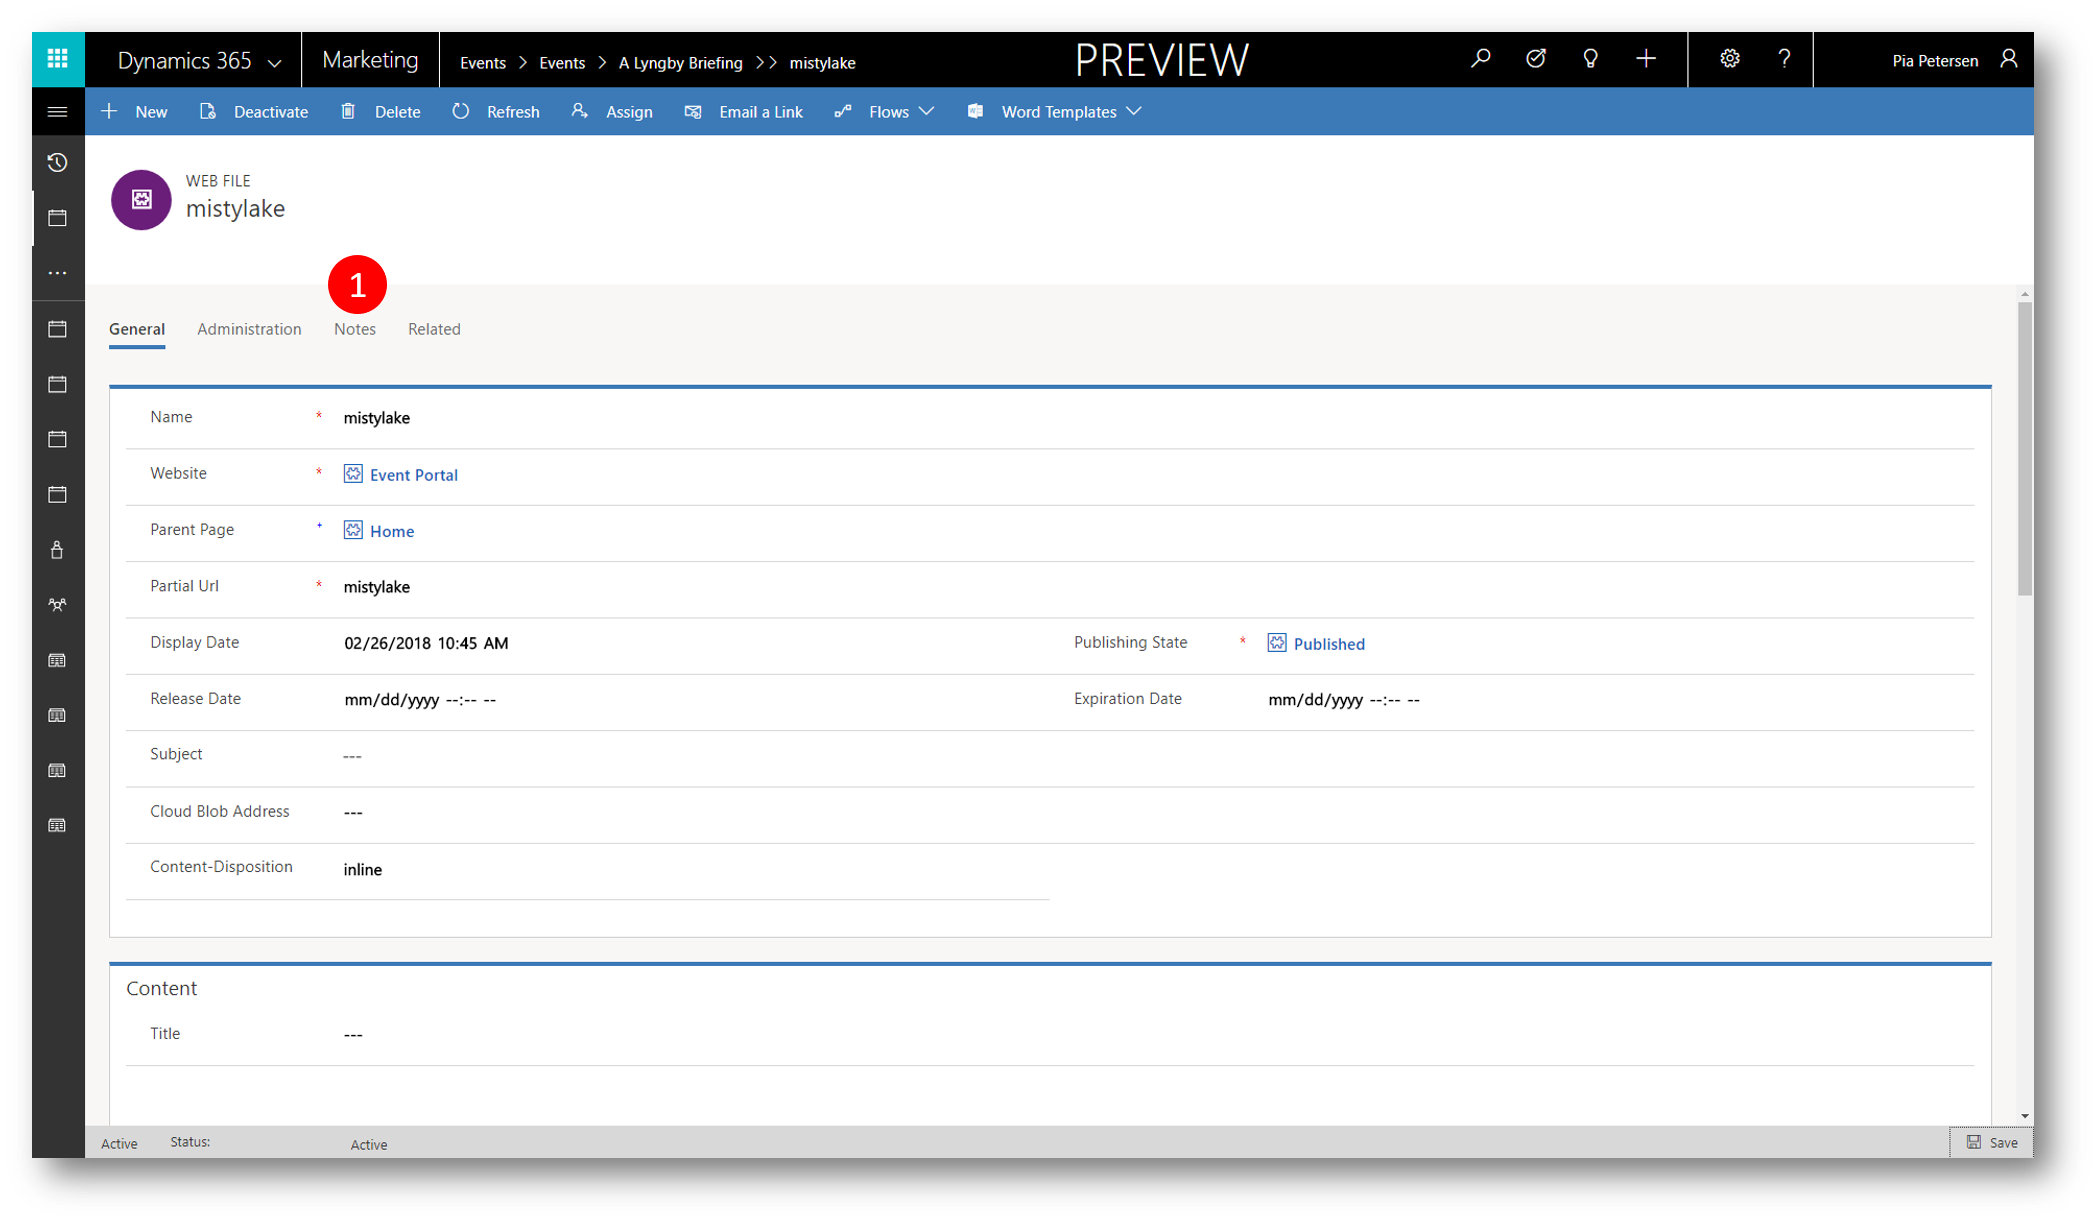
Navigate to the Notes tab
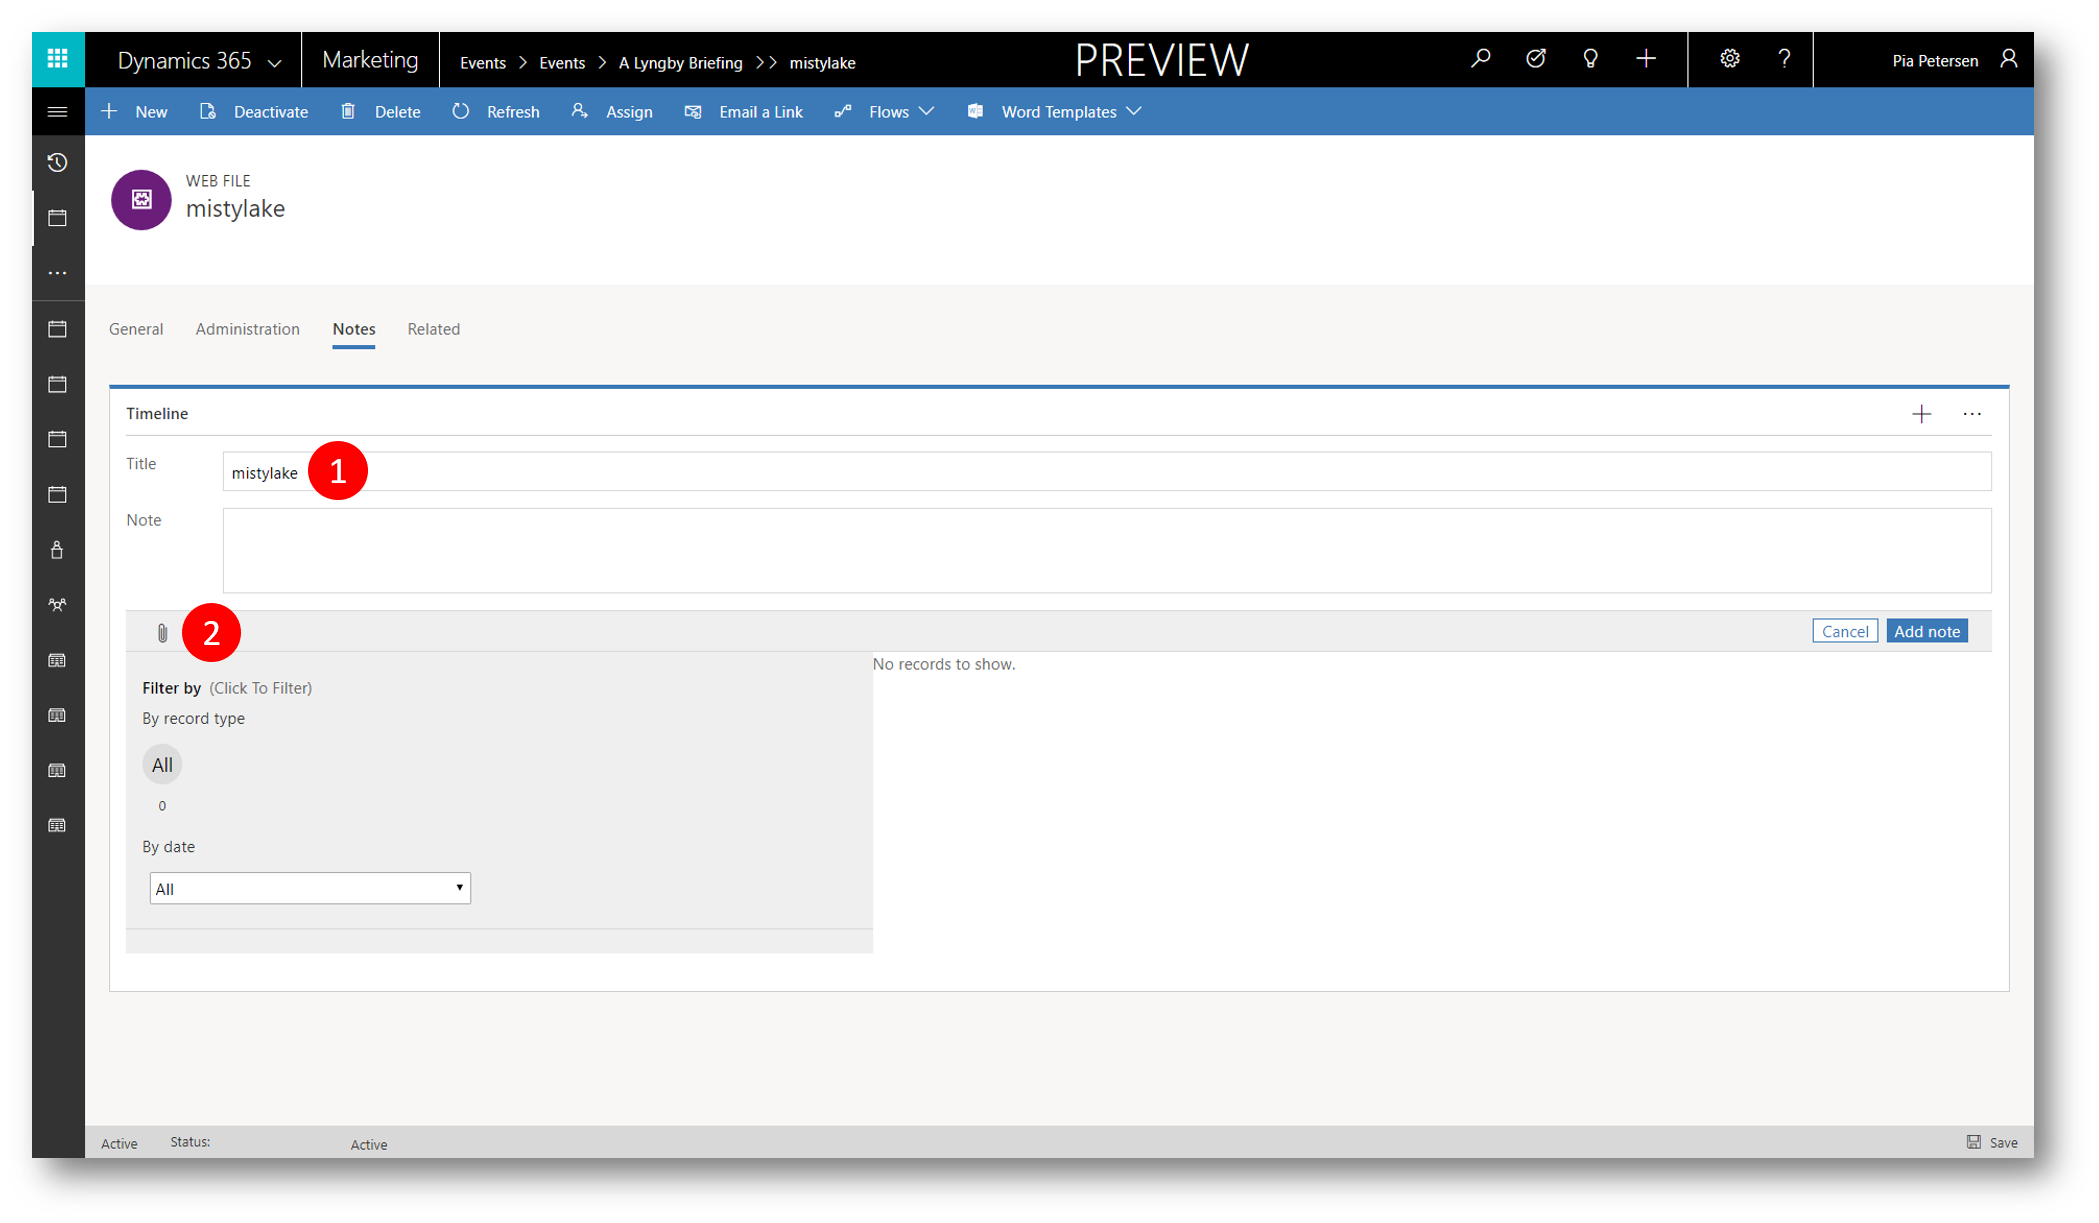
On the Notes tab create a new note and specify/do the following
- Title = (type a name w/o special characters in it, eg "mistylake")
- Click the attachment icon to upload an image file
Navigate to the image file you want to upload and click Open 
Click Save to save the note
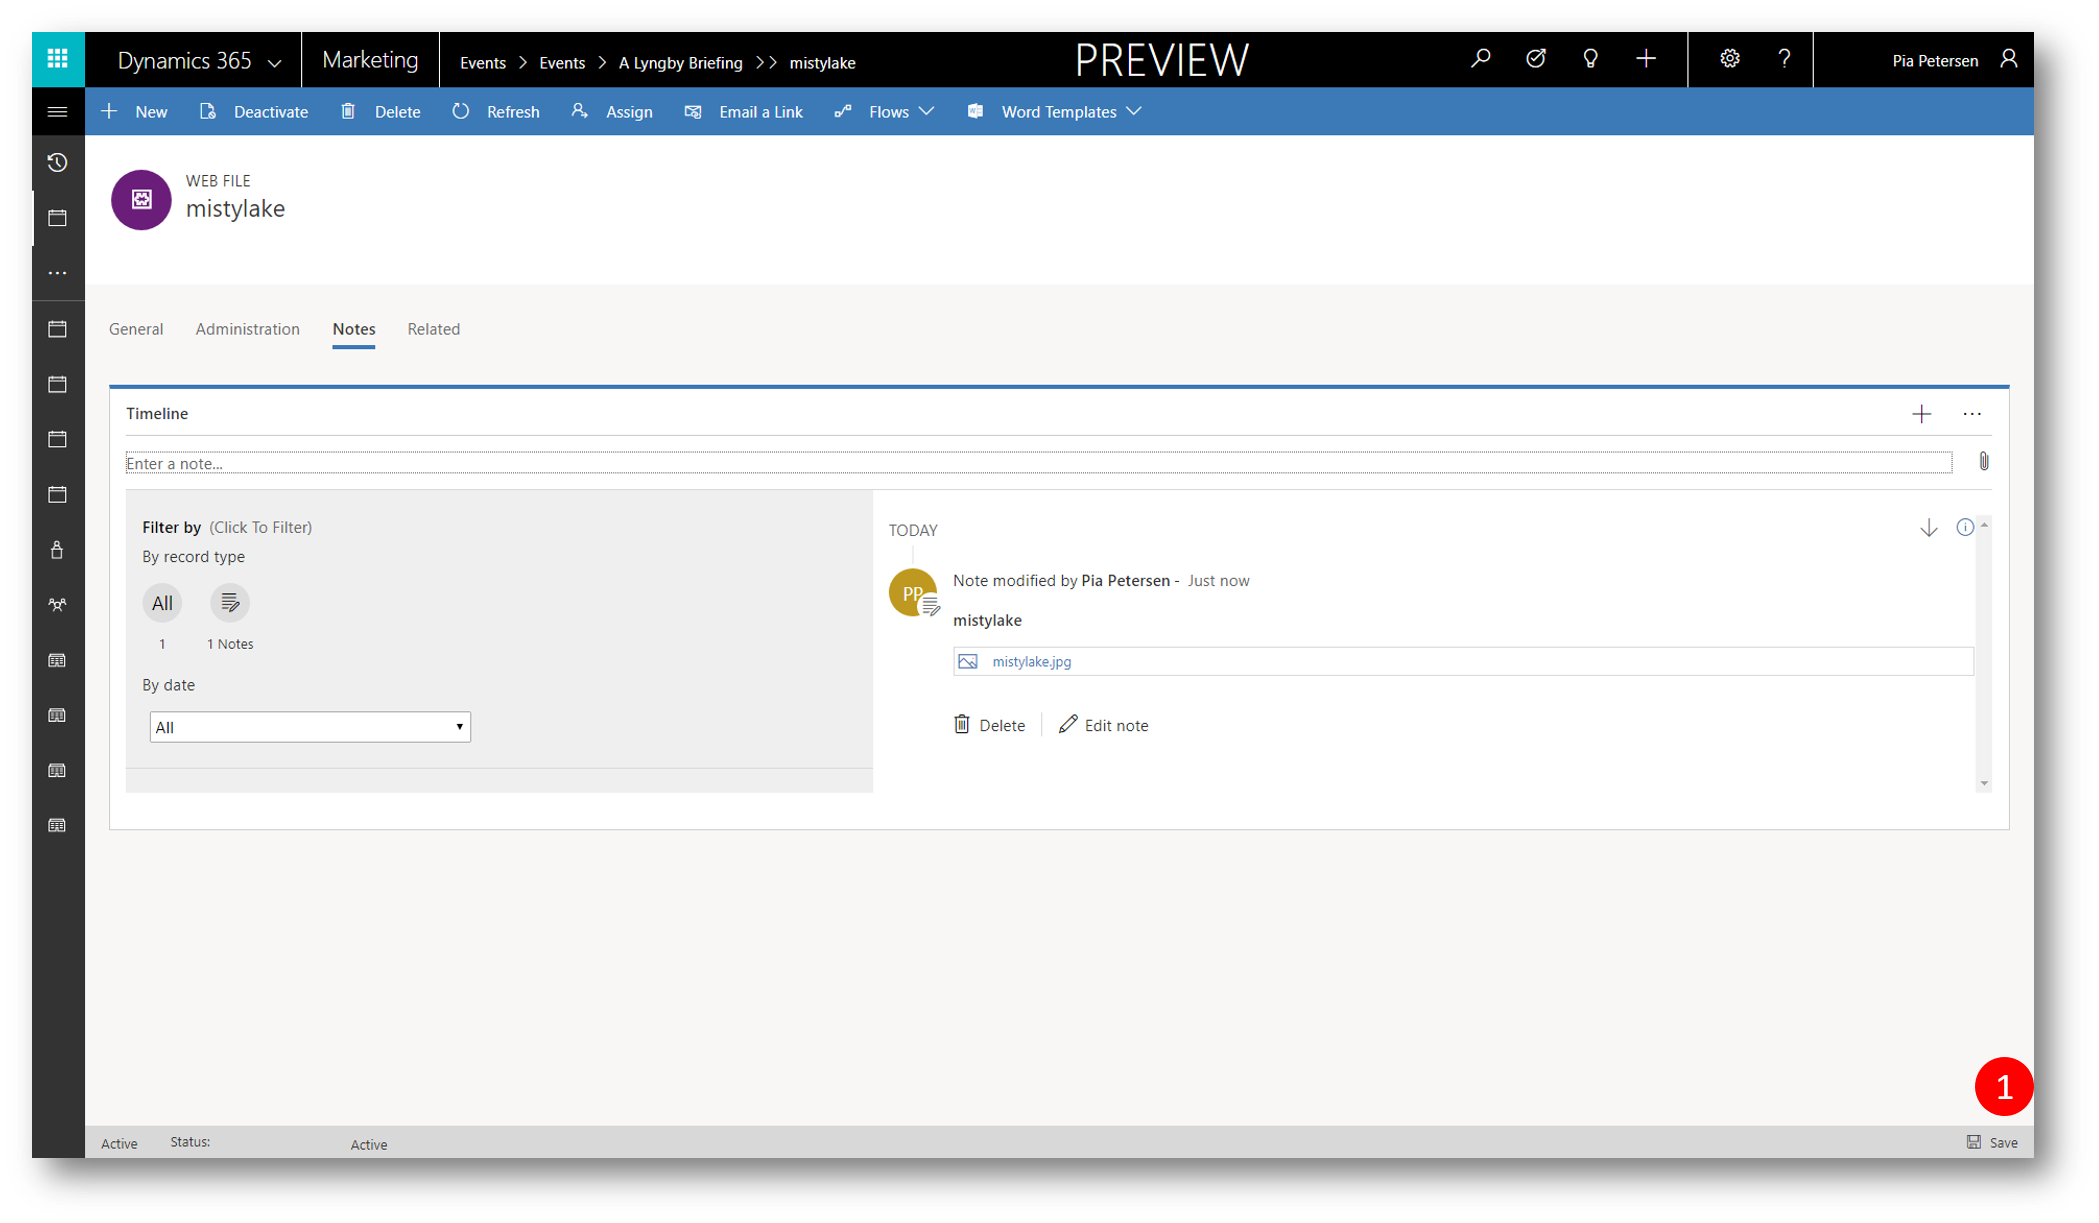
The new webfile (the image) is now published in the event portals web files, and now available for us to select in the Portal Banner Image drop-down
- Back on the General tab, click the magnifier icon in the Portal Banner Image drop-down
- Select the new webfile (in this example "mistylake")
- Click Save to save the changes
Navigate to the event on the event portal and verify the portal banner image updated
Enjoy Event Management in Dynamics 365 for Marketing
See also
- Multi "How to" blog post series on Dynamics 365 for Marketing - link