Configuring the brand new Engagement Hub in Dynamics CRM 2016
In my previous blog post "First Glance: the brand new Engagement Hub in Dynamics CRM 2016" we took at look at the new user experience in the brand new Engagement Hub, using the built in dashboards for Tier 1 agents, Tier 2 agents and Knowledge Management.
Obviously you can build your own dashboards too.
Before you can use an entity in the Engagement Hub you must set the flag "Enable for interactive experience"

Figure 1: enable entity for Engagement Hub
Having enabled one or more entities for the interactive experience its business as usual; create a new dashboard and configure components
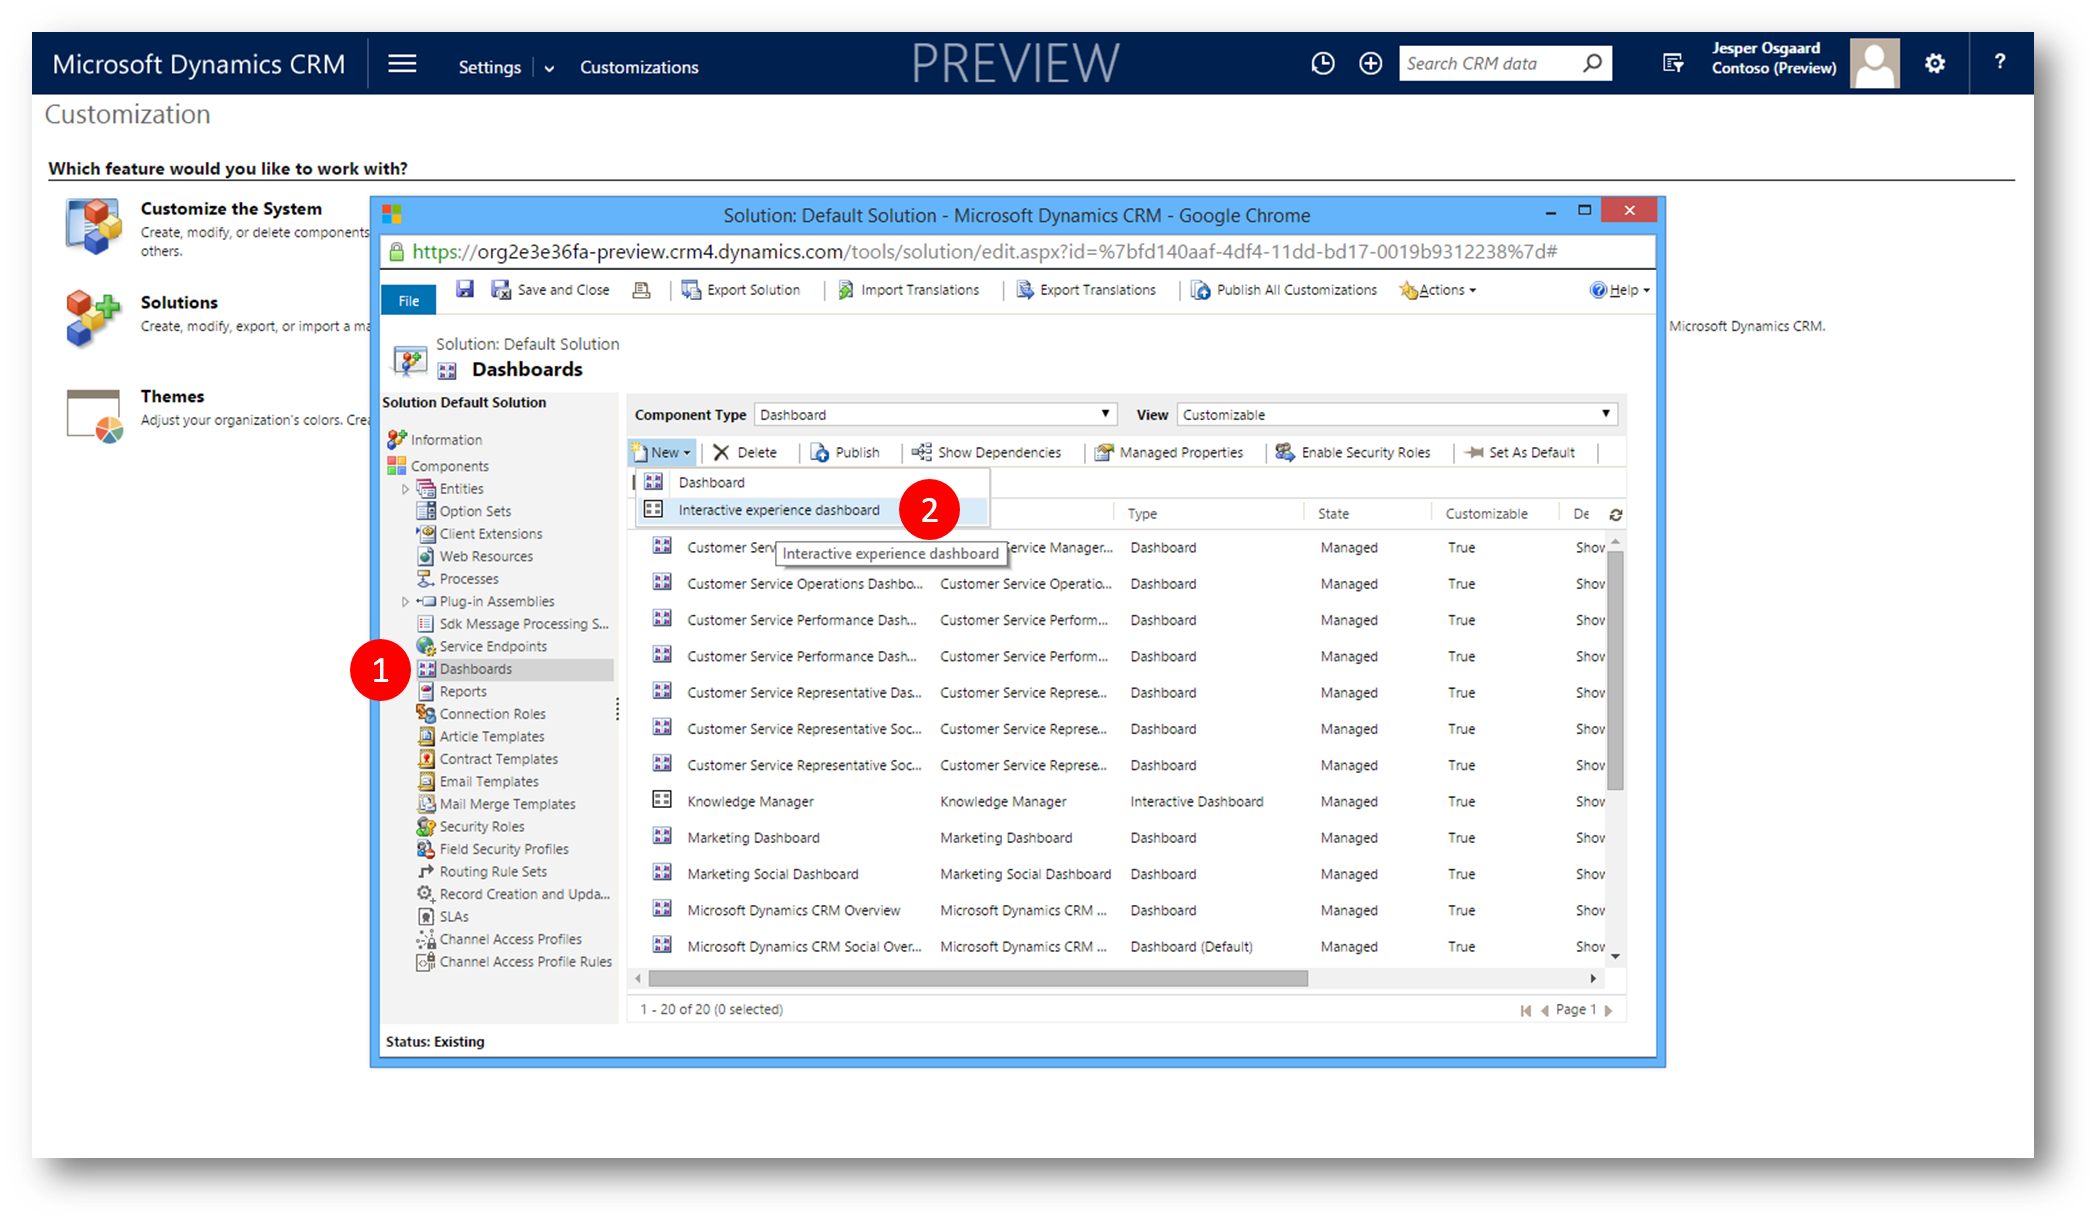
Figure 2: new dashboard
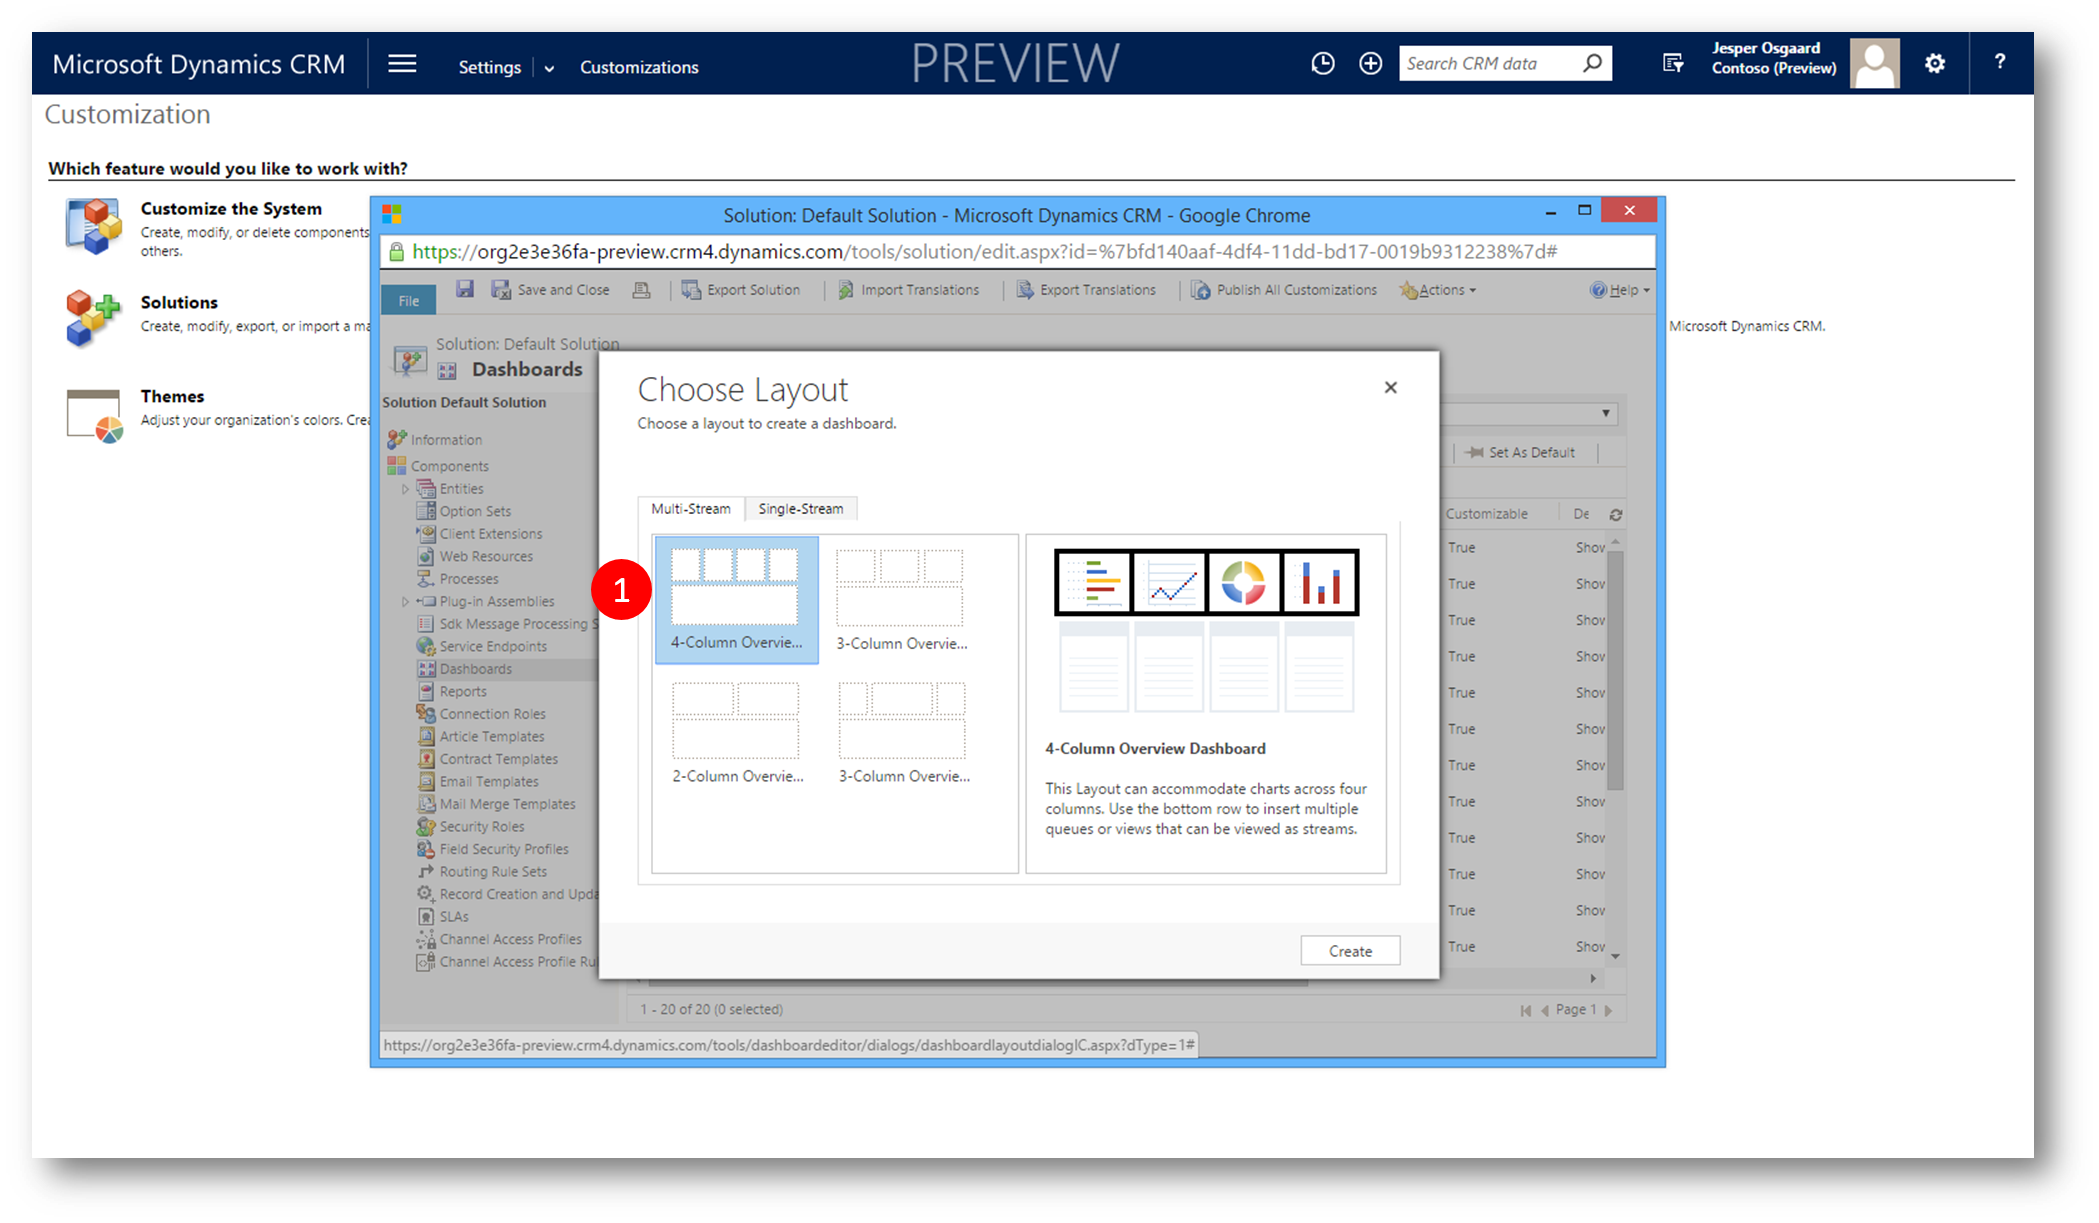
Figure 3: choose layout
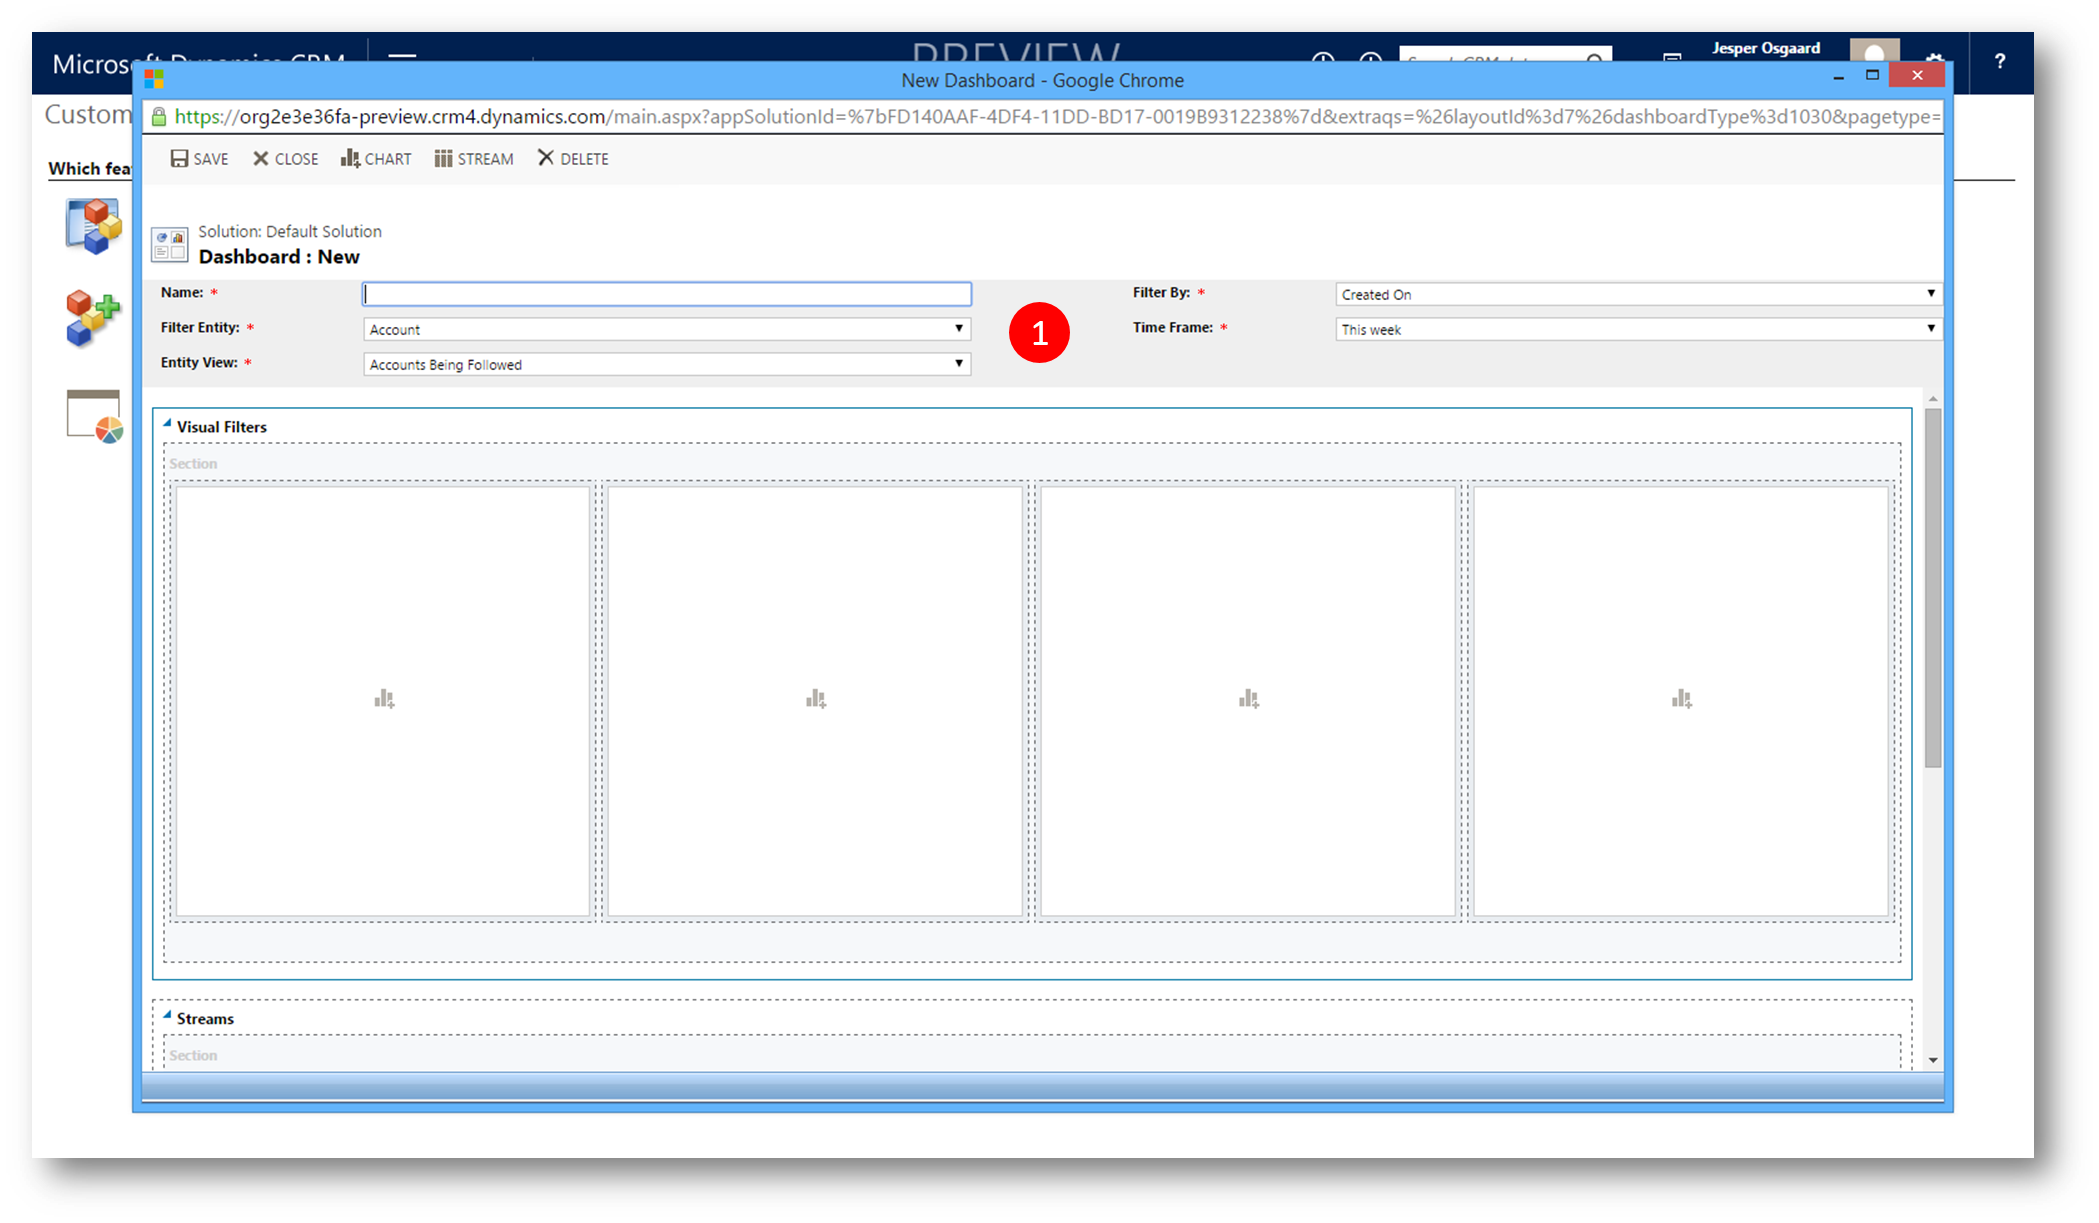
Figure 4: name dashboard and define filters
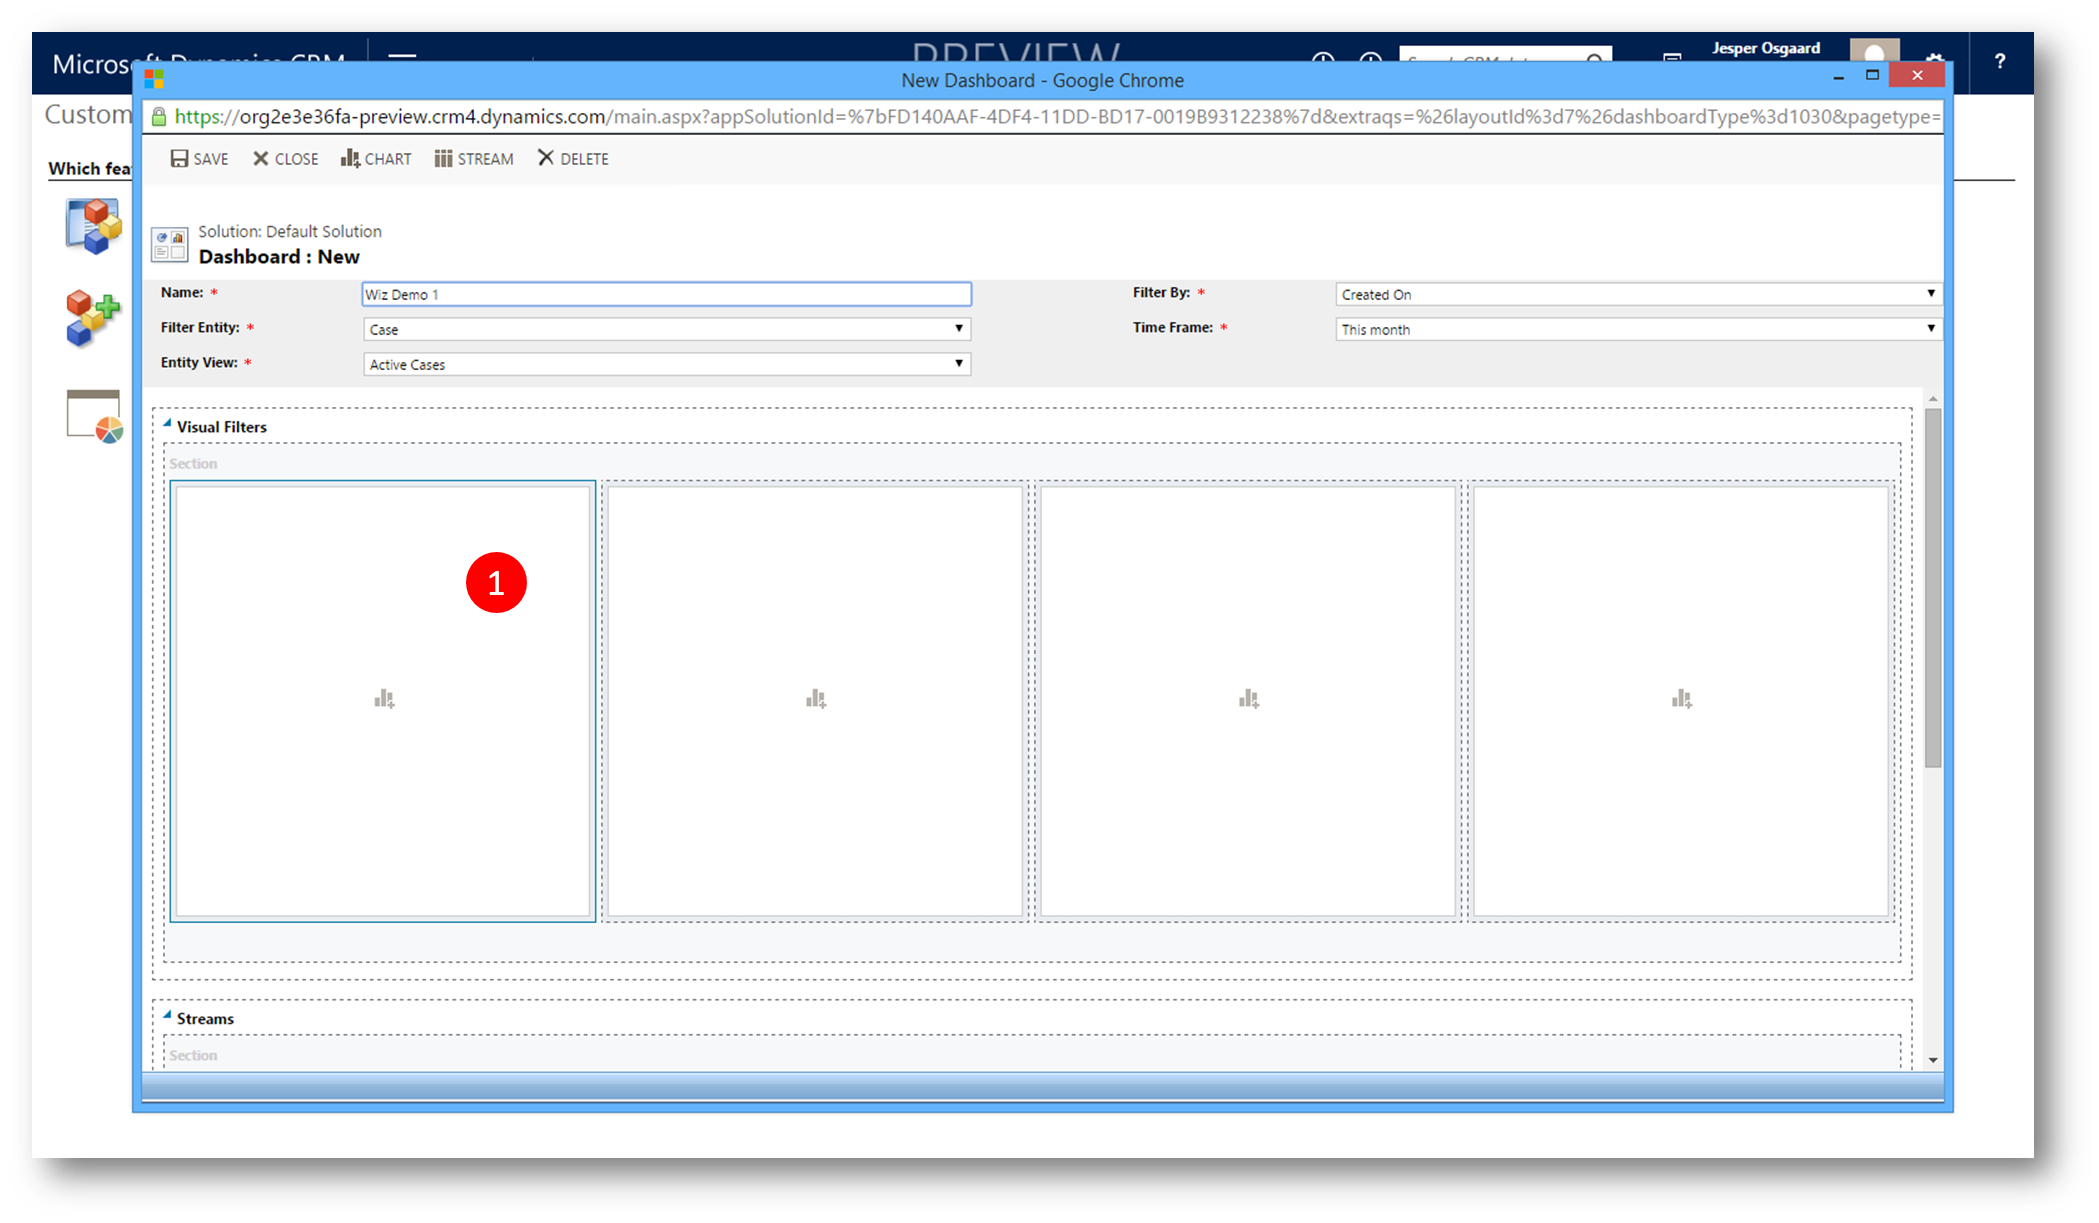
Figure 5: start defining visual filters

Figure 6: define component - record, view, chart
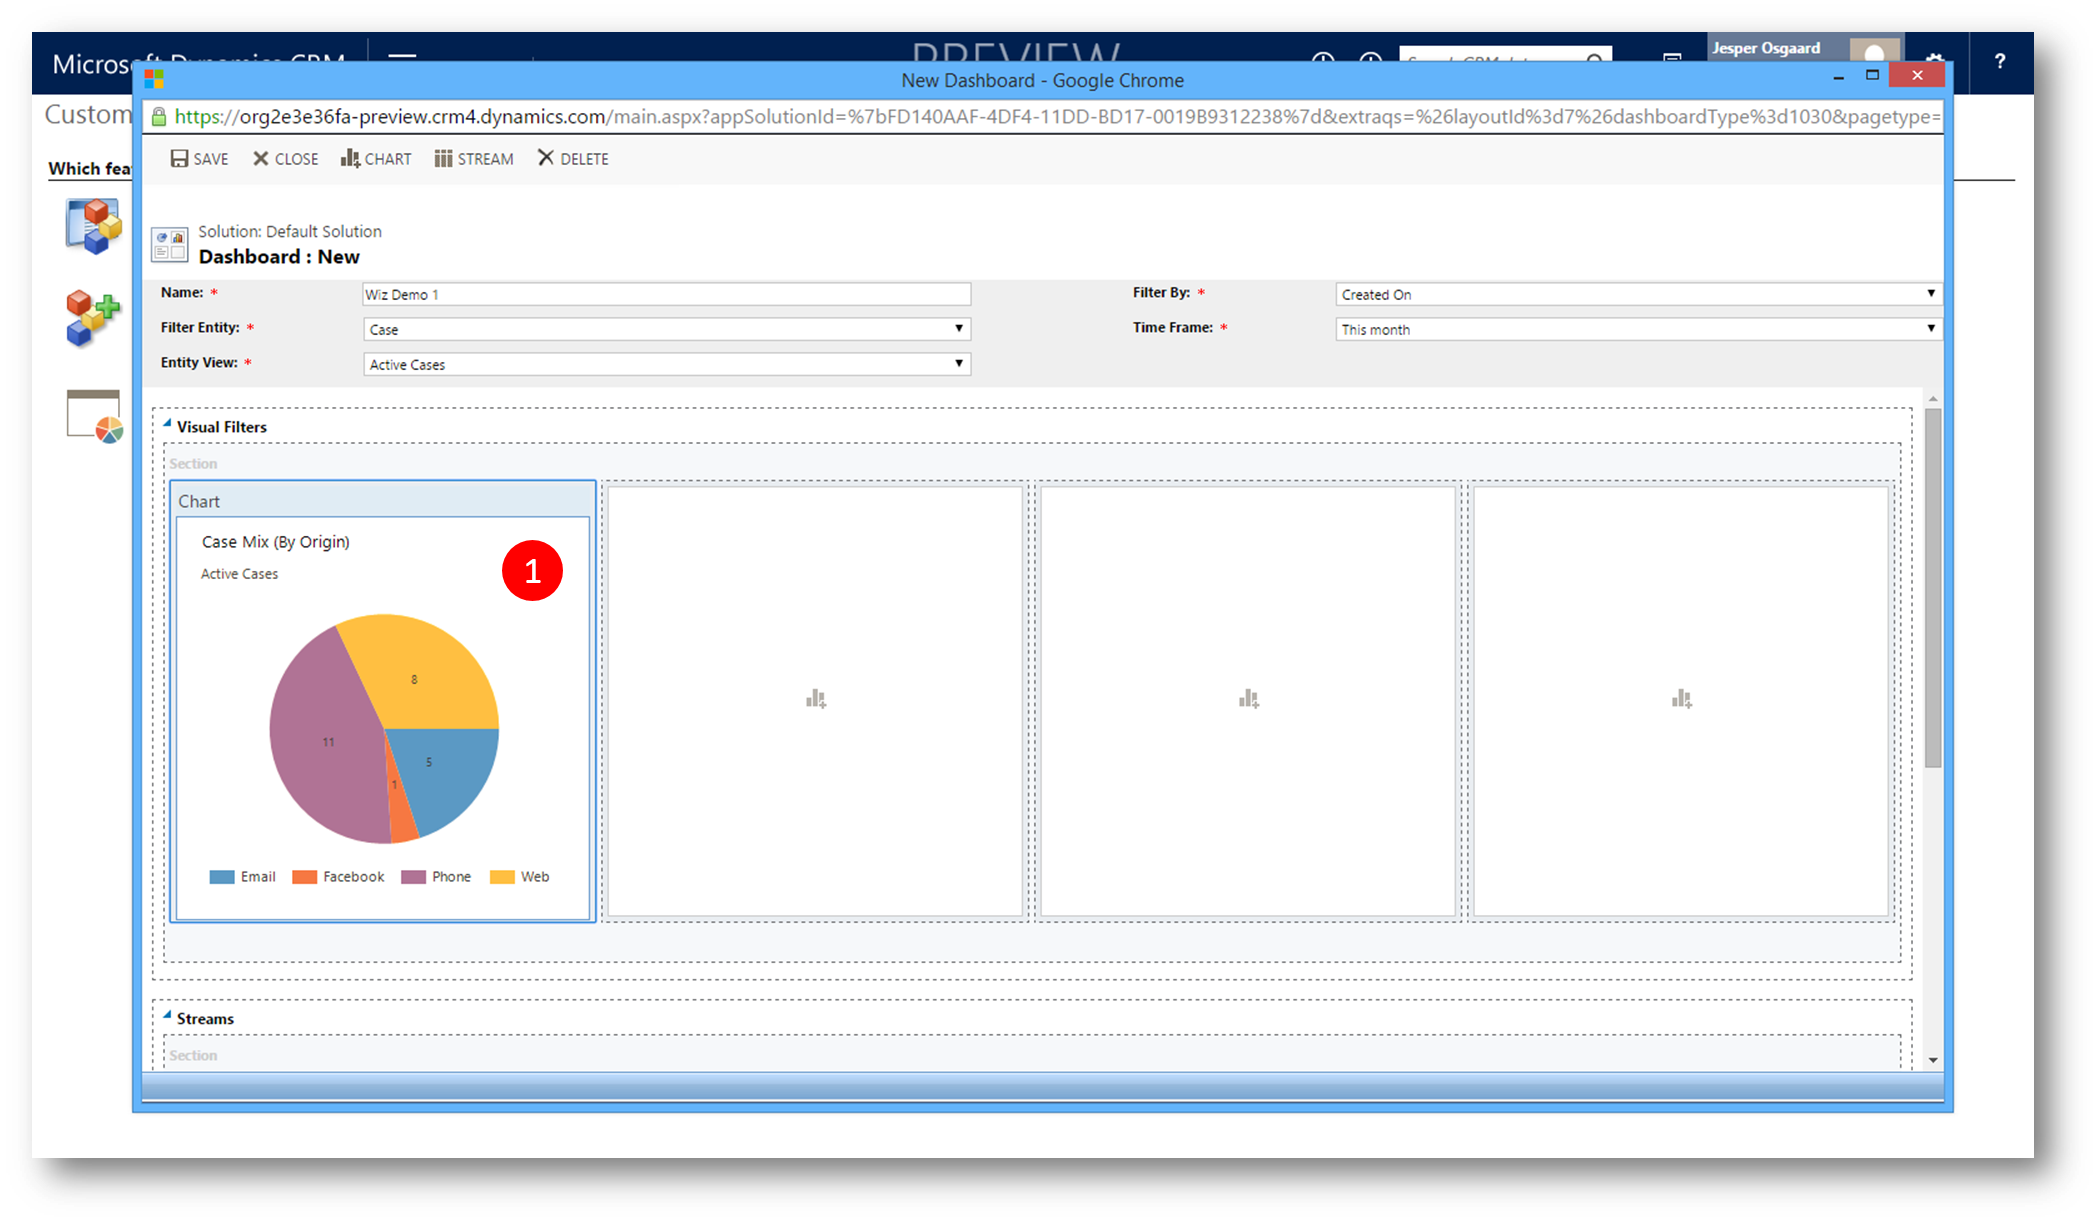
Figure 7: component added to dashboard
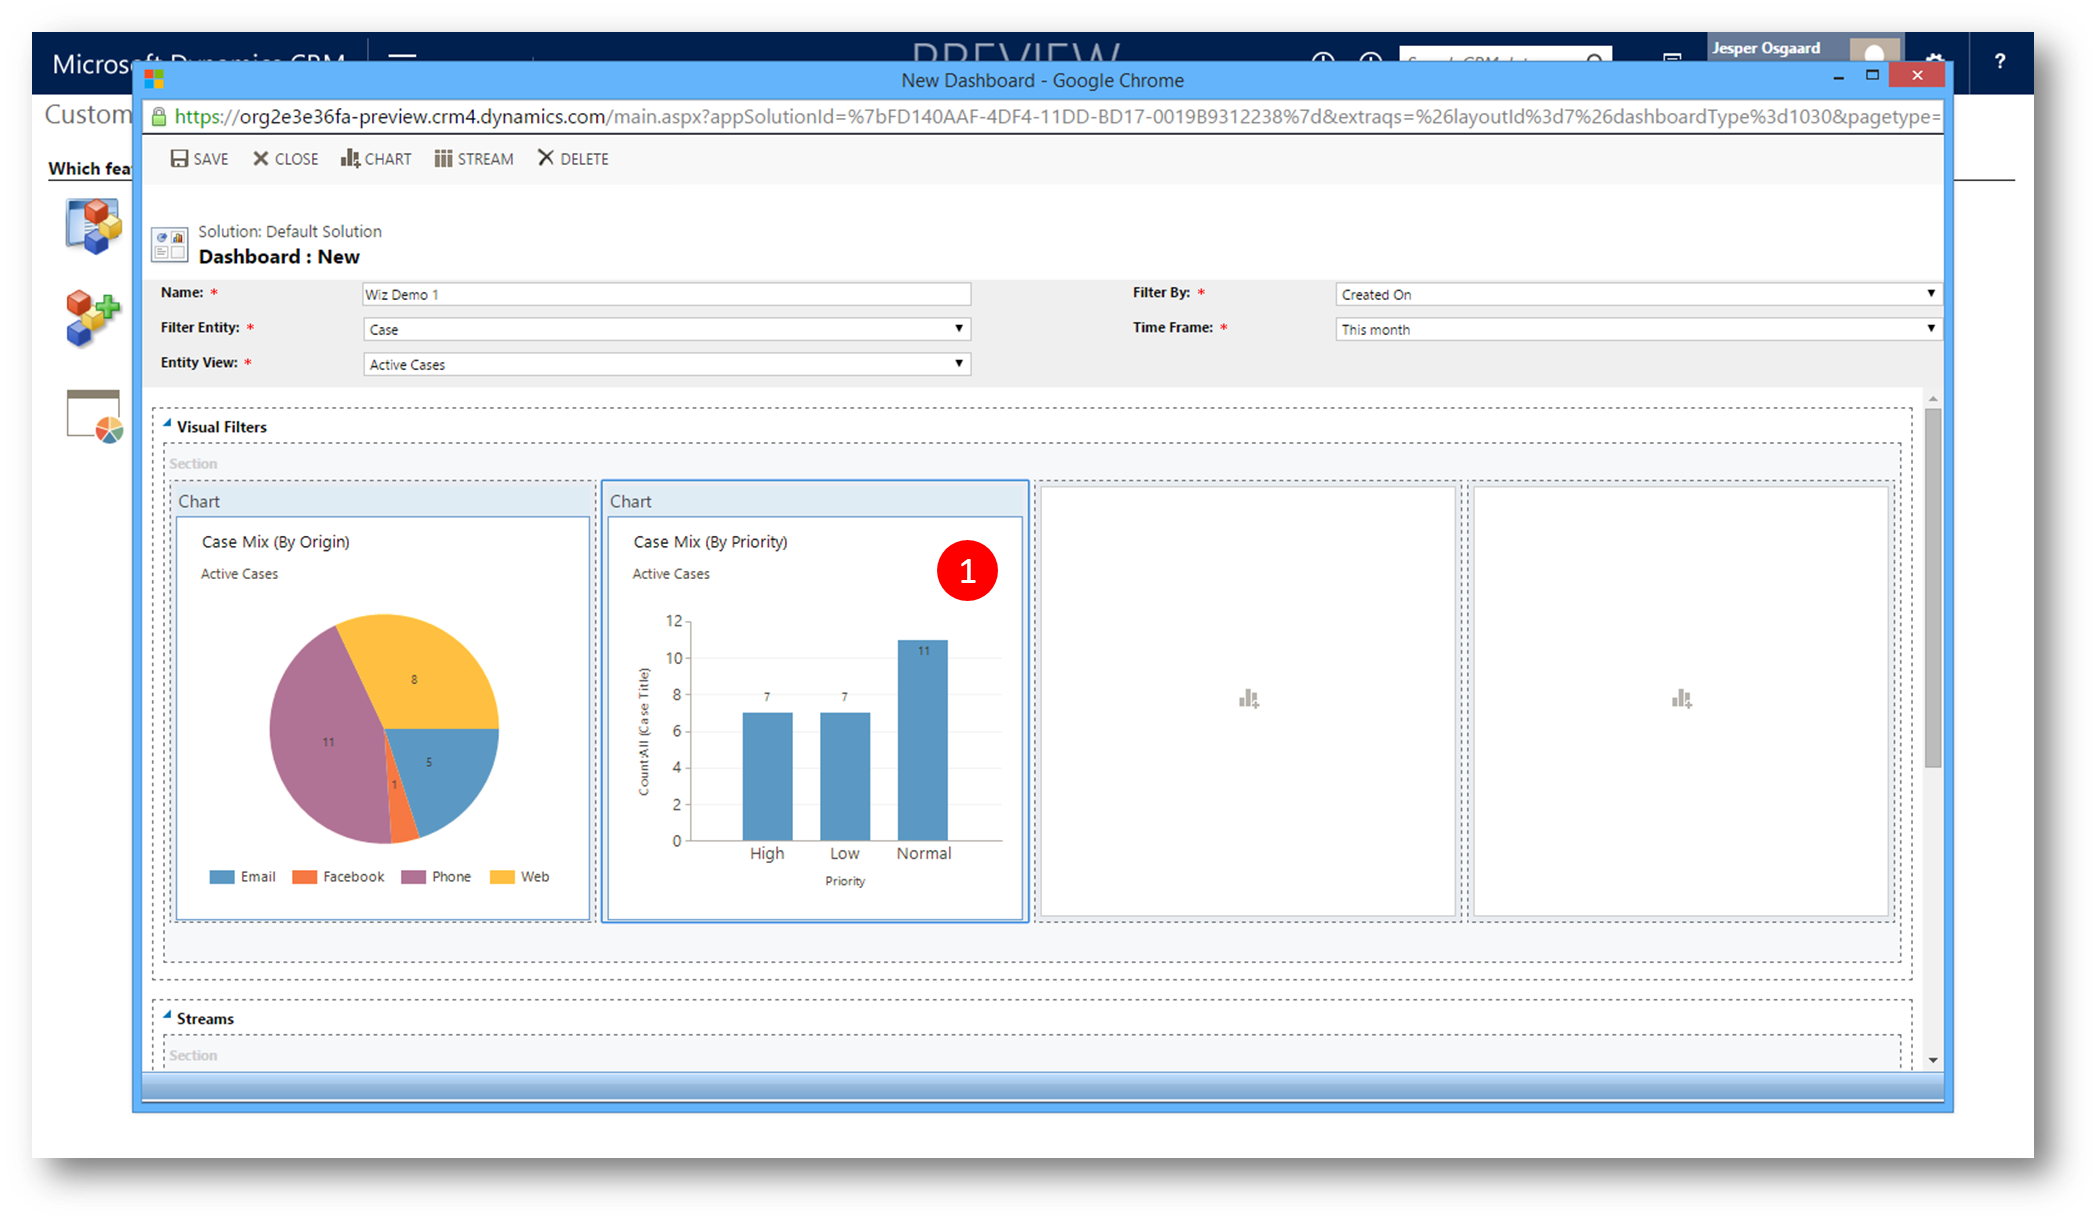
Figure 8: second component
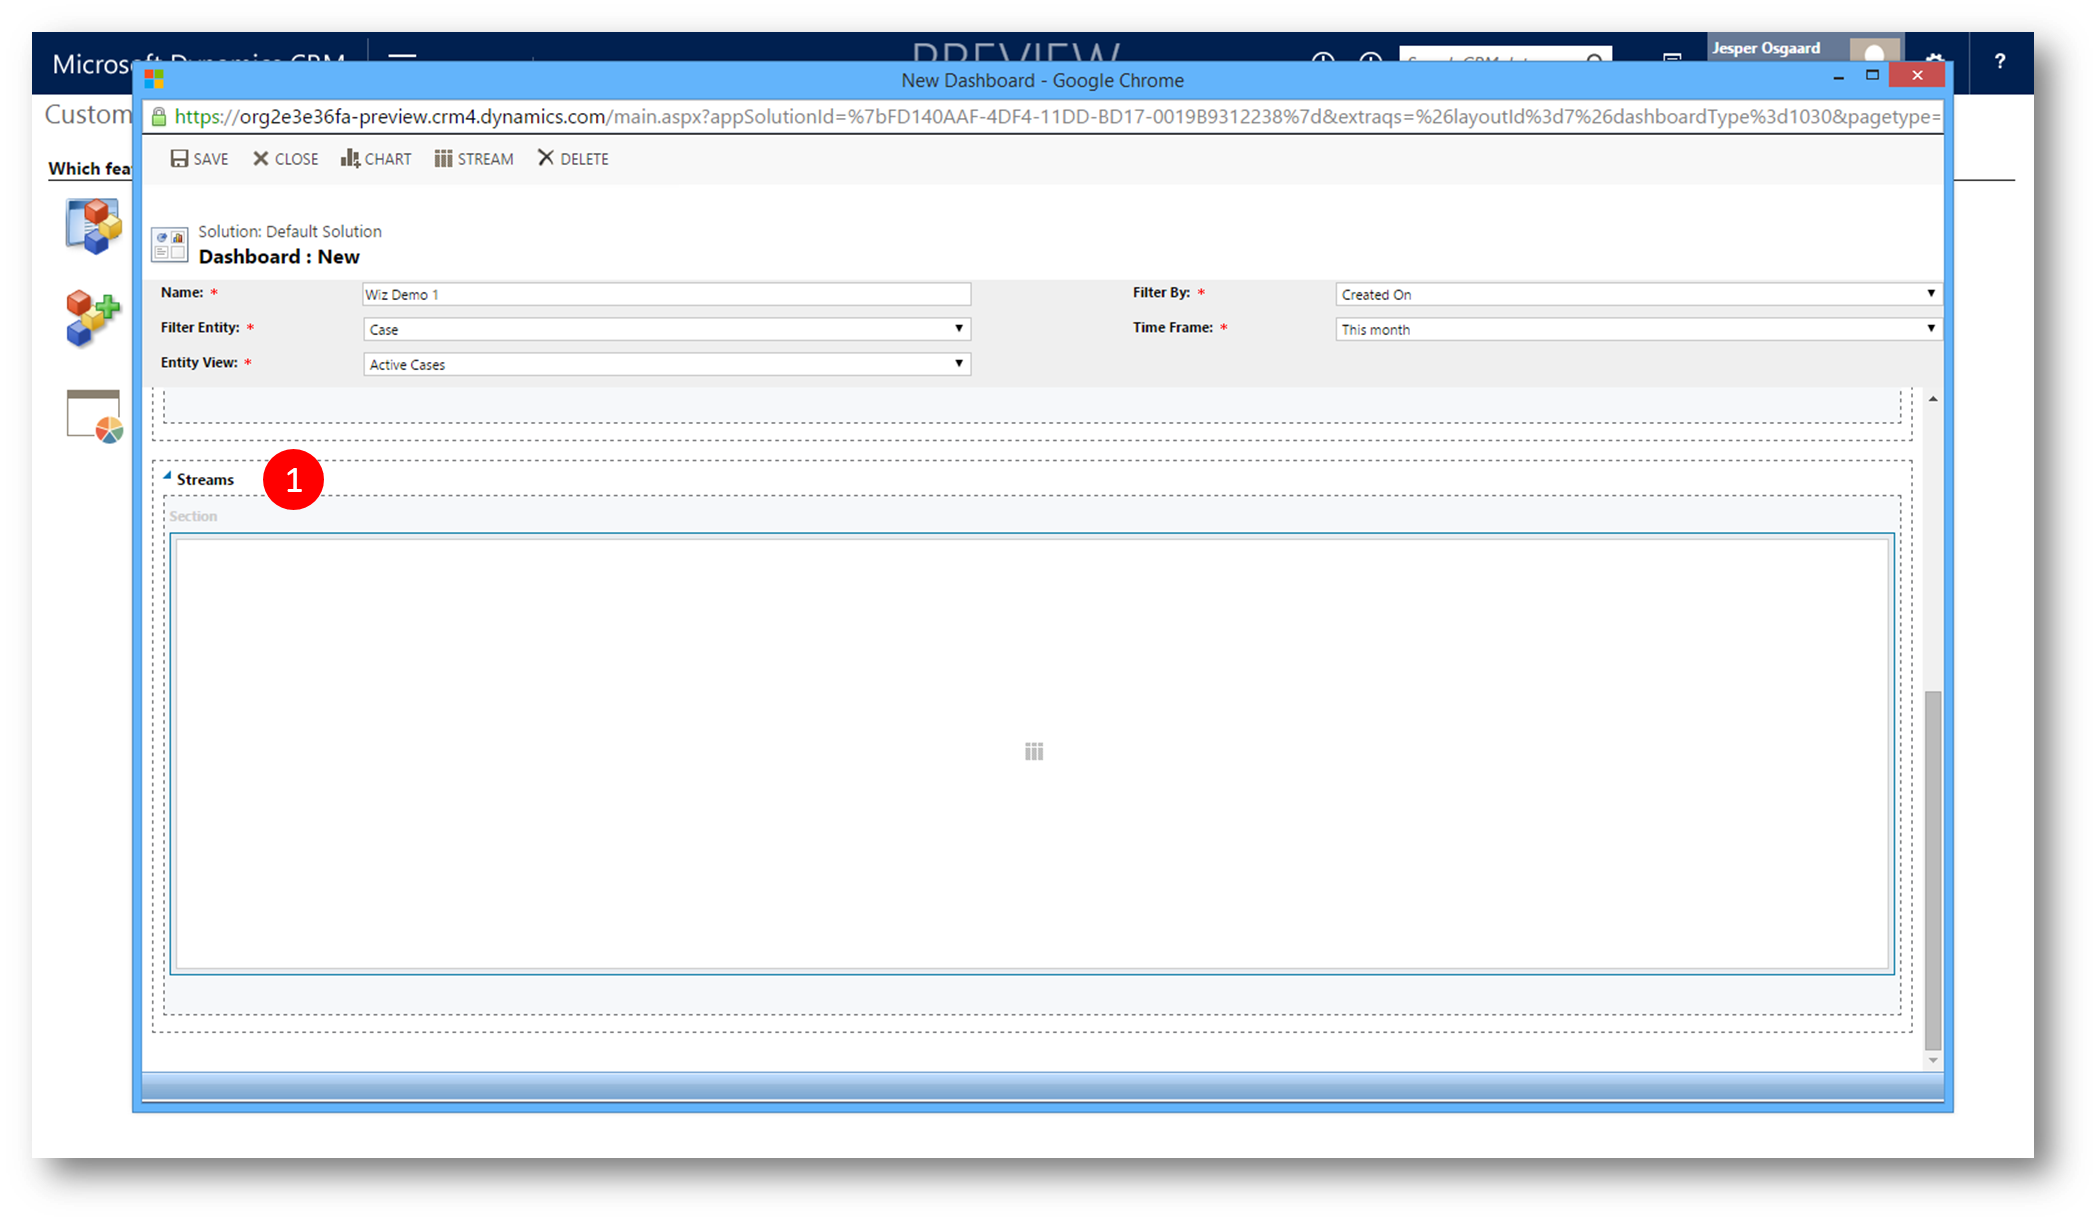
Figure 9: start adding stream(s)
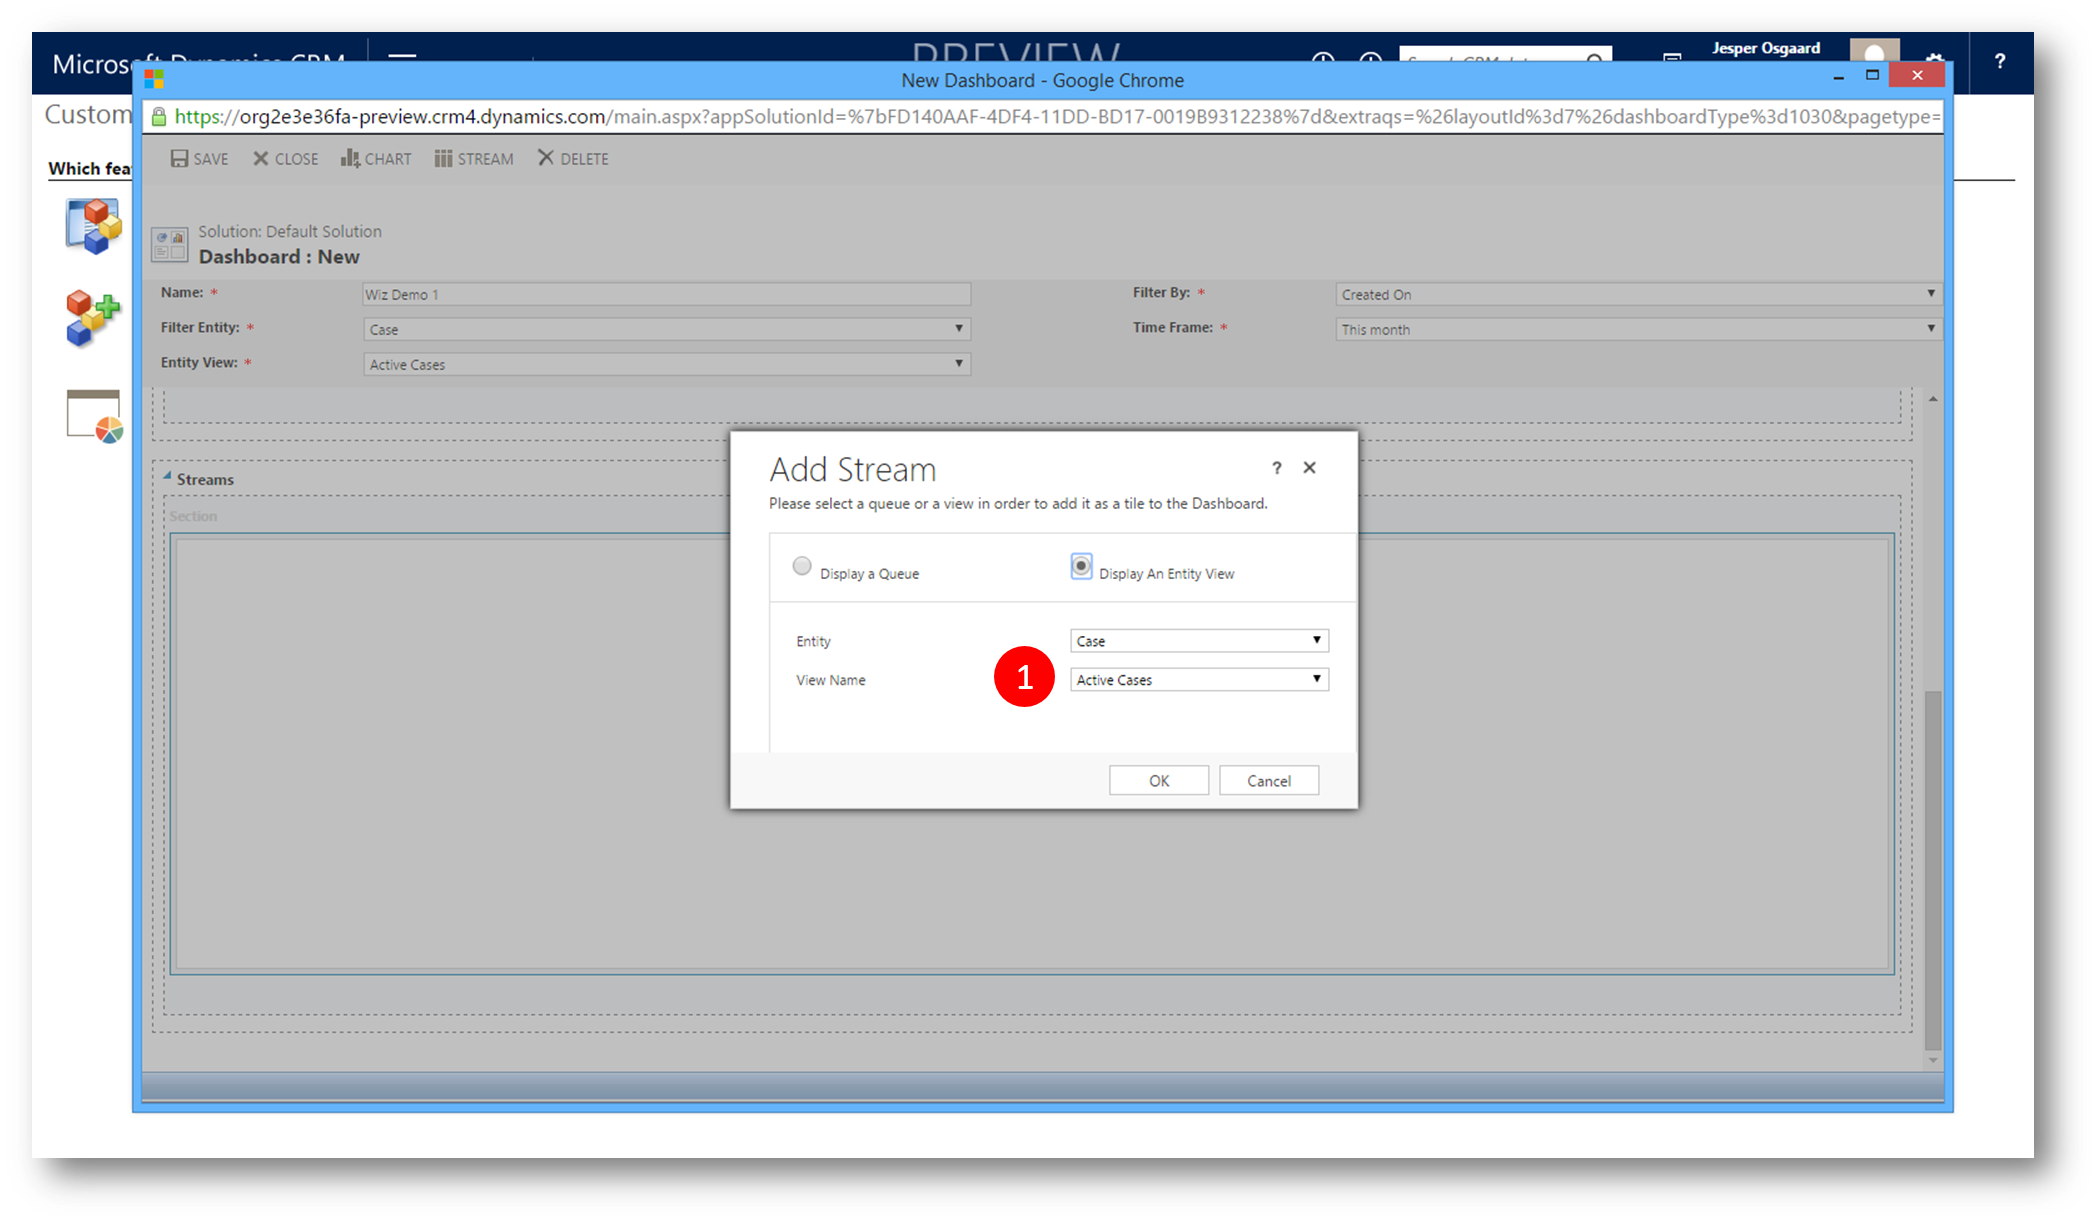
Figure 10: define stream - queue or entity (eg case)
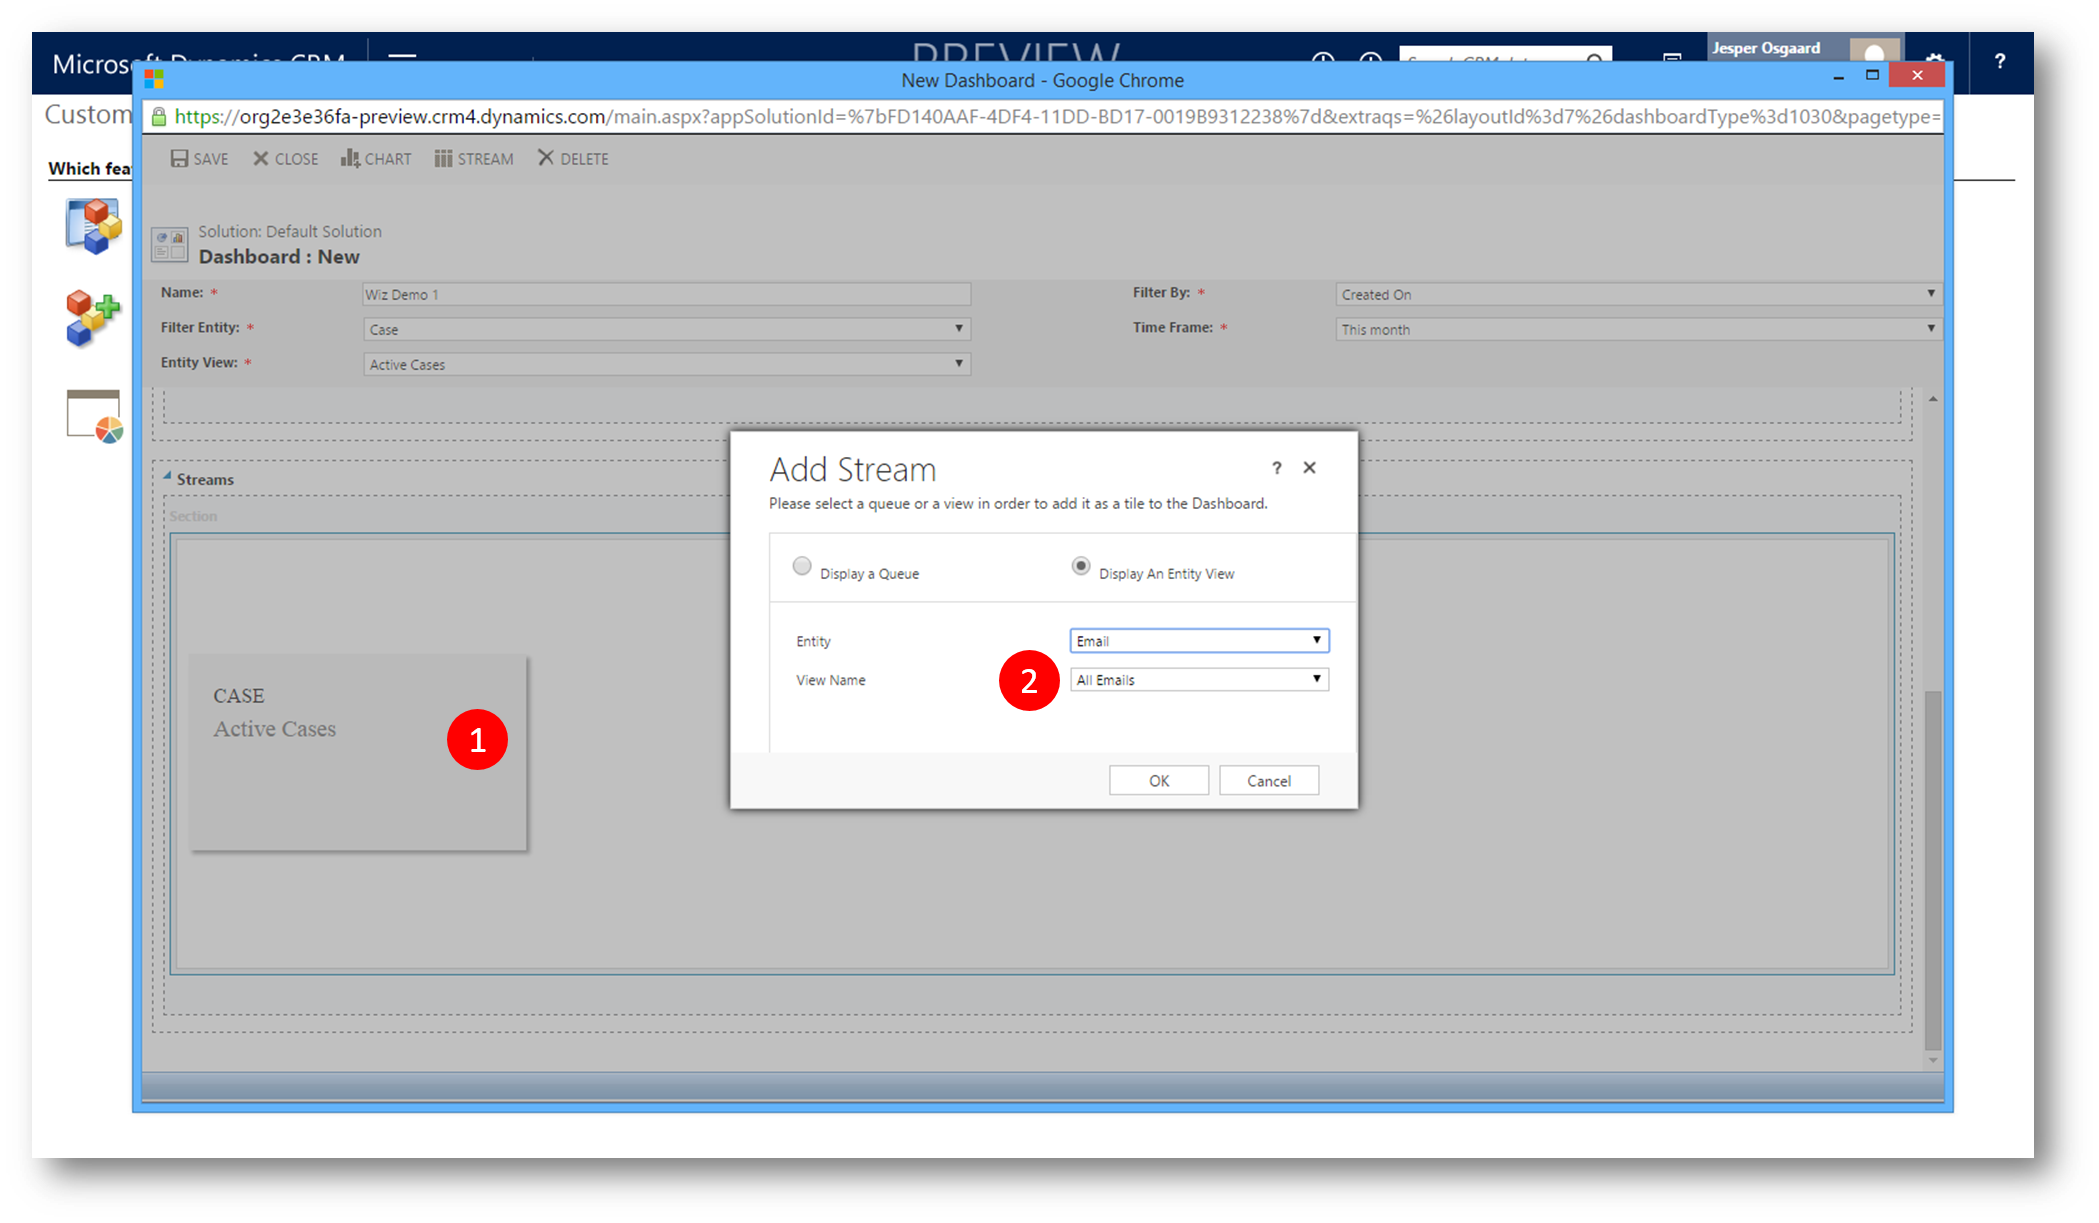
Figure 11: add another stream - eg emails
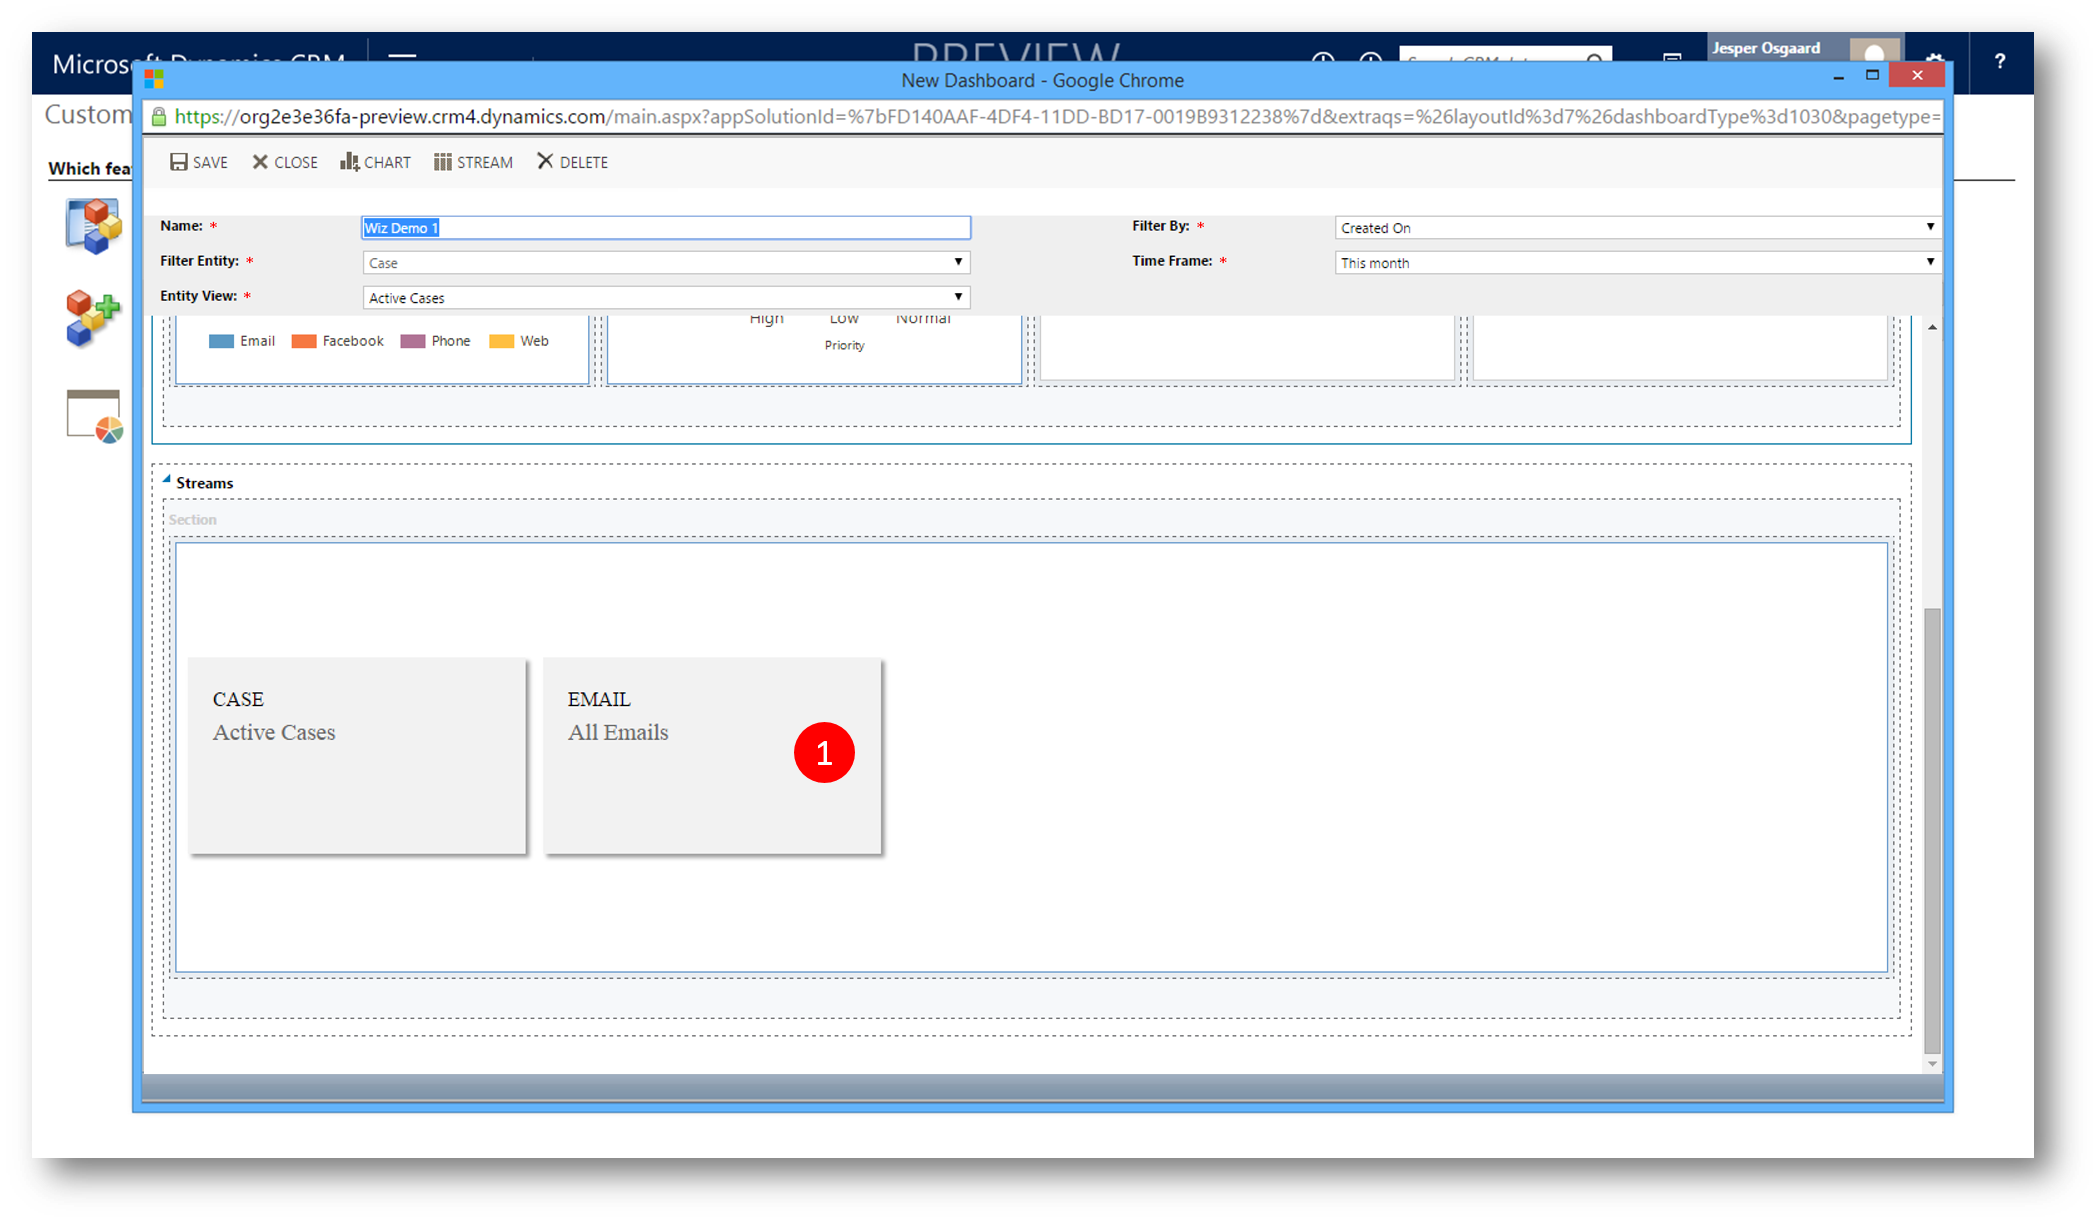
Figure 12: two streams now added
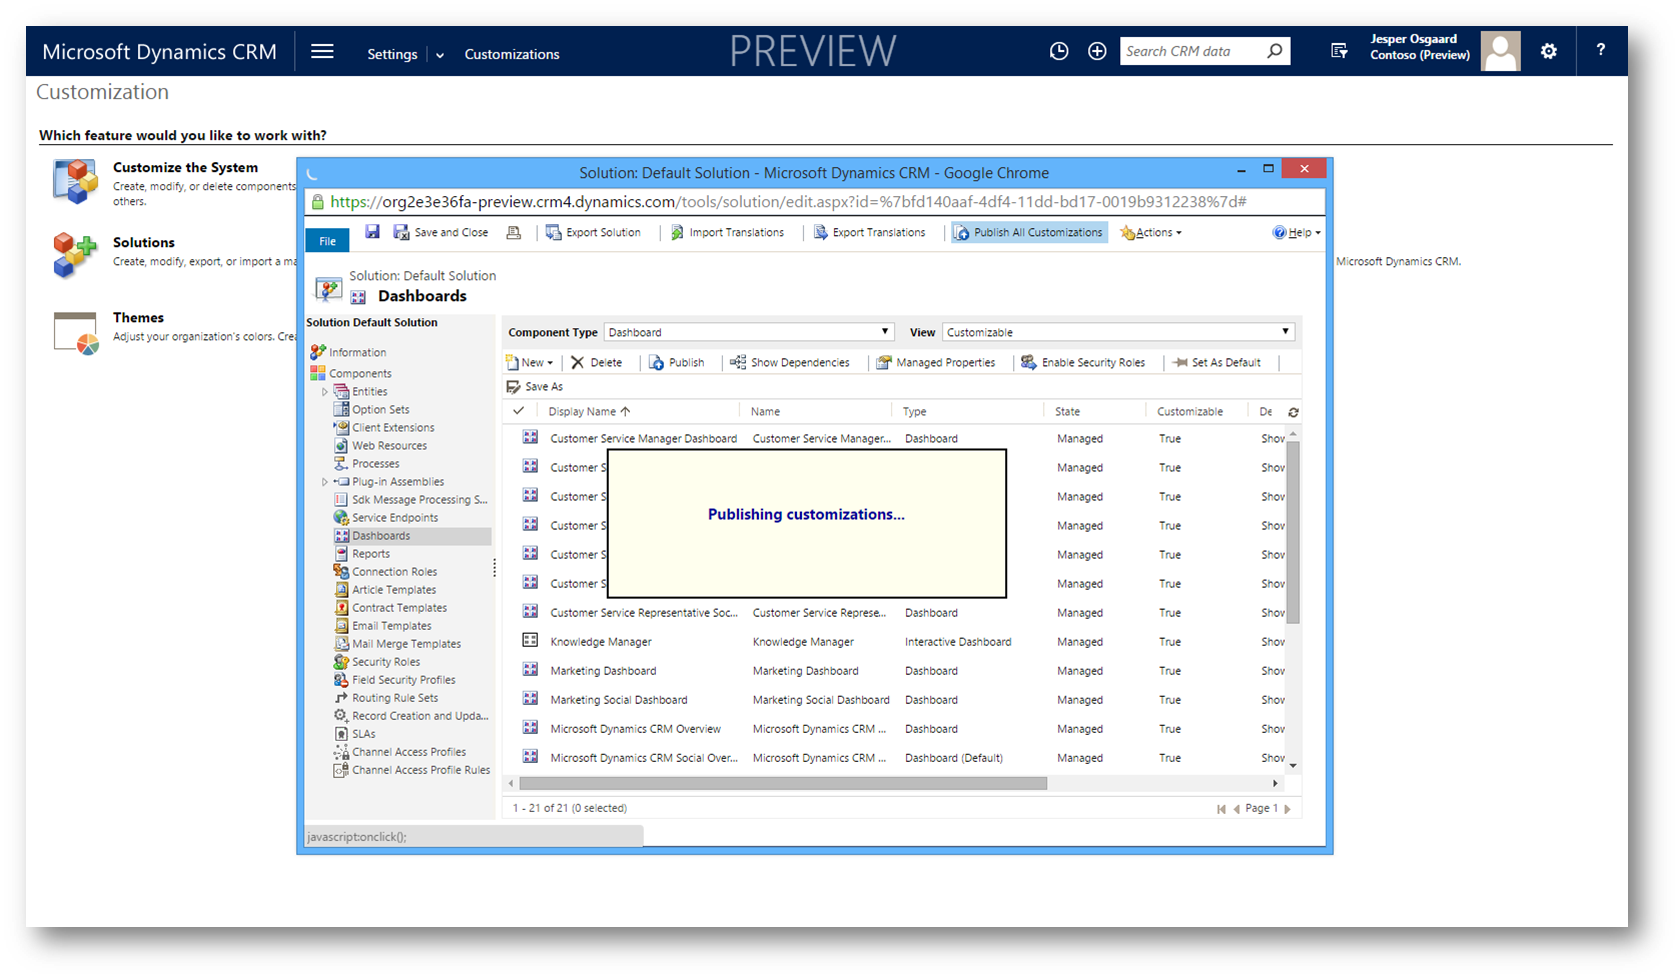
Figure 13: publish all customizations
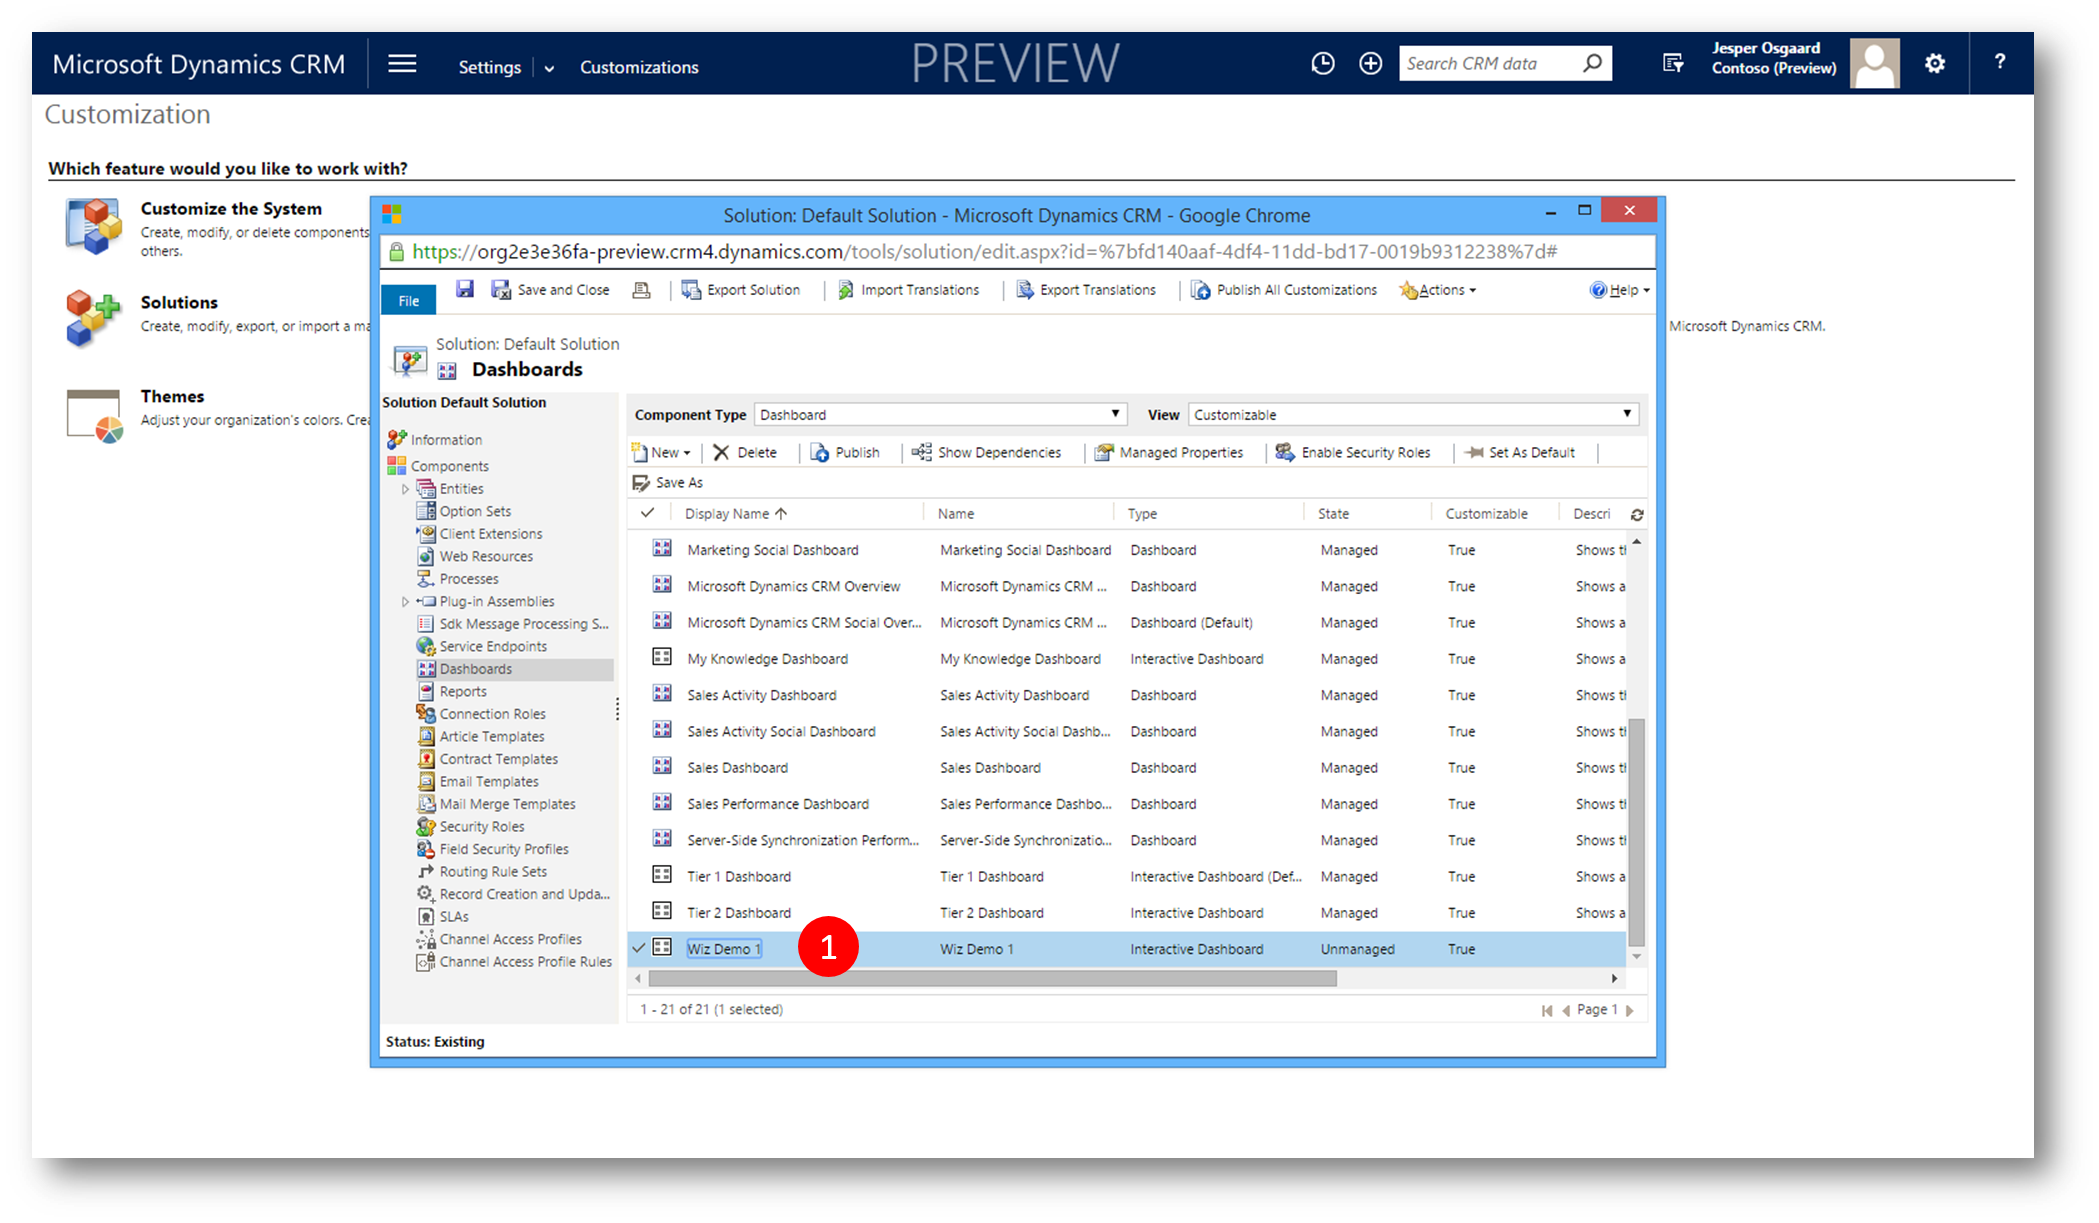
Figure 14: new interactive dashboard now added to list
Before you can start using the new dashboard you need to restart the Engagement Hub
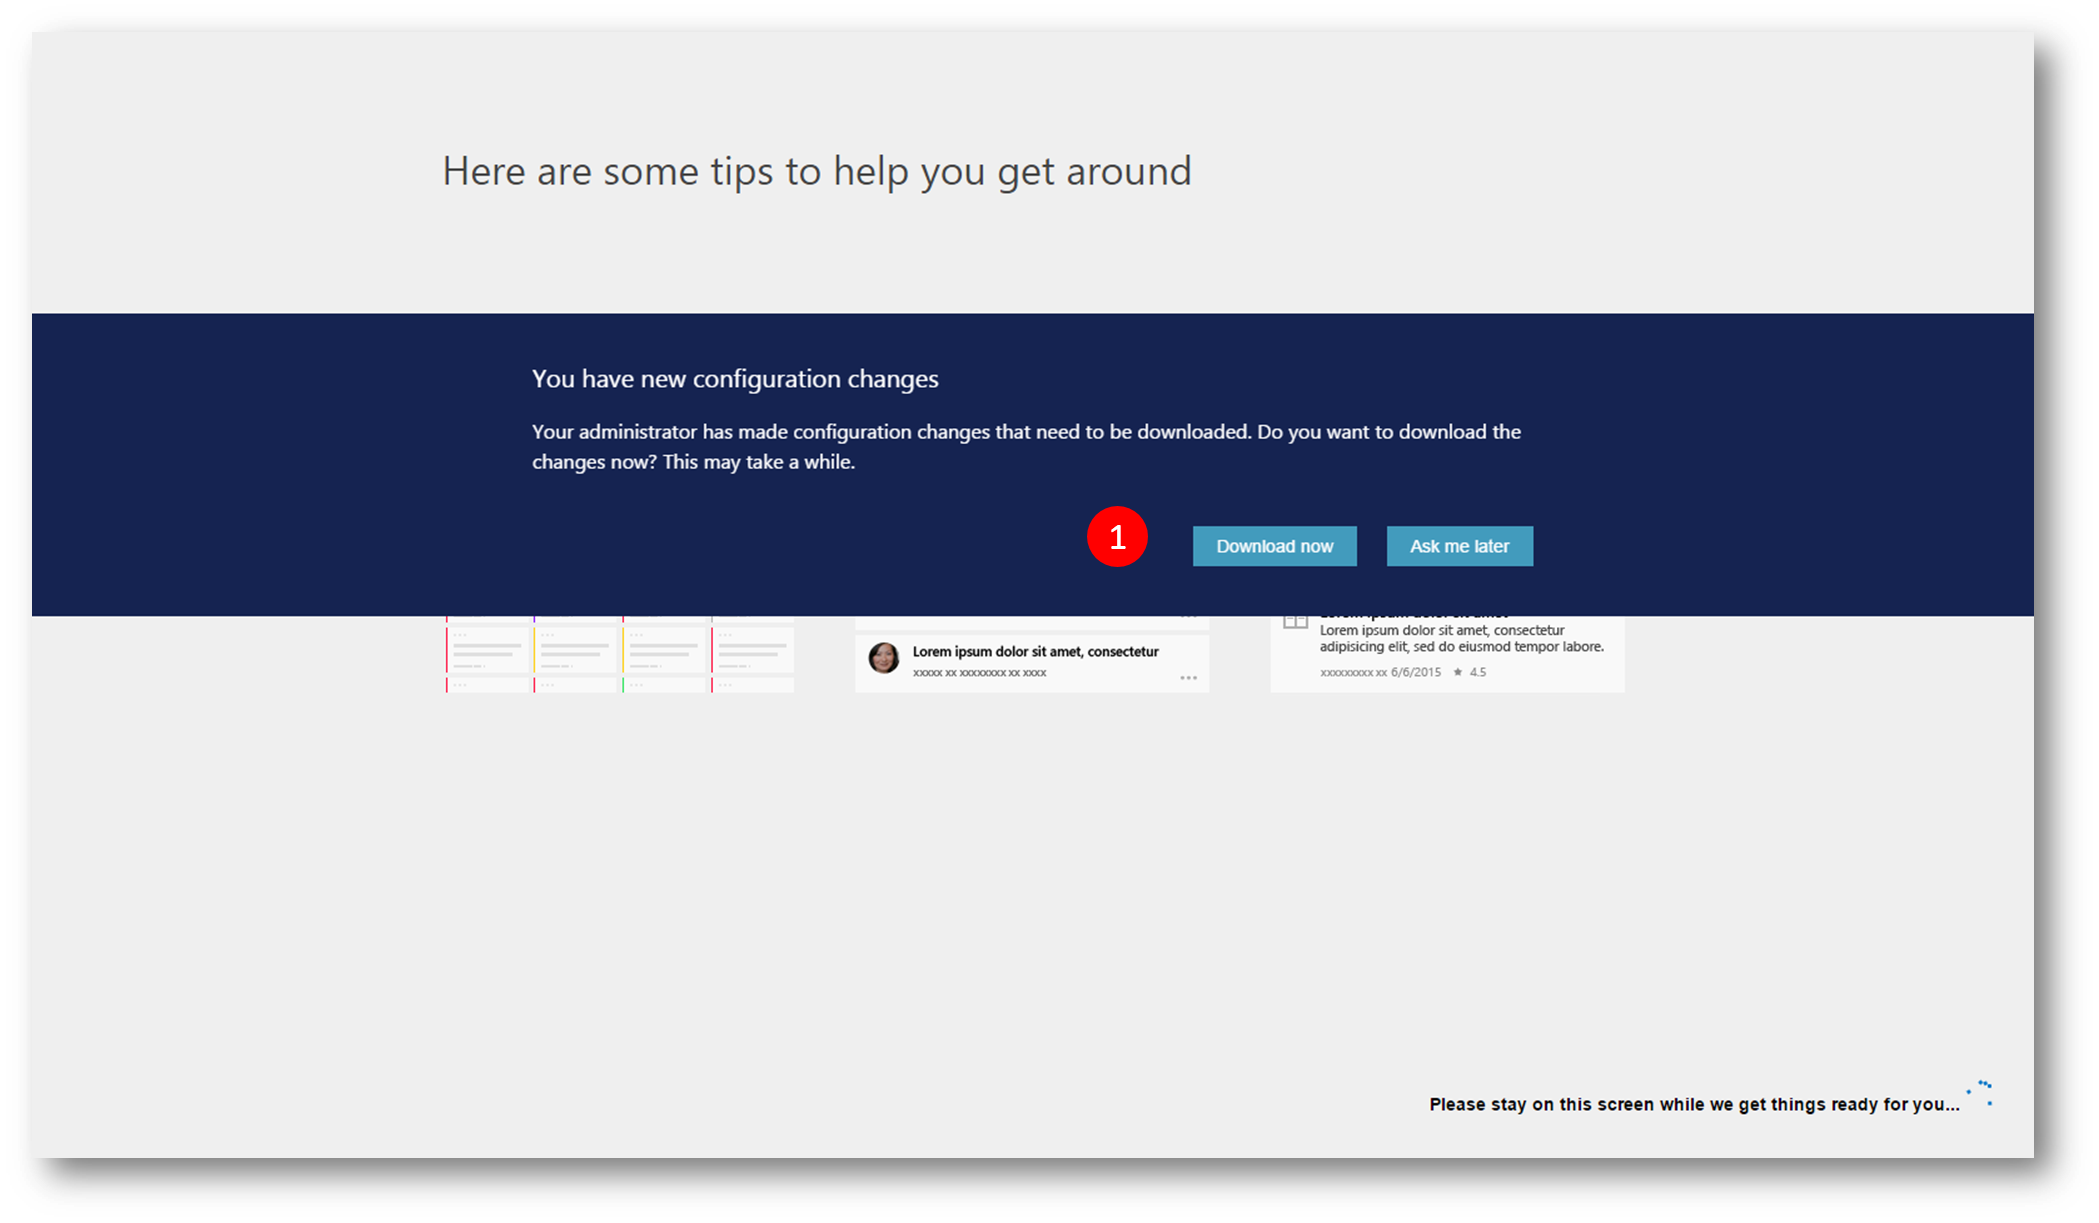
Figure 15: restart the Engagement Hub and accept configuraion changes
The new dashboard now ready to use from the dashboard drop-down
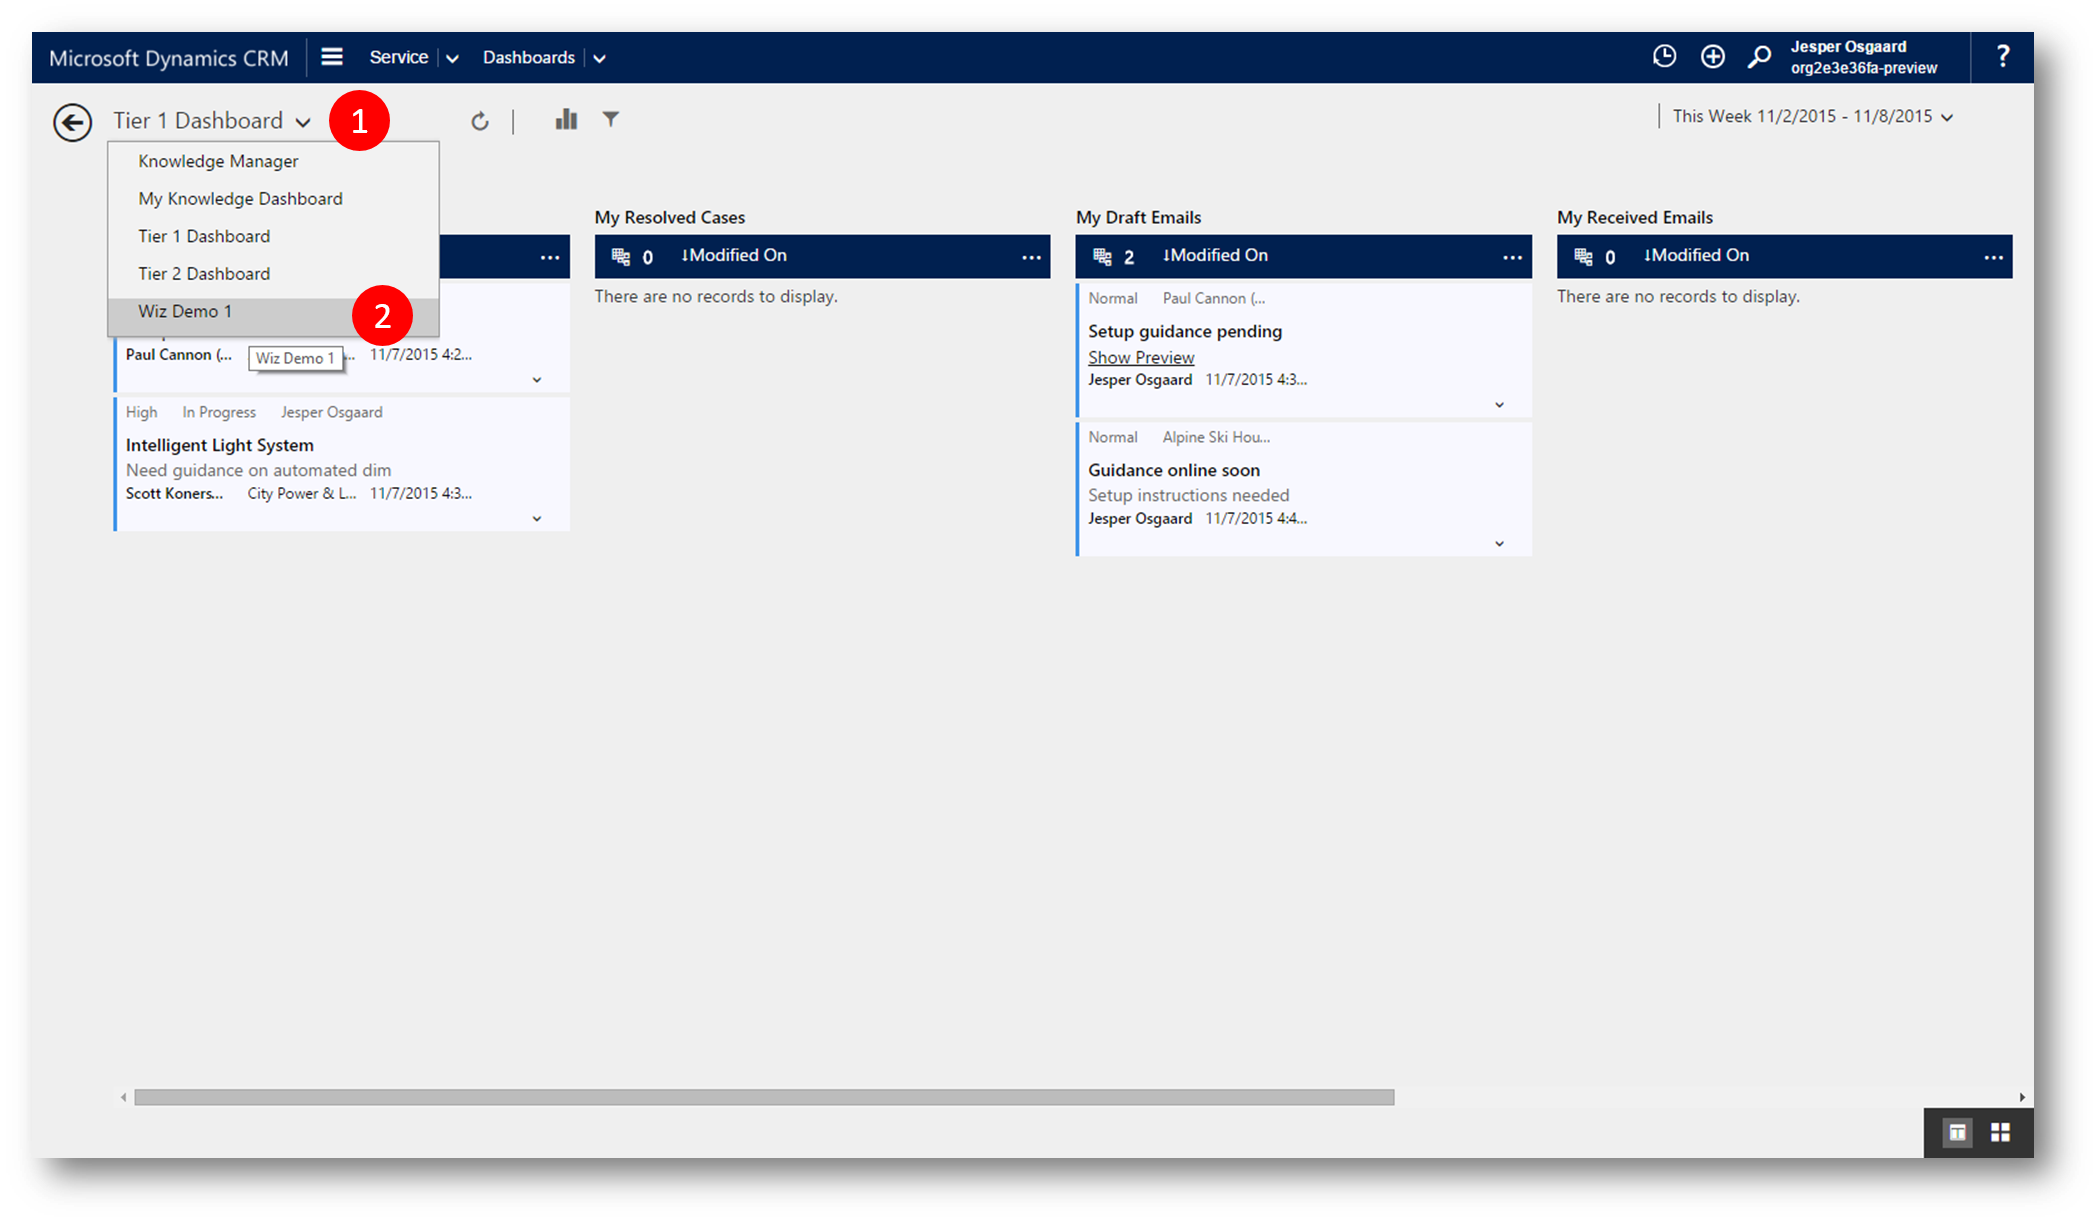
Figure 16: navigate to new dashboard
You can filter the posts using your visual filters - eg Case Mix by Priority
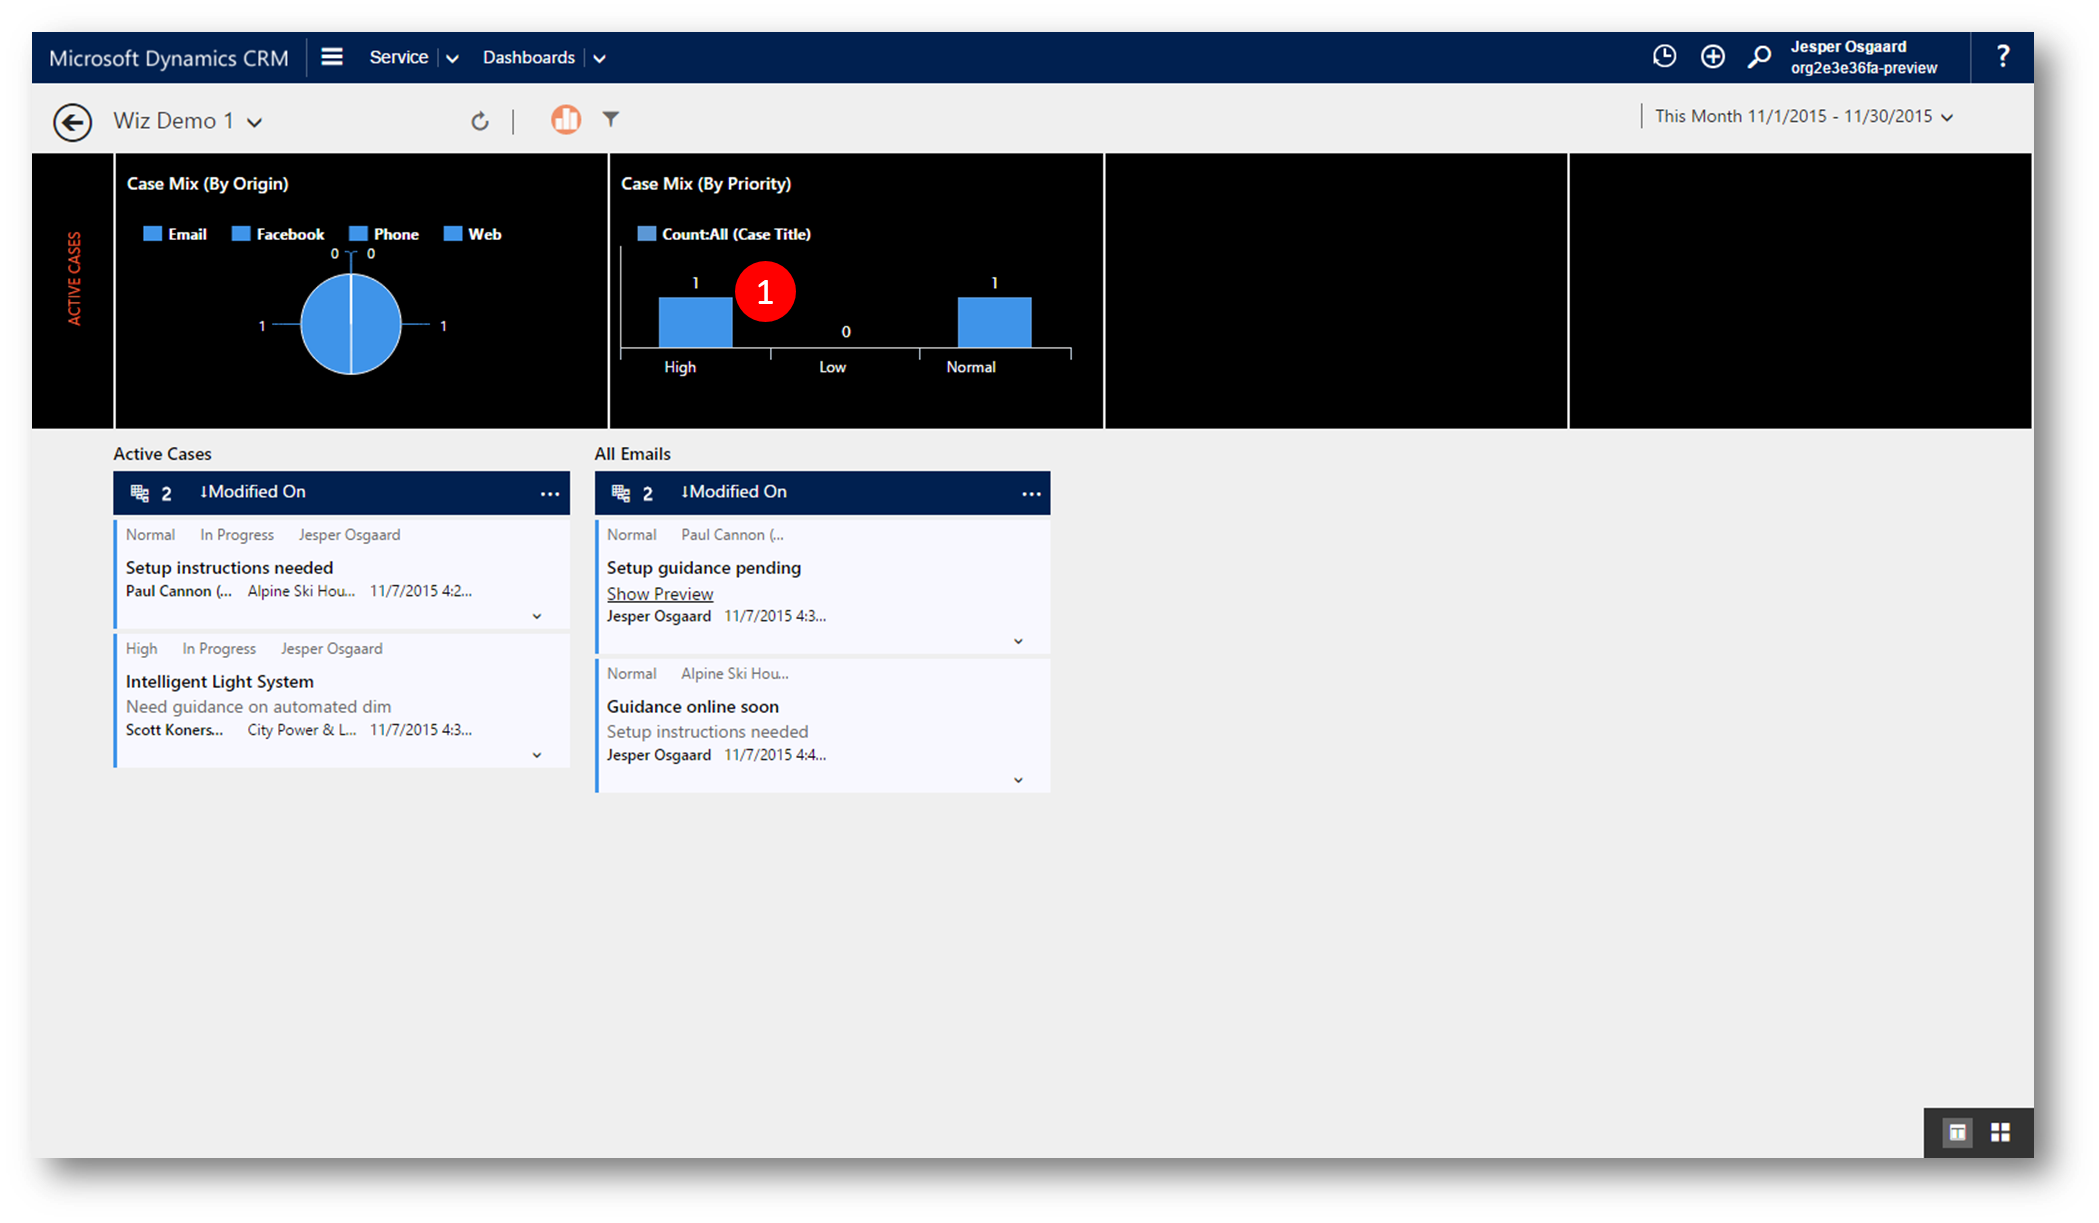
Figure 17: filter posts
The filters you apply will be listed at the top center of the UI (1)
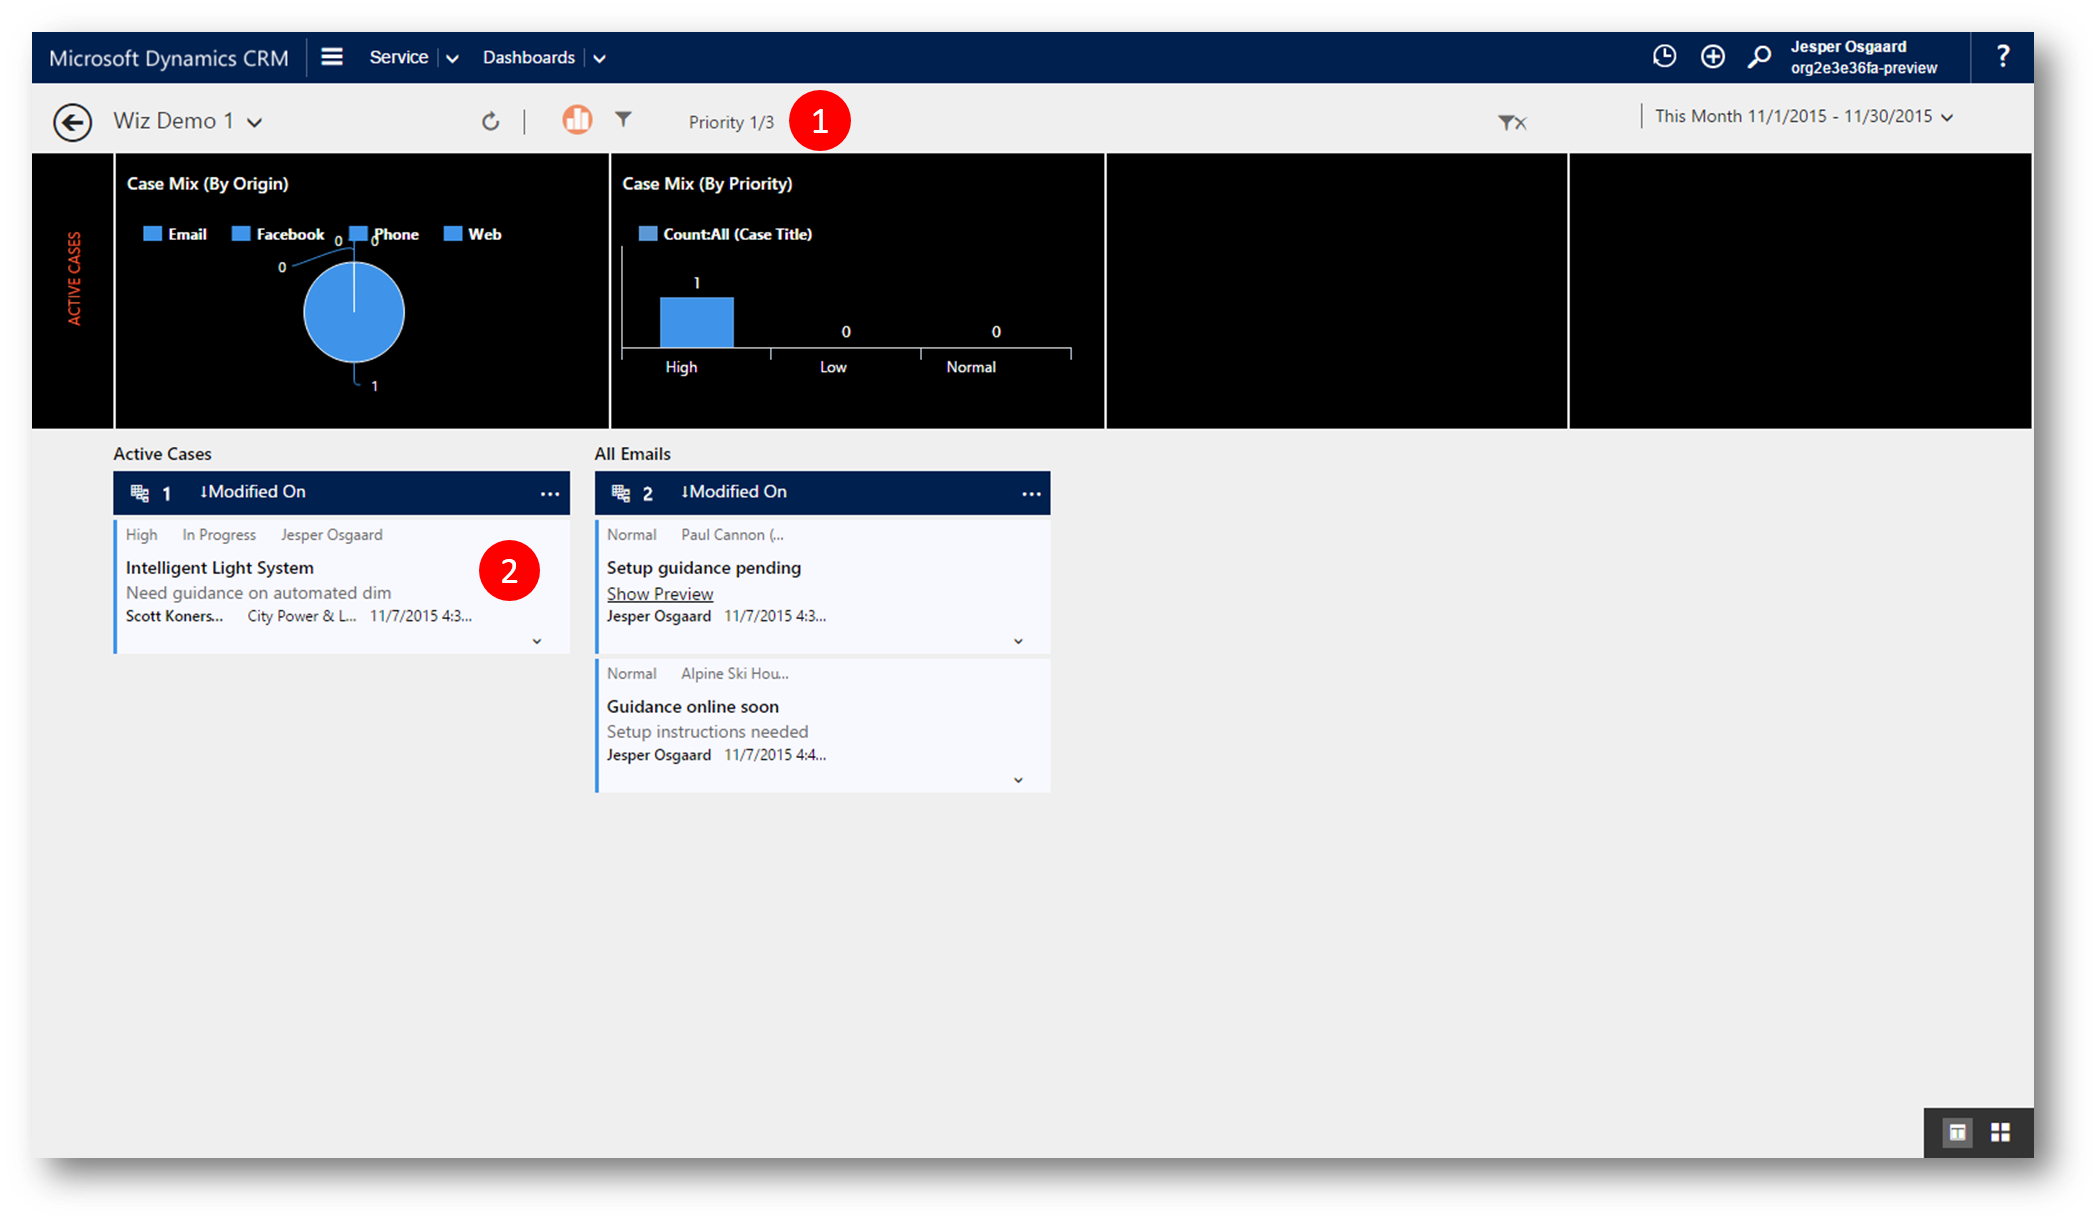
Figure 18: one filter applied (1) and stream filterered (2)
With this new addition the customer service line-up in Dynamics CRM I hope your customer service agents will feel empowered, be more productive, and take customer loyalty to new hights