A couple of tips for setting up Shared Mailboxes (updated)
A shared mailbox is a great way to implement department mailboxes, shared calendars and lots of other things. On the web you'll find several detailed step-by-steps for setting up shared mailboxes:
- https://blogs.msdn.com/b/microsoft_cloud/archive/2011/11/18/set-up-shared-mailboxes-in-office-365.aspx
- https://blogs.technet.com/b/ptsblog/archive/2011/12/07/set-up-a-shared-mailbox-in-office-365.aspx
- https://help.outlook.com/en-us/beta/ee441202.aspx?sl=1
- Update March 26th 2012 - new GUI based tool for creating Shared Mailbox - link
Before you go through those steps you should make a note of a couple of things to be aware of:
- You might want to start PowerShell using Run As Administrator
- Do not leave out https in https://ps.outlook.com/powershell
- If the Import-PSSession $Session fails you may need run Set-ExecutionPolicy -ExecutionPolicy unrestricted first to allow execution of scripts (reverse the instruction using the restricted parameter after you are done with all the scripting)
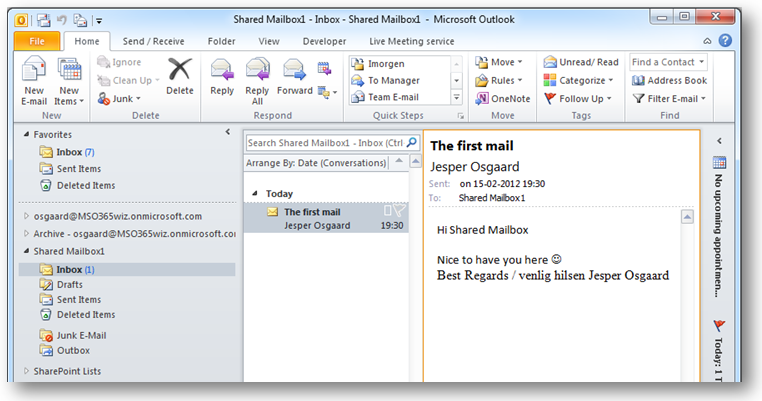
When done with the creation of the Shared Mailbox, creation of a Security Group, adding members to the group, and setting permissions (all described in the above listed step-by-step instructions) you can open the new shared mailbox in either Outlook Web App (OWA) or Microsoft Outlook 2010 (Outlook):
- In OWA the shared mailbox can be opened by right-clicking your name in the Explorer windows and choosing Open Other User's Inbox - see this article for a How-To
- In Outlook the shared mailbox can be opened by going to File > Account Settings > choose your Office 365 account > Change > More Settings > Advanced > Add (to the right of “Open these additional mailboxes” > mailbox alias
See also