Using Encrypt Only (Even on Older Office Versions!)
The Scenario:
You have completed migrating all your mailboxes to Exchange Online and you have started deploying Azure Information Protection to your environment. Although you are quickly migrating all of your Office clients to Office 365 ProPlus (you are, right?), you are managing a large environment and still have a mix of Office versions and editions (2010, 2013, 2016 Semi-annual Channel, etc...). You have learned about our fancy new Encrypt Only functionality that allows you to send Encrypted messages to anyone throughout the world and you are eager to have your users start protecting all their sensitive data. Alas, you have discovered that only users on the Office365 ProPlus 2016 monthly update channel can see the new Encrypt function! Luckily, by following a few simple steps, you can give this functionality to all your users with a consistent users experience across all Office versions and editions.
The Solution:
Using a combination of the Azure Information Protection toolbar and an Exchange Online mail flow rule, you can provide this amazing functionality to all of your users. To do this, we will create an unprotected label in the AIP Portal and a few mail flow rules in the EXO control panel.
The Label
For the uniform office experience, you must create a custom AIP label. The way that I typically recommend customers to set up their label is as a sub-label of a Confidential and/or Highly Confidential top level label. In the portal, it would look like the image below.

If you need assistance creating a label, you can see my previous post on the subject at https://blogs.technet.microsoft.com/kemckinn/2018/05/17/creating-labels-for-azure-information-protection/. However, as TL;DR, I will walk you through the simple steps of setting up this sub-label.
- Log into https://portal.azure.com as an O365 Global Admin or Security Admin with rights to the AIP Portal
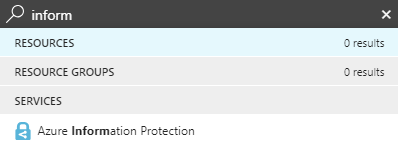
- In the search bar at the top of the portal, type Inform and click on Azure Information Protection
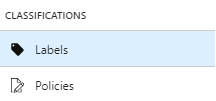
- In the AIP Portal, you should see the list of labels similar to the image above. If you do not, under Classifications on the left, select Labels
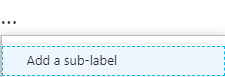
- Assuming you have a top level label similar to Confidential, click the ... on the right and click Add a sub-label
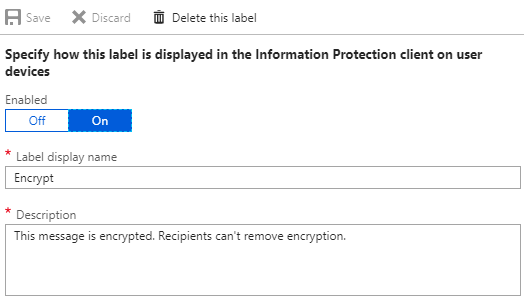
- In the new Sub-label, give it the name Encrypt and the description This message is encrypted. Recipients can't remove encryption. and Save. We are using this specific name and description because it mirrors the native Encrypt protection verbiage. Do not add any protection to this label (we will do that with the mail flow rule).
- You should now have an unprotected sub-label that looks similar to the image at the beginning.
The Mail Flow Rules
- In the AIP Portal, click on the Encrypt label and scroll to the bottom where the label ID is shown

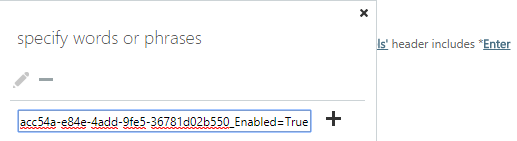
- Copy this Label ID into a new notepad document and add the words MSIP_Label_ and _Enabled=True around the Label ID. In my case, I have MSIP_Label_18acc54a-e84e-4add-9fe5-36781d02b550_Enabled=True.

- Next, log into https://outlook.office365.com/ecp/ as either a Office 365 Global Admin or Exchange Admin
- On the left side, click mail flow

- This will default to the rules pane
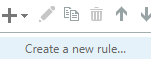
- In the rules pane, click the
 and click Create a new rule...
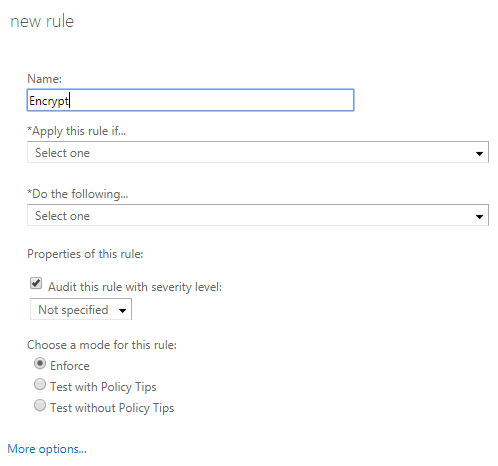
- In the new rule pane, name the rule Encrypt and click the More options... link
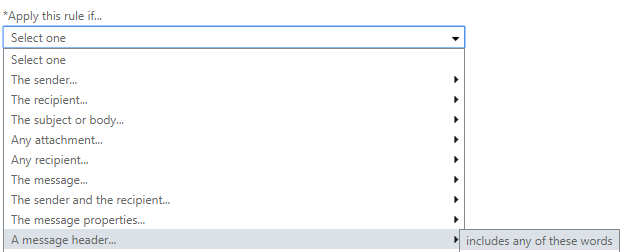
- After clicking More options..., select the drop-down under *Apply this rule if... and hover over A message header... and click includes any of these words
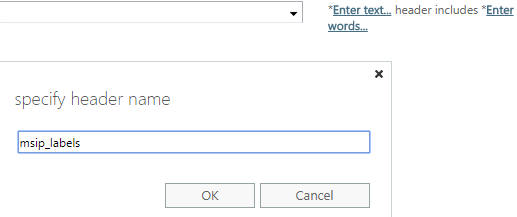
- Click on the *Enter text... link and type msip_labels in the specify header name box and click OK
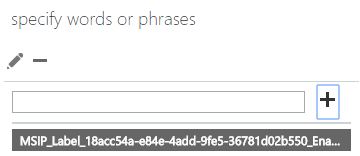
- Next, click on the Enter words... link and copy/paste the label information you have stored in the notepad document and click the then click OK
- Click the drop-down below the *Do the following... and hover over Modify the message security... and click Apply Office 365 Message Encryption and rights protection
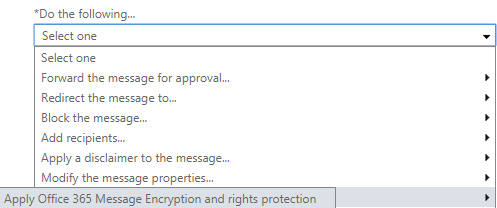
- In the select RMS template dialog, click the drop-down below RMS template: and select Encrypt and click OK

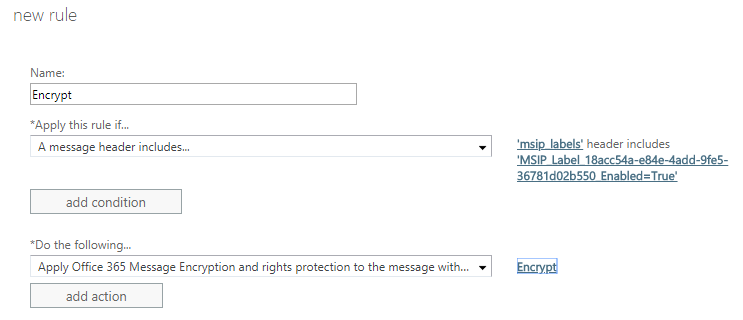
- The completed rule should look like the image below. Click Save to finish creating the first mail flow rule.
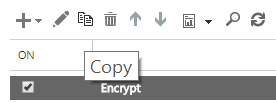
- Now, back in the rules panel, highlight the Encrypt rule and click the
 button.
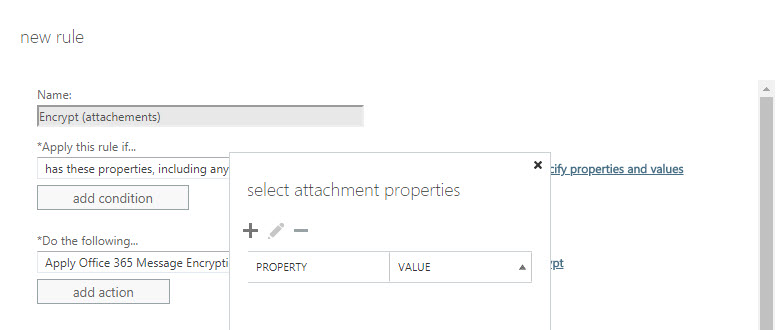
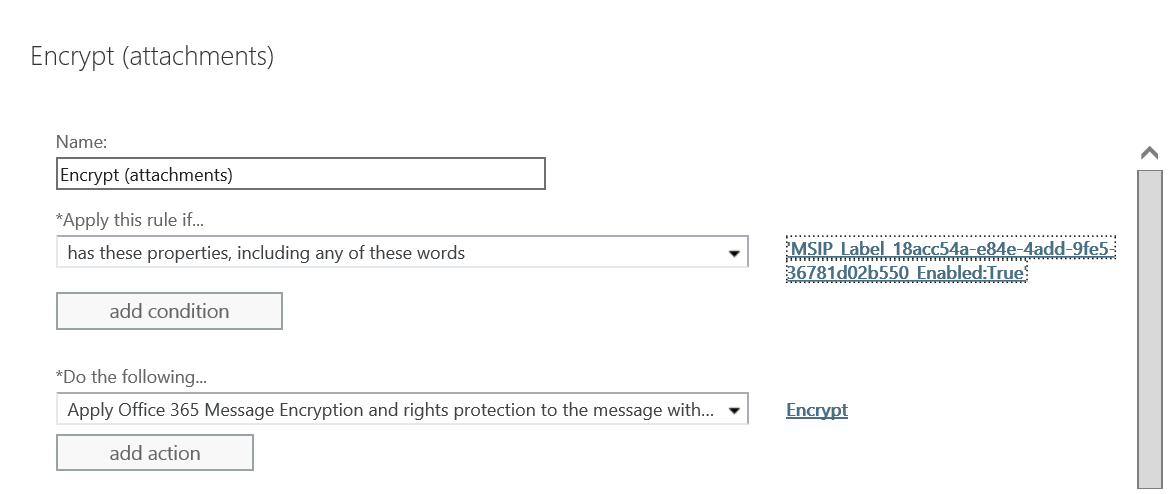
- In the new rule panel, change the name to Encrypt (attachments)
- Select the drop-down under *Apply this rule if... and hover over Any attachment... and click on has these properties, including any of these words.
- In the select attachment properties dialog, click the to add a new property/value pair.
- This should bring up a new window where you can specify a custom attachment property (this only worked properly in IE for me but YMMV). For the Property, enter the same metadata string from the first rule up to Enabled. For the Value, enter True. For me this Property value was MSIP_Label_18acc54a-e84e-4add-9fe5-36781d02b550_Enabled.
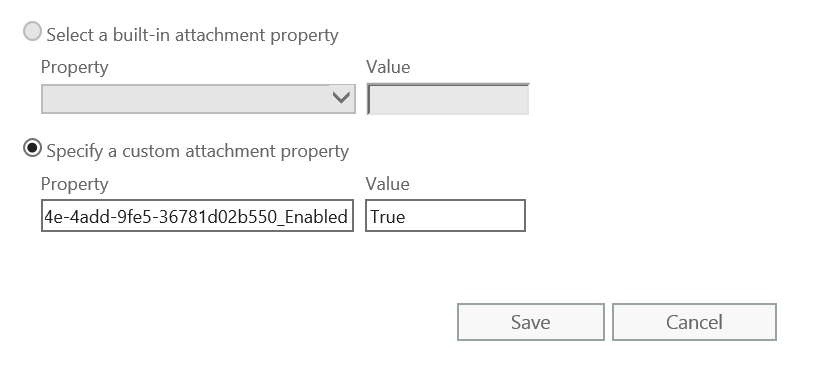
- Click Save and your select attachment properties dialog should look similar to the image below
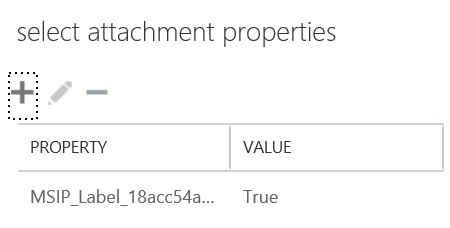
- Click OK to close the dialog and your completed rule should look like the image below
- Click Save on the new rule to finish the creation process.
And that's it! You now have a label that will show up in your AIP Client across all of your versions of Office in a consistent manner and you can encrypt any mail traffic labeled with that and similarly encrypt the mail if a document is attached that has been classified using this label.
NOTE: If you plan on using this to send email out to non-Office 365 users, you may want to also take a look at my post at https://blogs.technet.microsoft.com/kemckinn/2018/07/19/sending-protected-attachments-to-social-identities/ as that gives you additional options for decrypting attachments on download in the OME portal. Thanks!
Thanks,
Kevin