AD RMS to AD RMS to Azure Information Protection Part 1
The Scenario:
So, you have read my previous blog posts about AD RMS side-by-side migration and Enterprise Migration from AD RMS to AIP using SCCM but unfortunately both of those articles assume best case scenario for the original AD RMS cluster. Sadly, that is not always the way things work. In the real world, the AD RMS instance may have been initially installed on Windows Server 2003 using RMS 1.0 and was subsequently upgraded to 2008 R2 keeping all of the settings pretty much the same. This usually means using http only and having no CNAMEs for AD RMS or SQL. This makes my happy articles on upgrading to newer versions of AD RMS or to AIP a lot less straightforward. Let's fix that.
The Setup:
Luckily, most of the concepts for migration are the same as what I documented in the previous two articles, so I am going to happily plagerize reuse the content in those articles to make something new. This article should be a bit more useful for poor AD RMS admins that find themselves inheriting systems that have been around for far longer than the best practices guidelines have been. For this process, we will assume the near worst case (I know things can be more complicated with HSMs and 3rd party stuff) of an AD RMS 2008 (R2) cluster using http only for the pipelines and SCP. To get from this situation to AIP, you will have to do a 2-step upgrade. First, you will need to migrate to a new AD RMS cluster that has https pipelines. Along with this you will need to import the TPD from the old cluster into the new and set up licensing redirection for all clients. This is where the SCCM scripts from my AD RMS to AIP article come in handy. We will modify those to point to the new cluster and let SCCM compliance settings work it's magic to get us past the first stage. Once you are on a shiny new AD RMS 2012 R2 or 2016 cluster, you can follow the other article to do the second stage. So without further ado:
For this demo, we will assume an original AD RMS cluster with the following settings:
Windows Server 2008 R2 with AD RMS role installed (we will also assume the use of a Windows Internal Database but that is irrelevant to this migration)
Host A record of RMS01.contoso.com
SCP registered in Active Directory of https://rms01.contoso.com/\_wmcs/certification
The Solution:
The Old Cluster:
The very first thing you will want to do is export your TPD from the original cluster. It is wise to take a backup of the database as well since we will be shutting down the cluster eventually, but the TPD is the main thing that you need.
If you know how to export a TPD, do that. Otherwise, follow along with the content below and I will show you how!
Log into the existing AD RMS server ad a member of the AD RMS Enterprise Admins local group (not related to the AD Enterprise Admins group) and click on the Start Menu > Administrative Tools > Active Directory Rights Management Services. 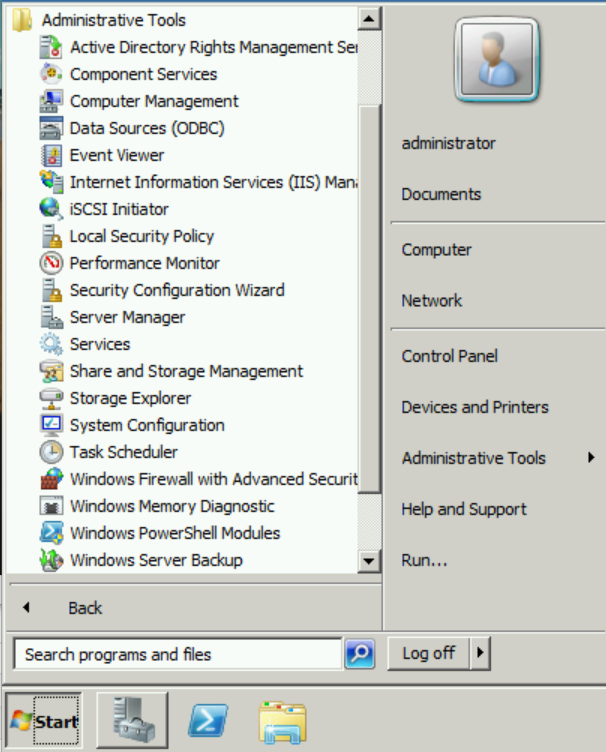
In the AD RMS console, expand <server>, Trust Policies, Trusted Publishing Domains and in the Actions pane, click Export Trusted Publishing Domain... 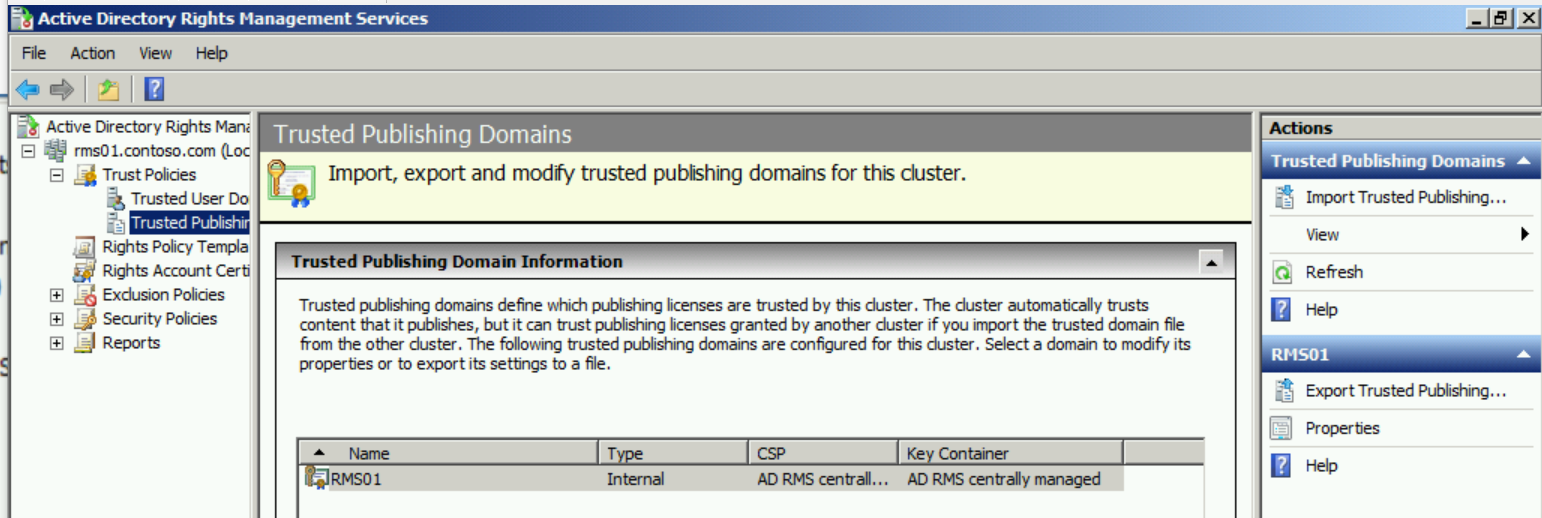
Save the TPD in a location that the RMS Service Account has access to Write (eg. C:\Windows\Temp) and give it a strong password 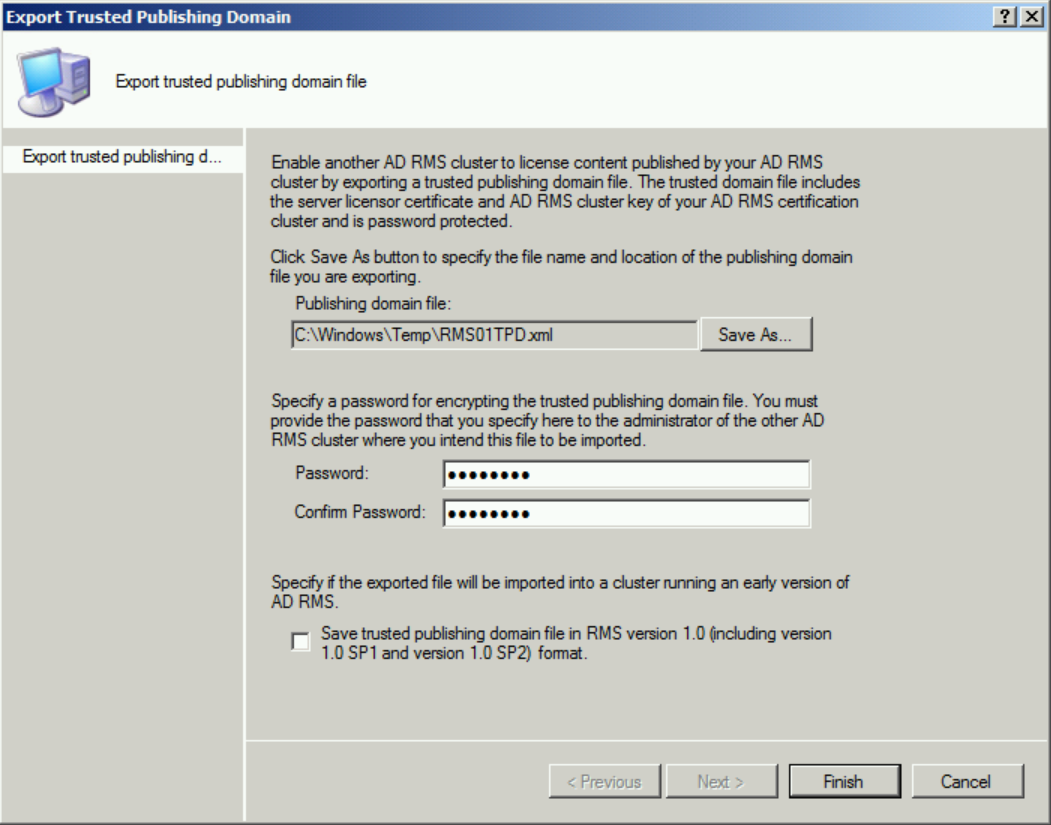
And that is the last thing you will do with your old RMS cluster until you are ready to shut it off. ;-)
The New Cluster:
So, the new AD RMS cluster is technically temporary because you are just using it to transition to the cloud. However, I highly recommend setting the cluster up as if it will be in production for a year or two just in case. I have seen AD RMS to AIP migrations take multiple years in some cases due to processes, moratorium periods, and unforeseen setbacks, so setting it up based on production best practices is just a good idea. Hopefully everything will go smoothly, but just in case.....here is the link to the best practices for setting up an AD RMS cluster.
https://aka.ms/ADRMSBestPractices
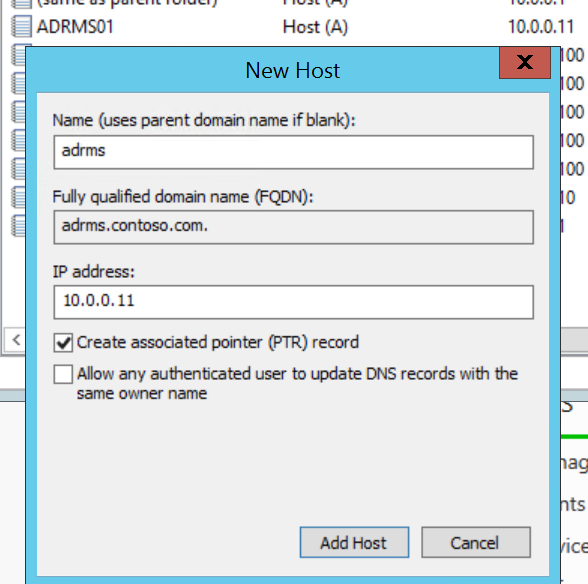
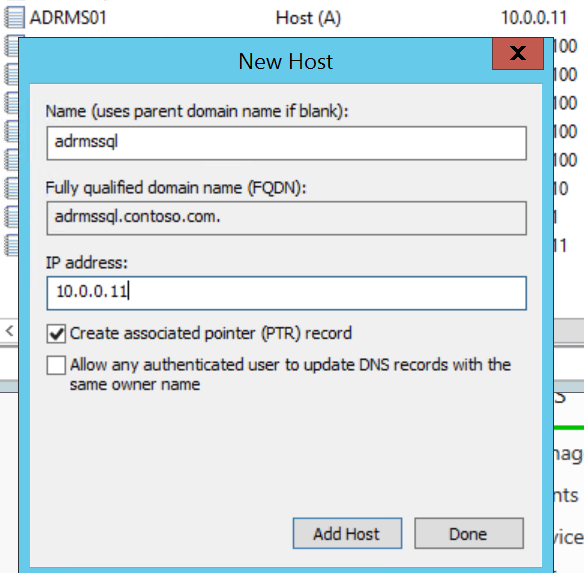
So, since the new cluster will be set up via best practices, we need to create 2 CNAME or A records in DNS pointing to the new host (I am only using 1 node for the cluster, but in production these records would point to a load balancer which forwards the traffic to the nodes).
If you already know how to create these records, do that, or follow along below for a nauseatingly detailed walkthrough. :-)
Log into a DNS server and in Server Manager click Tools > DNS 
In the DNS console, expand <server>, Forward Lookup Zones, yourdomain.tld and right-click in the zone to create a New Host (A or AAAA)... or New Alias (CNAME)... 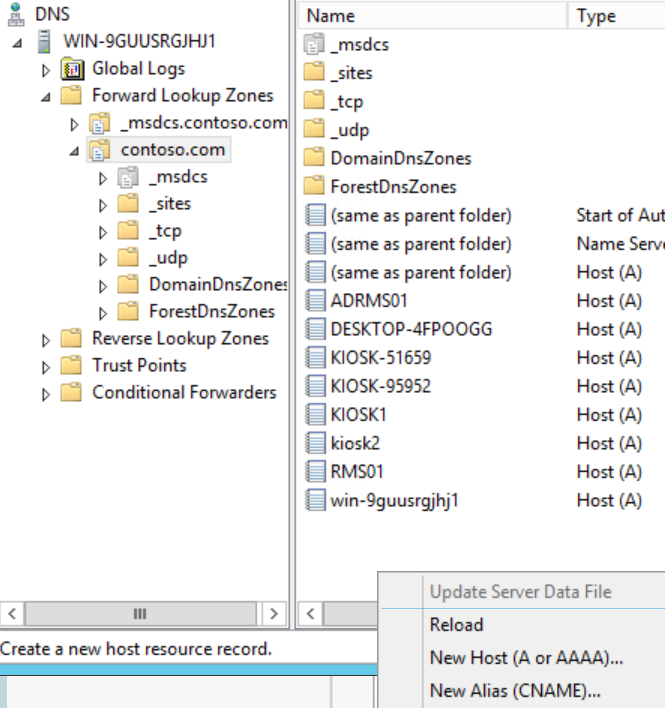
For my demo environment, I am creating New Host (A) records for adrms and adrmssql pointing to the ADRMS01 system that will be my AD RMS server and has SQL Server 2014 installed.
Now that we have that out of the way, we can log into the new AD RMS server and knock out the installation.
Bypassing the SCP
Log into the new AD RMS server and open Regedit. We need to set the GICURL registry key so installation will allow us to install a new root cluster despite the SCP present in AD.
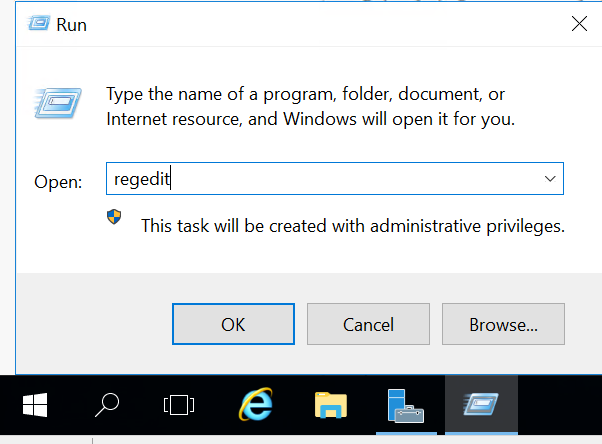
Navigate to HKEY_LOCAL_MACHINE\SOFTWARE\Microsoft\DRMS (It likely will not exist, so create a new key under Microsoft named DRMS)
In the DRMS key, create a new String Value named (you guessed it) GICURL
Do not enter a value 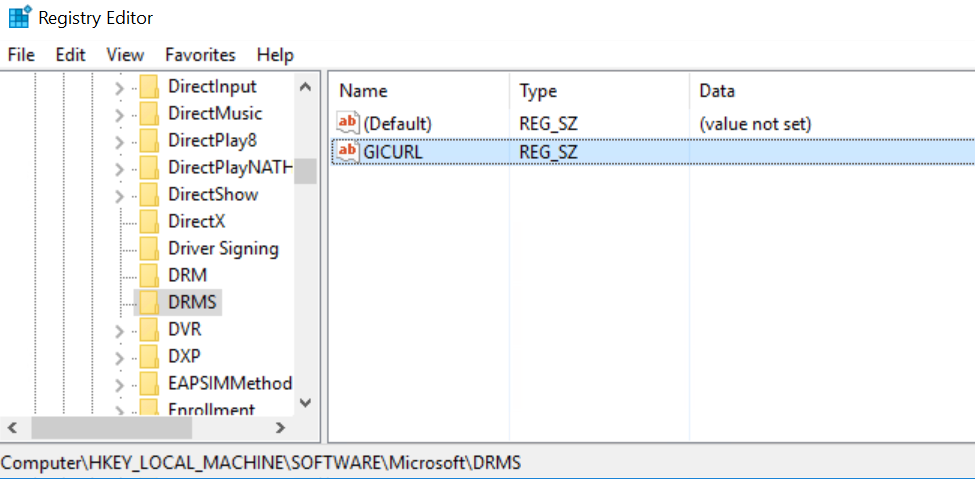
Close Regedit
Installing AD RMS
Again, if you know how to install AD RMS, you may do so now on the new server. Just remember not to register the SCP at the end since there already is one and it will cause your install to fail. If you really like screenshots (I do!), follow along below to see dozens of them that will walk you through a full AD RMS 2016 install.
On the new AD RMS server, launch Server Manager and click Manage > Add Roles and Features 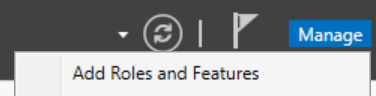
Click next 3 times to get to the Server Roles page and click on Active Directory Rights Management Services. When the Additional Features dialog pops up, click Add Features 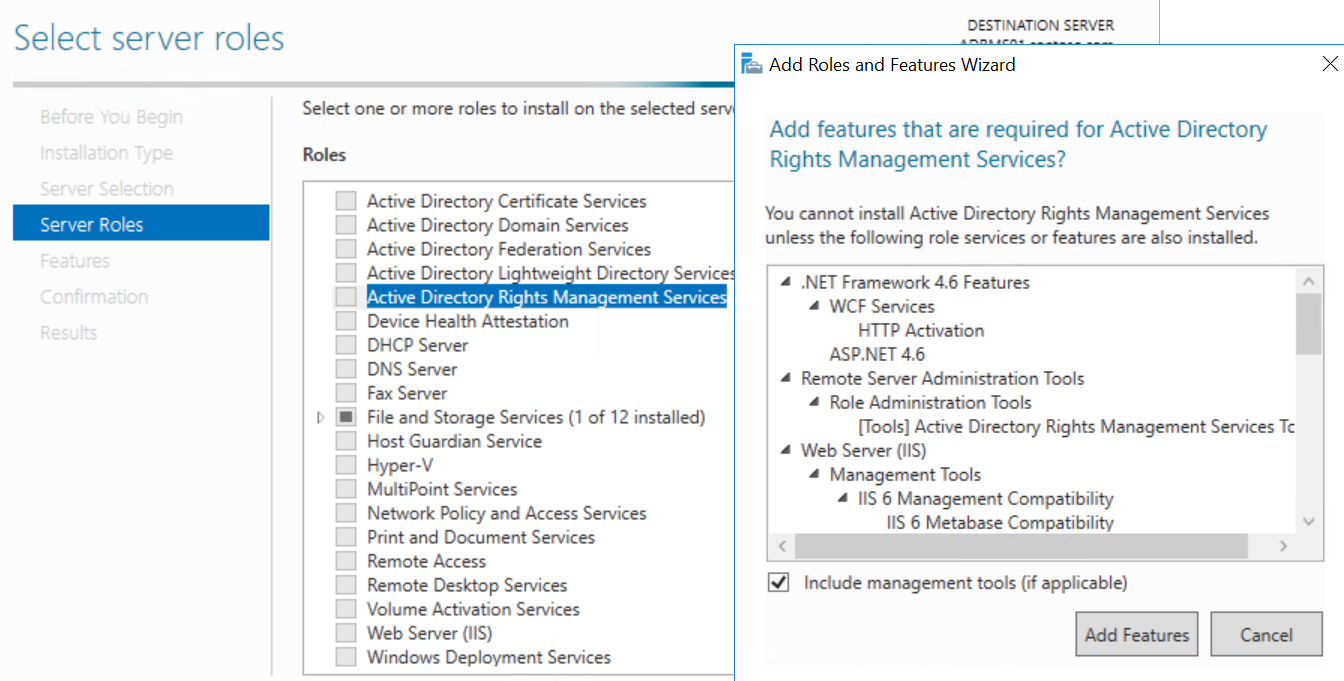
Click Next until you get to the Confirmation page, then click Install 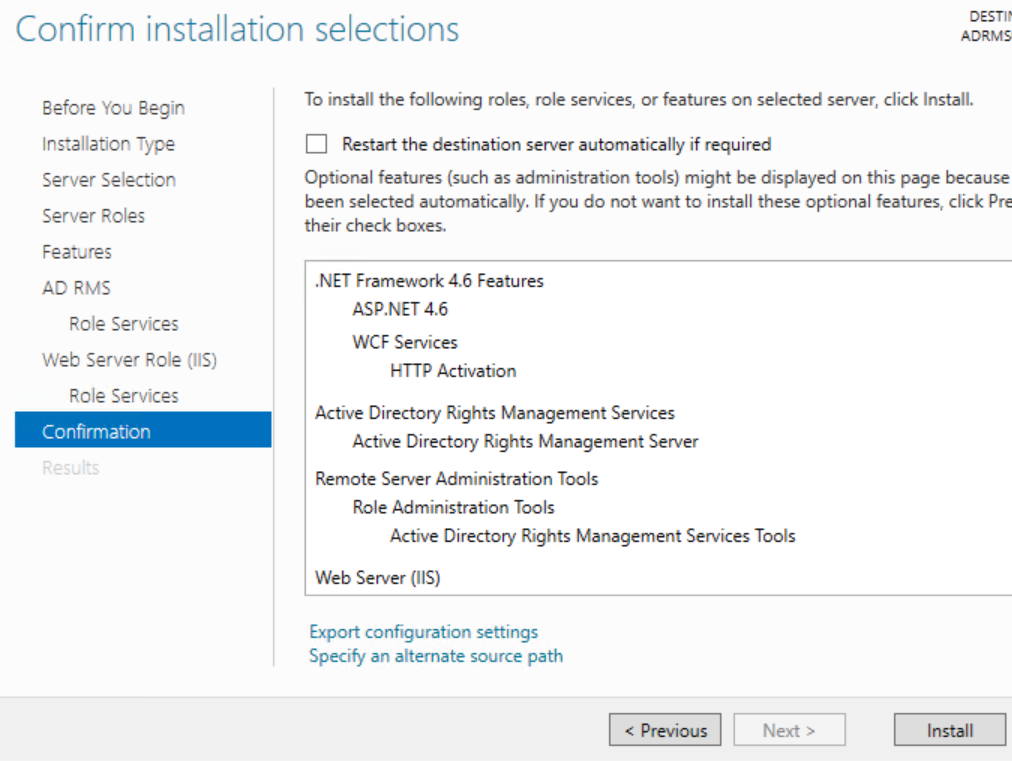
After the installation completes, click the blue link to Perform additional configuration 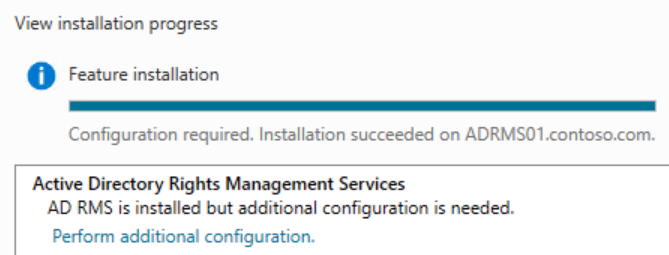
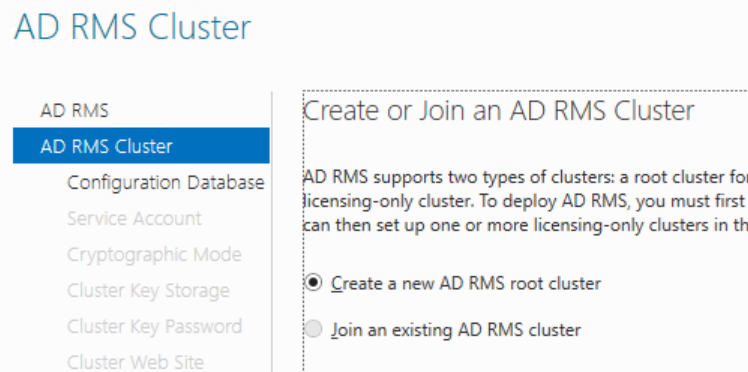
Click Next on the intro page and verify that Create a new AD RMS root cluster is selected on the AD RMS Cluster page. (If this is greyed out, make sure the GICURL registry key is set correctly)
On the Configuration Database page, type the name of the A record or CNAME you created for the SQL database and click List 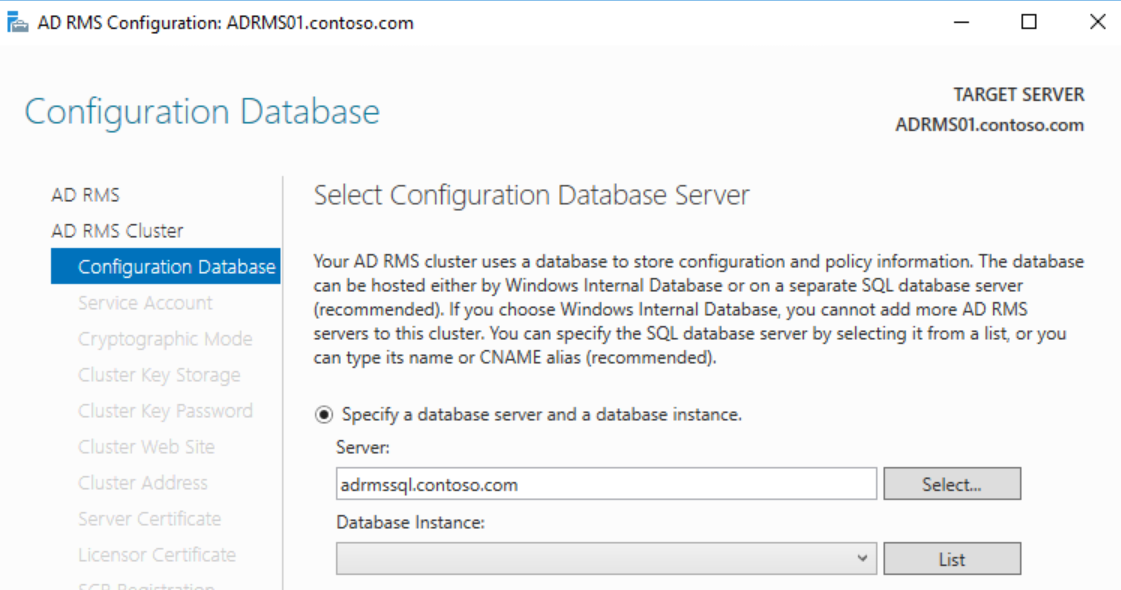
In the drop-down, select the database instance or DefaultInstance and click Next 
On the Service Account page, enter the service account credentials and click Next 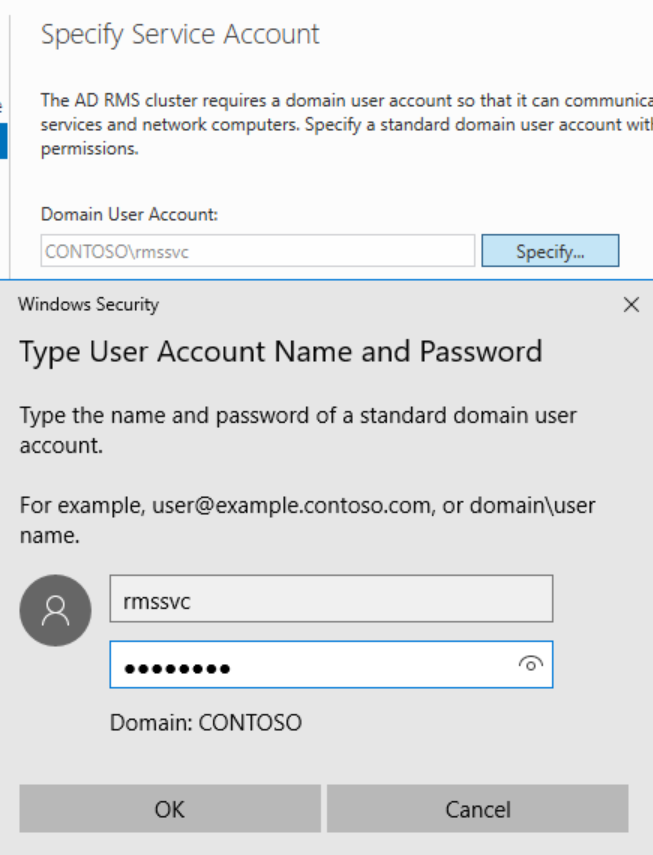
Choose a Cryptographic Mode (leave default unless you have legacy operating systems) and click Next 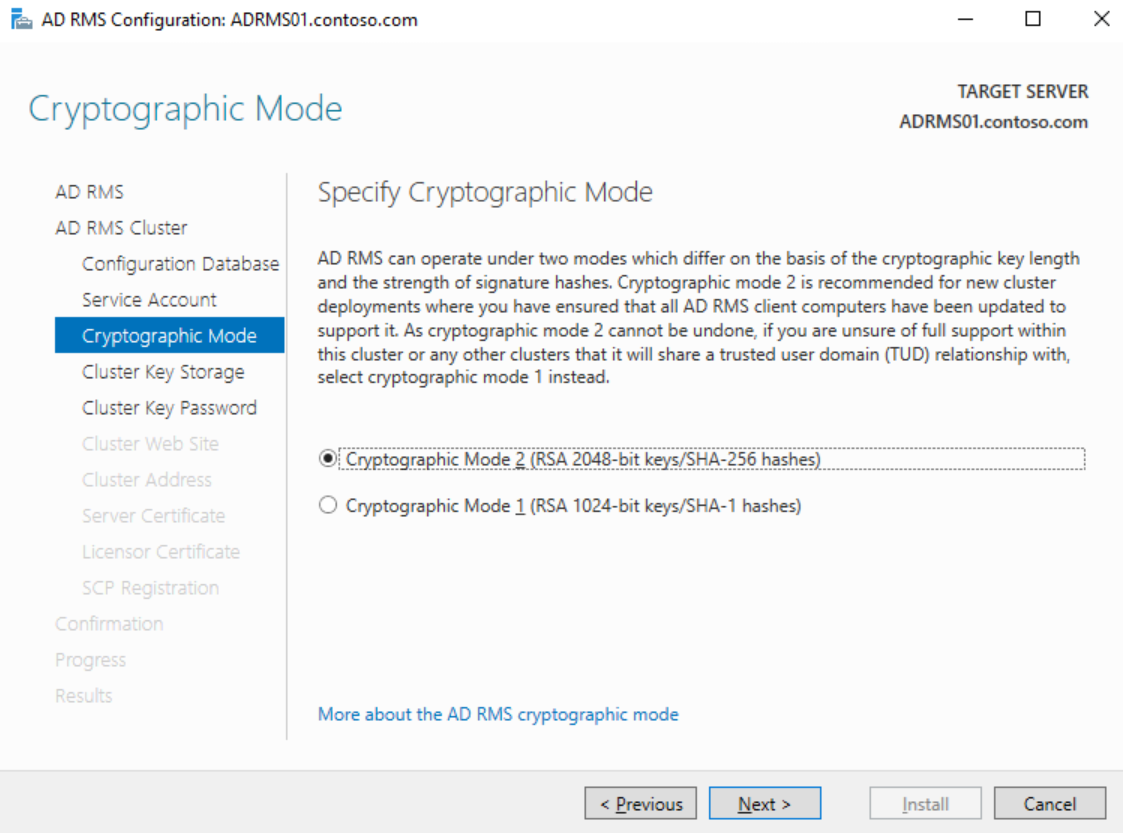
Click Next on the Cluster Key Storage page and click Next 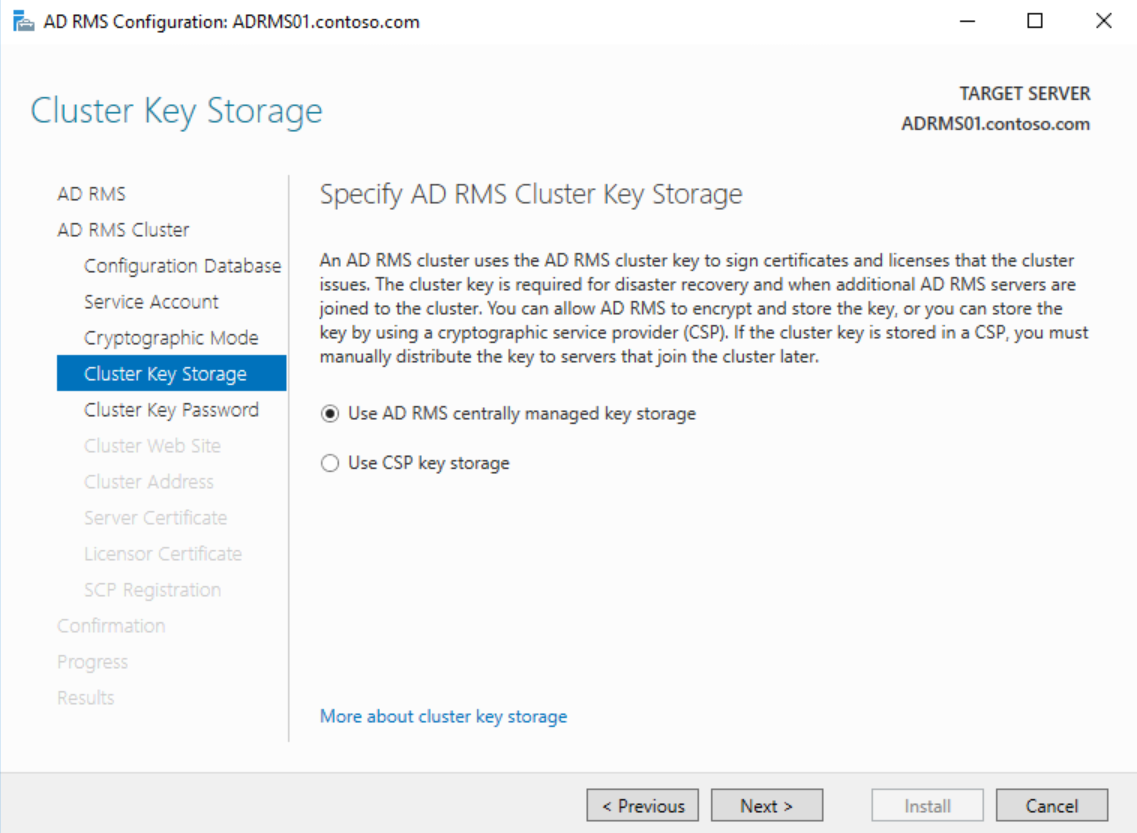
Enter a secure password on the Cluster Key Password page and click Next 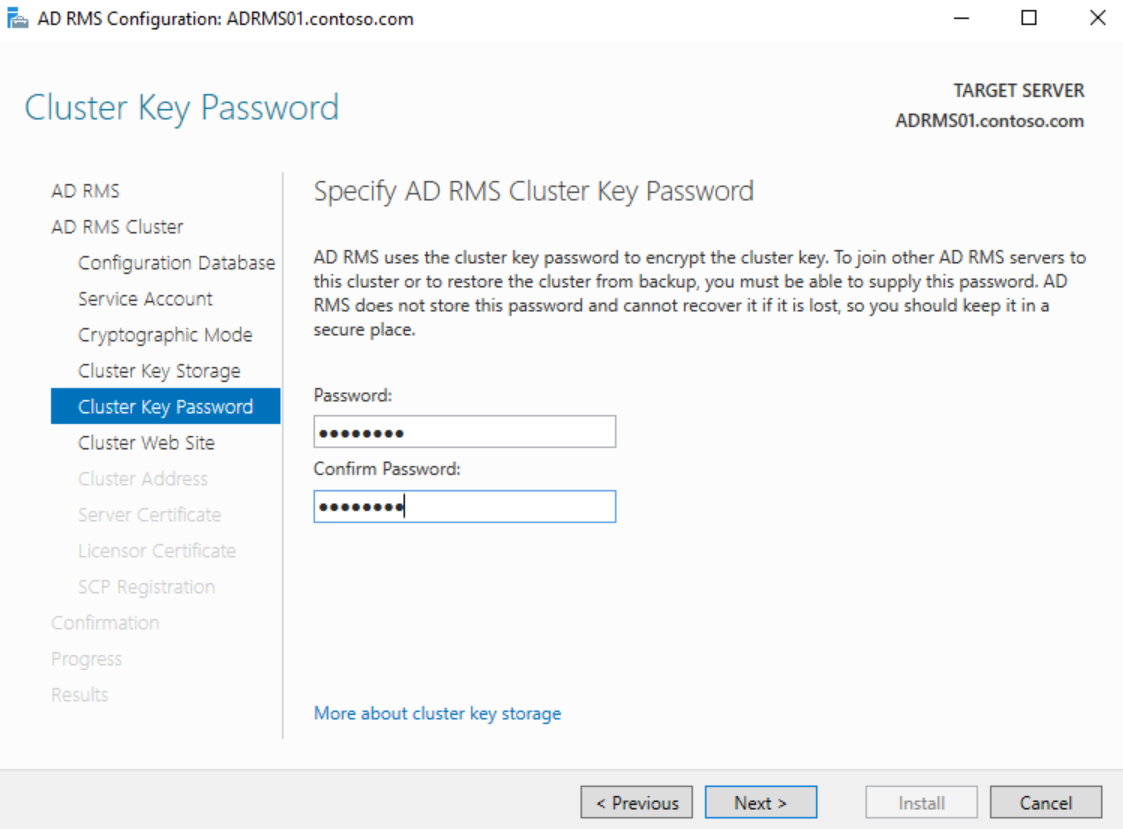
Choose the AD RMS website and click Next 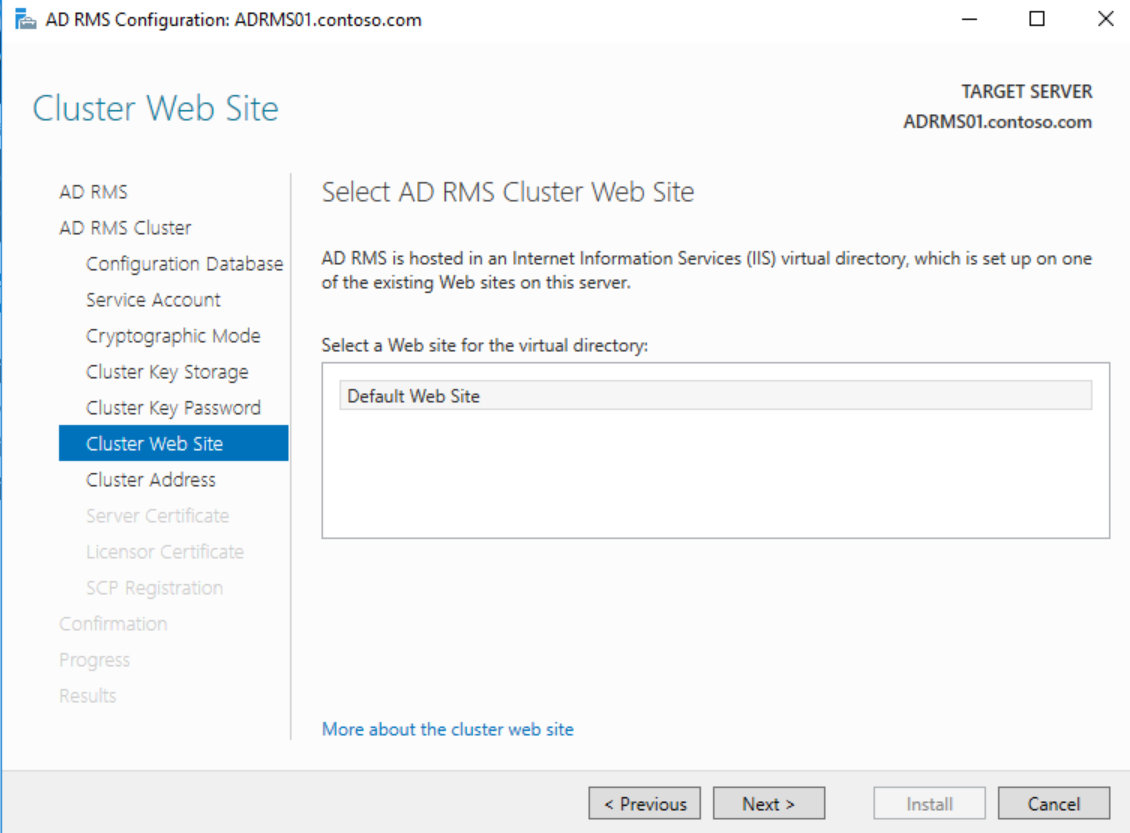
On the Cluster Address page, enter the FQDN of the A record or CNAME for the cluster and ensure that SSL is selected, then click Next 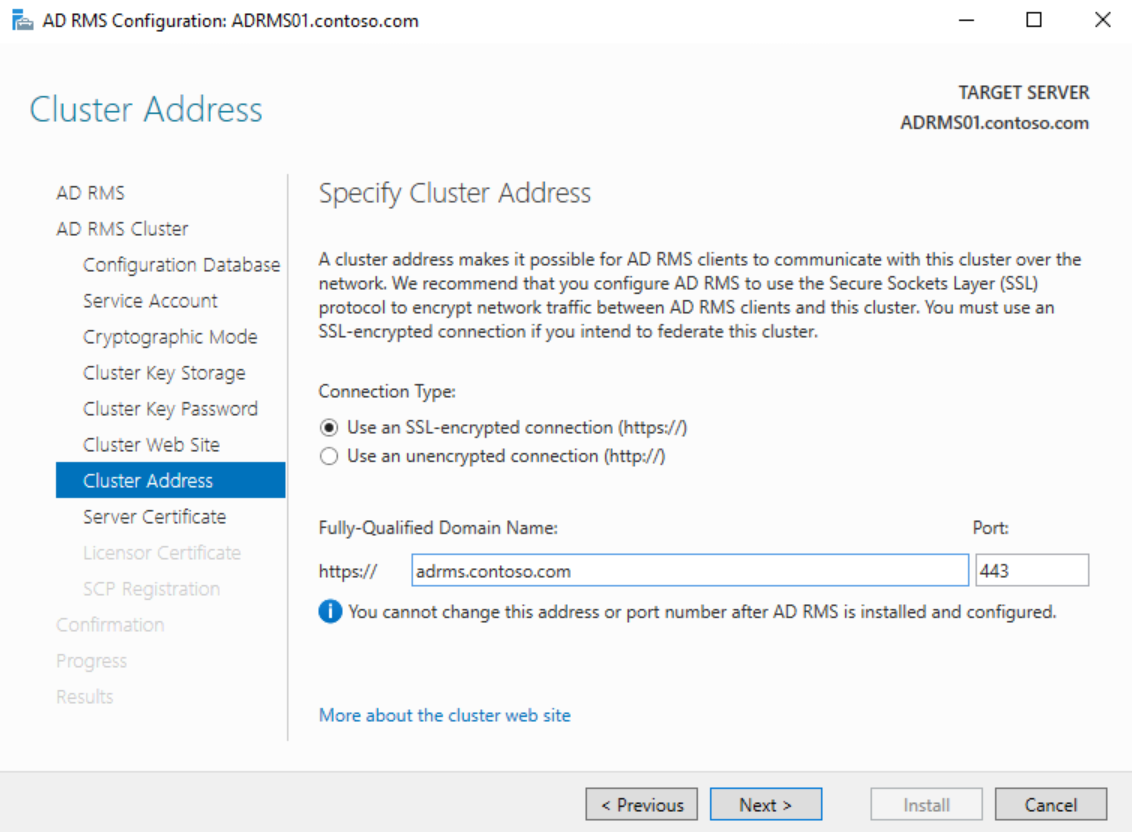
If you have a certificate for the cluster FQDN installed on the server choose it on the Server Certificate page or select Choose a certificate for SSL encryption later and click Next 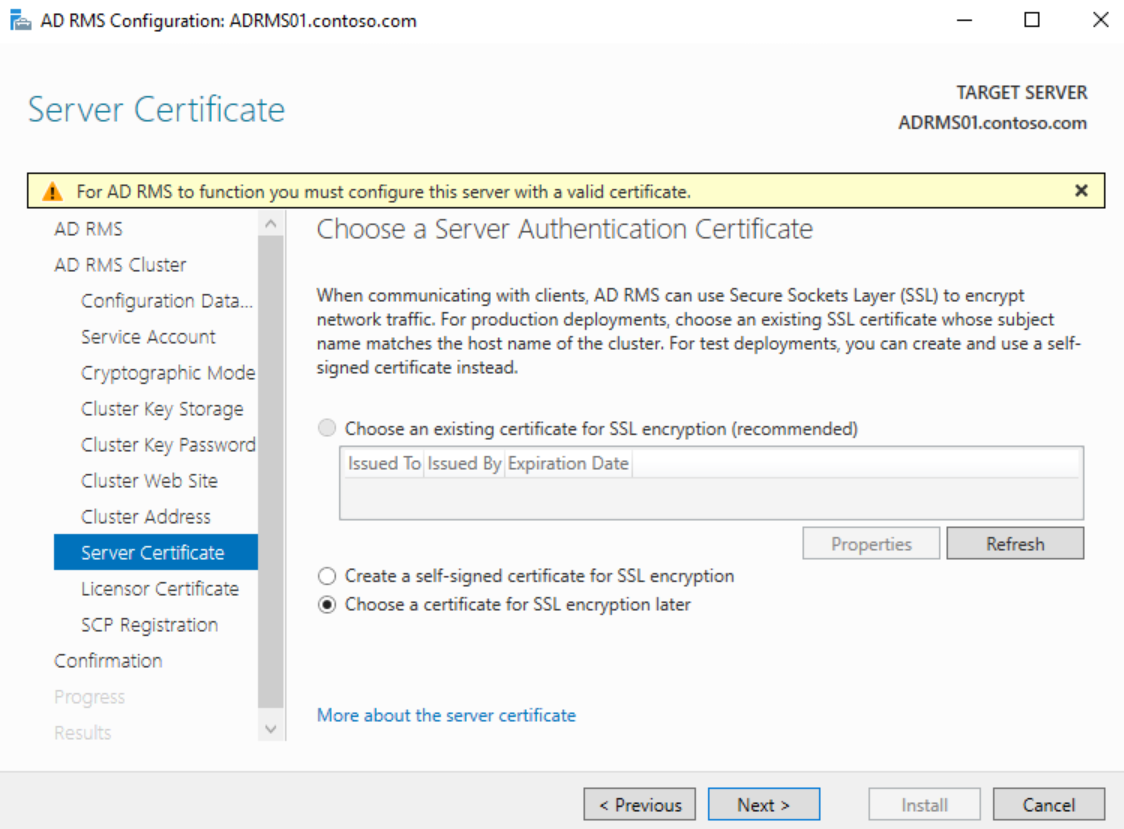
Choose a meaningful name for the SLC on the Licensor Certificate page and click Next 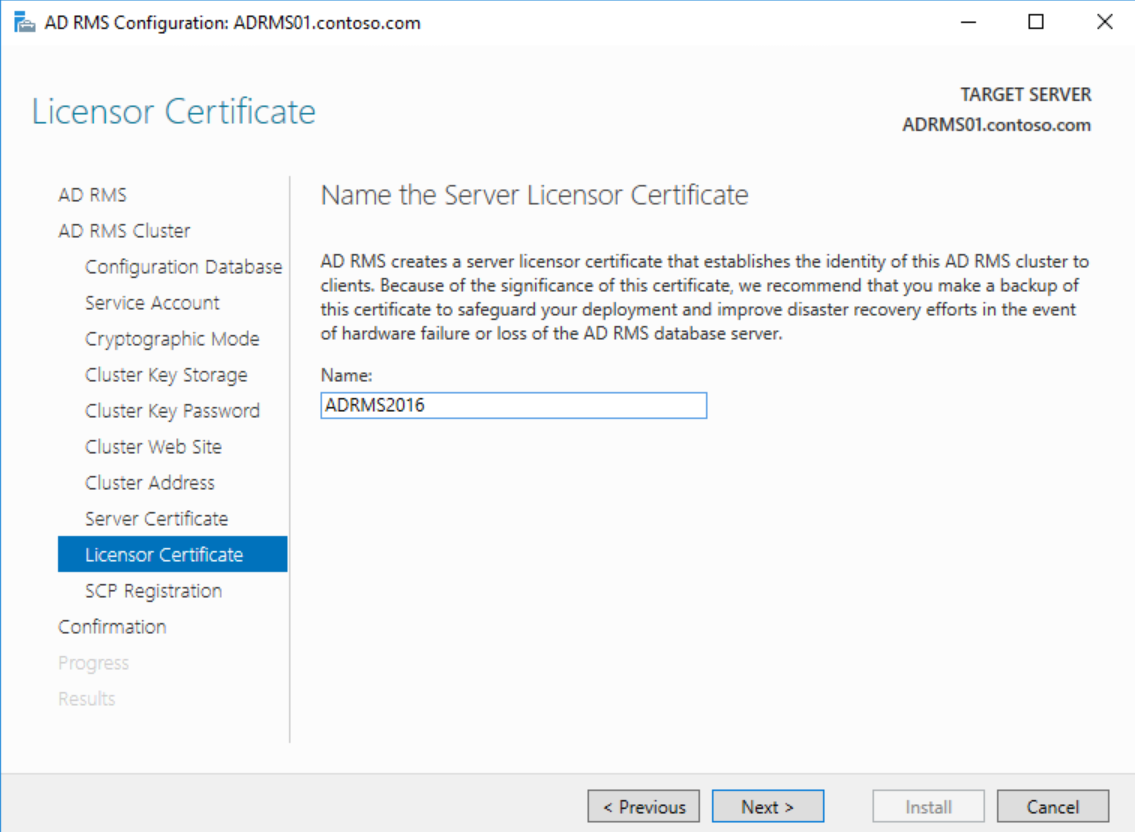
On the SCP Registration page, choose to Register the SCP later and click Next 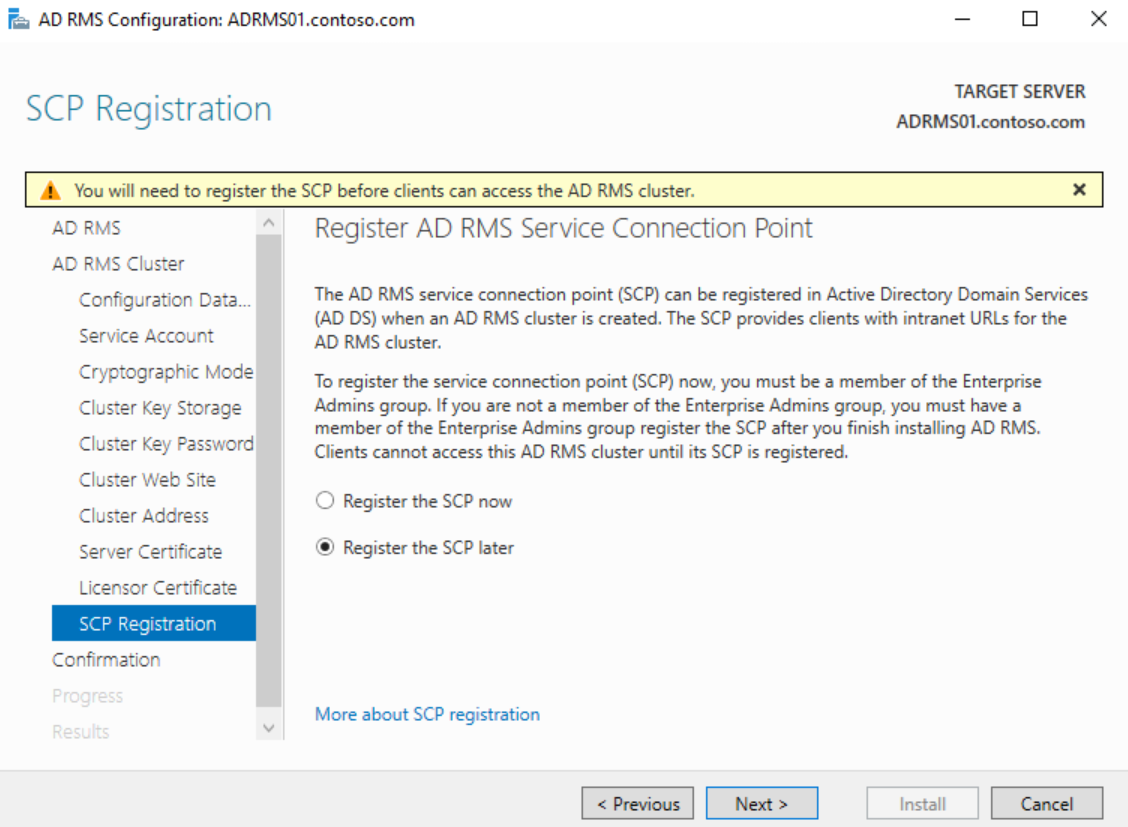
Verify all of the settings on the Confirmation page and click Install 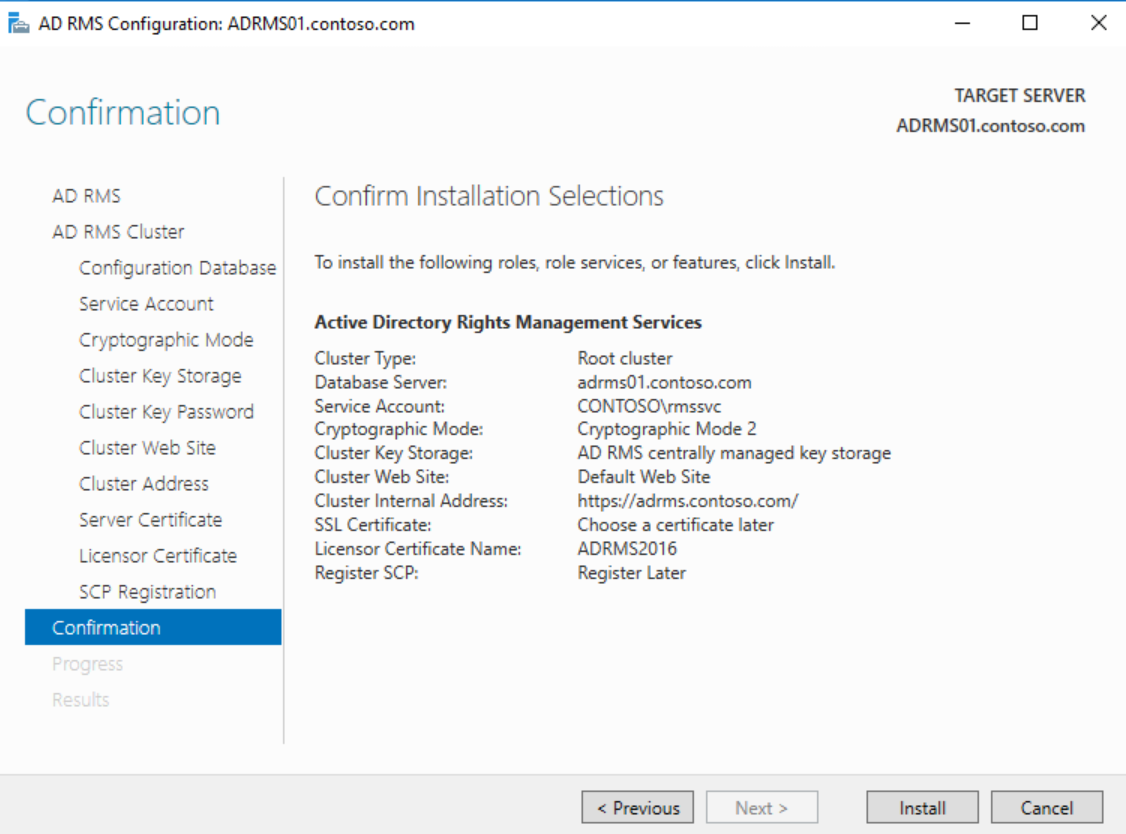
After installation completes, you must log off and back on to add your account to the AD RMS Enterprise Admins local group membership. You will not be able to launch the console until you do this and you will see 401 Unauthorized errors.
If you did not configure a certificate during the install, obtain a certificate from your Certificate Authority for the FQDN of the AD RMS cluster name and install it on the server. Next launch Server Manager and click on Tools > Internet Information Services (IIS) Manager 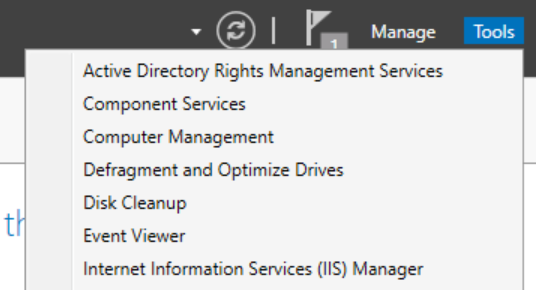
Expand <server>, Sites, and click on the AD RMS website 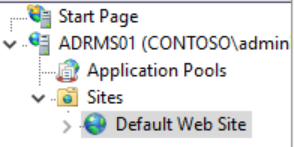
In the Actions pane on the right, under Edit Site, click Bindings 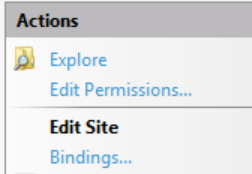
Click on https and click Edit... 
In the Edit Site Binding dialog, choose the installed AD RMS certificate and click OK and Close to bind the certificate
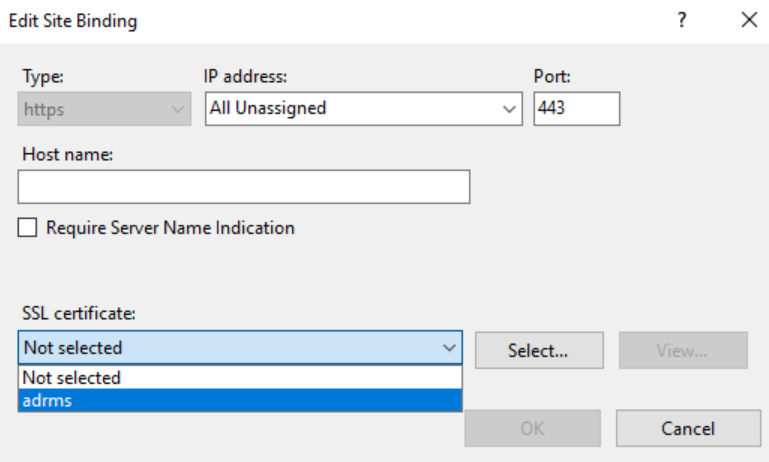
To finalize the certificate binding, Launch an Administrative Command Prompt and type IISReset and hit Enter 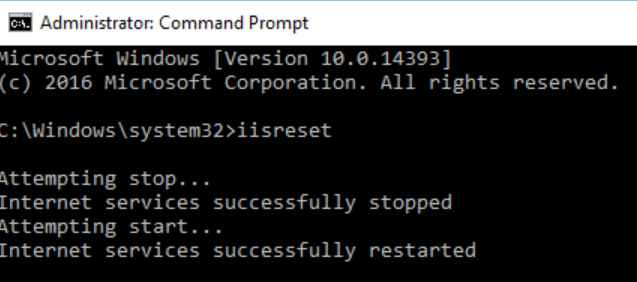
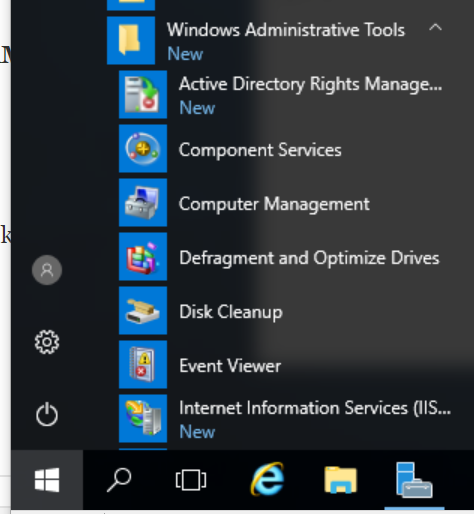
After you have completed this, click on the Start Menu > Windows Administrative Tools > Active Directory Rights Management Services to launch the AD RMS Console.
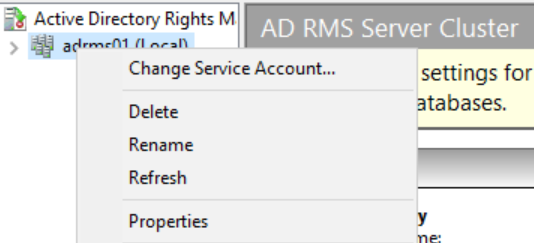
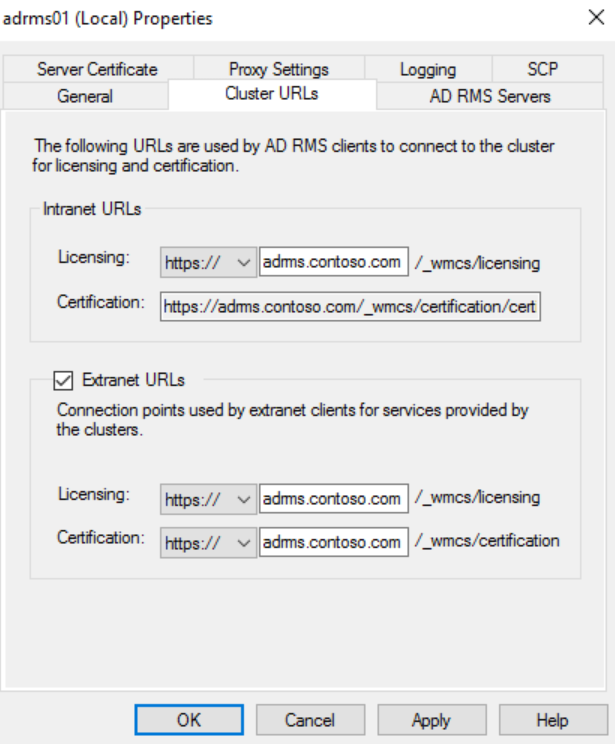
Once logged into the console, right-click on the server name and click Properties.
Click on the Cluster URLs tab and copy the cluster FQDN from the licensing URL.
Check the box next to Extranet URLs and paste the copied value into both boxes.
Change the protocol from http to https for both pipelines. The completed tab should look similar to the screenshot below.
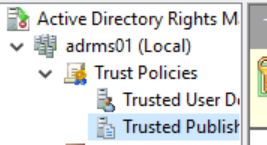
Close the properties dialog and expand <servername>, Trust Policies, and click on Trusted Publishing Domains.
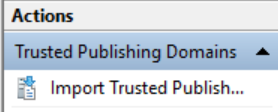
In the Trusted Publishing Domains section, under the Actions pane, click on Import Trusted Publishing Domain.
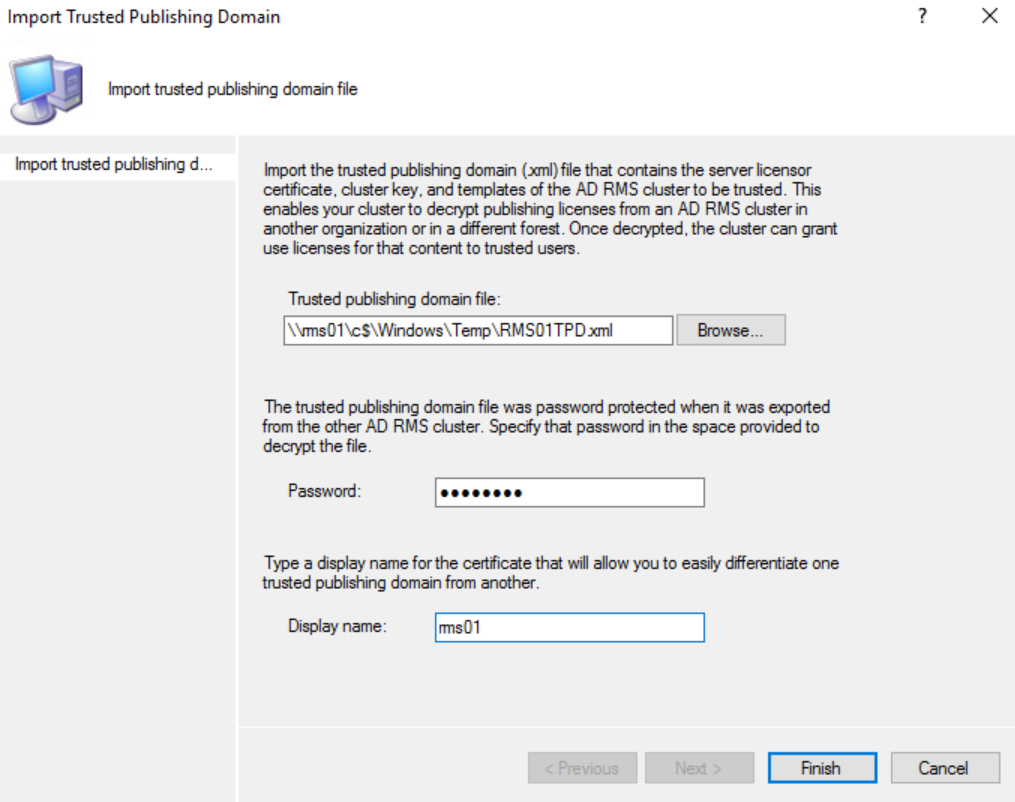
In the Import Trusted Publishing Domain dialog, browse to the exported TPD and enter the password and a name for the old server TPD and click Finish.
The Install is now complete and you have a fully functional AD RMS cluster that can open content protected with the old cluster. You still need to put in redirection keys for the clients, but that is where SCCM Compliance Settings comes in. This is also where my copy and paste kicks into high gear! In the upcoming blog post I will modify my scripts to allow SCCM Compliance Settings to redirect clients to the new AD RMS server rather than Azure Information Protection. Stay tuned and I will remove this text once it is up.