MDT 2013 – Part I: MDT Configuration; Capture a Windows Server 2012 R2 Base OS Image
Greetings and salutations! As many of you know, the Microsoft Deployment Toolkit, or "MDT," is a mature, powerful and flexible toolset for client and server OS deployments. My PFE sister-in-arms, Charity Shelbourne has a great starter post about installing MDT and setting things up:
Work through that first, then come back here….
Now, just between you and me, I haven't done any deployment work for quite some time. As in the Windows 2000 Professional era. Think: Ghost, VBScript and RIS – they were all the rage when I was in the deployment game.
Fast-forward 13+ years and recently, I had a customer doing work on a Windows Server 2012 R2 base image design and we started exploring MDT. We didn't have a desire to get too far in the weeds – we just wanted to get things up and running with a simple customized server deployment process. I was pretty amazed at what we could do with the tool in short order, so I thought I'd share the work with our readership.
This is Part One of a two-part series. In Part One, I'll cover some MDT configurations, creating a "capture" Task Sequence and then capturing a 'golden image' from a reference system. Part Two will cover creating a "deployment" Task Sequence and deploying the custom image to a physical and virtual machine.
As Charity points out in her post, do your planning up front. Here are the plans/requirements for our simple server build and deployment mechanism:
- Use MDT 2013 (available here: https://www.microsoft.com/en-us/download/details.aspx?id=40796 )
- Create a current, patched build (up to July 2014)
- Add BGInfo to the desktop so we know 'what's what' (available here: https://technet.microsoft.com/en-us/sysinternals/bb897557.aspx )
- Customize the Start screen
- Customize the color of the desktop background
- Prompt for time zone during the build but default to CST
- Prompt for domain to join and OU during the build process – we did this because there are multiple AD domains (and forests) in our environment but we want a standard build to use throughout them
- Understand how to manage IP address settings (or set them in the Task Sequence) since we use static IPs for server deployments
Import the OS Media
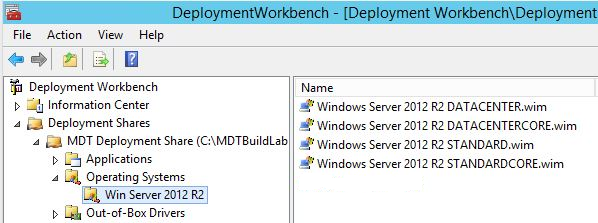
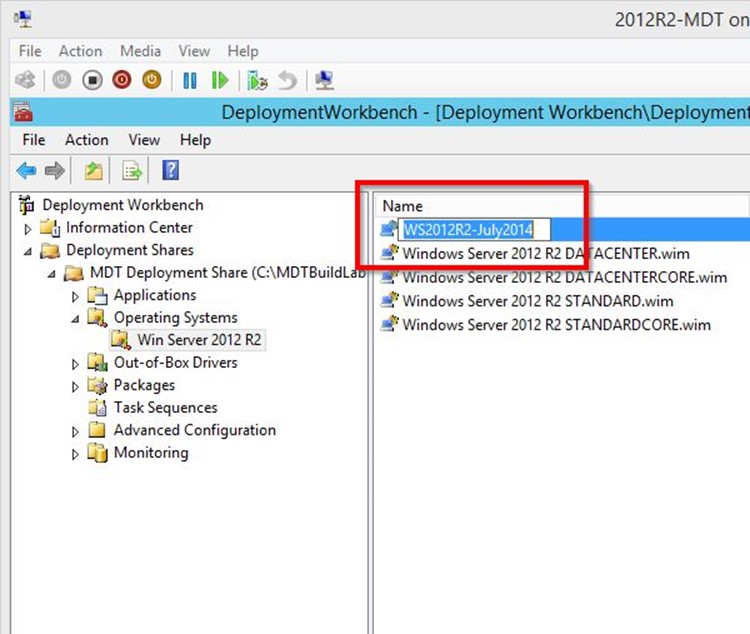
Following Charity's post, I first imported a set of OS install media files into MDT that I intended to work with (Windows Server 2012 R2 in this case).
After I did that, then, I re-named them to make more sense to me.
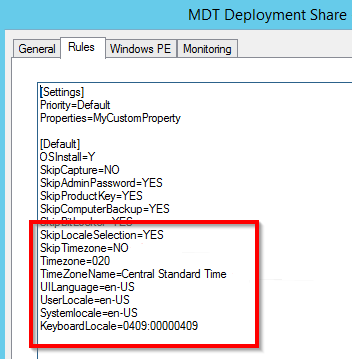
Next, I setup a few custom Rules, again, using information from Charity.
In MDT, rules are settings that apply across all of your MDT Task Sequences (unless over-ridden)…
I wanted the default Time Zone for my builds to be CST (but be able to change it during the build process) and to gray-out the locale section of the wizard:
Create a Capture Task Sequence
Once the OS files are imported into MDT, you need a 'Task Sequence' to do things.
A Task Sequence is an ordered list of actions that you want MDT to carry out such as an OS deployment or an OS capture. The power of MDT is in the depth and breadth of what those actions can be. We can set the time zone, join a domain (and even the OU), install applications, driver packs, etc.
Here, I created a Task Sequence specifically to capture an image of a system – in our case, it will be our customized base OS install ('reference image').
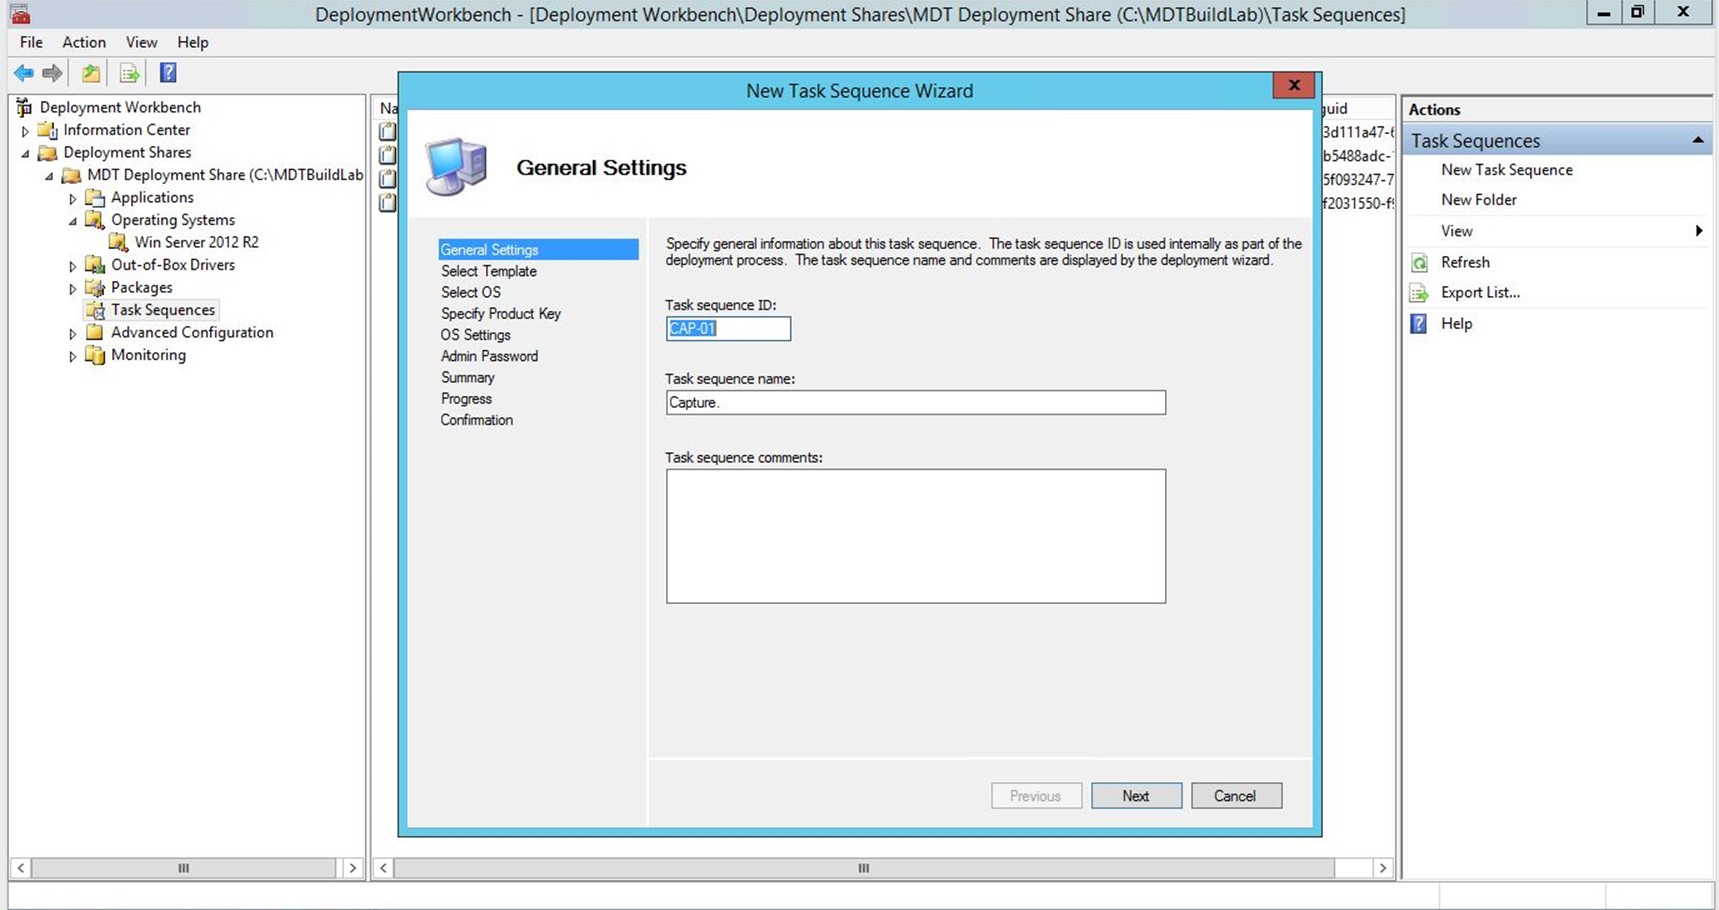
From the MDT Deployment Workbench UI, right-click Task Sequences > New Task Sequence…
Enter a Task sequence ID, name and comments. As always, come up with a logical standard for these to help keep things organized (note, in my screenshot, there is a lot left to be desired here. In Part Two, I do a much better job of being descriptive in naming and description detail).
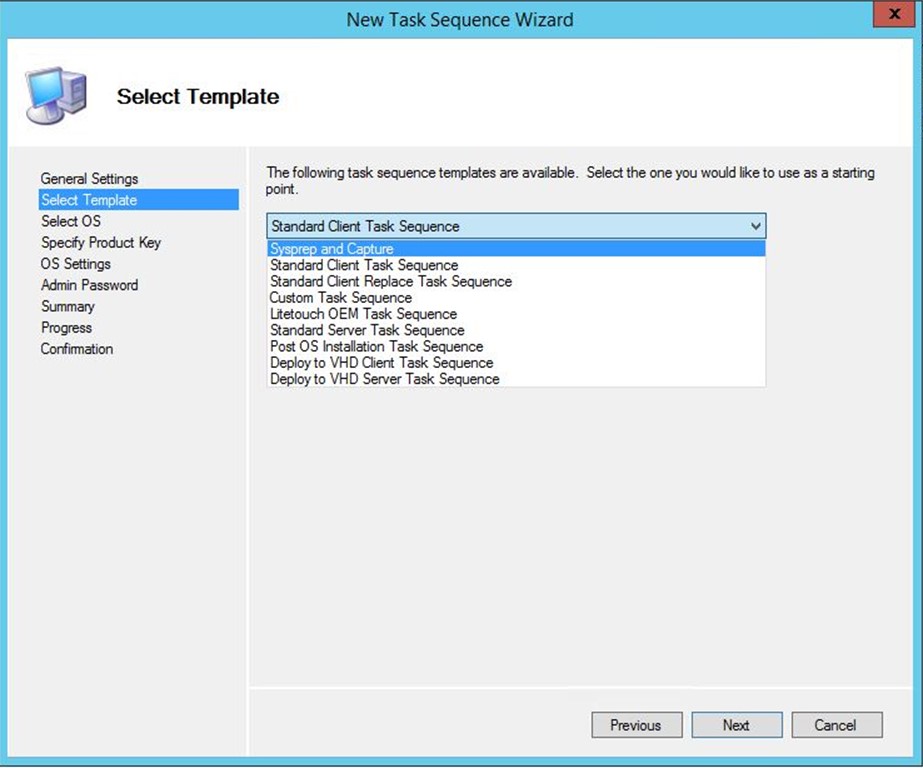
Select 'Sysprep and Capture' for the Template…
- Sysprep prepares a system to be re-deployed by removing many of the personality traits of a given system, such as name, IP address, etc.
- Once the system is 'generalized' with Sysprep, we then capture the image so it can be redeployed to future systems
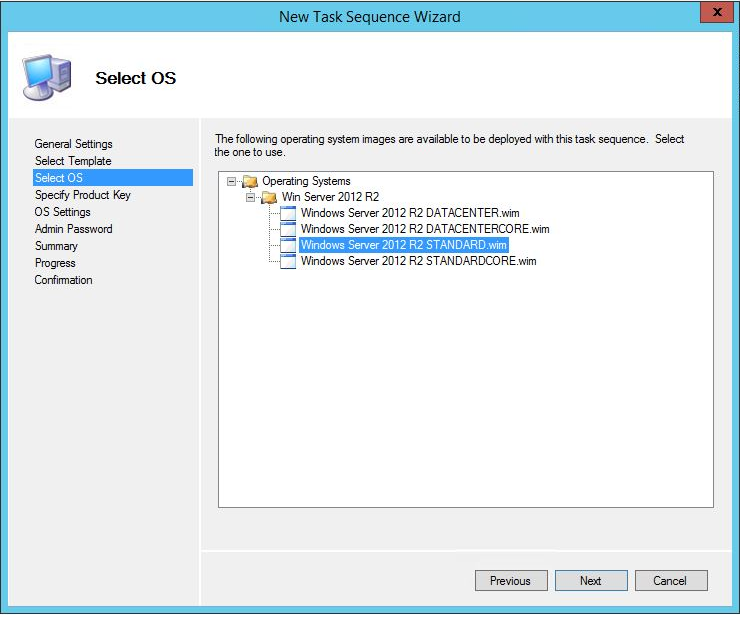
Choose an OS that matches the OS you're going to capture…
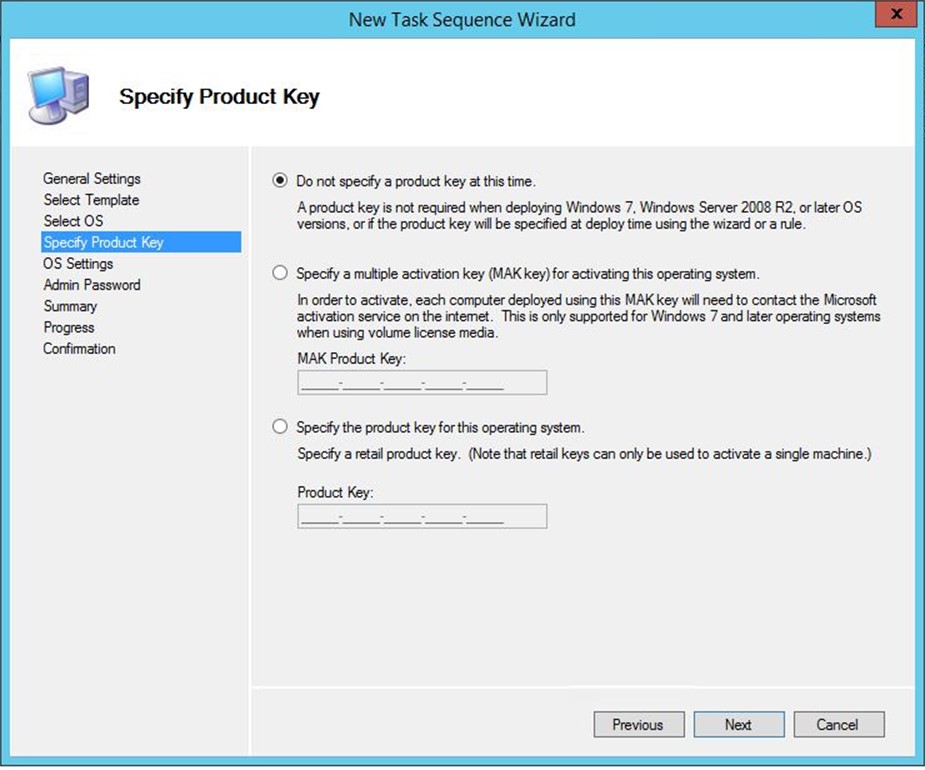
You don't need to specify a key for a capture…
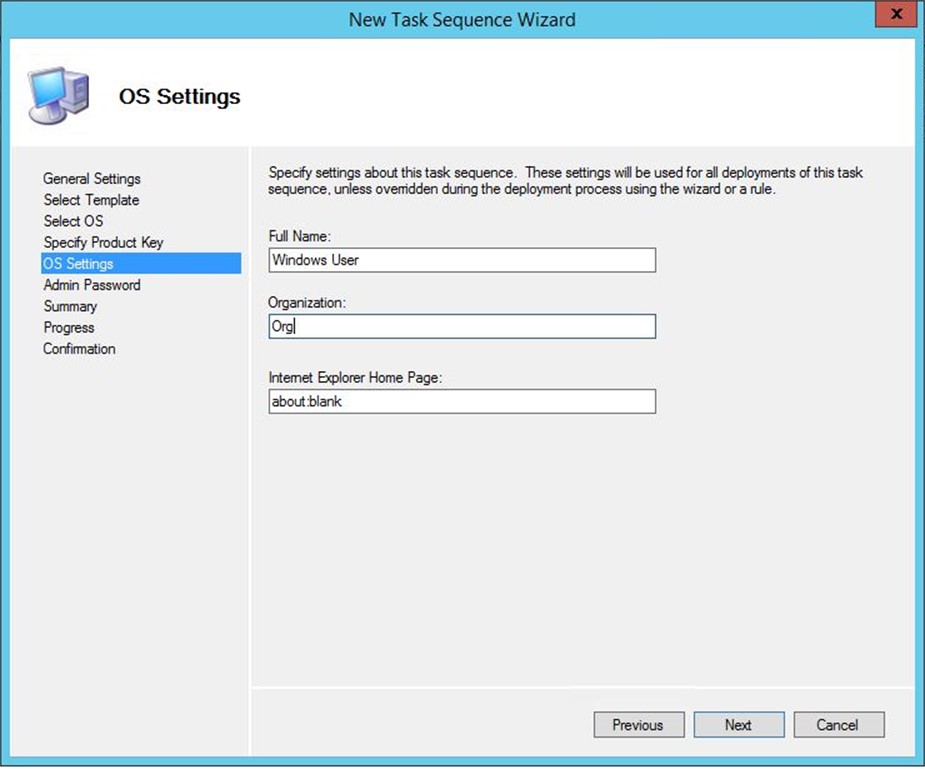
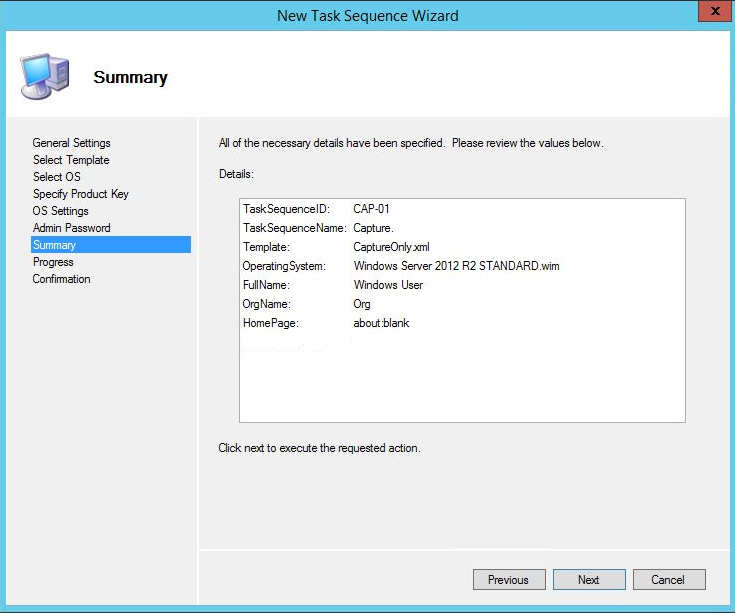
Provide information for the following fields…
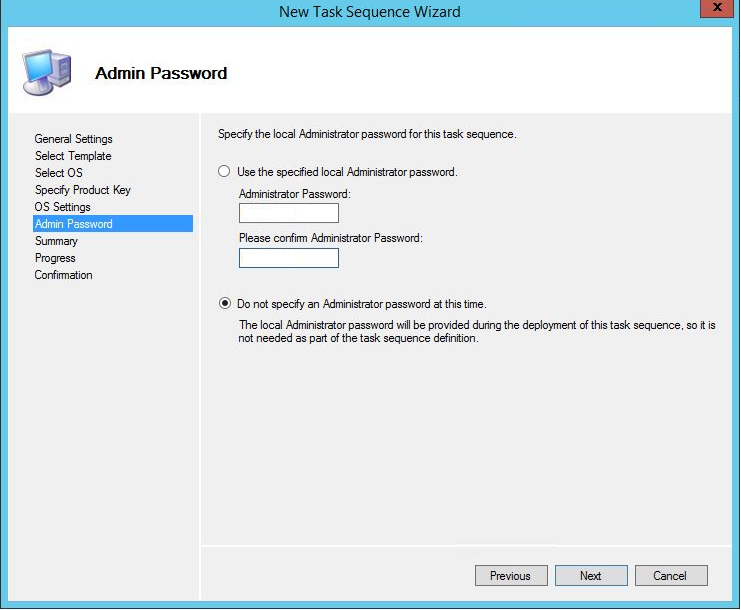
You don't need an admin password for a capture – we're just generalizing the system and then copying the generalized WIM file…
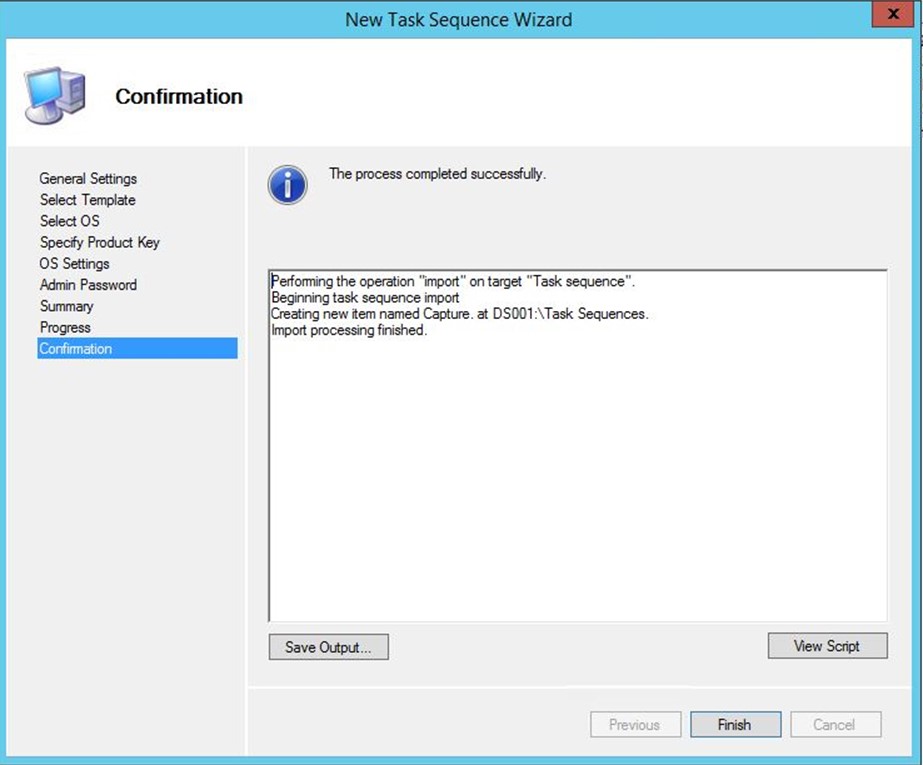
Click Next and then Finish…
Create and capture a base build image
To review, so far, we have:
- MDT installed and setup
- an OS media set imported
- a "Sysprep and Capture" Task Sequence created.
Next up, build your base OS and customize it as desired.
For my scenario, some of the reference image details include:
I installed Windows Server 2012 R2 Standard Full GUI OS and patched it up via Windows Update
I customized the Start screen layout
I setup BG Info to capture certain system info/details and positioned it on the desktop background as yellow text with the system name bold and big
I added desktop icons
I customized the folder view settings to show hidden folders/files, file extensions, and details
I customized the desktop background color to a bright blue
I did NOT join a domain – I left the system in a workgroup otherwise, later on, my capture would fail
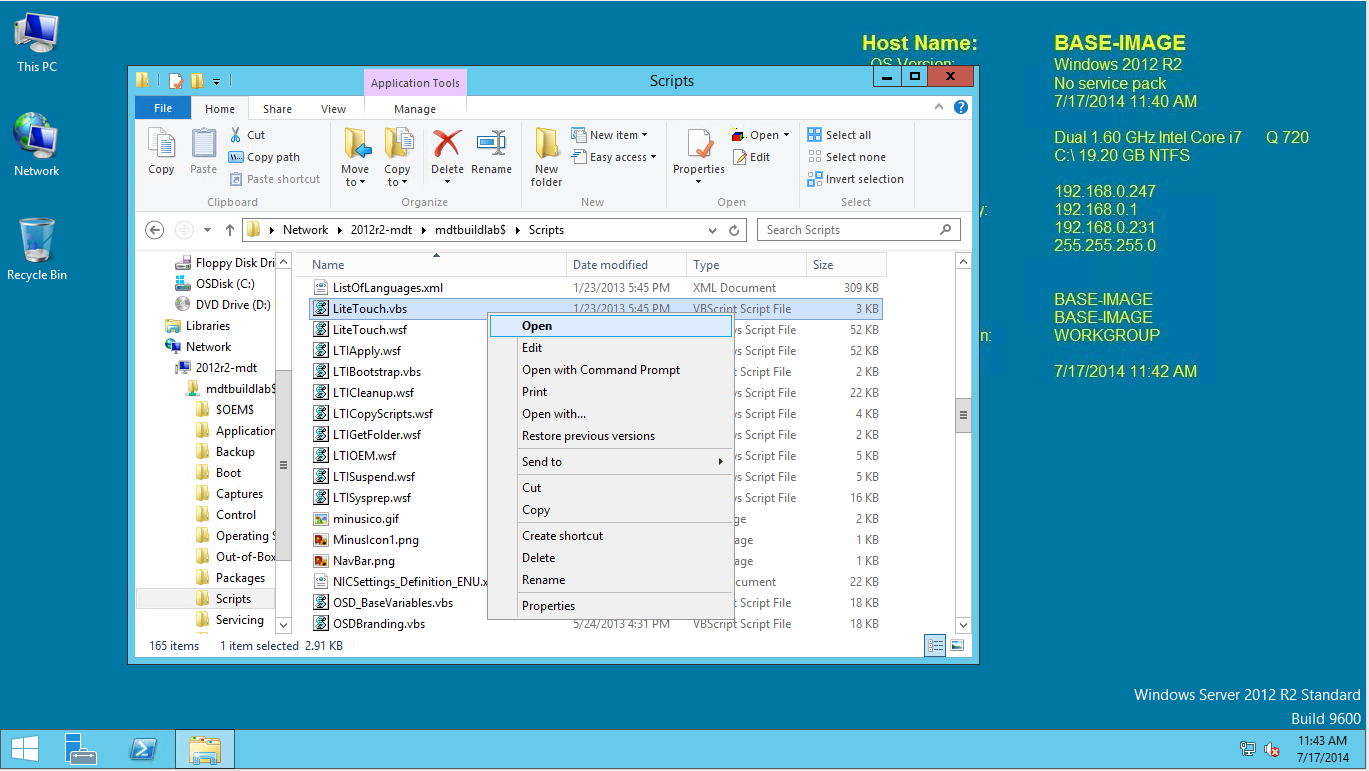
Once the build was configured to my liking, I connected to the MDT Deployment share from the built OS and kicked off 'LiteTouch.vbs'
- This is a key point – you kick off the capture from within the built OS
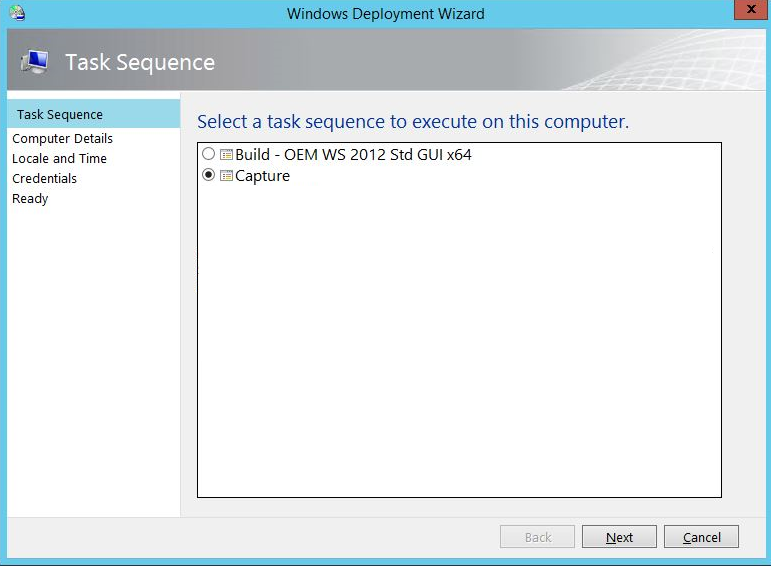
Choose the Capture Task Sequence we just created…Next
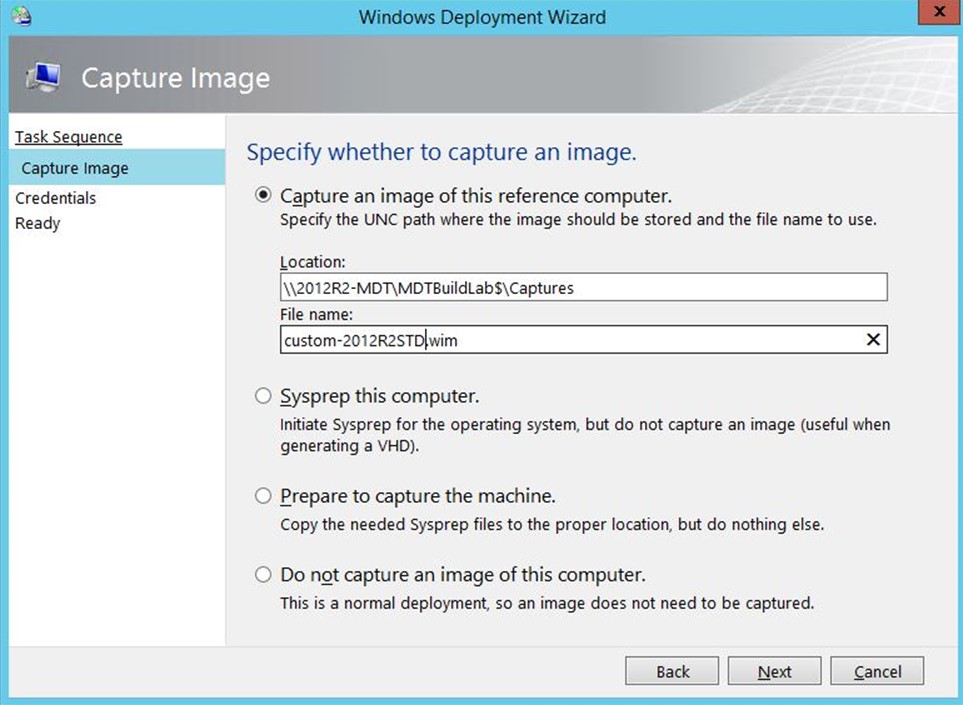
Choose the top option to capture an image – the path will default to a folder/share created as part of the MDT setup that Charity covered. Name the WIM file…
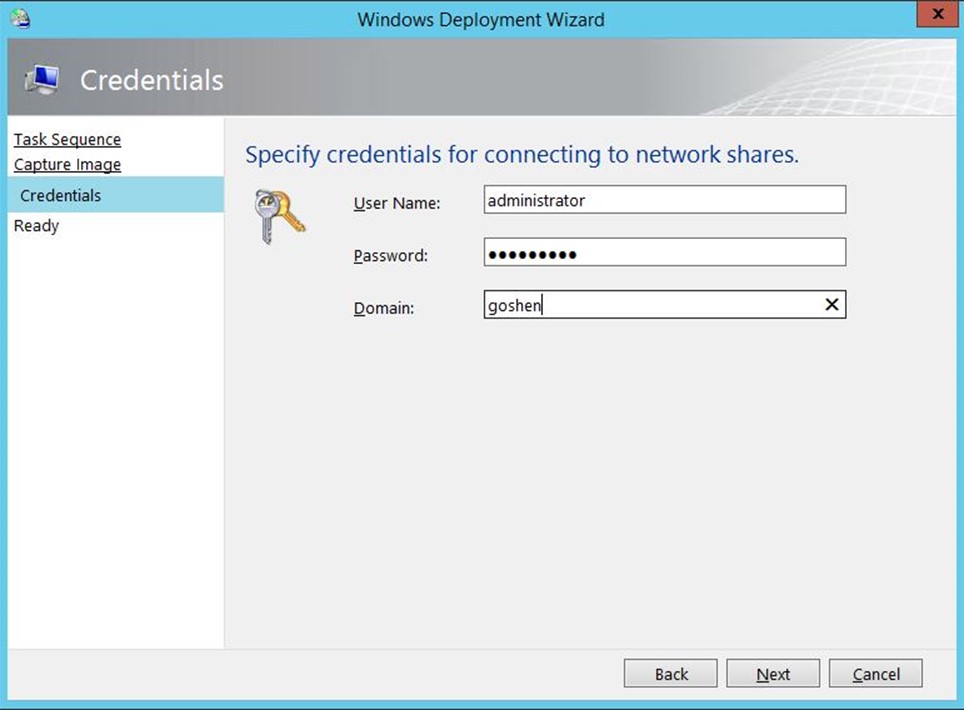
Enter credentials to connect back to the MDT server/share
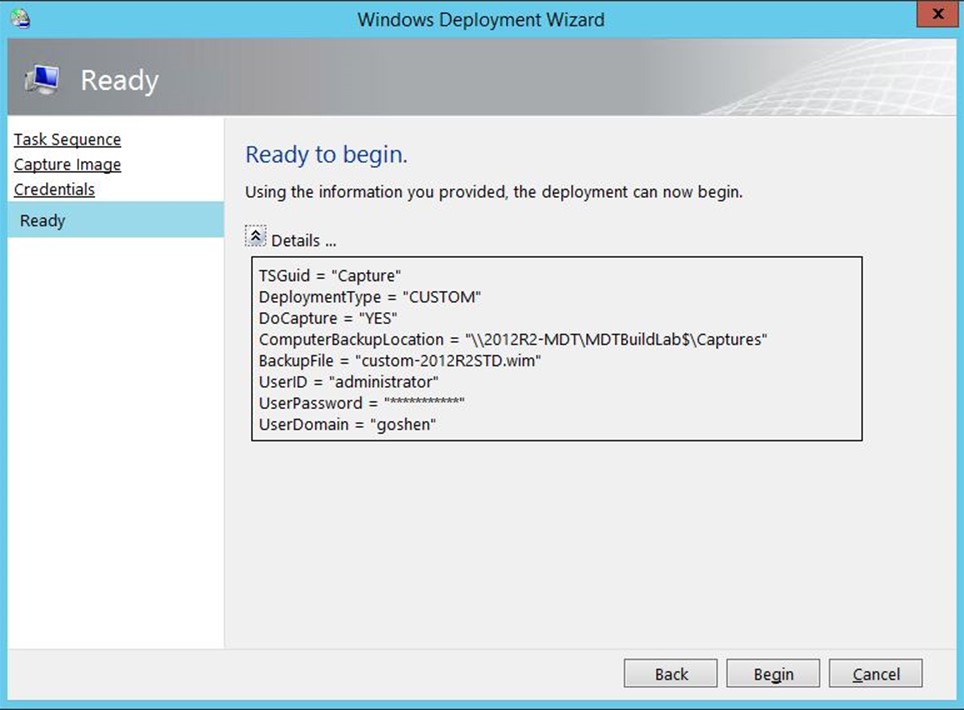
Expand and review the details, then click Begin…
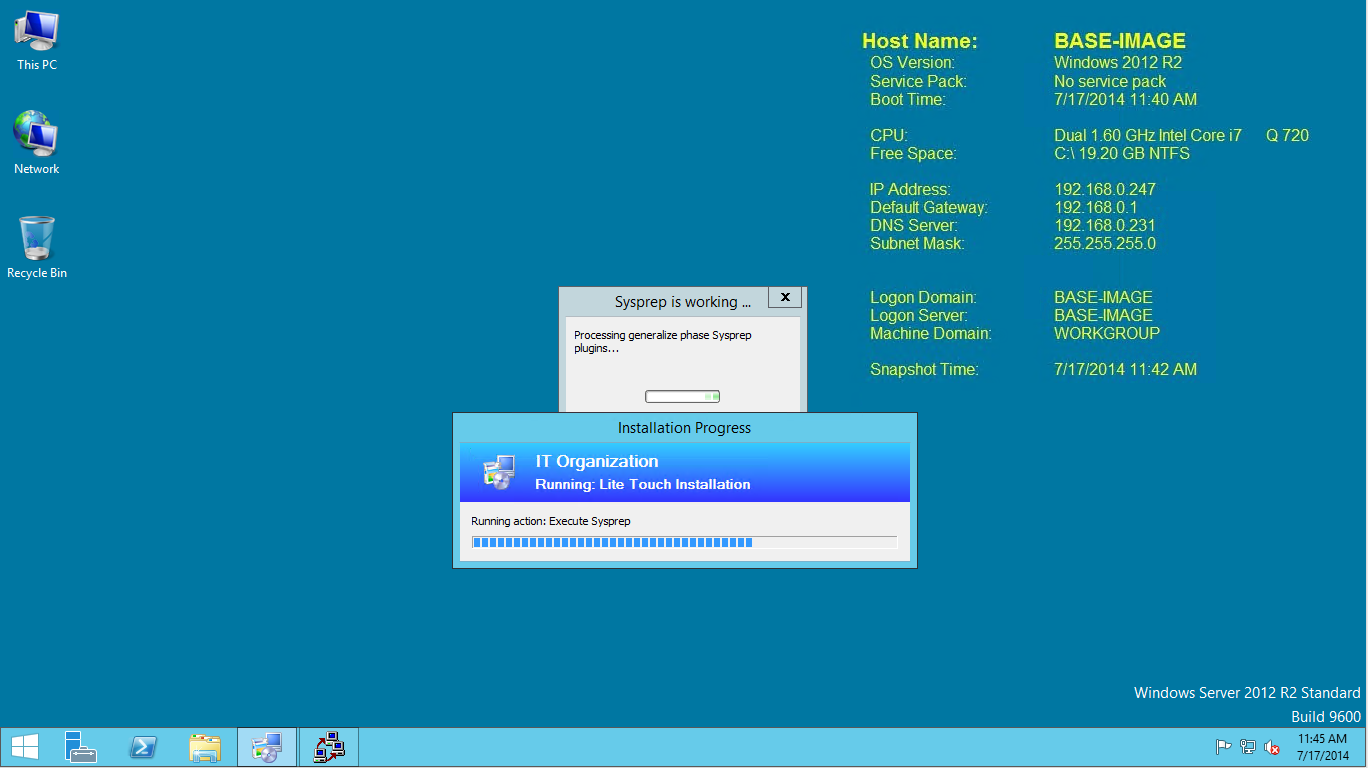
The capture process kicks off, runs SYSPREP on the reference system, copies the custom WIM file back to the MDT server and shuts down the reference system…
Import the custom build image into MDT for re-deployment
After the customized build has been captured and the WIM file has been copied back to the MDT system, it needs to be moved around within MDT:
From the Deployment Workbench, right-click the target OS Folder and choose 'Import Operating System'
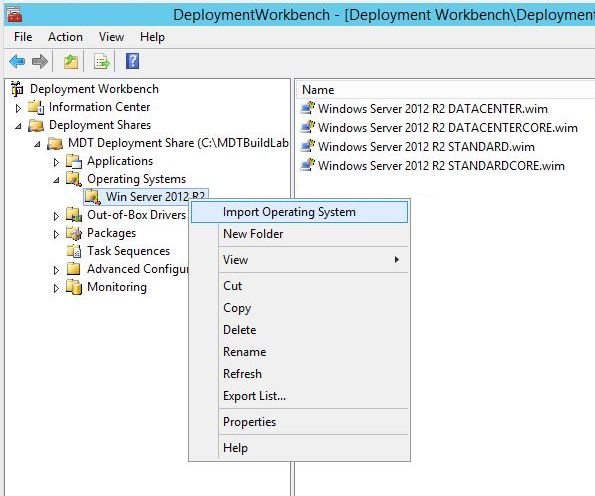
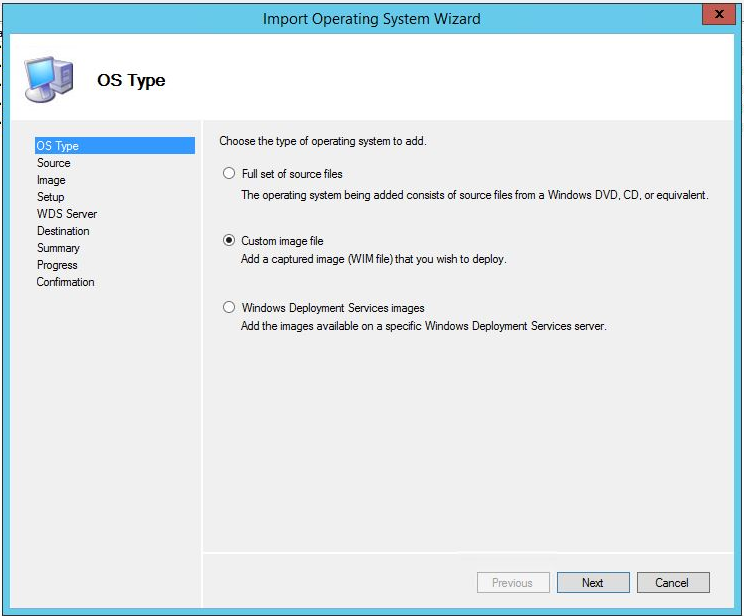
Choose 'Custom Image File'
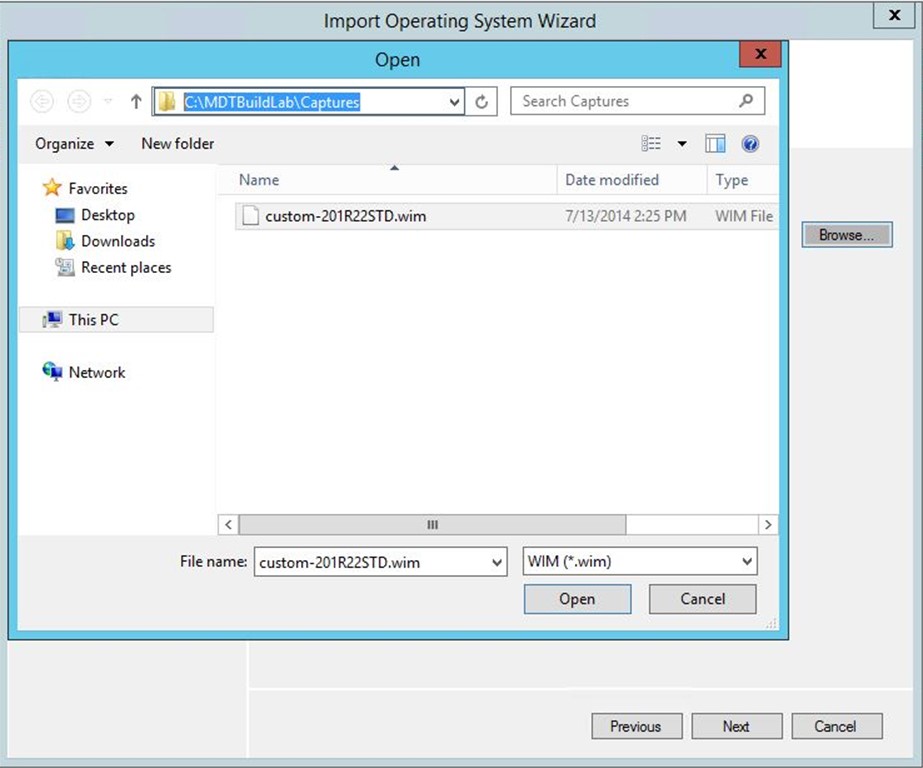
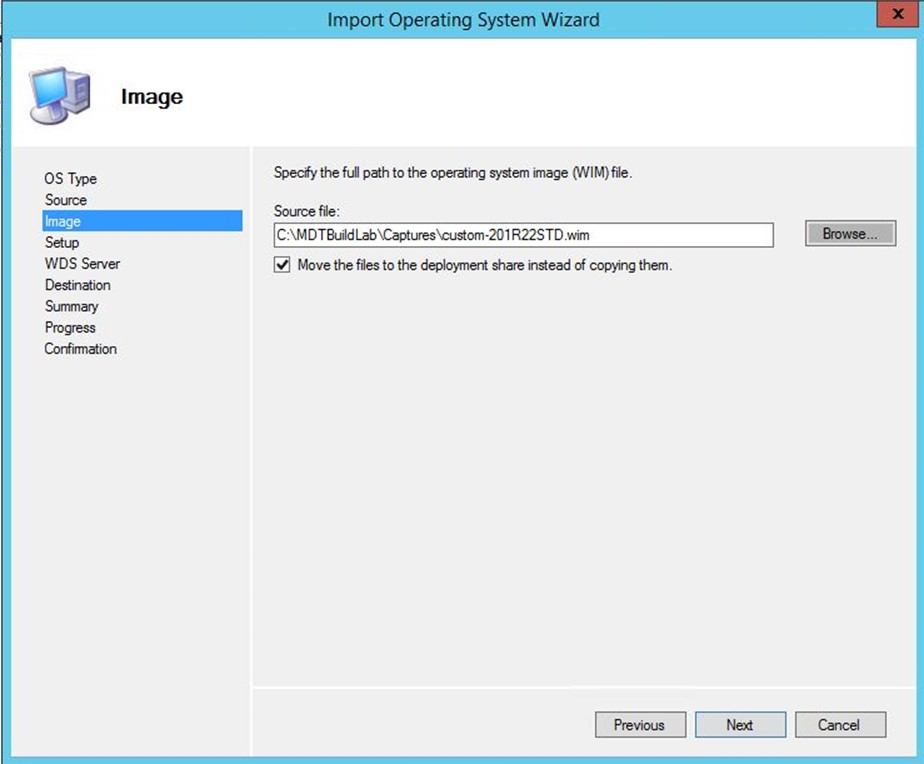
Browse out to the WIM you just captured – note the path for where the WIM gets copied to during the capture - …\MDTBuildlab\Captures:
Select to "Move the files" instead of copying them to save some disk space on your MDT server…
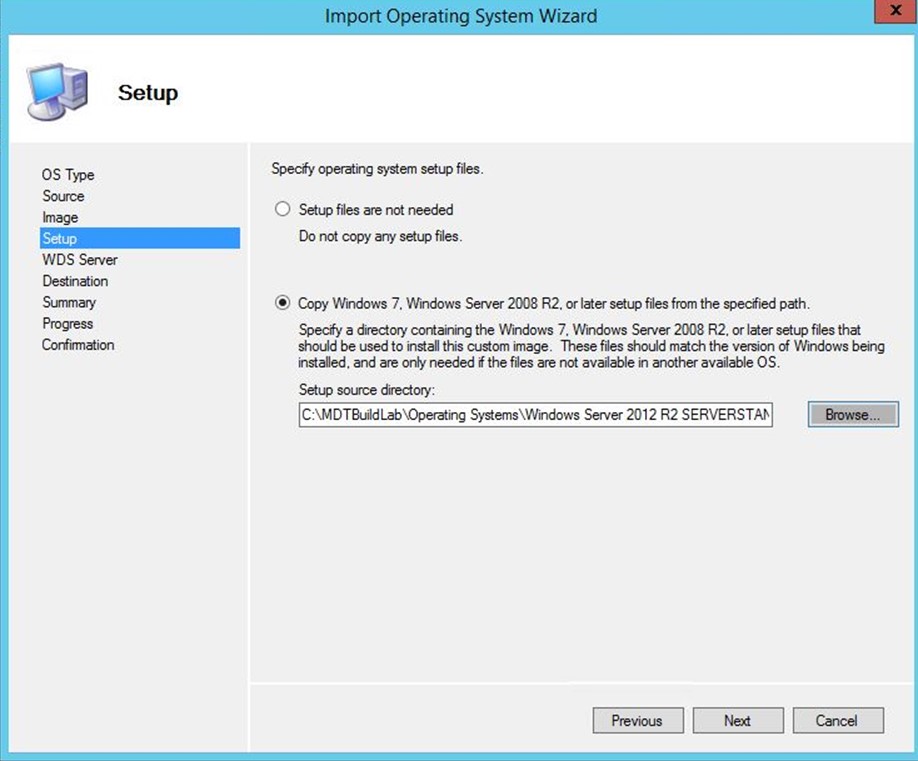
Select to copy setup files and browse to the location of your imported RTM OS media files
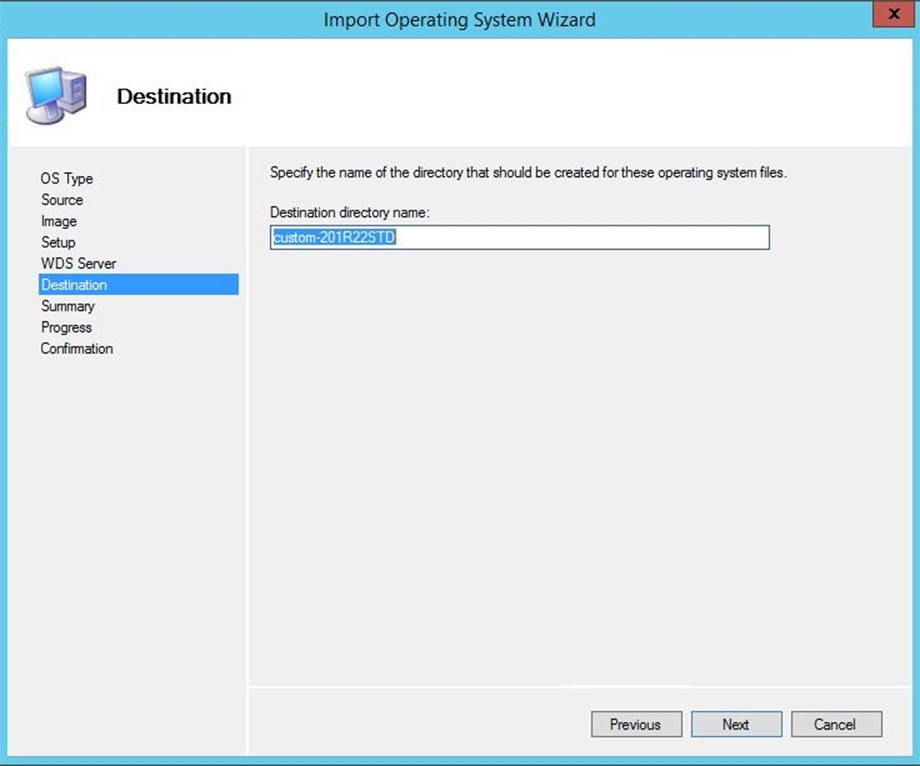
Enter a name for the new sub-directory which will house the WIM:
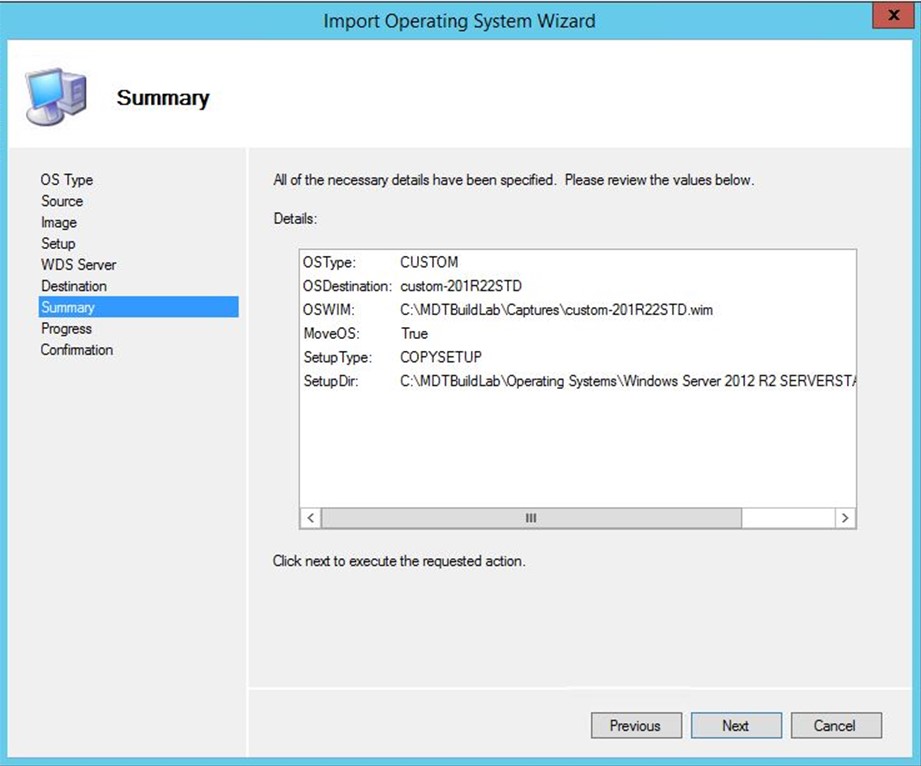
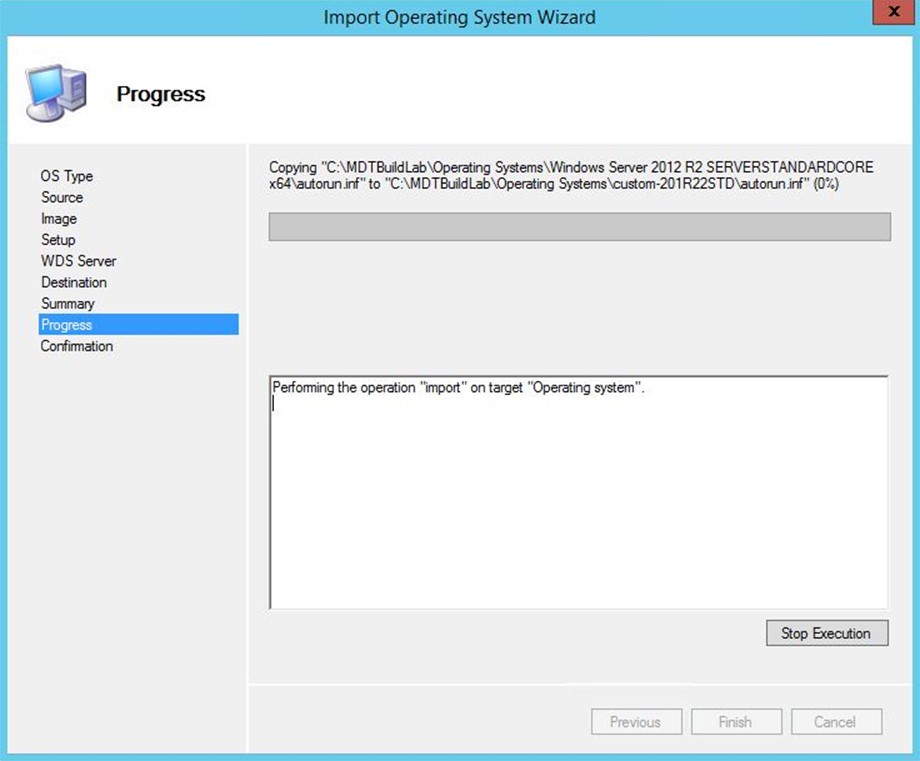
Review … click Next then Finish
The first thing I did once the WIM was moved, was re-name it…yes, I could/should have done it when I captured the system but I didn't.
Wrap up …
So, that's it folks. In Part One, we:
- Configured MDT a bit
- Created a custom "Sysprep and Capture" Task Sequence
- Built a reference system and configured it to our liking
- Used the Capture Task Sequence to sysprep and capture the reference system into our MDT Workbench
Stay tuned for Part Two where we'll pick up from here and:
- Create a "Server OS Deployment" Task Sequence
- Customize the Deployment Task Sequence with a few options
- Use the Task Sequence to deploy both a physical and a virtual machine