How to Use The Same External Ethernet Adapter For Multiple SCCM OSD
Hey, did you miss me? This is Joao Botto again, this time in collaboration with Configuration Manager PFE Neil Potter.
You may have noticed that when Platforms PFEs talk about deployment the deployment scenarios are usually illustrated with MDT examples. That’s because System Center Configuration Manager does a lot more than just deployment, and we have a team of PFEs that focus on this product exclusively. PFEs from these two technologies work together quite regularly and what never ceases to impress me is that in those situations 1+1 is always much greater than 2 ![]()
So Neil and I both get asked this question quite regularly and we decided to answer it together: How do I deploy multiple devices through Configuration Manager using the same external Ethernet adapter?
First things first: What is a MAC Address?
MAC stands for Media Access Control, but that doesn’t make it any easier to understand what it is. At least not to me.
The MAC Address of a network interface is its unique identifier. Think of it as the serial number of that network interface. It is usually set by the manufacturer and saved in the firmware. So each interface will have a different one and you will see multiple of those in your machine: one for Ethernet, one for WiFi, one for Bluetooth, etc. If you open a command prompt and run ipconfig /all you will see that each interface has a “Physical Address” – that is the MAC Address.
Configuration Manager, SMBIOS and MAC Addresses
System Center Configuration Manager 2012 uses SMBIOS to identify computers, and falls back to MAC Addresses if SMBIOS information is not available.
SMBIOS is the GUID that is stored in the Device’s BIOS or UEFI. It’s unique to the device and Configuration Manager uses it to recognize prestaged computers.
When computers are not prestaged, Configuration Manager will know them by their Ethernet MAC Addresses by default.
So what’s the problem with having a device registered with its MAC Address?
The problem is that MAC Addresses are unique identifiers of network interfaces, but network interfaces don’t have a 1:1 relationship to devices anymore. Wait. What??
Imagine that you have a tablet or ultrabook. That device will probably not have an internal Ethernet adapter. So if you want to reimage the device you will be using an external Ethernet adapter through your usb port. And since that external usb adapter will not be frequently used after the device is deployed, maybe you won’t buy an adapter for each device and instead use the same adapter in many different devices – now you are seeing the same MAC Address in multiple devices. See the problem here?
Now whenever System Center Configuration Manager sees the MAC Address of that external Ethernet adapter he will think it’s the same device. So after imaging the first device, that MAC Address will be known by Configuration Manager and used to identify that device. The Task Sequences used to deploy OS images are usually only advertised to unknown computers, and will not be available if that MAC Address is already recognized. This is a design choice to avoid know computers from being accidentally reimaged.
The question that stands is: How do we image a device when the Ethernet adapter was already used to image another device?
Solutions for this problem
Multiple solutions are available here:
1. Use MDT for deployment, it won’t care about the MAC Address. But you may be leveraging some features that only exist in Configuration Manager and MDT is not an option.
2. Force the use of SMBIOS by prestaging devices (described in detail by our Wes Johns in https://blogs.technet.com/b/pauljones/archive/2014/04/22/using-configuration-manager-to-deploy-os-with-a-shared-network-adapter.aspx ). This is a solid solution, but sometimes it’s discarded because of its level of complexity, and it requiring permissions to the Configuration Manager console
3. Use the sample script Neil and I are providing. Just run the script as the very last step of your deployment Task Sequence - At the end of each machine deployment you will be prompted to remove the Ethernet adapter and the script will rerun the hardware inventory so that Configuration Manager identifies the machine by its WiFi MAC Address, making that Ethernet adapter unknown and available for a new deployment. https://gallery.technet.microsoft.com/scriptcenter/Enable-multiple-SCCM-OS-861e42bb
The step by step on how to use our script
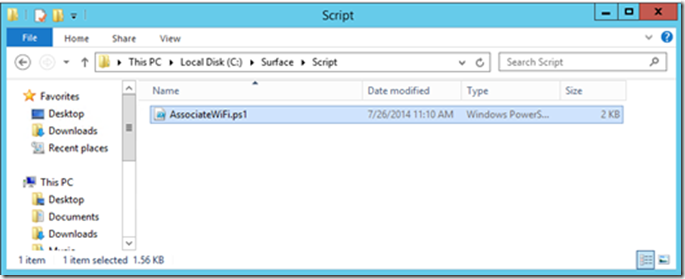
First thing to do is to put the script in a folder. We will soon use that folder as source to create a Configuration Manager Package
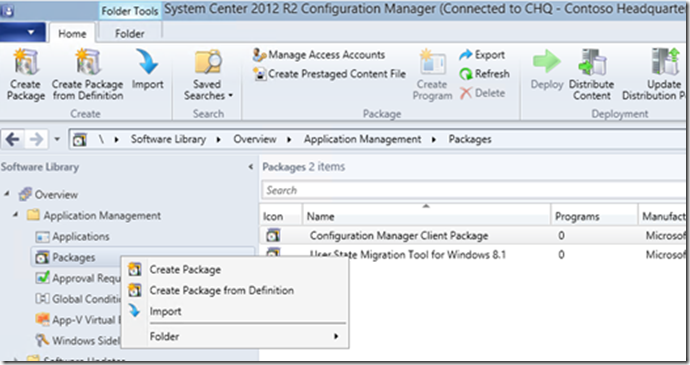
To create the package start by right-clicking Packages and selecting Create Package
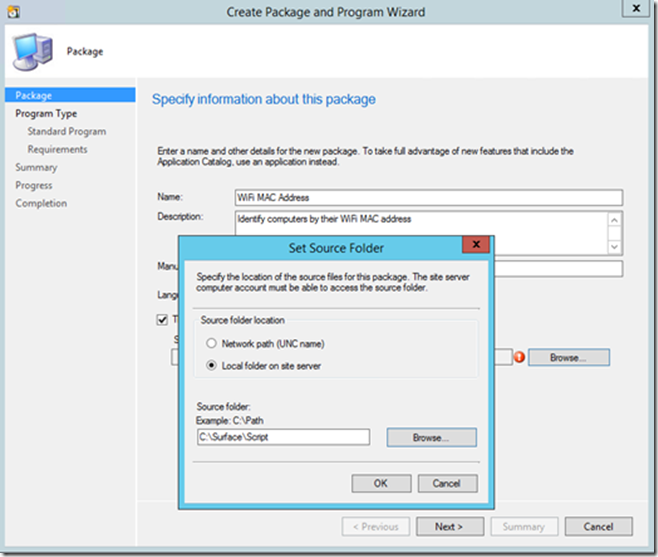
Then specify the folder where you have the script. It can be a unc path or local folder on the server
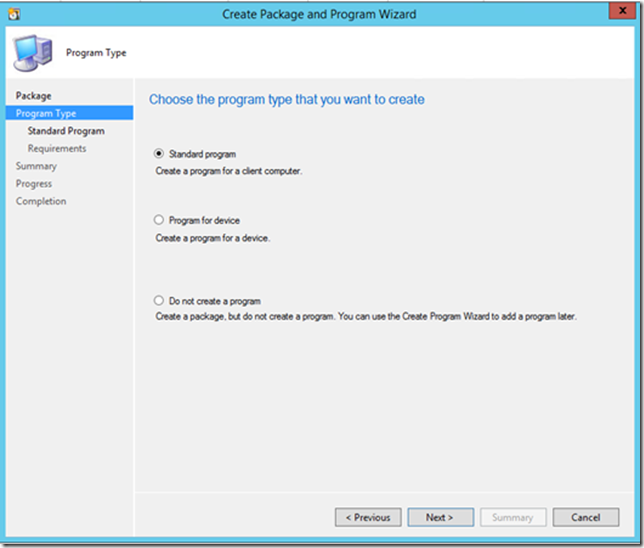
Select Standard program
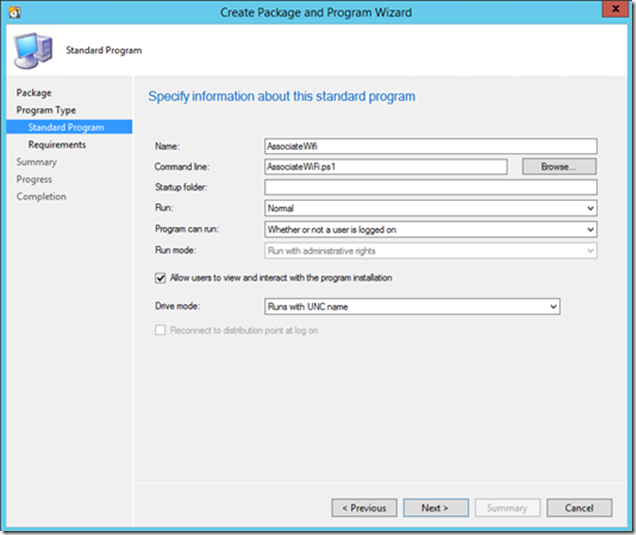
Then specify how this script should be executed
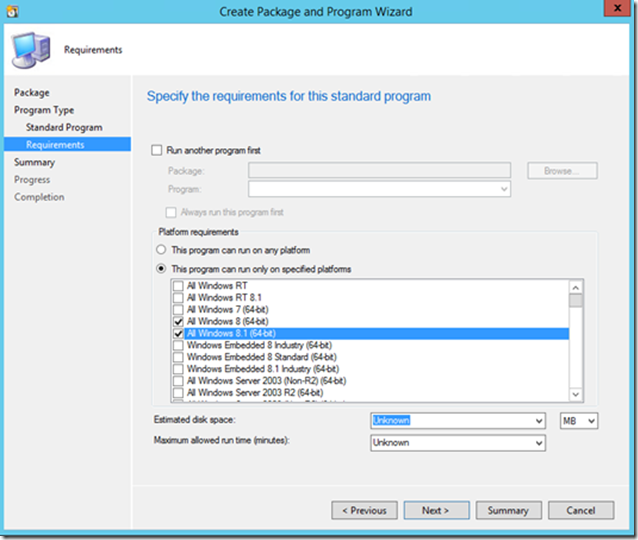
And you may also specify what OSes it will execute on
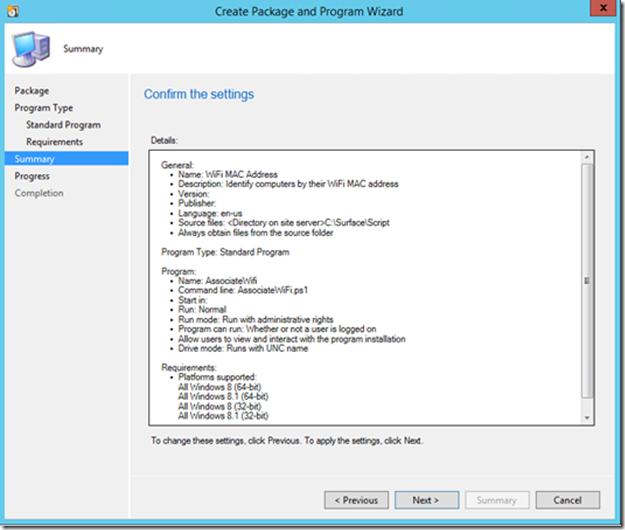
Click next on the summary page
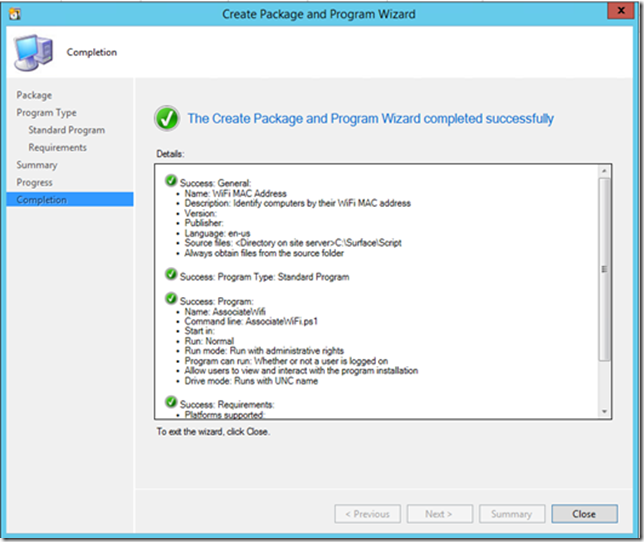
If all went well you should see this.
When you're done creating the package, it's time to set the script to execute as the last step of your deployment Task Sequence.
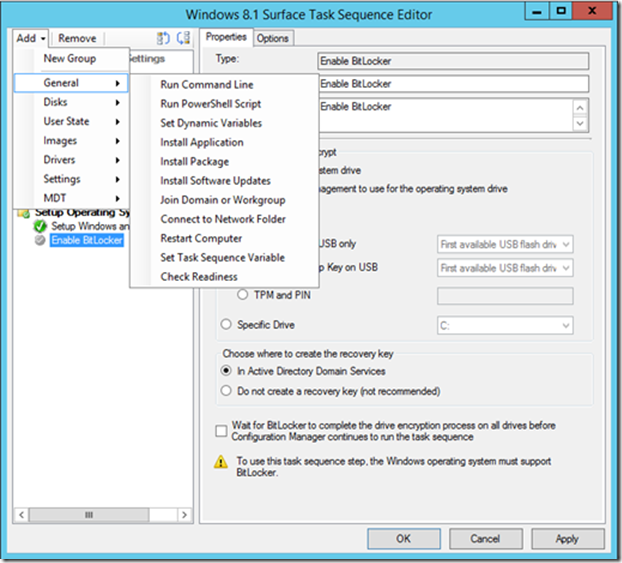
First add a new step in your Task Sequence of the kind Run PowerShell Script
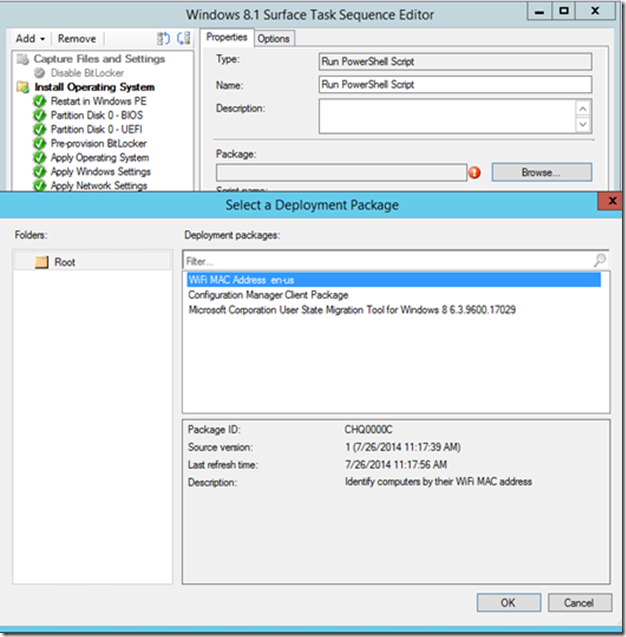
Next select the script package you have previously created
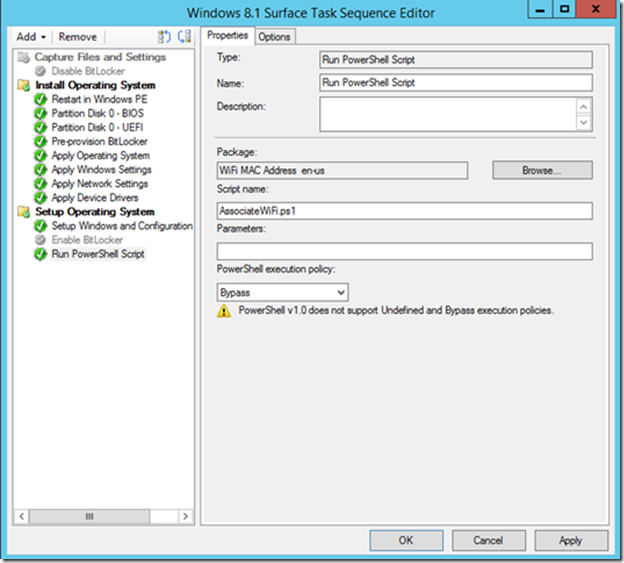
And finally make sure you set the PowerShell execution policy to Bypass unless you have signed your script
You're all set to run this script as part of you Task Sequence!
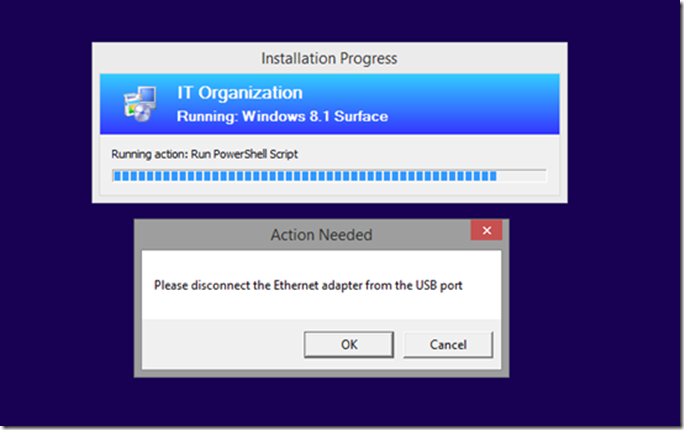
This is what you will see at the end of the Task Sequence when your script is executing:
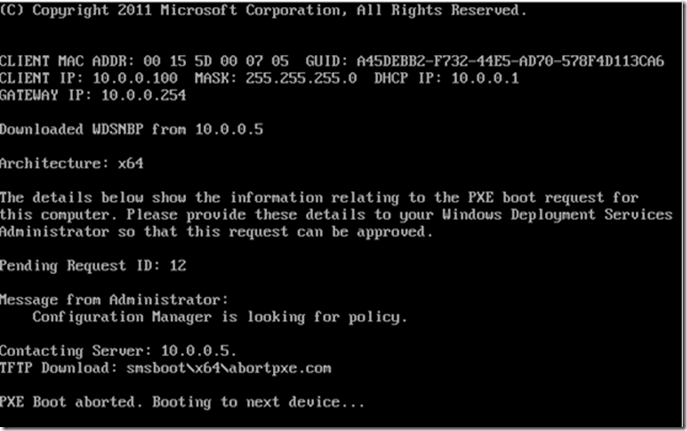
If you don't run this script, when you try to deploy another device using the same external Ethernet adapter you will see Configuration Manager is looking for policy … PXE Boot Aborted. This is because the MAC address is not unknown anymore. You will see this:
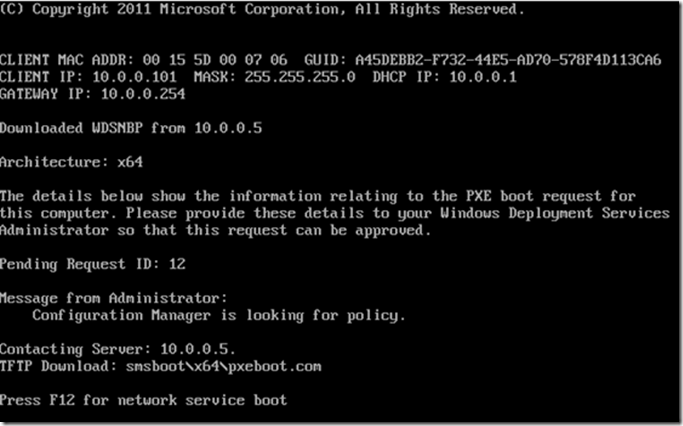
If you do run the script you will see this:
What if a freshly deployed machine cannot connect to Configuration Manager through WiFi?
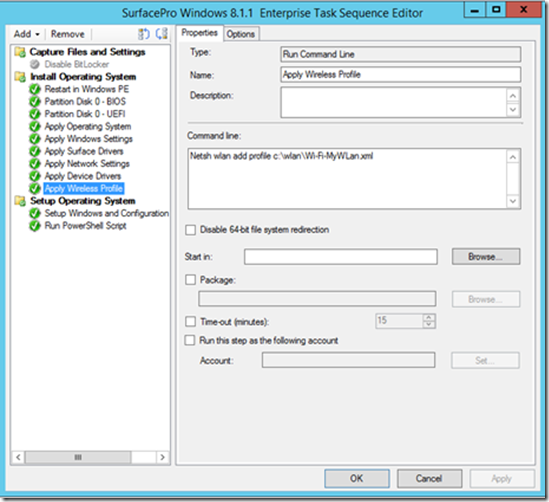
Then you just need to add your corporate WiFi profile as part of the Task Sequence!
How you handle the wireless profile or if you need one at all will depend on your environment.
Here is an example that worked for us:
1. Netsh wlan show profiles
a. From the list pick the profile you want to use. I will call mine MyWLan
2. Create a folder to store the profile in. I used c:\wlan
3. Netsh wlan export profile folder c:\wlan name=MyWLan
a. This will create an xml in the folder. Check the folder for the name. In my case the file was called Wi-Fi-MyWLan.xml
b. To import the profile to a new device use netsh wlan add profile command
4. Netsh wlan add profile c:\wlan\Wi-Fi-MyWLan.xml
You should be able to incorporate the new profile into your Task Sequence. The ideal time should be after the OS is installed but before the script runs to force the inventory.
In the example the .XML file is copied to the reference computer and captured as part to the image file.
For details on netsh usage see Netsh Commands for Wireless Local Area Network (WLAN) in Windows Server 2008.
-Joao “We Can Deploy That” Botto & Neil “Don’t Call Me Harry” Potter
