Loading CSV/text files with more than a million rows into Excel
1. The Problem
If you usually load a very large CSV (comma-separated values) file or text file into Excel, you might run into the dreaded "File not loaded completely" message:
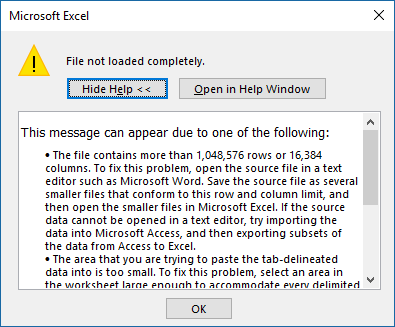
As the message explains, the file you are trying to load is too large for Excel to handle. For me, it typically happens with large log files with more than 1 million rows (technically more than 1,048,576 rows). The proposed workarounds involve breaking the file into smaller chunks or using another application to process the data (Access or Power BI can handle this kind of stuff). I ran into this in Excel so many times that I ended up posting a blog on how to break these files up. I called the post "Splitting logs with PowerShell". That was still a pain and I could never create a nice summary of the entire dataset in a single PivotTable.
2. The Solution
Well, it turns out there is a way to handle this situation using only Excel, if what you're trying to do in the end is use Pivot Tables to process the information. Excel has a way to import data from a text file without actually loading the file into a sheet (which still won't take more than a million rows).
You basically load the data into what Excel calls a Data Model, keeping just a link to the original CSV file. After that, you can create a Pivot Table directly from the Data Model. With that method, you will be able to load millions of rows. So far I have used this with up to 8.5 million rows with no problem at all.
You might be thinking that this whole business of creating Data Models is hard, but it's surprisingly simple.
3. The Steps
Let's go over the process for loading the CSV into the Data Model. My screenshots use Excel 2016 and that's the only one I actually tested myself. I did hear that this functionality is also available in Excel 2013 and Excel 2010, but that you will have to test that yourself. If it works for you with these older versions, please post a comment.
To start, you will want to open Excel with a blank spreadsheet and look at the "Data" tab. Here's what it looks like for me:
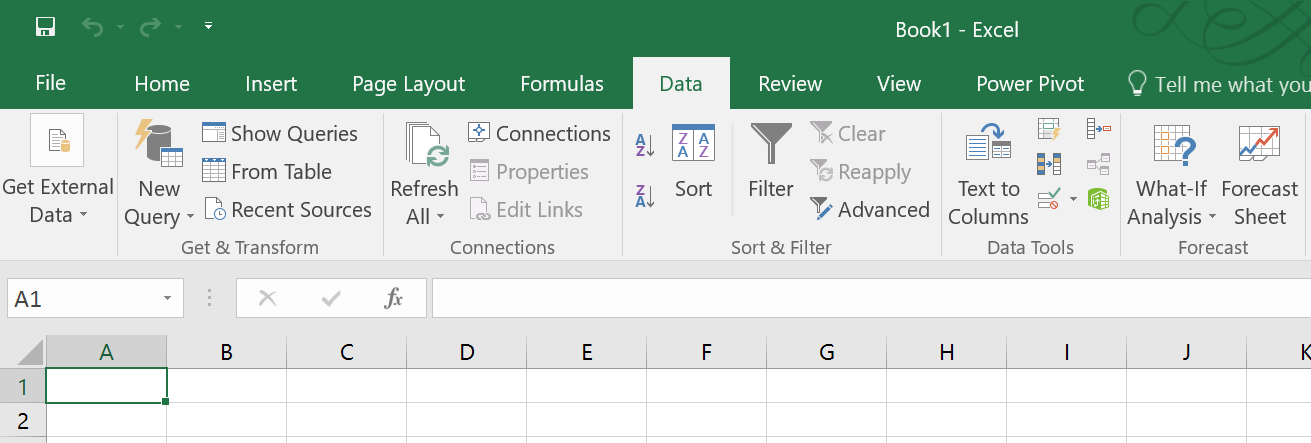
The command we will use is the second on that tab, called "New Query". In some recent pre-release versions of Excel that might show up as "Get Data".

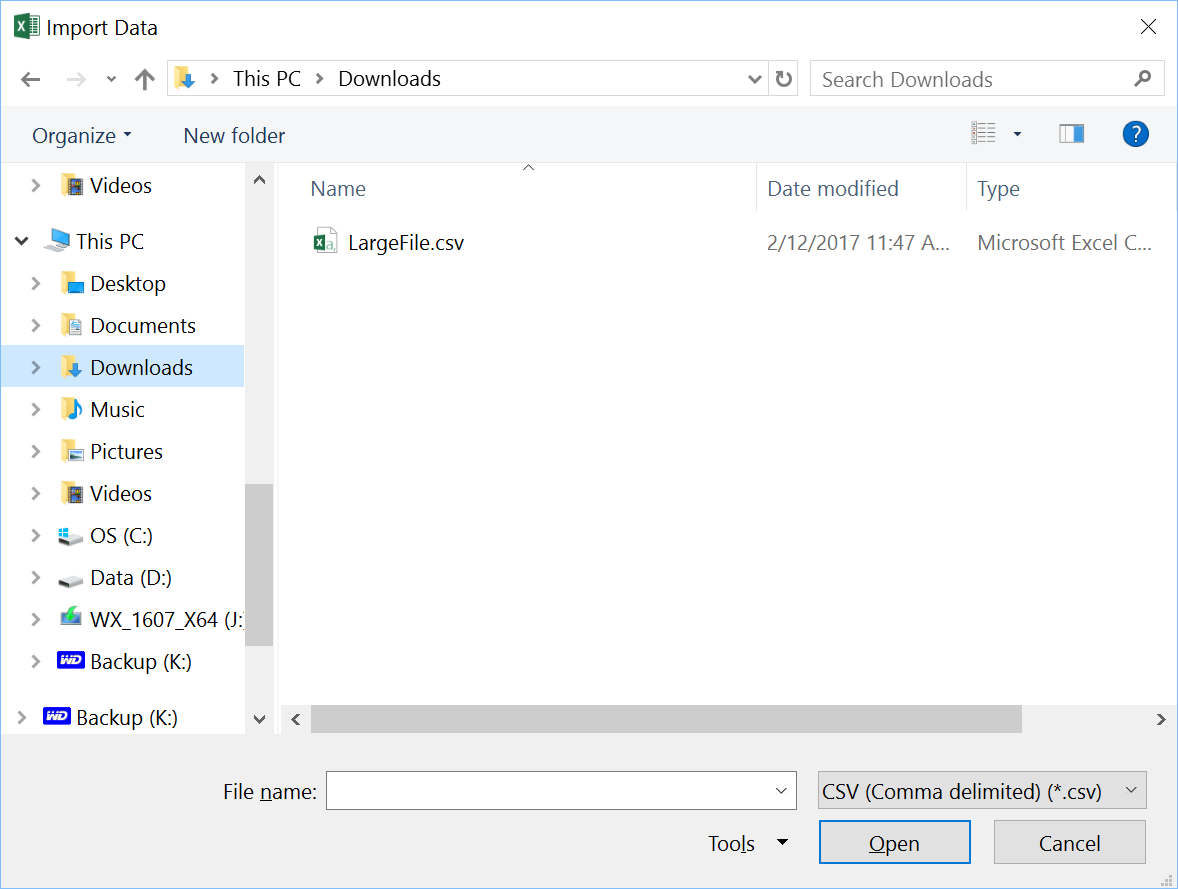
As shown above, you want to select "New Query", then "From File", then "From CSV". After that, you will be prompted for the file in the usual dialog.
Once the file is opened, you will land in a preview of the file, as shown below.
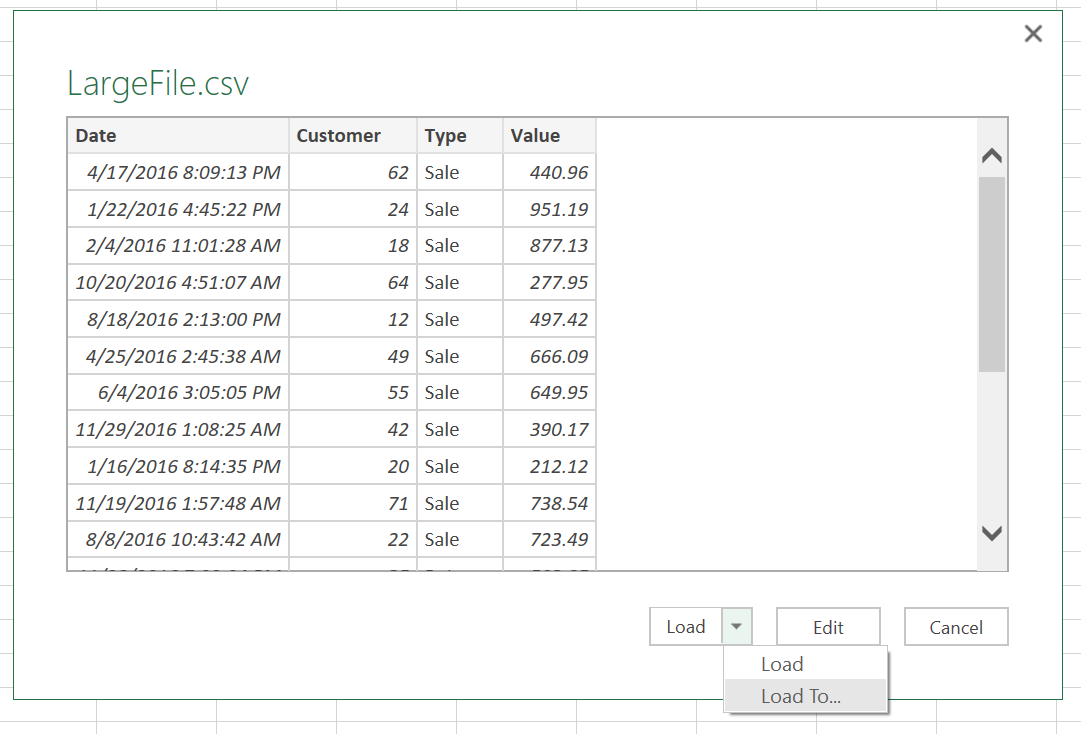
There is an "Edit" option that allows you to do some filtering and editing before loading the data, but we will take the simplest route and use the "Load To..." option.
IMPORTANT: The simpler "Load" option will not work here. You have to click on the small down arrow next to load and select "Load To...".
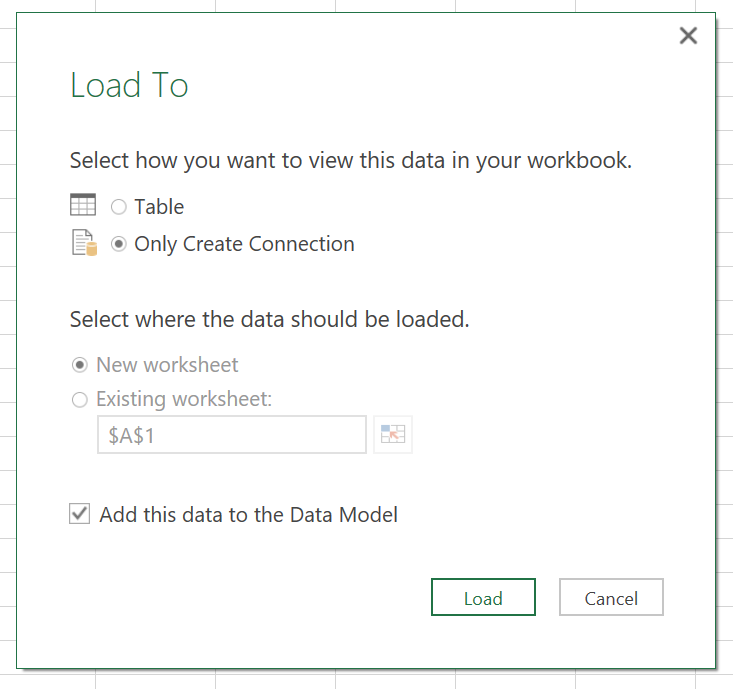
Now here is the key step in the whole process. In the "Load To" dialog, you must select "Add this data to the Data Model", which will allow you to select the option "Only Create Connection" option. This means we're not loading the data to an Excel sheet/table. This is crucial, since the sheet has the 1-million-row limit, but the Data Model doesn't. After that, click "Load".
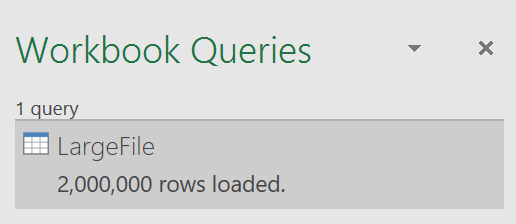
And with that, you will start to load the whole large file. In my case, I had 2 million rows. This might take a while, so please be patient as Excel loads the data.
One thing you will notice is that your newly loaded data does not show anywhere in the spreadsheet itself. You have to remember that you data lives in the Data Model, which is separate from the regular data sheets. However, if you save the XLSX file, you will notice the file will be large, so you know that there's something there.
So, how do you see the data? You have to use the option to Manage the Data Model. You see that as the first option in the Power Pivot tab. See below.
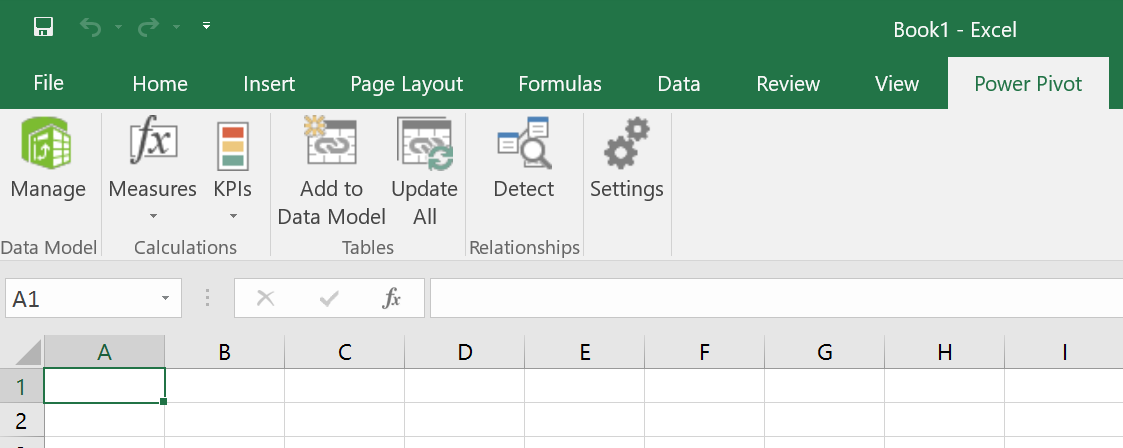
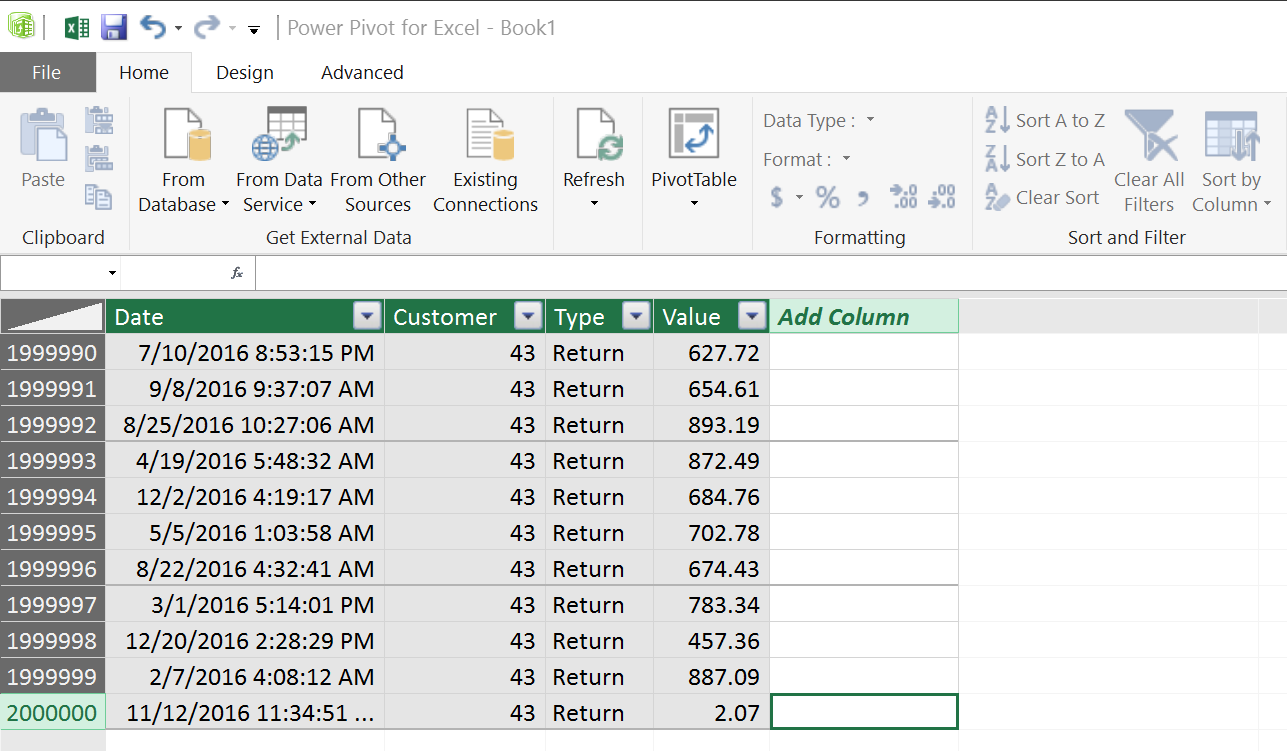
When you click on Manage, you will be taken to the Data Model as shown below:
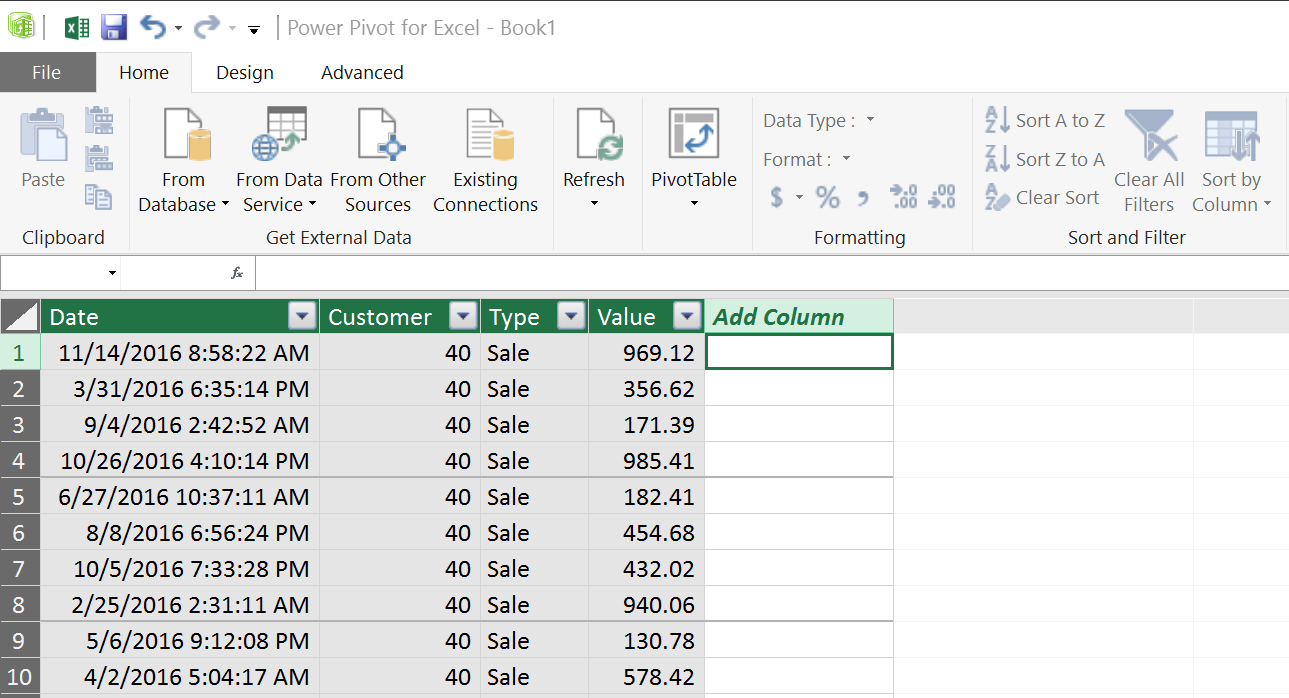
In this special window, called "Power Pivot for Excel", you will see the data in the Data Model. You will also be able to add calculated columns, filter the data, format the columns and perform all kinds of management activities. This is not a regular Excel data sheet, so you can't simply create Excel formulas here. However, all you millions of rows will be here, as you can see below. That's something you don't usually see in Excel...
OK. But we loaded the millions of rows to create a PivotTable, right? So you probably already noticed that right there in the Home tab of the Power Pivot window, there is a PivotTable button. You just have to click on it.

The PivotTable option from the Data Model does not even ask for the data source. It rightly assumes that the Data Model is the source and all you have to do is provide the location where you want to create the PivotTable. You can use the empty Sheet1 that came with your empty spreadsheet.
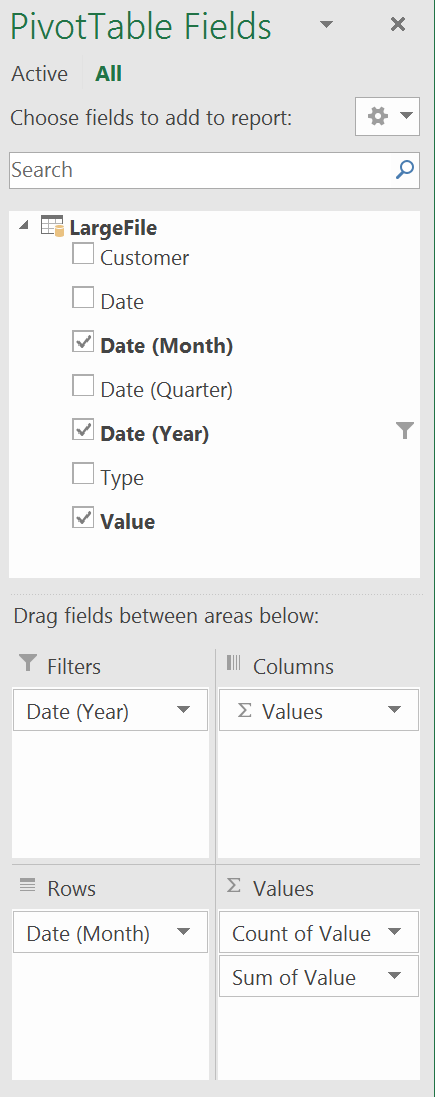
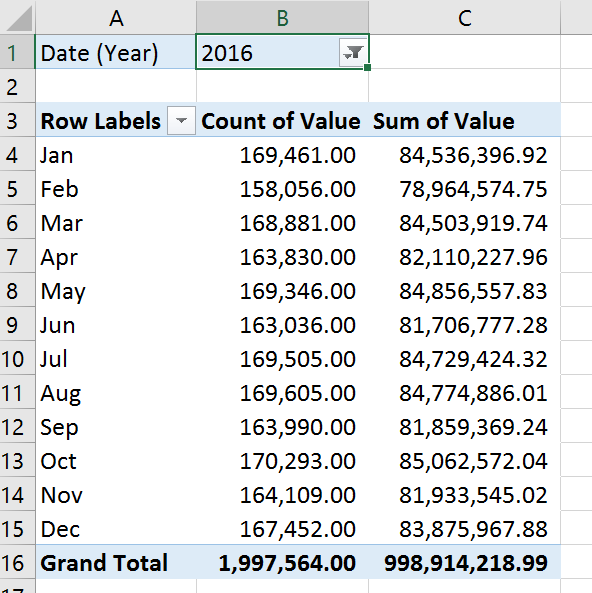
At this point, if you used Pivot Tables before, you should be in familiar territory. The columns coming from the Data Model will be available to use as Columns, Rows, Values or Filters in the Pivot Table. Here's a sample:
I hope you enjoyed the tour of the Data Model and the Excel Power Pivot. Next time you're hit with the "File not loaded completely" message, you will have a new way to work around it.
Note that this is the same mechanism that Excel uses to load data from databases like SQL Server or other data sources like Active Directory. So you have a lot more to explore...
P.S.: In case you need a test CSV file with over 1 million rows to experiment with this, you might to read this other blog post about Using PowerShell to generate a large test CSV file with random data.