How to set up an Hyper-v Linux (CentOS) server with Microsoft® SQL Server® ODBC Driver
Have you ever tried to query a SQL Server instance from linux? It might be scary for a senior Microsoft DBA. Even if you just want to play with it a bit the you might lose yourself in the Linux inner workings. For this reason I've put together a simple how-to guide that should ease the pain of the initial configuration of SQL Server ODBC Driver for Linux. At the end of this guide you will have a working CentOS installation capable of querying SQL Server via ODBC: this means any ODBC client will work (yes, including the all-powerful sqlcmd!). Note this guide is not meant to represent a production installation procedure: it's meant to be simple (an, thus, insecure!) to give DBAs a Linux playground :). If you want to dig deeper (and you should!) please refer to:
- [TechNet] Welcome to the Microsoft ODBC Driver 11 for SQL Server on Linux (http://technet.microsoft.com/en-us/library/hh568451(v=sql.110).aspx).
While we can use a standard Microsoft Azure image for this I opted for a full blown on premise hyper-v based installation.
First step: acquire a linux distribution
For this tutorial we’ll use CentOS. You can get the install image from here: http://www.centos.org/ .
Second step: install CentOS
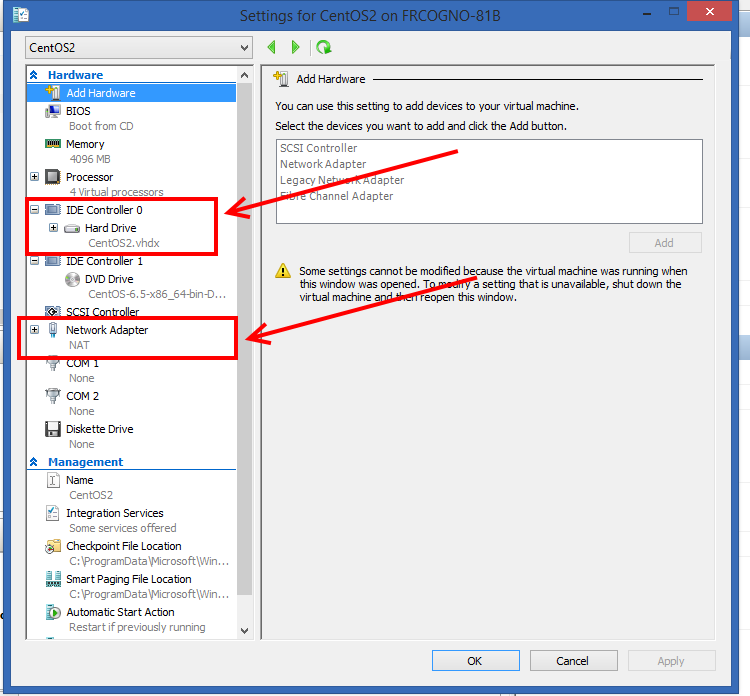
I will not go into the details here, just make your Hyper-V settings include a network adapter bound to an external network or a NATed internal network. In this lab I assume the hypervisor hosts the SQL Server instance so we need connectivity between CentOS (virtual) and the hypervisor. Please make sure your firewall-ipsec configuration allows that. I will also assume internet access for the virtualized OS (for upgrades and so on).
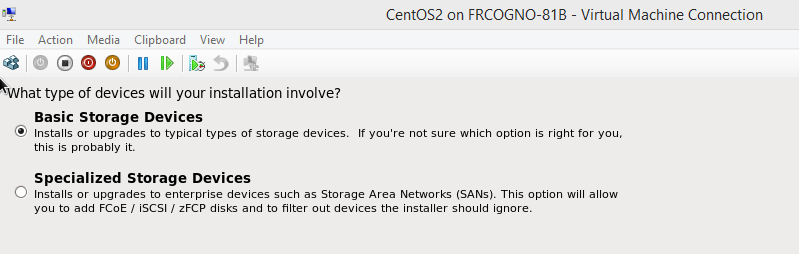
To keep things simple we can pick the CentOS wizard suggestions:
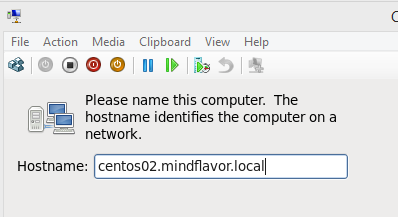
Pick an hostname:
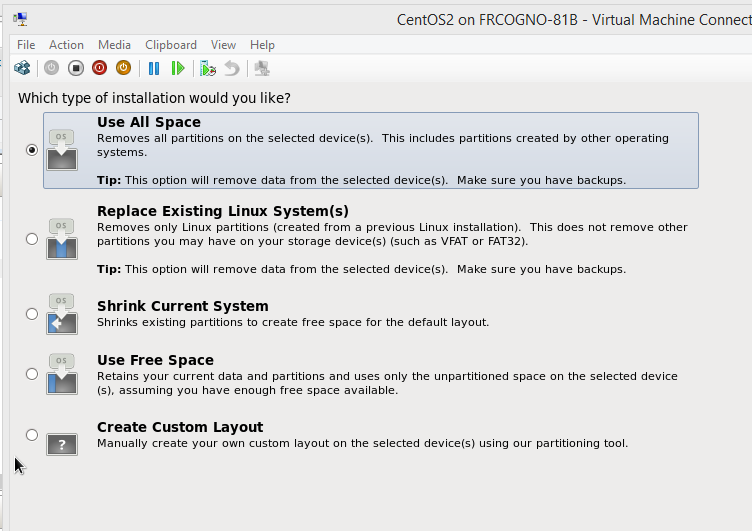
Allow the installer to use all the virtual hard disk space:
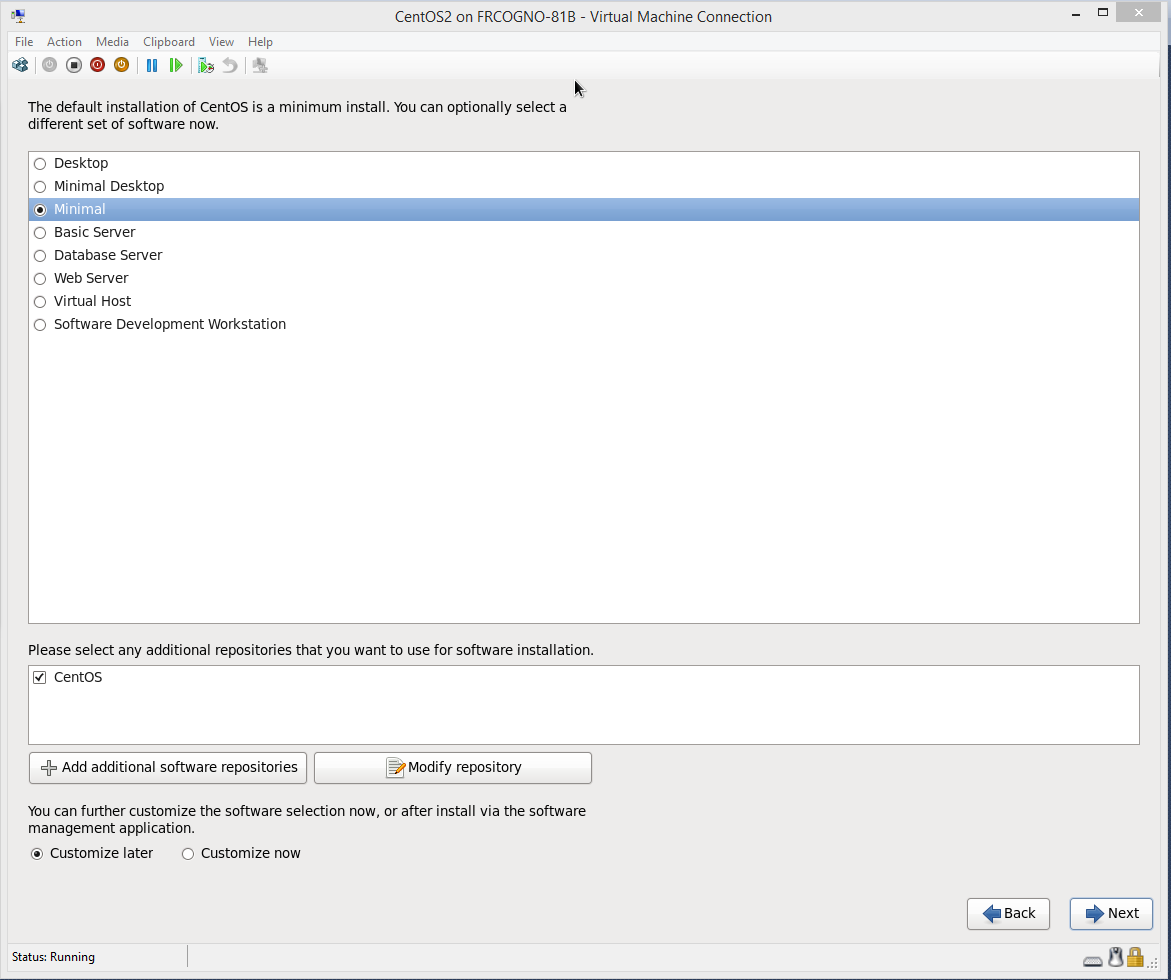
Installation type “minimal” would suffice (we don’t need a GUI after all) and we can add what's needed afterwards anyway:
After the installation and the following reboot you need to login as root with your chosen password.
Note: you should create another user to avoid abusing root. This is not shown here for the sake of simplicity. If you’re interested take a look at useradd, passwd and visudo.
Third step (optional): install Linux Integration Services Version for Hyper-V
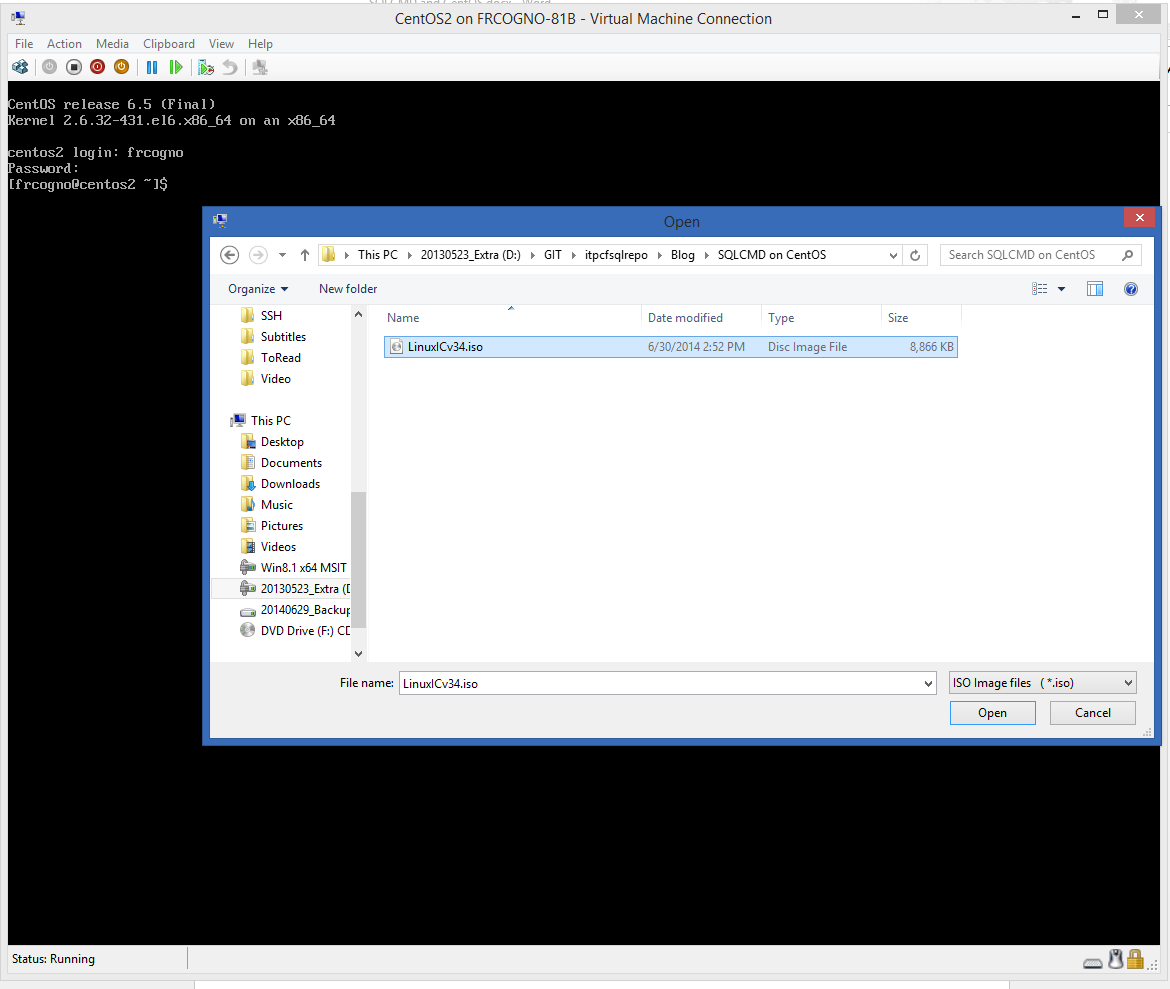
Get them from here: http://www.microsoft.com/en-us/download/details.aspx?id=34603 . Since it’s an ISO we just need to load it using the Media->DVD Drive->Insert disk… hyper-v menu:
To mount the DVD in CentOS just issue there two commands:
sudo mkdir /mnt/dvd
and
sudo mount /dev/dvd /mnt/dvd
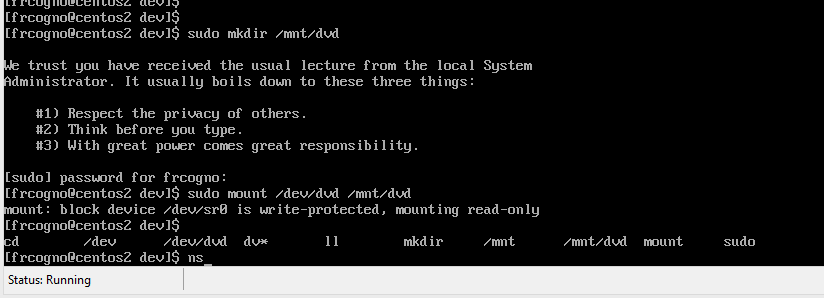
(note: if you are root you don’t need the sudo command).
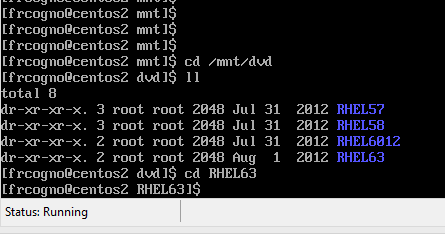
Now you should be able to cd into /mnt/dvd and pick the right version (in my case RHEL63):
cd /mnt/dvd/RHEL63
 Now issue the install.sh script with
sudo ./install.sh
And wait.
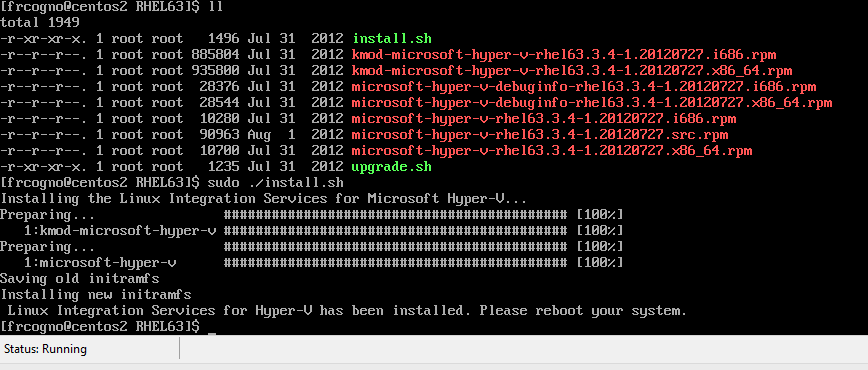 When the installation is over, you have to reboot your CentoOS server:
sudo reboot
That’s it. Now your CentOS installation should be a better hyper-v guest :).
Fourth step: enable the network connection and get an IP
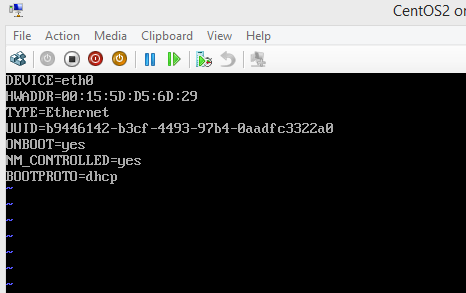
To enable the internet connection at boot and get a DHCP leased address we need to edit the /etc/sysconfig/network-scripts/ifcfg-eth0 file. To do this we issue a
sudo vi /etc/sysconfig/network-scripts/ifcfg-eth0
Just edit the file and set ONBOOT=yes instead of ONBOOT=no. Make sure that BOOTPROTO is dhcp so we’ll get an address from the DHCP server.
Note: vi can be awkward if you are used to the easy-yet-powerful Microsoft editors. If you have problems please let me know.
Now at reboot we should have a valid IP.
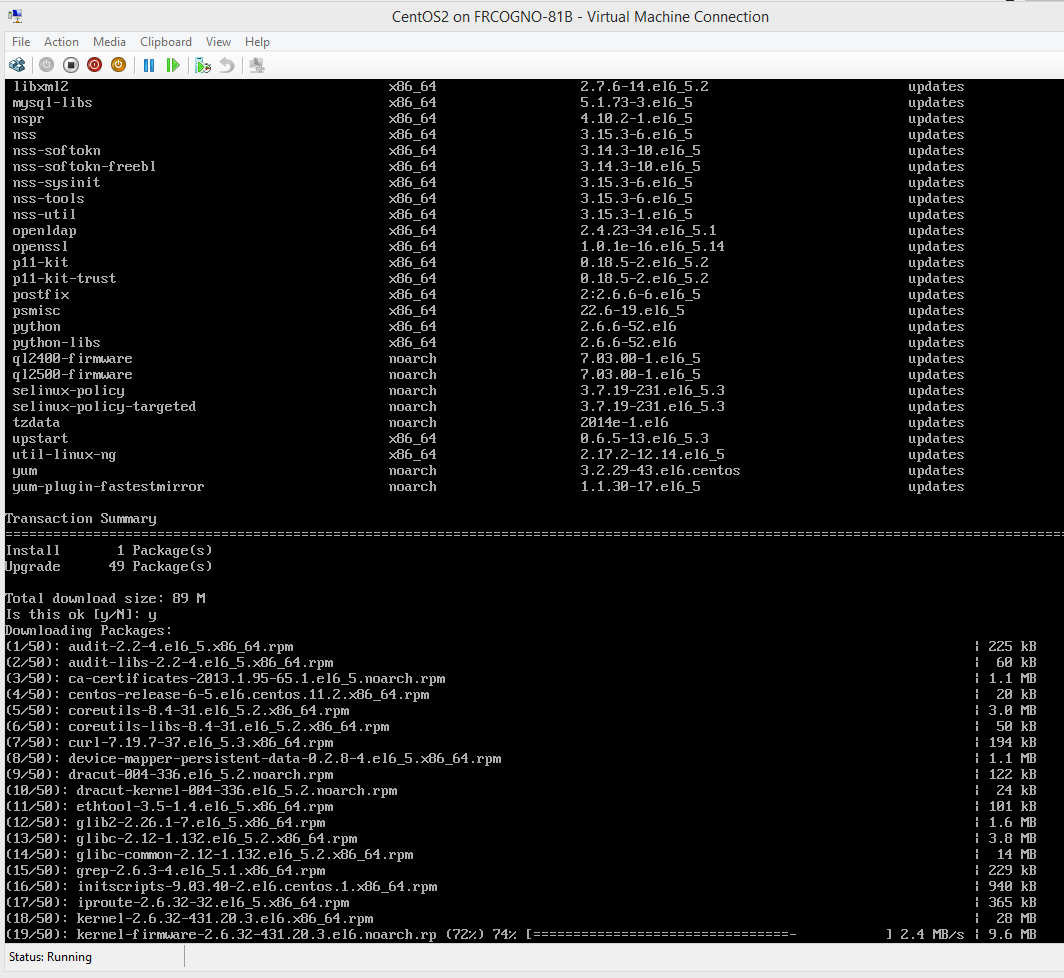
To test it perform a full system update:
sudo yum update
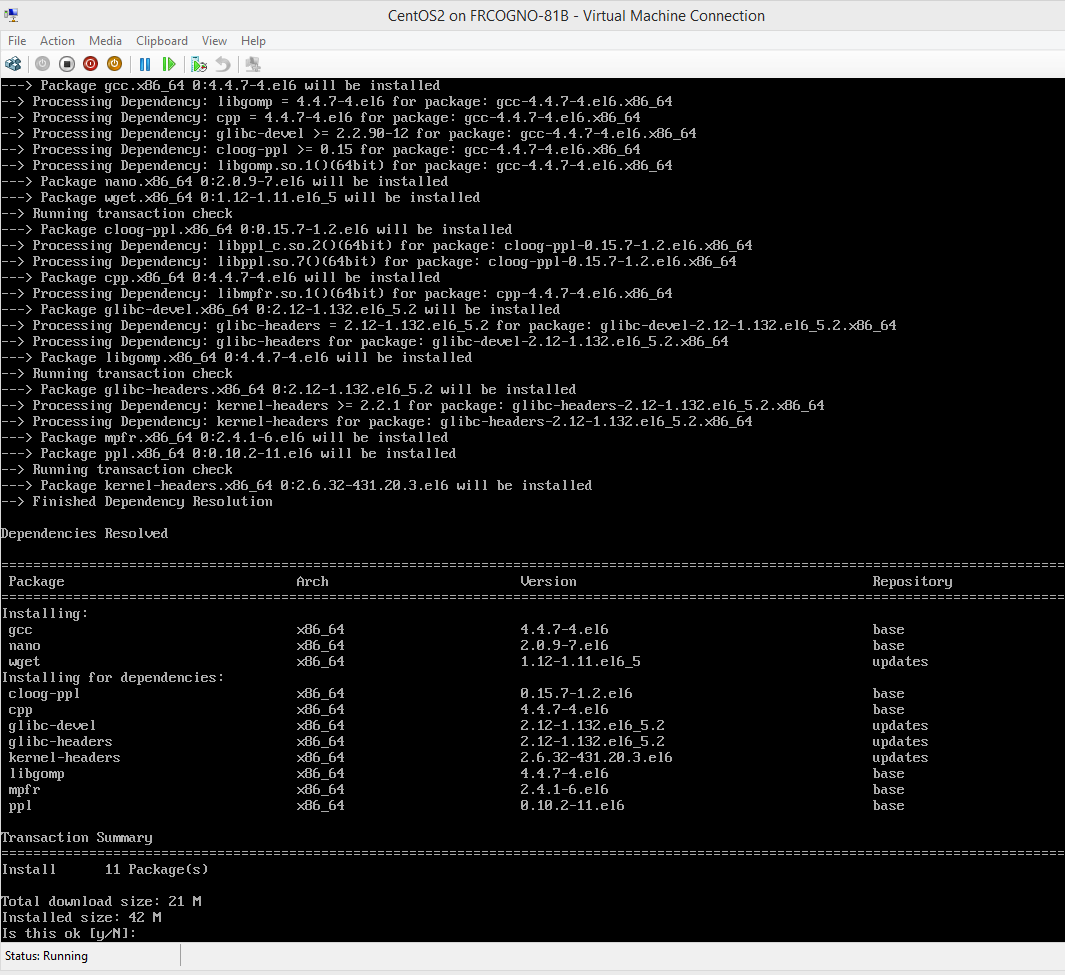
While we are at it, install some useful commands:
sudo yum install wget nano tar gcc
And reboot again.
Fifth step: Download and install Microsoft® SQL Server® ODBC Driver 1.0 for Linux
Go here and download the package: http://www.microsoft.com/en-us/download/details.aspx?id=28160.
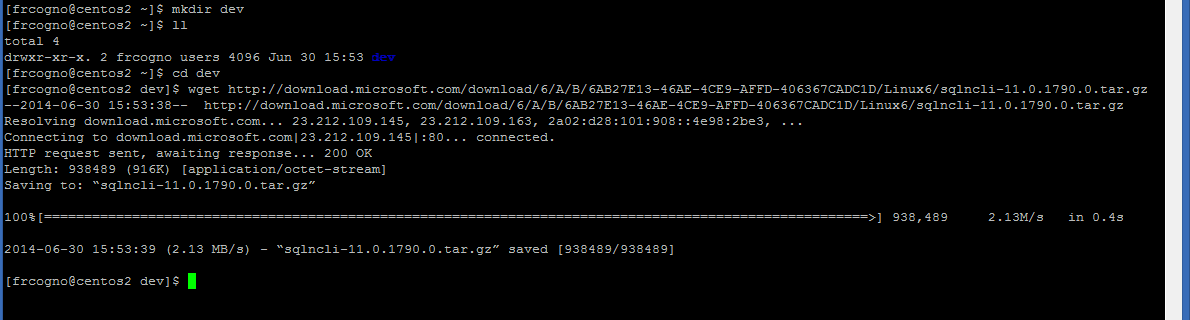
For this purpose I’ve created a folder in my home directory called dev an downloaded the package there. You might want to download it using Windows and then upload it using SFTP protocol or just wget it:
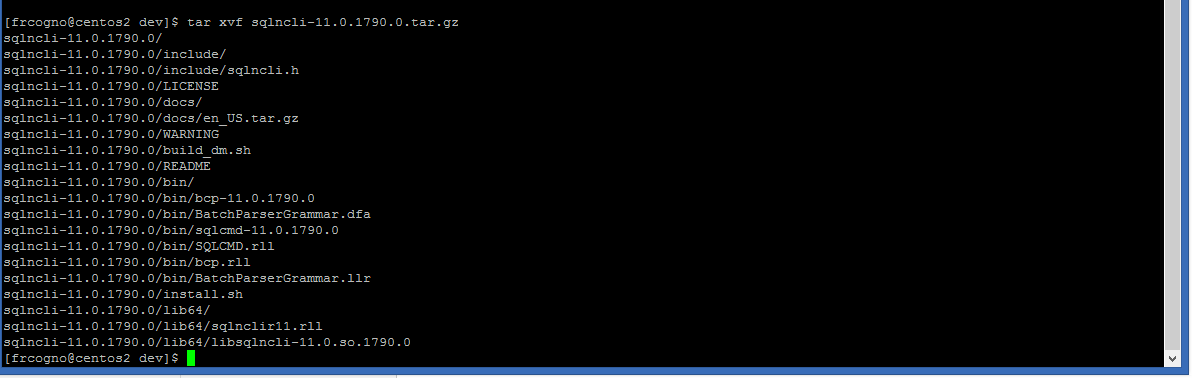
 Extract it:
tar xvf sqlncli-11.0.1790.0.tar.gz
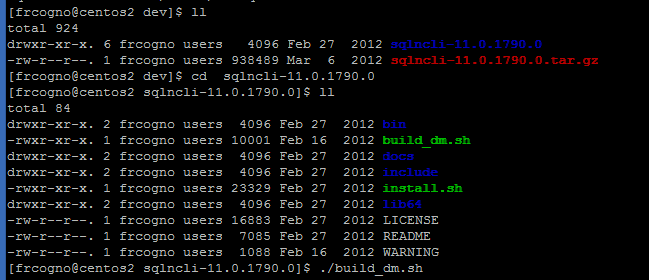
Now just issue the ./build_dm command:
./build_dm
And follow the on-screen instructions.
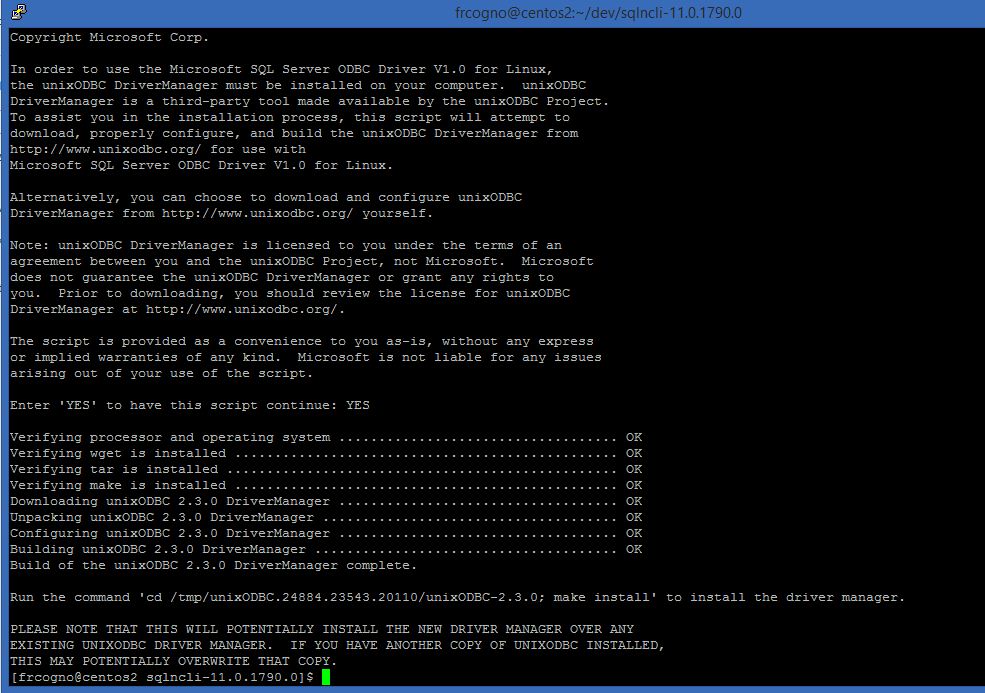
As you can see we still need to install the driver with:
cd /tmp/unixODBC.24884.23543.20110/unixODBC-2.3.0 (your path will be different!)
and then
sudo make install

As last thing to do we should go back to our dev folder:
cd ~/dev/sqlncli-11.0.1790.0
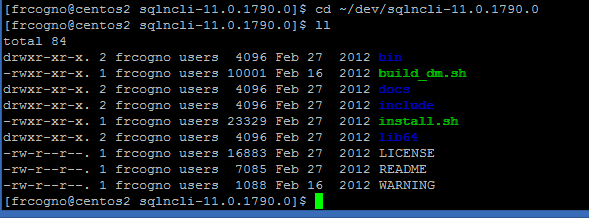
And issue a sudo ./install.sh install command:
sudo ./install.sh install
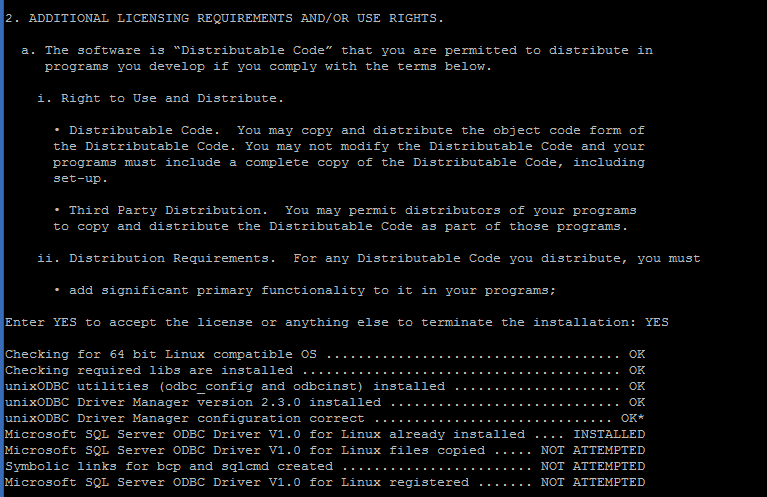
And we are done!
Sixth step: connect to SQL!
Now we can use the well known sqlcmd utility to query our database. In this lab I’ll use SQL authentication but know that Kerberos authentication is supported too.
To connect to my SQL instance (default with port 1433) all I need is:
sqlcmd –s myserver –U username –P password

Now I can issue a very common TSQL statement and check it:
SELECT name FROM sys.databases
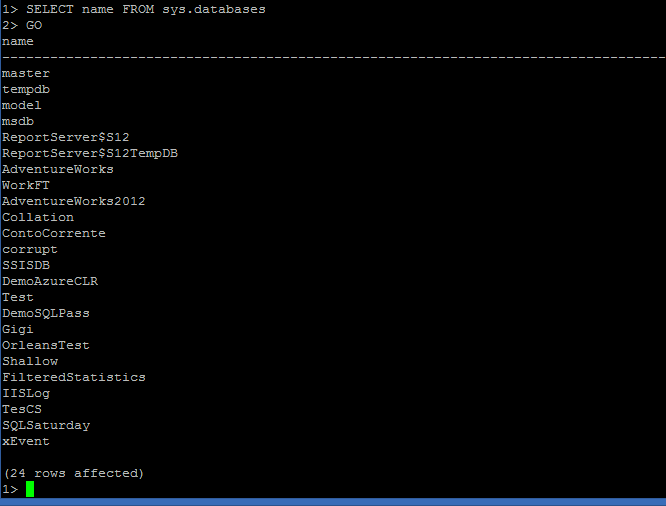
We succeeded querying a SQL Server database from a brand new hyper-v hosted CentOS virtual server!
Happy coding,