Using Chart.js in SharePoint 2013
Chart.js
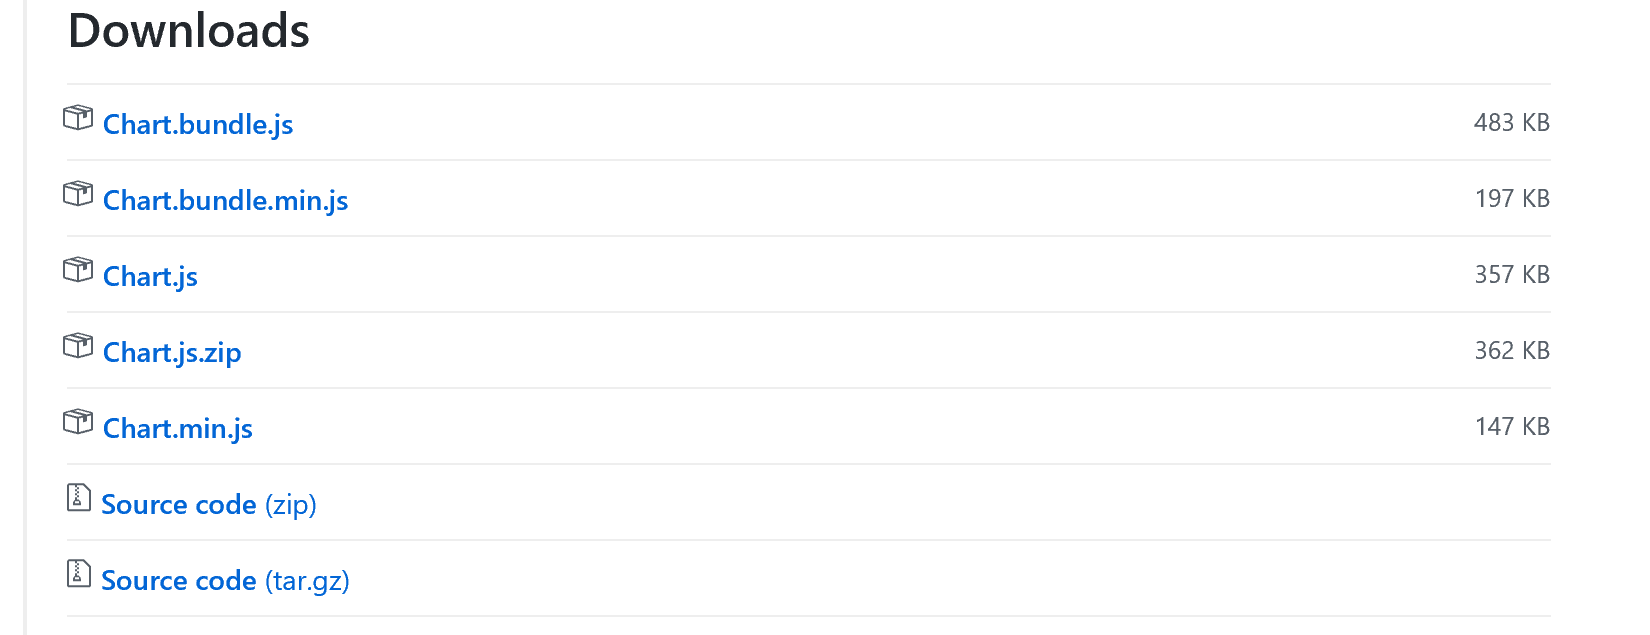
At the time of this writing the version of Chart.js is 2.6.0. You can go to GitHub and download the latest version. For testing purposes, our purpose for today, I am only working with Chart.min.js. You, however, are free to download everything if you like. If you are just starting out, it would be beneficial to download the files that include some sample code.
Once downloaded, be sure to upload Chart.min.js to a document library in your site collection or site. I won't go into details of where this file can go in your SharePoint farm. Company policy, best practice, and user permissions should all play a role in your decision of which document library the file should be uploaded to. For this example, and it is my preference only, I created a 'js' document library that holds all of my JavaScript files. Easy to use, easy to find.
Also, for the purpose of this tutorial, we will be using the 'Getting Started' section of the Chart.js Documentation. I have opened Visual Studio Code, an exceptional and well written editor, and have created the following file and named it 'chartJS.js':
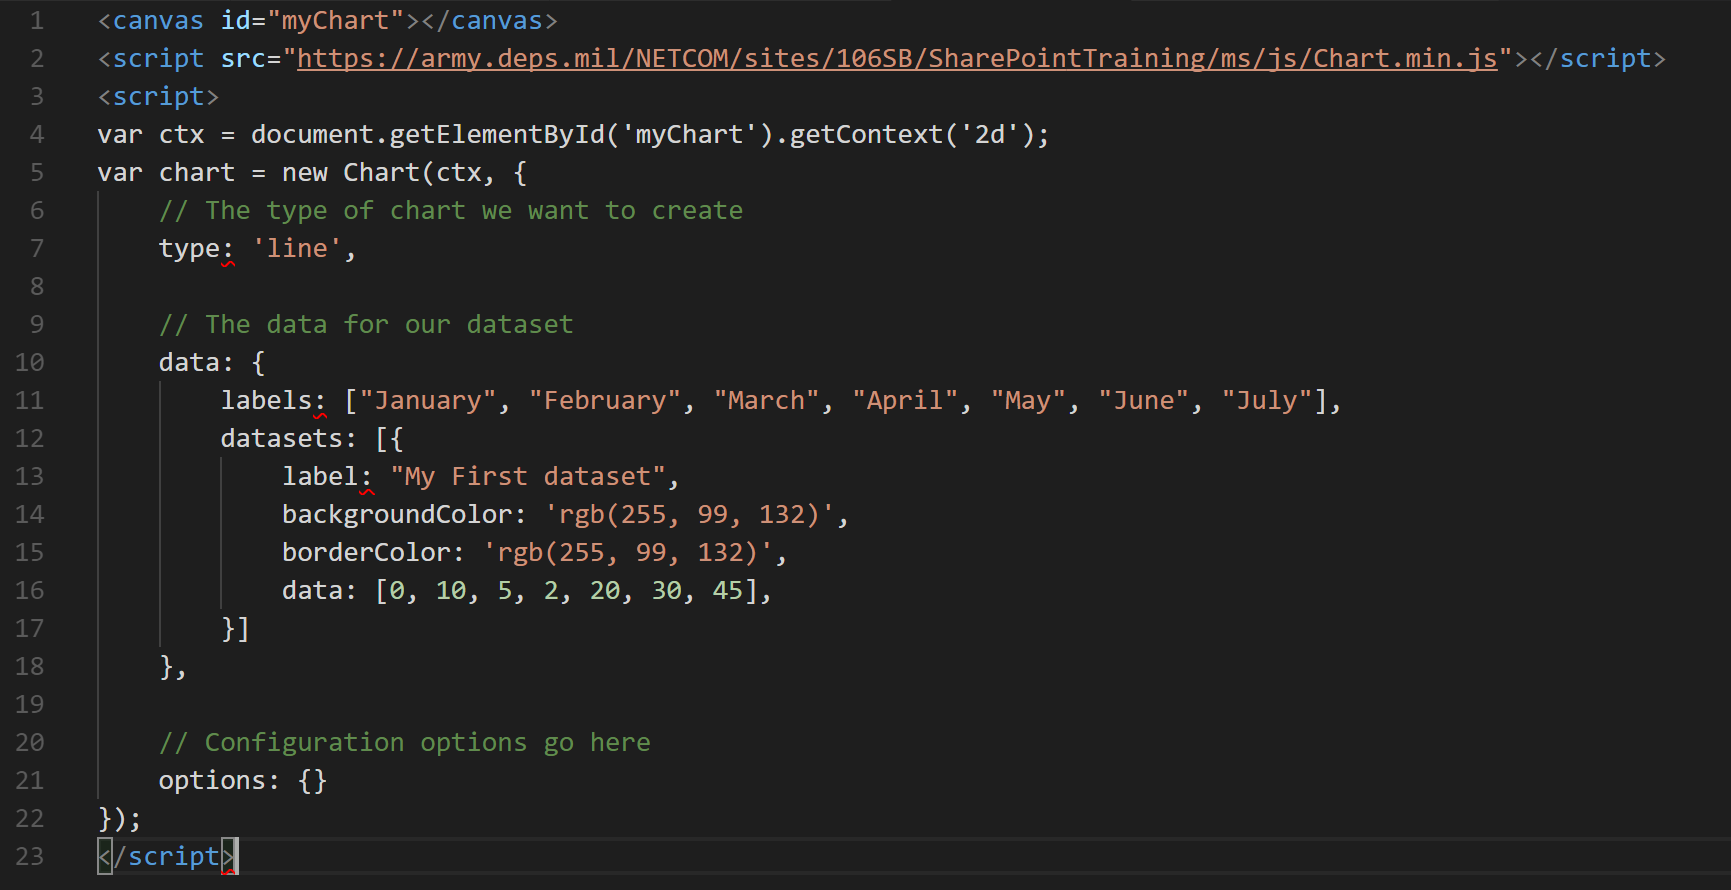
The above image simply combines the code in the Chart.js Documentation into one file that I uploaded to the 'js' document library. The only thing you need to worry about here is that you have to make sure that the first line, "…/js/Chart.ms.js' actually points your 'Chart.ms.js' file. Notice on the image above that mine points to the '/js' document library. This correlates with the steps above.
Once you have created this file, save it with the '.js' file extension and because it has a '.js' file extension, it will go in the 'js' document library.
To recap, you should have at least two (2) new '.js' files in your document library. For me, that would be my 'js' document library.
SharePoint Page
Once Chart.min.js has been uploaded to your document library it is time to work with the SharePoint page that will hold the content and eventually display the chart(s).
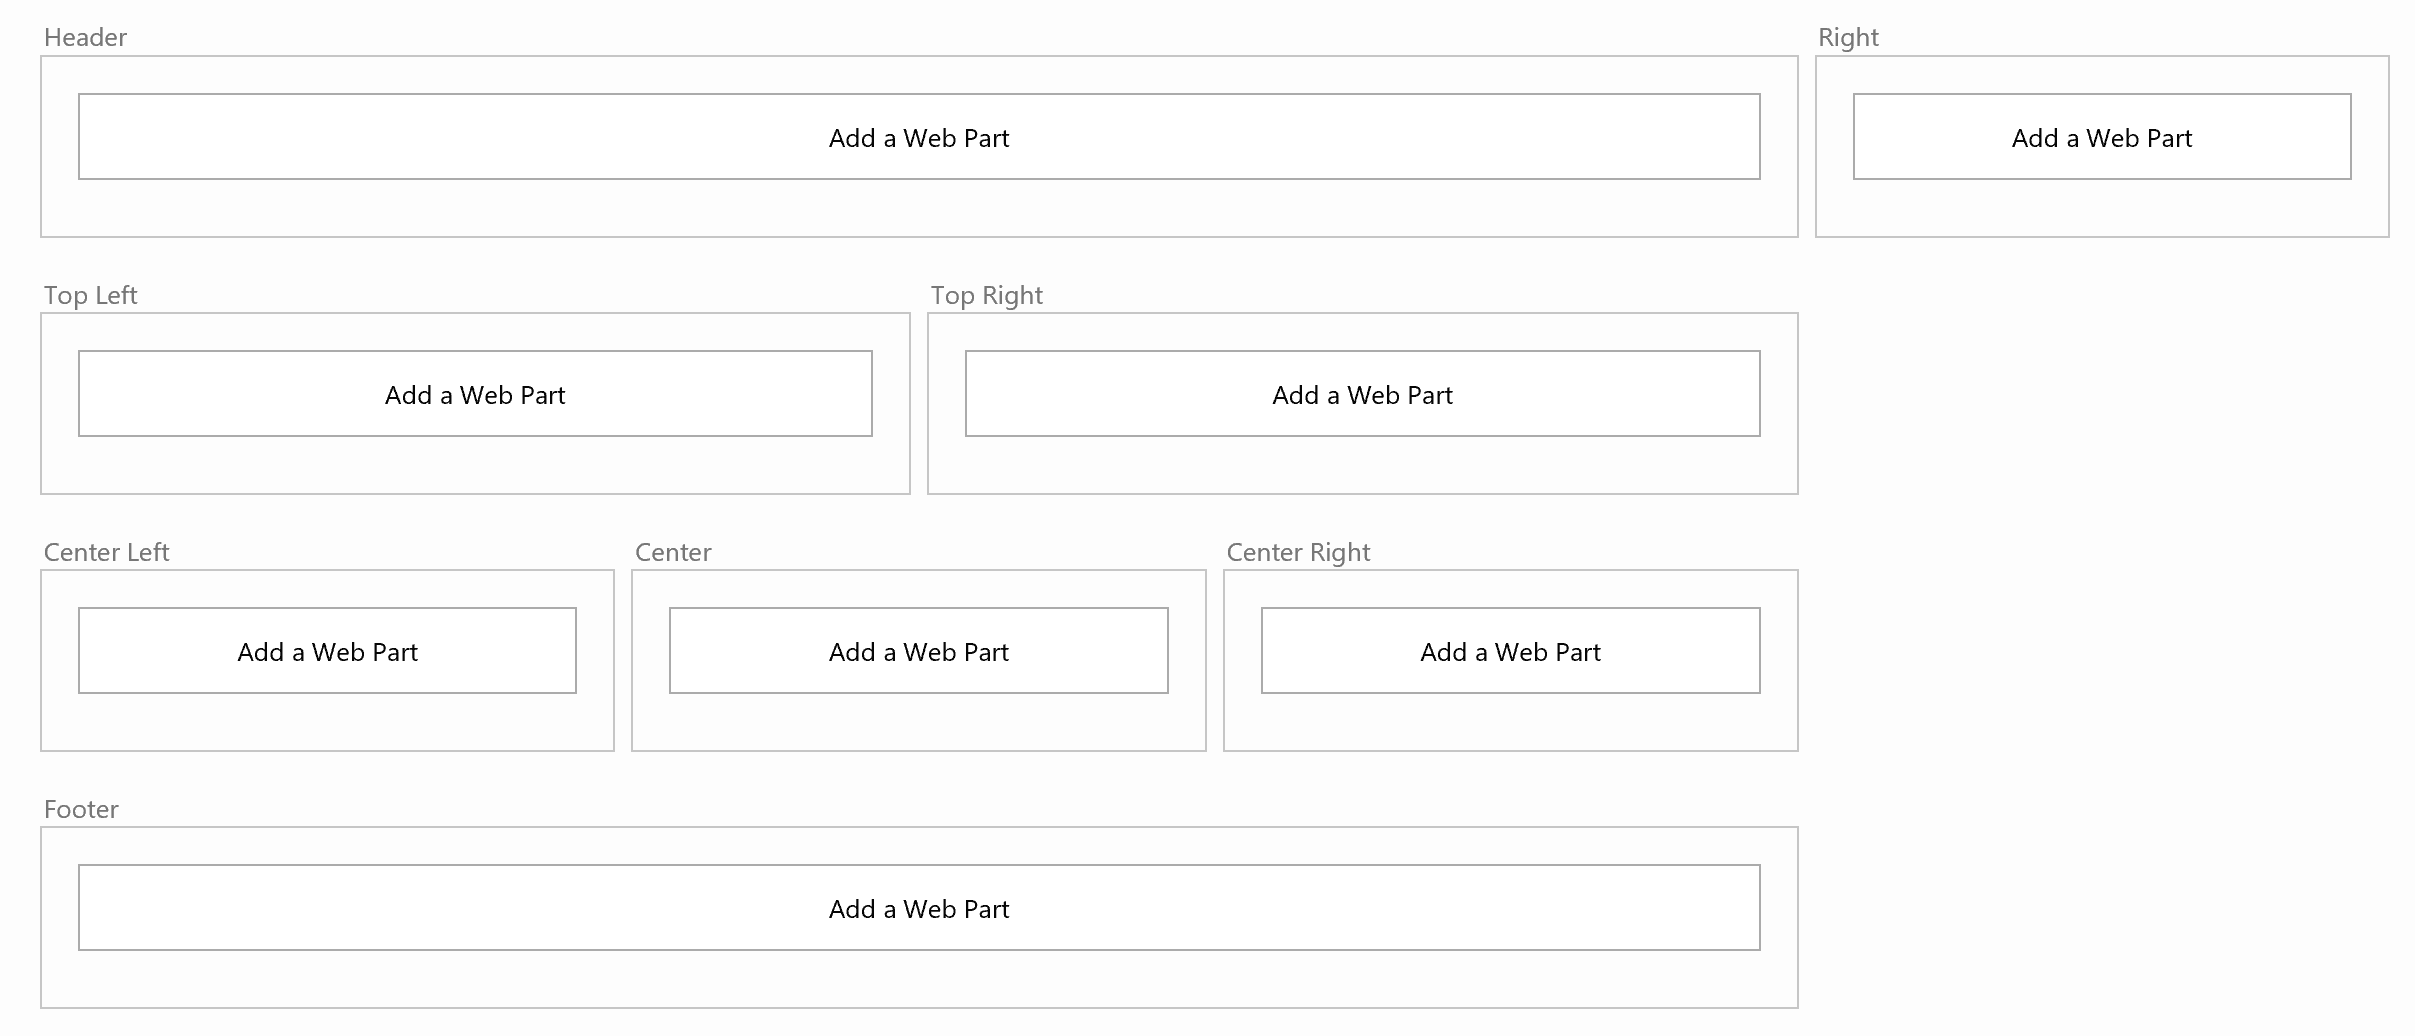
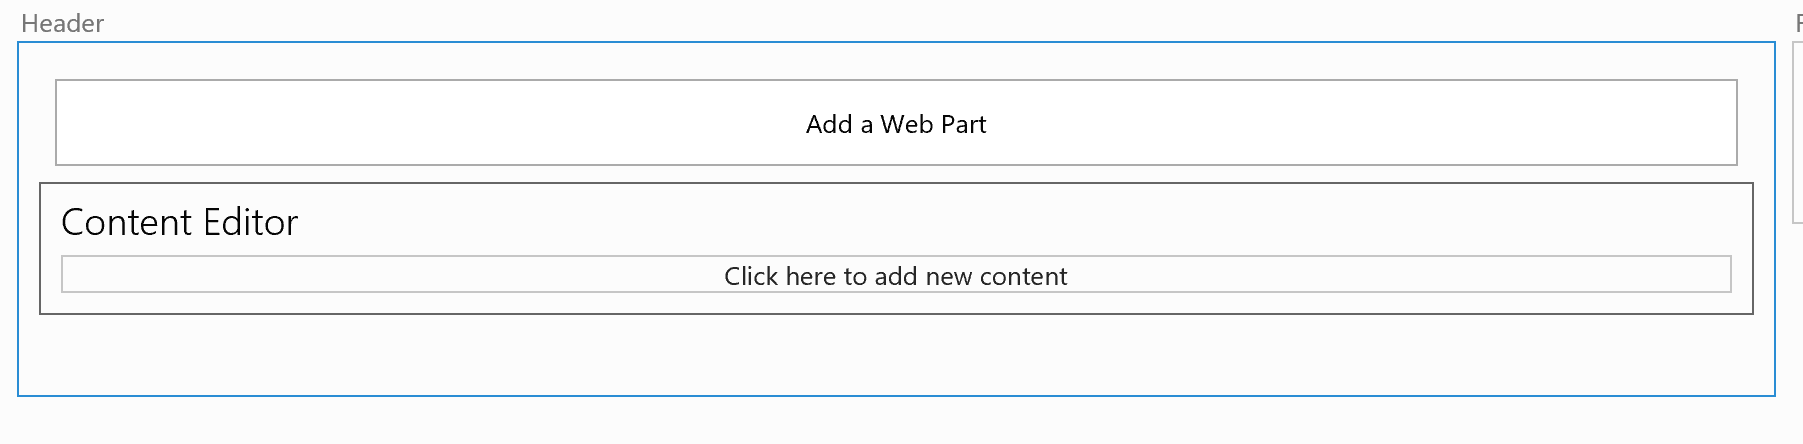
Create a new page in the 'Site Pages' document library. The type of page doesn't really matter here but I will be using the 'Web Part Page'. The 'Web Part Page' looks like the image below:
To create the page navigate to the 'Site Pages' gallery, go to the ribbon and click 'Pages'. Then 'View All Pages.' In the ribbon click 'New Document' and from the drop-down choose 'Web Part Page.'
HTML-ing, SharePoint-ing, JavaScript-ing
(whatever you would like to call it)
Now that we have our page ready to go, we will start working with the code. This task can be accomplish in multiple ways. The one we are going to use for this example will free us to be a bit more versatile when it comes to reusing the file we just created.
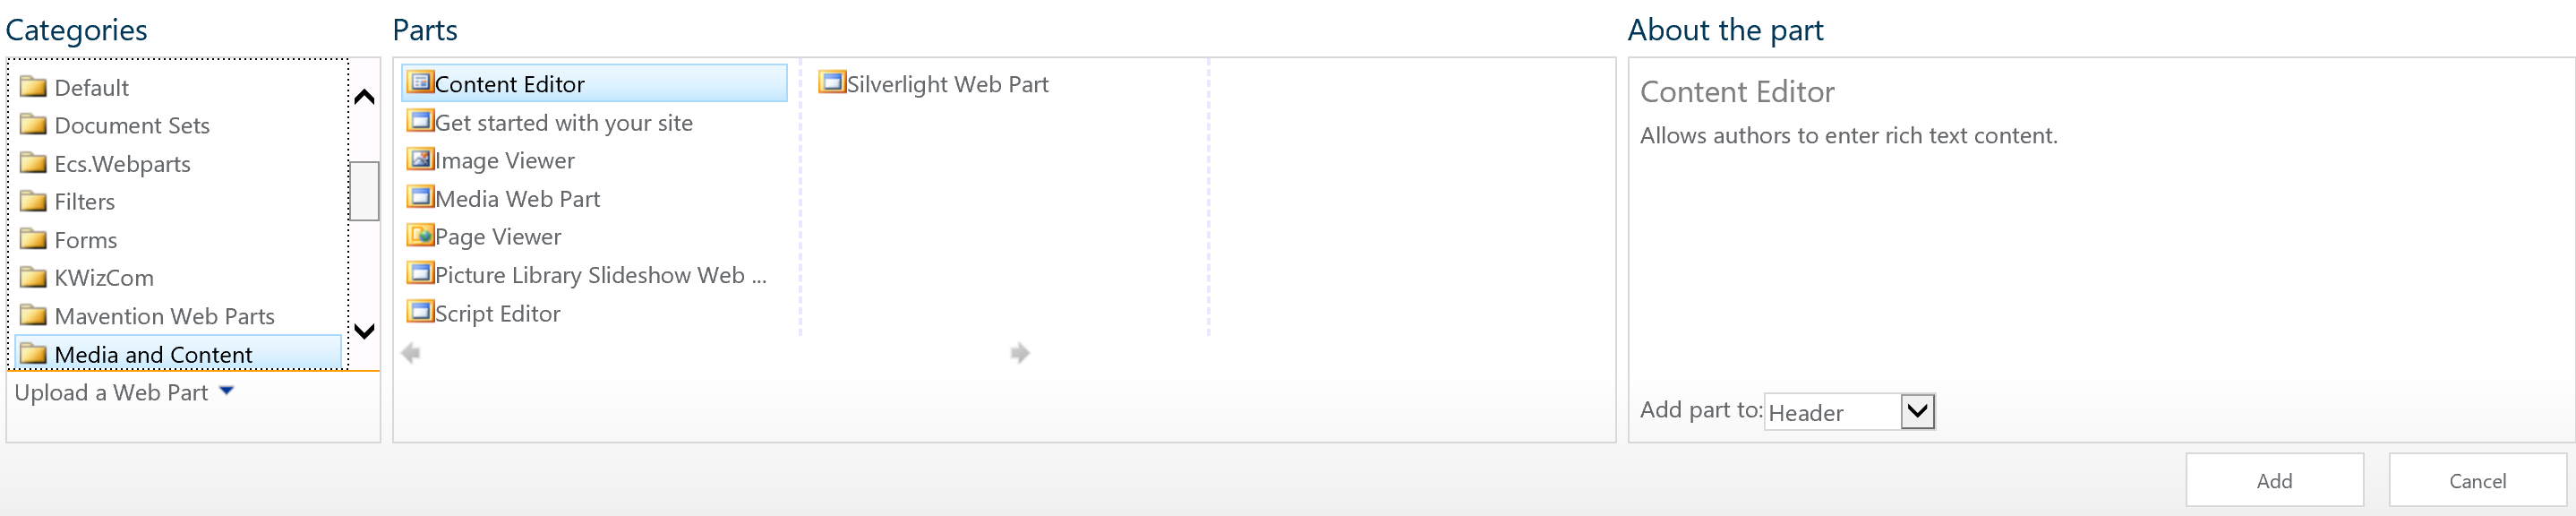
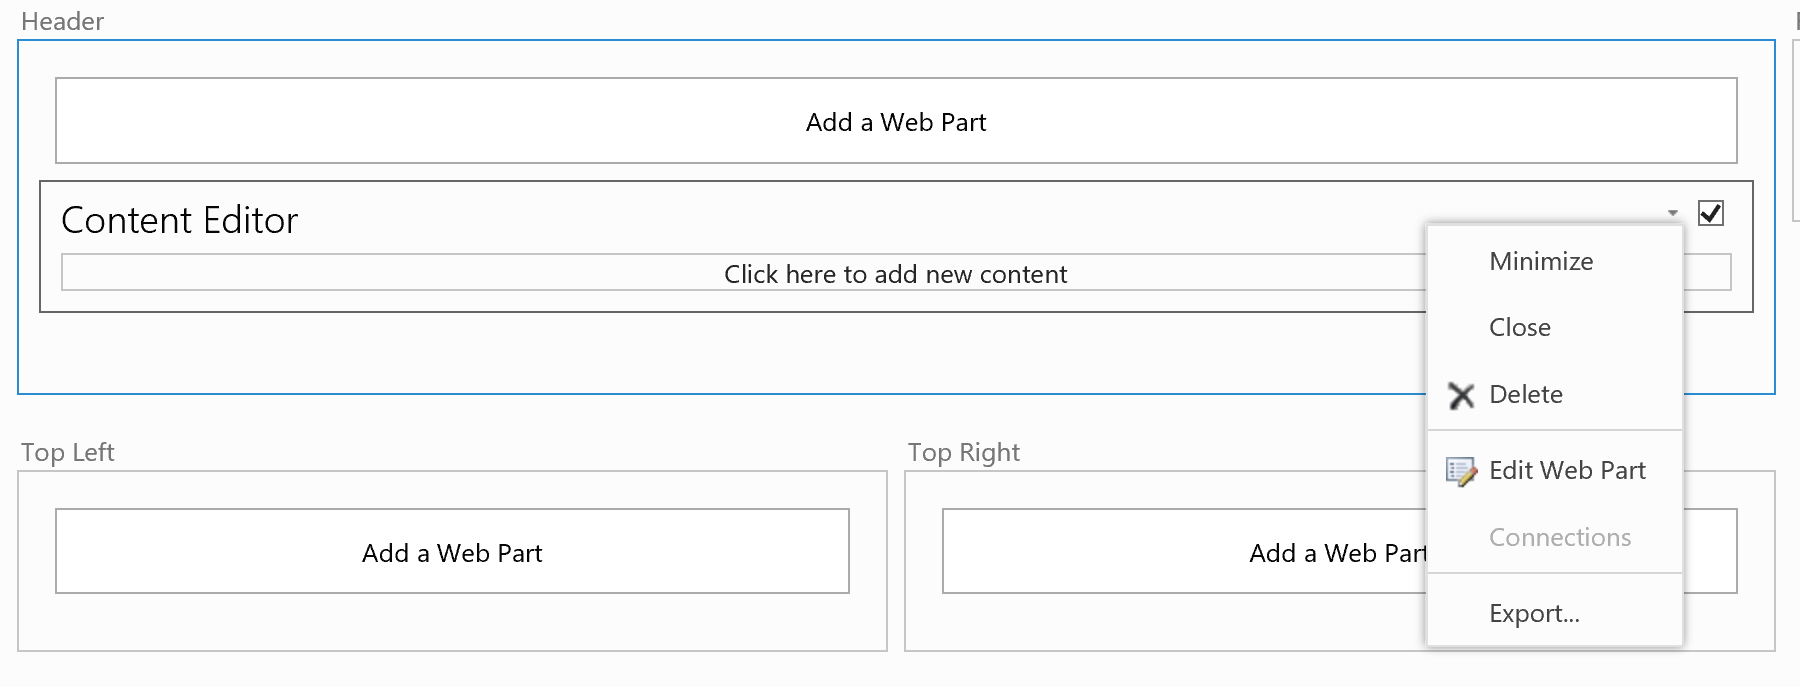
To get started we are going to need the 'Content Editor' Web Part. If your page is not in edit mode, you will need it to be. Once in Edit Mode, click on the 'Add a Web Part' link of the 'Header' Web Part Zone. In the 'Categories' section navigate down to 'Media and Content'. In the 'Parts' section select the 'Content Editor' Web Part and click on the 'Add' button on the bottom right.
The 'Header' Web Part Zone should now have a new Web Part with the title 'Content Editor'.
Now we need to add the chartJS.js file to the 'Content Editor' Web Part. Mouse over the far right hand side of the 'Content Editor' Web Part to get the Web Part menu to display. It will only display if you mouse over the down arrow next to the check box. Click on 'Edit Web Part' in the menu.
The page will reload and display the Web Part Property window to the far right of the page.
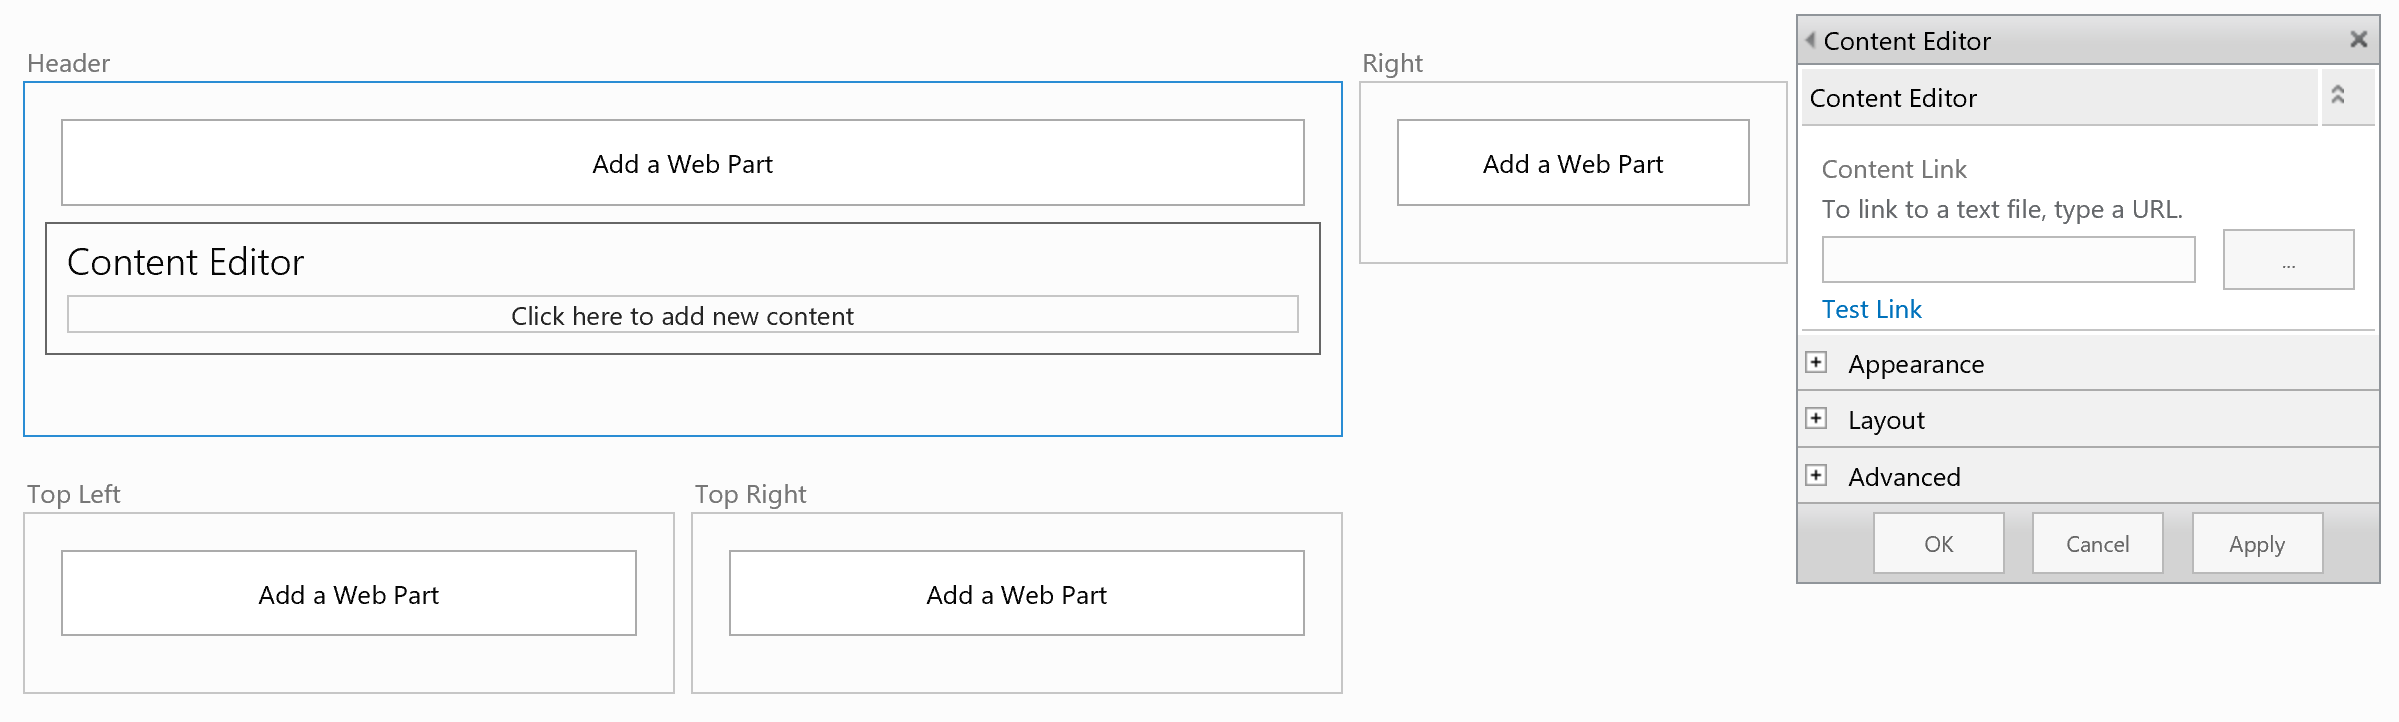
In the 'Content Link' section of the 'Content Editor' enter the URL to your file-- the chartjs.js file that we created in the beginning. In our example it would be '../js/chartjs.js'. Once you have added the URL to the file, you can click on the 'Test Link' to make sure that SharePoint can find the file. If SharePoint can find the file, it will either open the file in your browser or prompt you to download it. If SharePoint can’t find your file it means you have the URL wrong. Work with it until SharePoint can see it. Click on the 'OK' Button
Once the page finishes rendering, you should be able to see the demo content display. Save your file, Check it in and Publish it so that everyone can see your test demo!