Support-Tip: (AADCONNECT): Filtering - Control which groups sync to O365
Hello again!
Today, I wanted to share a simple scenario that I recently worked on to control which groups get synchronized to O365 (Azure). This is very similar to filtering with users.
I am using one of the latest builds of Azure AD Connect and will be using the cloning feature of Azure AD Connect Synchronization Rules.
Goal
- Control the groups that get pushed to O365NOTE: In my example, I will be using extensionAttribute1 containing the value of "o365sync"
Steps
- Open the Synchronization Rules Editor and select Inbound
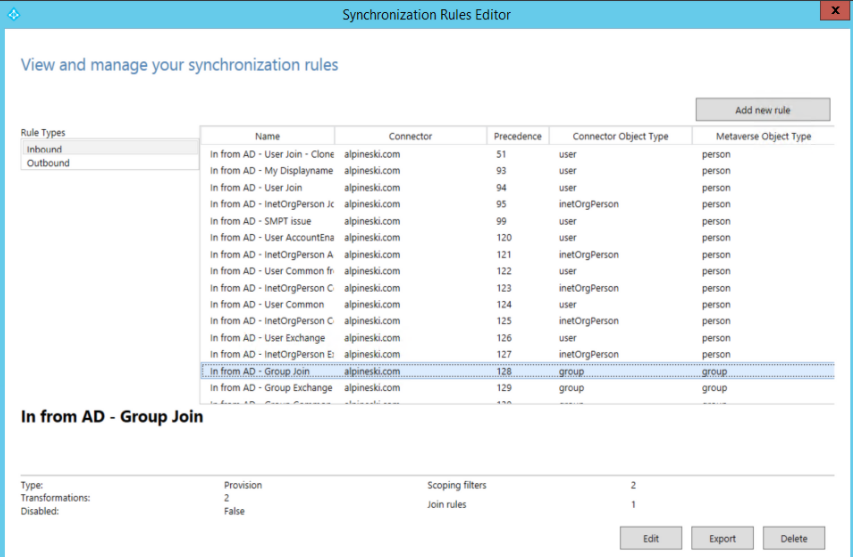
- Select the default Synchronization Rule "In from AD - Group Join"
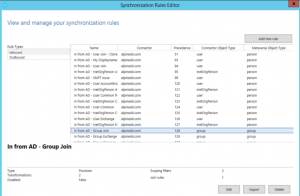
- Select the Edit button
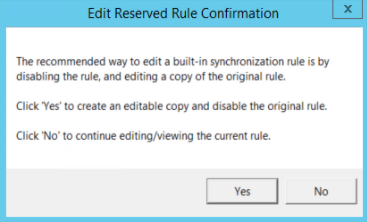
- You will be prompted to clone the default Synchronization Rule. You will select "Yes"
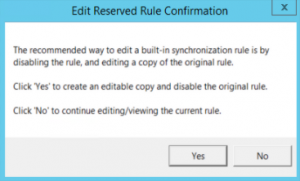
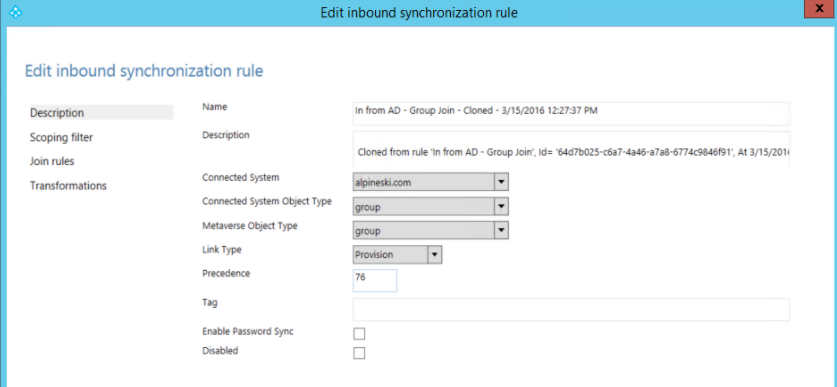
- After clicking "Yes" in the dialog above, the cloned synchronization rule will open in Edit modeNOTE: You can modify the name of the Synchronization Rule if you would like. That is a decision based on your current business rules.
- Before you can save the new Synchronization Rule, you must modify the Synchronization Rule Precedence.
NOTE: Find more information on Synchronization Rule precedence on the document "Understanding the Default Configuration" (https://azure.microsoft.com/en-us/documentation/articles/active-directory-aadconnectsync-understanding-default-configuration/)
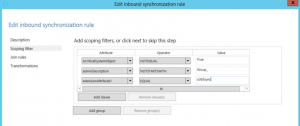
- Click on the words "Scoping Filter"
- Click the Add Clause button
- Attribute = extensionAttribute1
- Operator=EQUAL
- Value=o365syncNOTE: Remember, I am using extensionAttribute1 and o365sync for my illustration here. You can utilize attributes and values based on the business rules of your business.
- Once you have entered the new clause, simply click the Save button to save the cloned synchronization rule.
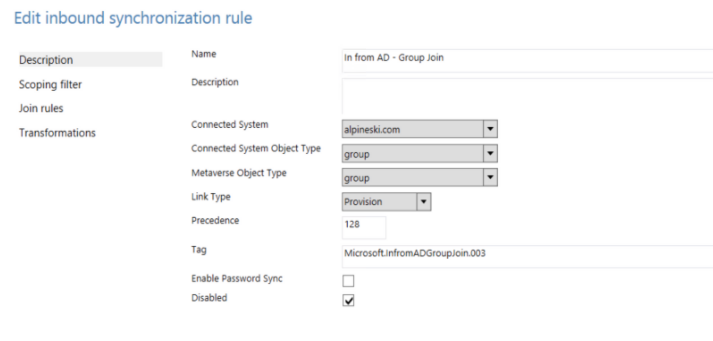
- After clicking Save, we now need to validate that the default Synchronization Rule is Disabled. We can do this
- Select the "In from AD - Group Join" synchronization rule and clicking the Edit button.
- This time click "No" on the pop-up dialog.
- Validate that the Disabled check box is checked.

- Once the default synchronization rule is confirmed disabled, you are now ready to test.NOTE: If you are familiar with the Preview feature of Azure AD Sync Services, I would recommend using this feature to be able to test a single object.

Azure AD Connect Additional Filtering Resources
- Understanding the default configuration: https://msdn.microsoft.com/en-us/library/azure/dn800963.aspx
- AADSync - Configure Filtering - Part 1: http://blogs.technet.com/b/steady/archive/2015/01/08/aadsync-configure-filtering-part-1.aspx
- AADSync - Configure Filtering - Part 2: http://blogs.technet.com/b/steady/archive/2015/01/09/aadsync-configure-filtering-part-2.aspx
- Azure AD Sync Release Notes: http://social.technet.microsoft.com/wiki/contents/articles/24062.azure-ad-sync-release-notes.aspx
- AADConnect Filter CNF Provisioned Objects: https://blogs.technet.microsoft.com/iamsupport/2016/03/02/aadconnect-sync-rule-info-filter-provisioned-cnf-objects/