PowerShell for Azure Pack tenants
In this article I'll describe a way to manage your resources in Azure Pack using PowerShell. I will be in a role of a tenant (customer), that uses Azure Pack to host VMs, databases and websites. Service is offered by a local service provider. I will use Cloud-V as an example. Cloud-V is a COSN-based cloud service, owned by Dataline - big Russian service provider.
First of all, you must be already familiar with Azure Pack Tenant Portal, which is the default way to interact with your resources in Azure Pack. As an addition to portal experience, Azure Pack allows you to manage your resources in the subscription using Azure PowerShell - create new VMs, start and stop them, check status, connect ISOs, work with databases and websites etc.
To manage your Azure Pack resources via PowerShell, follow these simple steps:
1. Ask your service provider about Azure Pack Tenant Public API URL (don't confuse with Admin API or Tenant API).
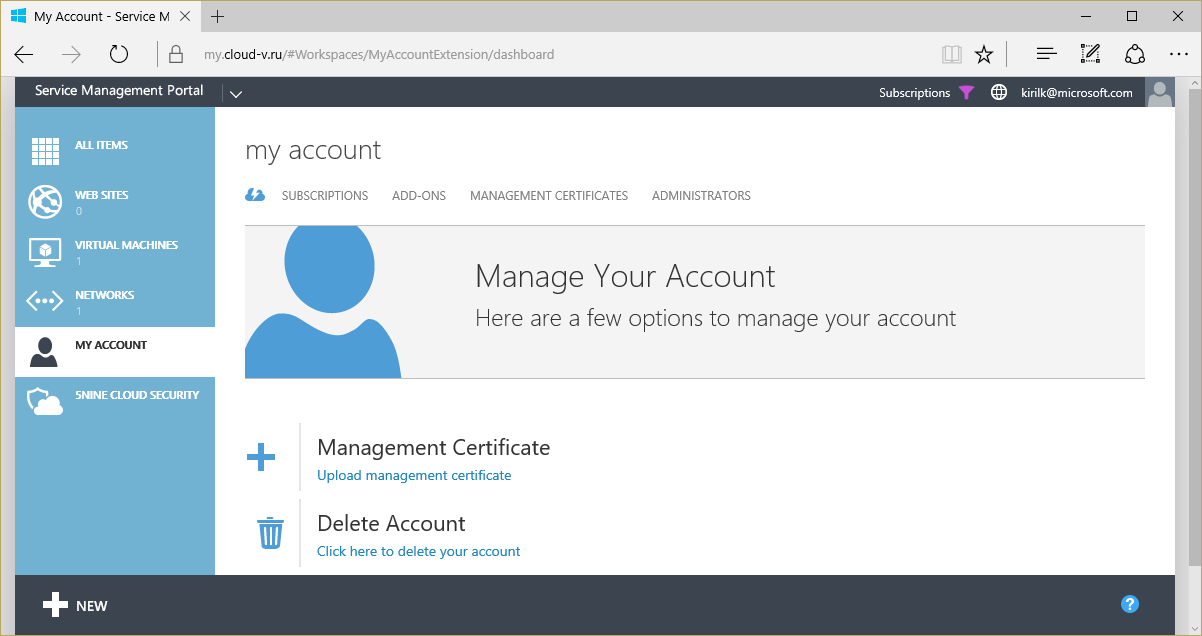
2. Remember URL of Azure Pack Tenant Portal and logon credentials that you use.
I use Dataline Cloud-V as an example. For that service WAP Tenant Portal URL is https://my.cloud-v.ru and WAP Tenant Public API URL is https://tenantpubapi.cloud-v.ru.
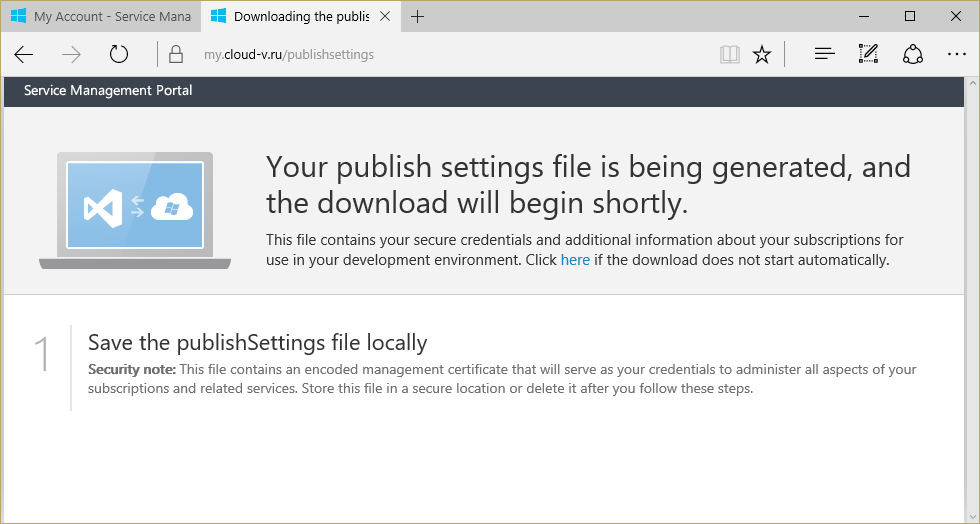
3. Using a web browser, go to https://<WAPTENANTPORTAL>/publishsettings URL to download a management certificate (*.publishsettings file). Save this file somewhere on your local drive.
4. Install Azure PowerShell as described here (or just use this direct link). I used version 1.1.0, which is the newest at the moment of writing this.
5. Run Azure PowerShell.
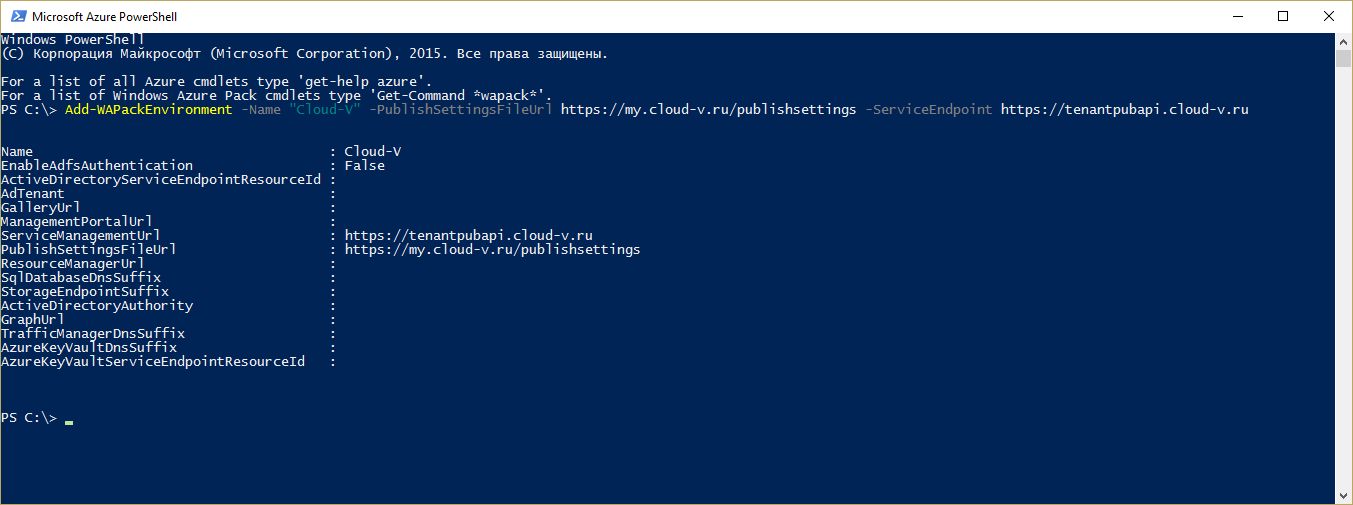
6. Run following command to add a new environment:
Add-WAPackEnvironment -Name "<ENVIRONMENTNAME>" -PublishSettingsFileUrl https://<WAPTENANTPORTAL>/publishsettings -ServiceEndpoint https://<WAPTENANTPUBLICAPI>
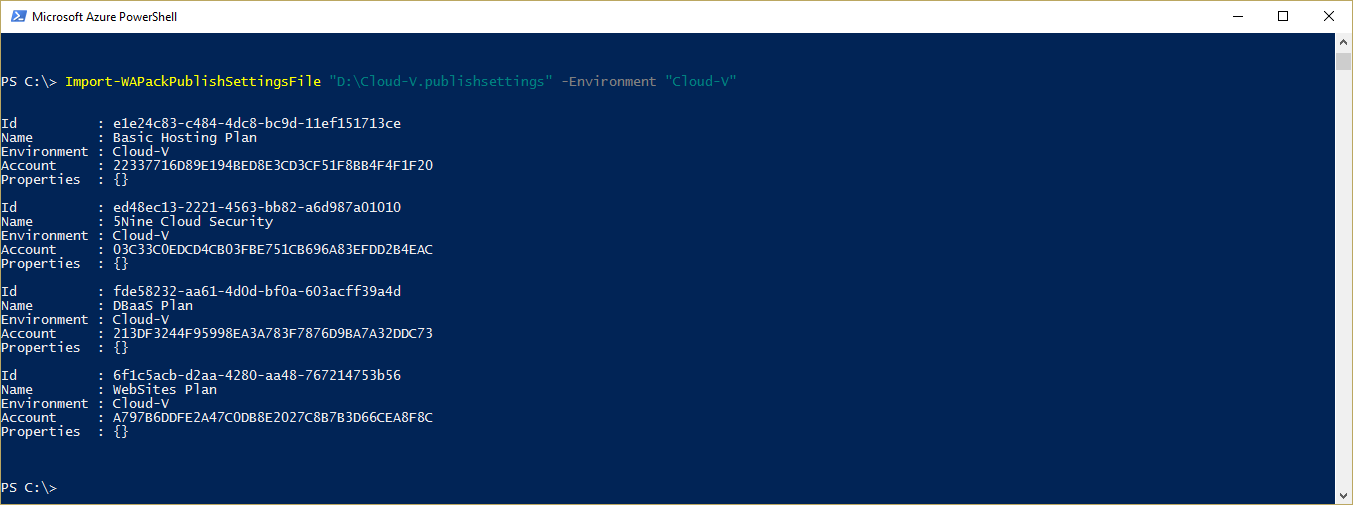
7. Import management certificate using this command:
Import-WAPackPublishSettingsFile "<PATHTOPUBLISHSETTINGFILE><FILENAME>.publishsettings" -Environment "<ENVIRONMENTNAME>"
That's all. But sometimes when I do this first time on a fresh Windows 10 PC, I receive an error when I try to run any WAP-related command:
No certificate was found in the certificate store with thumbprint
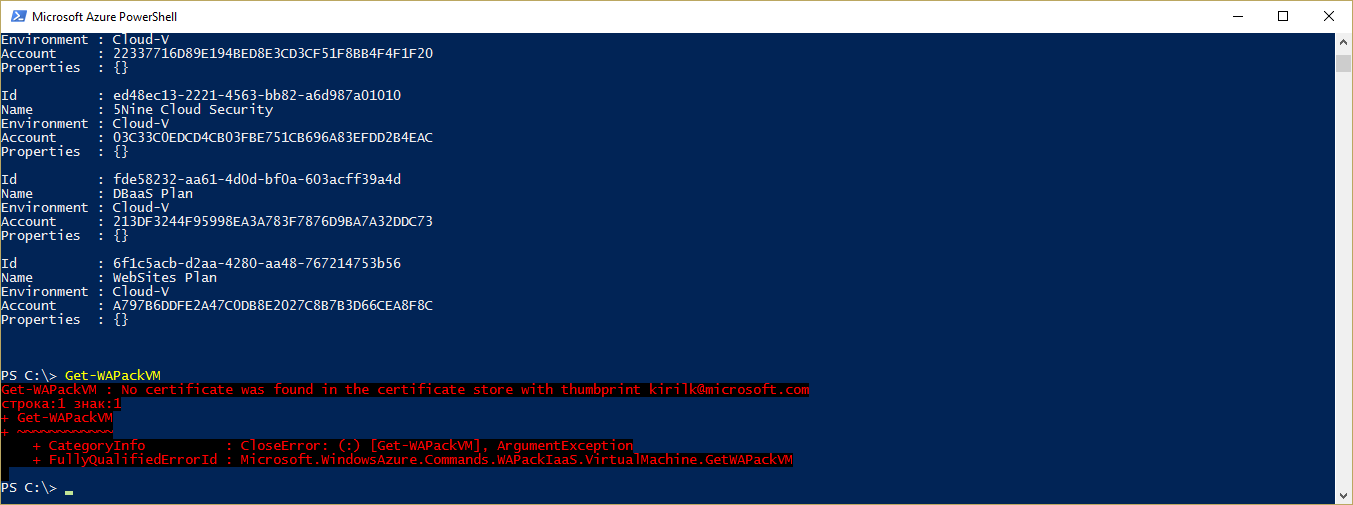
To fix this, close Azure PowerShell window and delete "Windows Azure Powershell" folder, which is located here: C:Users<USERNAME>AppDataRoaming
After that, run Add-WAPackEnvironment and Import-WAPackPublishSettingsFile cmdlets again, as described before.
Thx Aviraj for the solution.
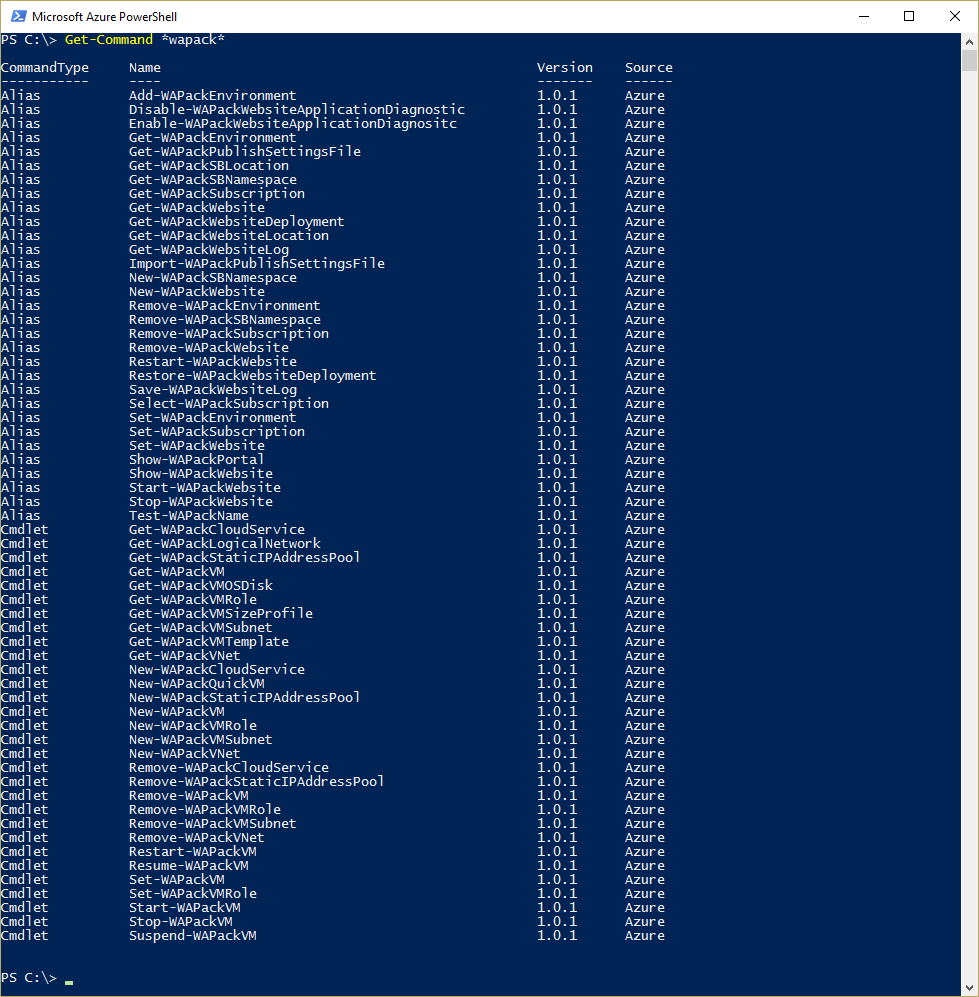
To list all the available actions with Azure Pack via PowerShell, use this command:
Get-Command *wapack*
To get examples how to use any command, use get-help <CMDLETNAME> -Examples command.
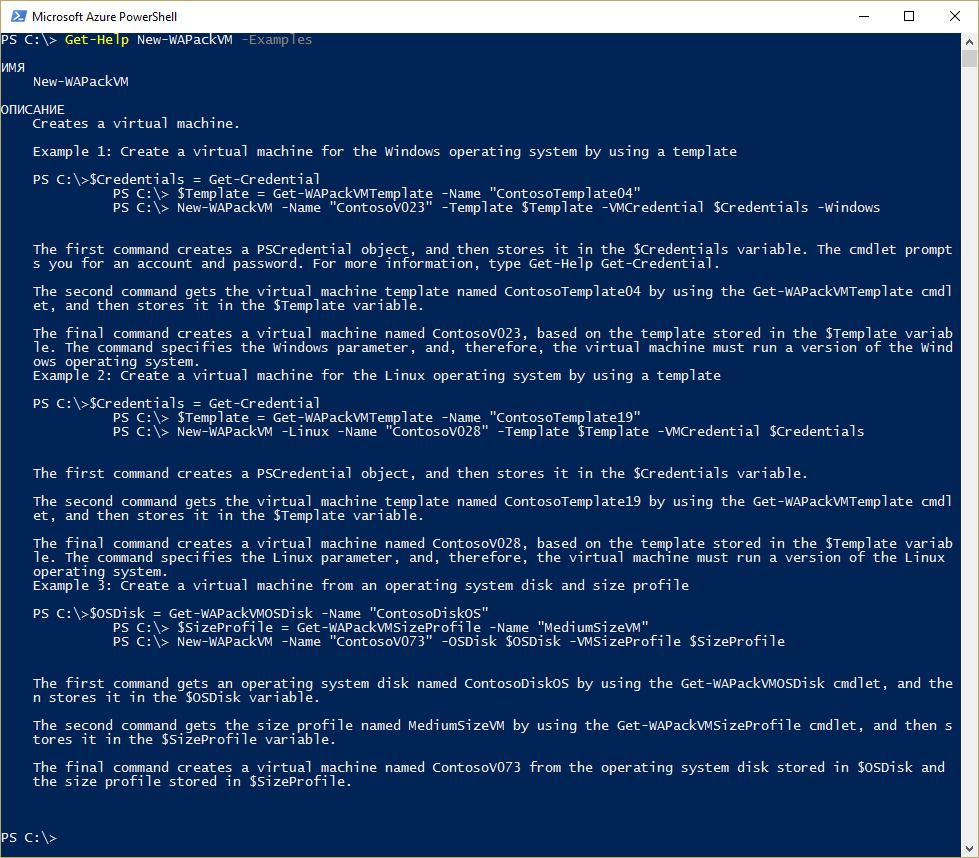
Try to create several new VMs from the library using PowerShell to feel it's power.