WDS Capture tip
As a support engineer at Microsoft, I know that some of you install Windows systems (prior to Windows Vista or Windows Server 2008) with a non default system root (remember, it's \Windows)
I will not discuss about this strategy even if this operations is useless :-) but let you know (if you're not already aware of) how to capture such systems !
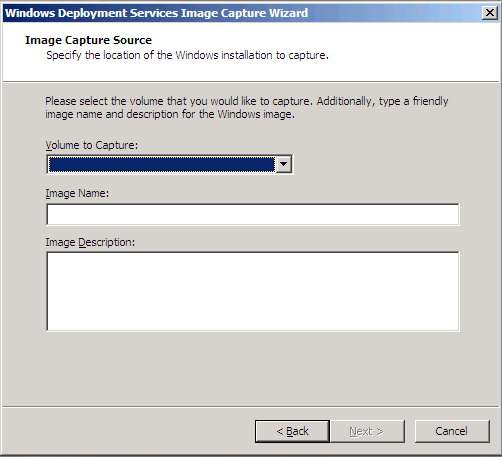
In this case, when you use the WDS Capture image to capture a system, you won't find any partition to capture in the wizard.
By default the wdscapture.exe looks for a folder \Windows on the system drive to retrieve informations about the state of the system (i.e. sysprep'd or not).
If the system is not sysprep'd, no partition will be available for capture.
Same behavior if you installed the system under a non default folder (e.g. W2k3, W2k, ...).
To provide to wdscapture.exe the folder name of your installation, you have to modify the wdscapture.inf located in the \Windows\System32 of the WDS Capture wim file.
Imagex /mountrw X:\RemoteInstall\boot\x86\Images\wdscapture.wim 1 E:\Mount
X: represents the volume on which the WDS system folder is stored
E:\Mount is a temporary empty folder used to mount the WIM file
x86 represents the target architecture of the WDS Capture wimEdit the file e:\mount\Windows\System32\wdscapture.inf
Modify the value of SystemRoot :
SystemRoot=W2k3
Close the file wdscapture.inf (save the changes !)
Unmount the WDS Capture wim : Imagex /unmount E:\mount /commit
That's it !
Note that this procedure is provided "as is" with no warranty nor supportability engagement. It does not engage Microsoft at all.
Nevertheless if you consider this not clear, incomplete or inadequate, please let me know !