How to import data into a Groove Form
My friend Josh has written up a great step by step guide on manually importing data into Groove Forms. While this manual method may not be as elegant as a web services solution (more on that later), its a simple way to bring data into a workspace.
If you aren’t already familiar with Groove Forms, they provide users with a simple way to create and edit records that are stored in the workspace, and can also display those records in views that can be sorted, in a column and row format similar to Microsoft Office Excel and Microsoft Access. Application Developers can take forms tools further with scripting, custom styles and macros. Groove includes some form templates, such as Discussion and Issue Tracking, or users can create form applications from scratch. Groove Forms are a powerful way for a team to get fast access to information, to collect and share structured data, and even to capture simple business processes.
Read on to learn how to import data into Groove forms from a CSV file.
The easiest method to import data into the Groove Forms Tool is via CSV (comma delimited file format). The following describes the steps to follow if you have an existing Excel spreadsheet that contains your data.
Part 1 - Create a matching Groove Forms tool
Create a Groove Forms Tool with the same number of columns as the Microsoft Excel file that you want to import.
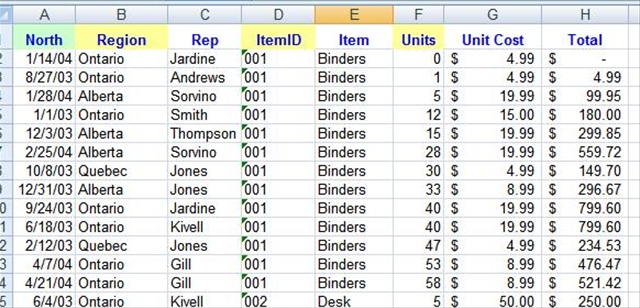
In this example, the spreadsheet includes eight columns labeled "North", "Region", "Rep", "ItemID", "Item", "Units", "Unit Cost" and "Total" as shown in the following figure.
Figure 1. Spreadsheet data to import
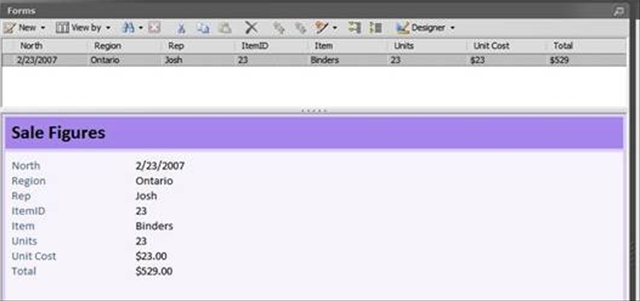
Part 2 - In the Groove Form, create the following fields as shown in Figure 2.
- North: Date
- Region: Drop-down list
- Rep: Text
- ItemID: Unformatted Number
- Item: Drop-down list
- Units: Unformatted Number
- Unit cost: Currency
- Total: Currency
Figure 2. Fields created in Groove
Part 3 - Export the Groove Form to comma delimited format (CSV)
Create a sample record in the Forms tool so you see how to best format the data to import.
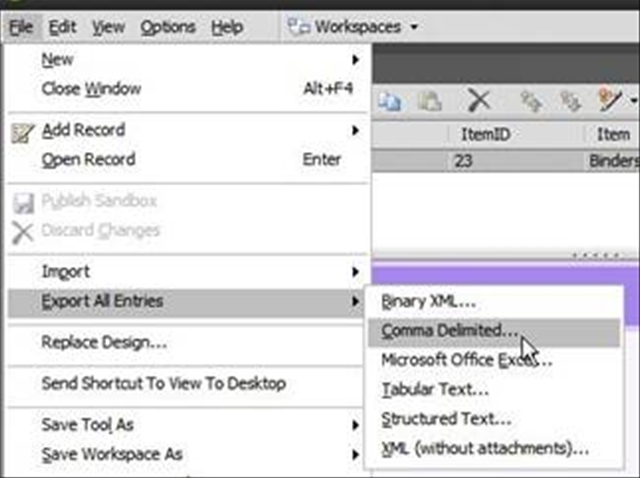
1. Choose File > Export All Entries > Comma Delimited
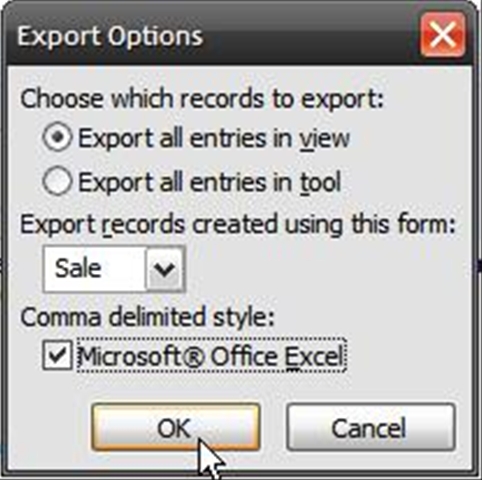
2. Select Export all entries in view
3. Choose the name of your form from the drop-down list under Export records created using this form
4. Check the box for Microsoft Office Excel under Comma delimited style:
5. Choose File > Save and enter a file name to save the file.
Part 4 - Use the data
1. Open the exported CSV file in Excel. You can safely remove the following columns which contain system fields that are overwritten by the Forms tool.
You can safely remove the following columns which contain system fields that are overwritten by the Forms tool.
_Created
_CreatedBy
_CreatedByURL
_Editors
_IgnoreUnread
_Modified
_ModifiedBy
_ModifiedByURL
_ParentID
_Readers
_RecordID
Forms_Tool_IPContents
1. Copy and paste the contents of the RecDefID and Forms_Tool_grooveFormID columns of data from the worksheet with data you want to import into the appropriate columns in the modified export worksheet.
2. Save the file.
Part 5 - Import the modified CSV file
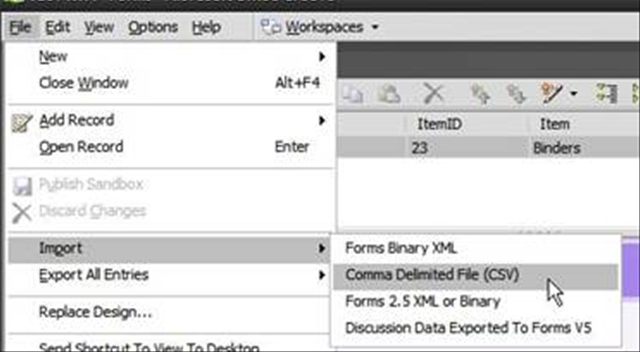
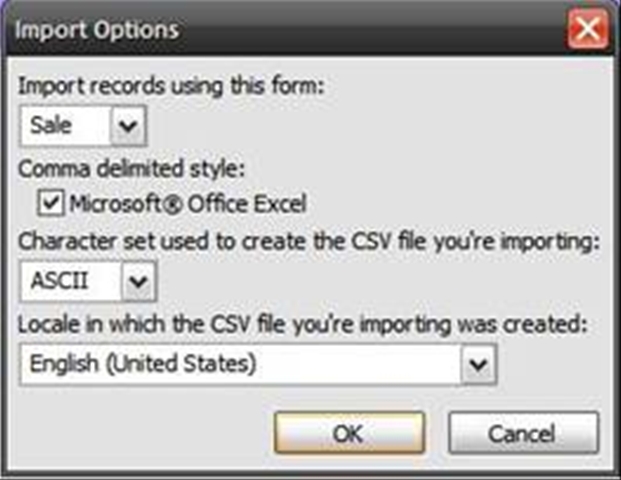
- Choose File > Import > Comma Delimited File (CSV) and browse to the file you created in Part 4.
The records are imported in Groove.
Link to this post: https://blogs.technet.com/groove/archive/2007/04/24/how-to-import-data-into-a-groove-form.aspx