App-V: On App-V Applications Hosted in Azure RemoteApp
With the release of Azure RemoteApp, Enterprise customers can now move their non-persistent RDS session-hosted applications from the on-premises data centers into a hosted cloud – with the Azure platform providing all of the necessary image provisioning and updating services. With Azure RemoteApp, you can use gallery templates or your own custom image. In addition to your own custom image, you can leverage virtual applications using App-V. With App-V, you can reduce the size of your custom image uploads by streaming the content on-demand.
Right now, App-V support in Azure RemoteApp is limited and licensed to only hybrid collection deployments. This is due to the current licensing requirement of App-V needing to be on domain-joined computers. While you could use a cloud collection to test a virtual application, in order to take advantage of the image reduction features of App-V with Azure RemoteApp – and to have full supportability and license compliance, the implementation within Azure RemoteApp would need to be joined to a domain within a hybrid collection deployment using a Site-to-Site VPN.
Setting Up Azure RemoteApp Images
Before you set up your image for Azure RemoteApp, you will need to first set up your Azure RemoteApp Subscription at https://www.remoteapp.windowsazure.com/. In addition, you will need to set up Azure PowerShell on the machine where you will be uploading the image. You can download Azure PowerShell here at the following link:
https://azure.microsoft.com/en-us/documentation/articles/powershell-install-configure/#Install
There is also existing guidance for configuring a custom RemoteApp image for uploading:
https://azure.microsoft.com/en-us/documentation/articles/remoteapp-create-custom-image/
Make sure you follow everything specified in the documentation and no steps are missing when configuring the VHD including disabling encryption and ensuring the partitions are MBR-based. For App-V considerations there are some additional steps that you will need to ensure are included with regards to configuring and preparing the image.
Configuring App-V Client and Pre-requisites
- In Server Manager, make sure .NET 3.5 and 4.5 Services are configured as features for Windows Server 2012 R2.
- Install the most recent App-V 5 Client.
- Install the App-V Client pre-requisites here: https://technet.microsoft.com/en-us/library/jj713458.aspx
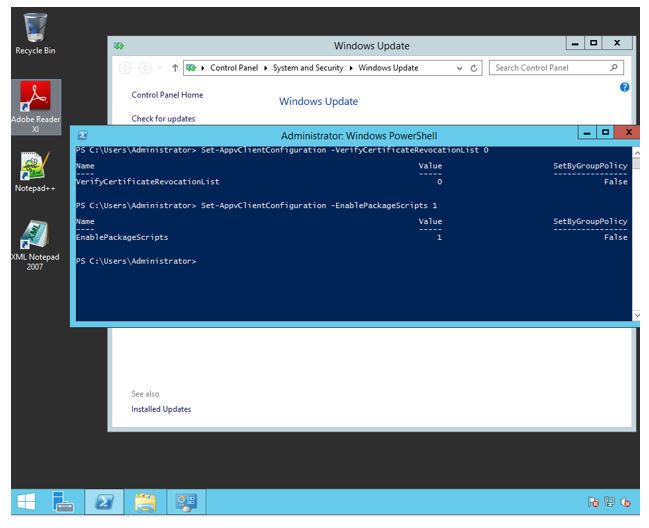
- Configure the App-V Client as required (script enablement, etc.)
Publishing Applications
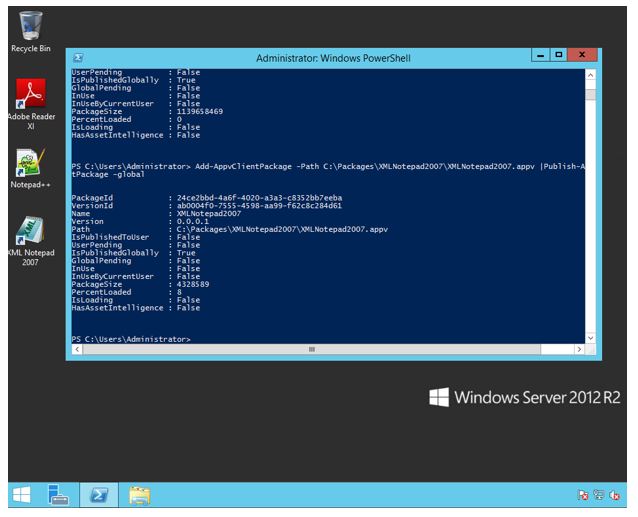
After the App-V Client has been configured, you will need to add and globally publish your virtual applications using PowerShell. You can do this using the built-in App-V PowerShell Cmdlets referenced here: https://technet.microsoft.com/en-us/library/dn508409.aspx. Whether you are using hybrid or cloud deployments, only globally published applications will fully survive the generalization (as well as picked up by the RemoteApp provisioning) so it is currently a hard requirement.
Testing and Final Preparation
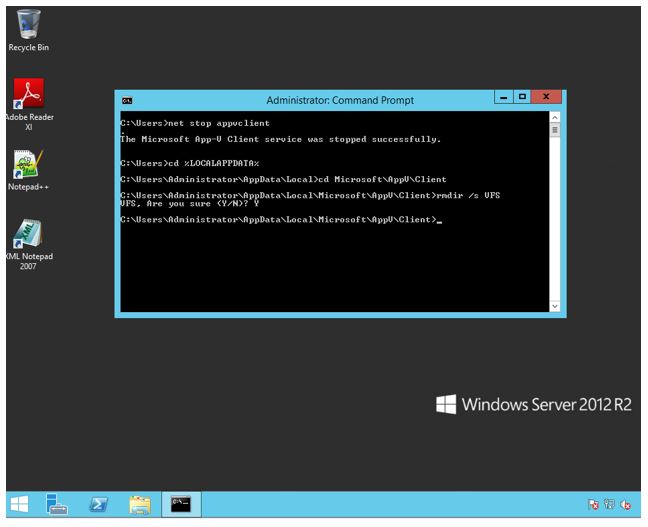
You should test and verify your applications within the image prior to uploading your image. Finally, before generalizing your image with the SysPrep tool, you will need to perform a current workaround that involves an issue with App-V and SysPrep. You will need to stop the AppV Client Service and delete the local VFS Folder under Local AppData (%LOCALAPPDATA%\Microsoft\AppV\ClientVFS.)
Also remember, if the image you are uploading is drastically behind in operating system updates, it will further delay provisioning after uploading.
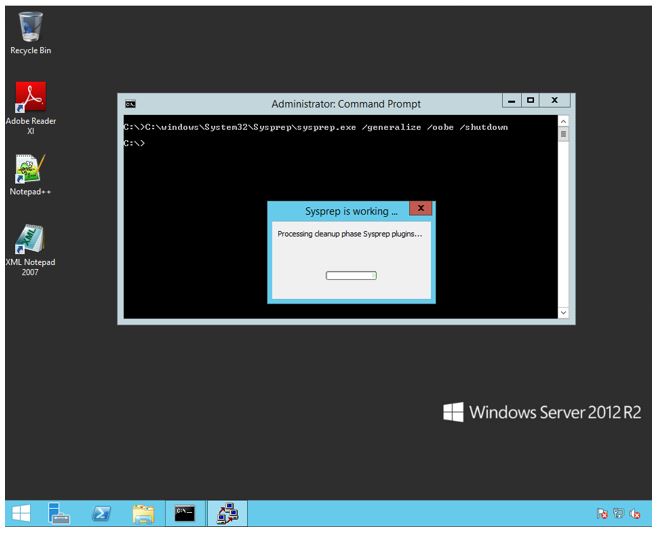
The last thing you will need to do is generalize the image using the command line:
C:\Windows\System32\Sysprep\Sysprep.exe /generalize /oobe /shutdown
Creating the Collection
You will need to create an Azure RemoteApp collection to house the image and published applications from that image. You can use this quick reference for the details: https://azure.microsoft.com/en-us/documentation/articles/remoteapp-create-cloud-deployment/
In order to upload your custom image containing your virtual applications, in the collection dialog, you will need to click “Template Images.” You will then specify to upload a RemoteApp template image:
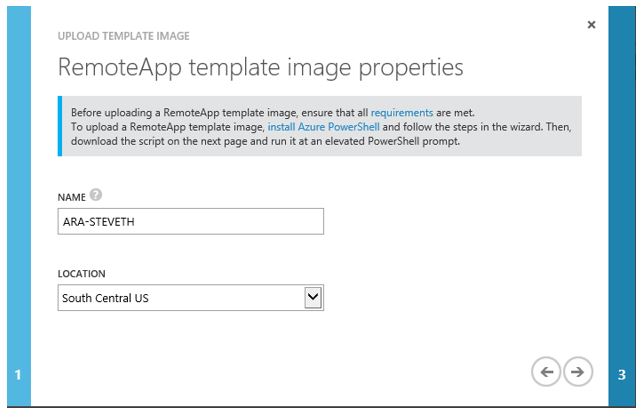
After you have given the name and location, it will take you to the next screen where you will download a PowerShell script that you will use to upload your VHD to the correct Blob.
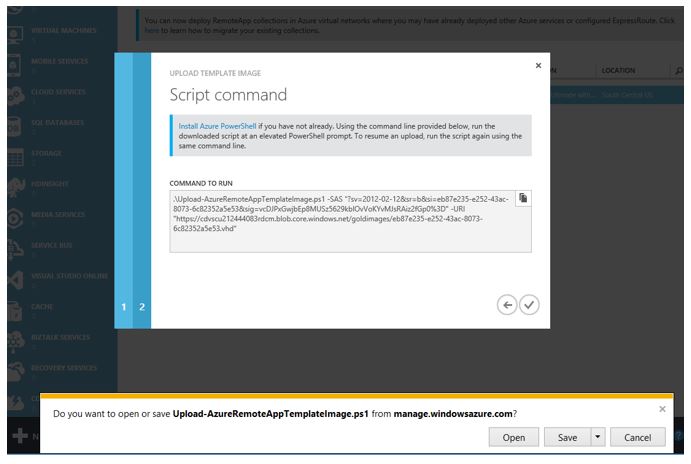
Once you download and run the command from an elevated Azure PowerShell session, it will mount, validate, and fixup the image and then proceed to thoroughly check the integrity and then finally uploading to Azure.

While the image is uploading, the status will remain “Upload pending.”

Once the upload is complete, you can then apply the template image to a collection.

Once the image is associated with a collection, the provisioning will begin. This may take a while. It will show a status of “Provisioning” until it is finished fully prepping the image and parsing for applications.
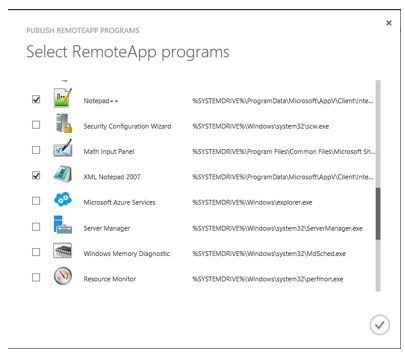
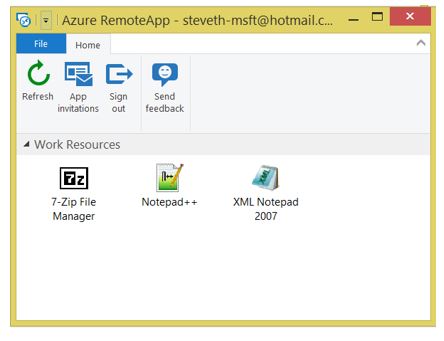
Once the applications become available in the “Publish RemoteApp Programs” screen, you will see that the AppV programs will show alongside the native applications. These application were queried upon the provisioning that occurred after the collection was created. The AppV applications will be the ones originating from the AppV Client’s PackageInstallationRoot (which by default is C:\ProgramData\AppV.) Once the applications have been published and user access has been configured, you can then download the Azure RemoteApp RDP client from:
https://www.remoteapp.windowsazure.com/ 
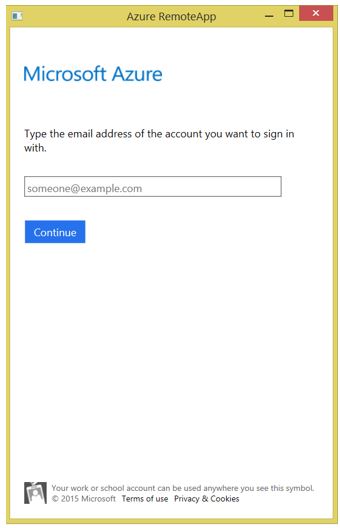
Once you download the ClickOnce application, you will be prompted with a wizard upon first launch:

The first item you will need to do is supply the appropriate credentials. You will need to supply a corporate account or an MSA.
After you have been authenticated, you will see your published applications (both native and virtual applications) assigned and published to the user. You can then begin to test virtual application behavior in Azure RemoteApp.