Ubuntu 8.04 on SBS 2003 network.
Disclaimer: This is not a Microsoft recommended step nor is it a whitepaper. This is simply my attempt to learn.
Ubuntu needs no introduction nor does SBS. :)
What do you need?
> SBS 2003 SP2.
> Ubuntu 8.04, Updated!
Ensure Network Connectivity:
After you install Ubuntu 8.04, ensure that you have network connectivity and you have Internet connection. Check for updates, using Update Manager and install all the updates.
On SBS, you don’t really need to do anything however you could add a host record in DNS for the Ubuntu machine.
On Ubuntu 8.04, open Terminal window and type the following commands;
ping servername.domain.local
and
ping servername
and
ping domain.local
Make sure that you can resolve the small business server by all the above methods. If you cannot resolve these names then do the following;
sudo nautilus [sudo because you will need to be root in order to edit and save the host file.]
Enter your user password.
Once you are in nautilus navigate to /etc/host and open it. Add entries like this;
Example:
192.168.0.1 domain.local
192.168.0.1 servername.domain.local
192.168.0.1 servername
Install Likewise Open:
Likewise Open enables Linux, Unix and Mac authentication on a Microsoft network using Active Directory. A user can now interactively log in to the Linux, Unix or Mac machine using Active Directory credentials, and can access any kerberized services that the non-Windows machine hosts.
More on the company website.
To install likewise open, do the following;
sudo apt-get update
then run the following command;
sudo apt-get install likewise-open
Reading package lists... Done
Building dependency tree
Reading state information... Done
The following extra packages will be installed:
krb5-config krb5-user libkadm55
The following NEW packages will be installed:
krb5-config krb5-user libkadm55 likewise-open
0 upgraded, 4 newly installed, 0 to remove and 0 not upgraded.
Need to get 4421kB of archives.
After this operation, 12.3MB of additional disk space will be used.
Do you want to continue [Y/n]? y
Get:1 https://in.archive.ubuntu.com hardy/main krb5-config 1.17 [16.1kB]
Get:2 https://in.archive.ubuntu.com hardy/main libkadm55 1.6.dfsg.3~beta1-2ubuntu1 [146kB]
Get:3 https://in.archive.ubuntu.com hardy/main krb5-user 1.6.dfsg.3~beta1-2ubuntu1 [131kB]
Get:4 https://in.archive.ubuntu.com hardy/main likewise-open 4.0.5-0ubuntu3 [4129kB]
Fetched 4421kB in 32s (135kB/s)
Preconfiguring packages ...
Selecting previously deselected package krb5-config.
(Reading database ... 113352 files and directories currently installed.)
Unpacking krb5-config (from .../krb5-config_1.17_all.deb) ...
Selecting previously deselected package libkadm55.
Unpacking libkadm55 (from .../libkadm55_1.6.dfsg.3~beta1-2ubuntu1_i386.deb) ...
Selecting previously deselected package krb5-user.
Unpacking krb5-user (from .../krb5-user_1.6.dfsg.3~beta1-2ubuntu1_i386.deb) ...
Selecting previously deselected package likewise-open.
Unpacking likewise-open (from .../likewise-open_4.0.5-0ubuntu3_i386.deb) ...
Setting up krb5-config (1.17) ...
Setting up libkadm55 (1.6.dfsg.3~beta1-2ubuntu1) ...
Setting up krb5-user (1.6.dfsg.3~beta1-2ubuntu1) ...
Setting up likewise-open (4.0.5-0ubuntu3) ...
* Starting the Likewise-open auth daemon [ OK ]
Processing triggers for libc6 ...
ldconfig deferred processing now taking place
root@Ubu13:/home/grajan# ping fareast.corp.microsoft.com
PING fareast.corp.microsoft.com (157.60.222.63) 56(84) bytes of data.
--- fareast.corp.microsoft.com ping statistics –-
13 packets transmitted, 0 received, 100% packet loss, time 12035ms
This installs Likewise.
Joining the Domain.
Use the following command;
sudo domainjoin-cli join microsoft.local Administrator
Joining to AD Domain: microsoft.local
With Computer DNS Name: U11.microsoft.local
Administrator@MICROSOFT.LOCAL's password:
SUCCESS
Now run the following commands to make likewise services run at startup;
sudo update-rc.d likewise-open defaults
sudo /etc/init.d/likewise-open start
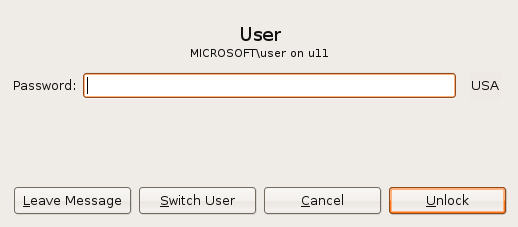
Now when you reboot you should be able to login to Ubuntu using domain credentials. You may have to use DOMAIN\user as username.
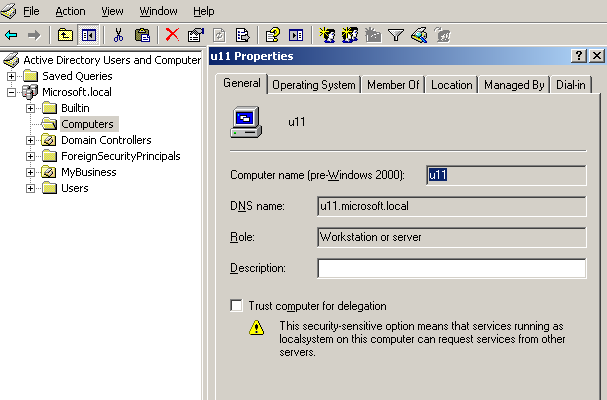
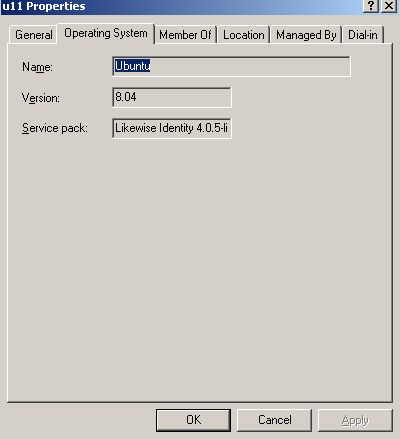
You should be able to see your computer in Active Directory.
After you create a user account you should be able to login to Ubuntu with your domain account. You will have to supply the credentials as DOMAIN\user.
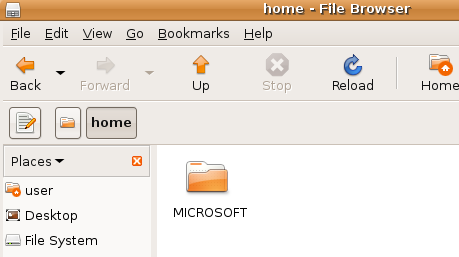
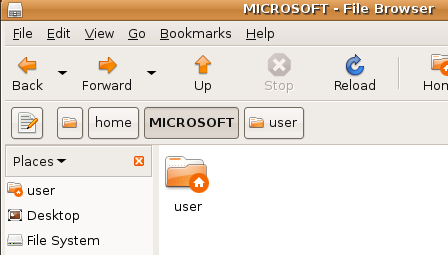
Once you login you should be able to see your home folder under nautilus (File Browser for Ubuntu)
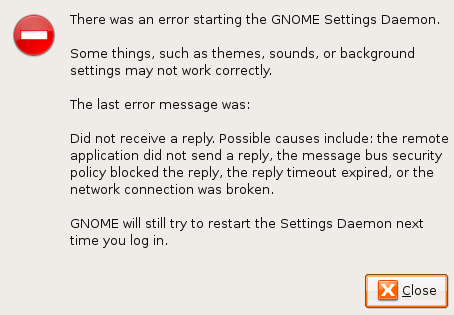
Some issues that I ran into;
After rebooting when I tried to login I got the following error;
Busted! had to rebuild Ubuntu. Could not find a way out.
In another instance I got a message asking me what I would like to do. I choose the repair damaged packages option and after the reboot, I was able to login fine.
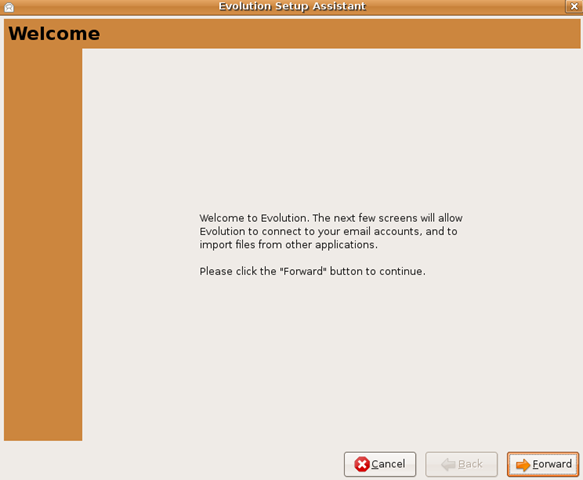
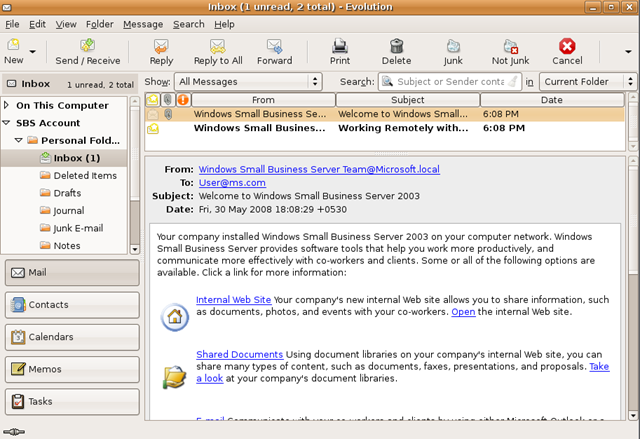
Accessing Email, companyweb and shares from Ubuntu.
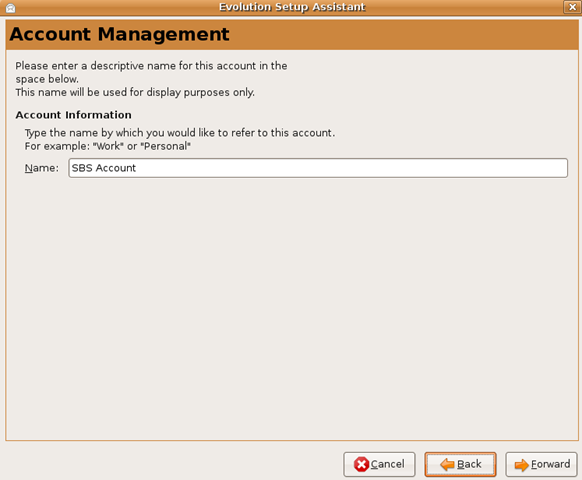
Configuring default email client, Evolution, to receive emails.
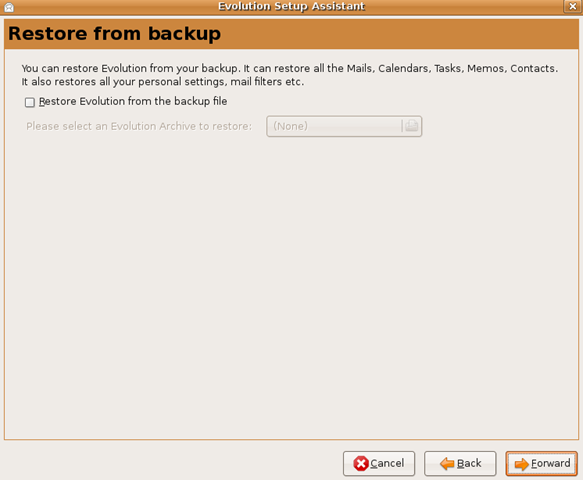
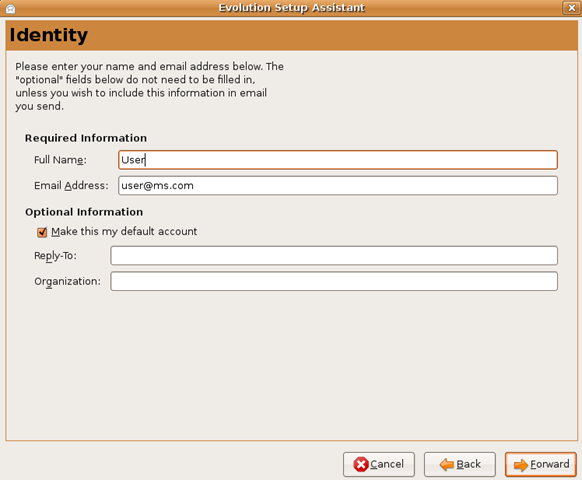
Simply click ‘Forward’ on both of these unless you want to restore from a back where you would use the restore option.

Here choose server type to be Microsoft Exchange.
Further you can enter the username. The user name in my case was simply ‘user’.
For OWA URL: https://servername/exchange
In my case since server name is SBS2003. Make sure you type https if you have ran CEICW on SBS and configured IIS with a certificate.
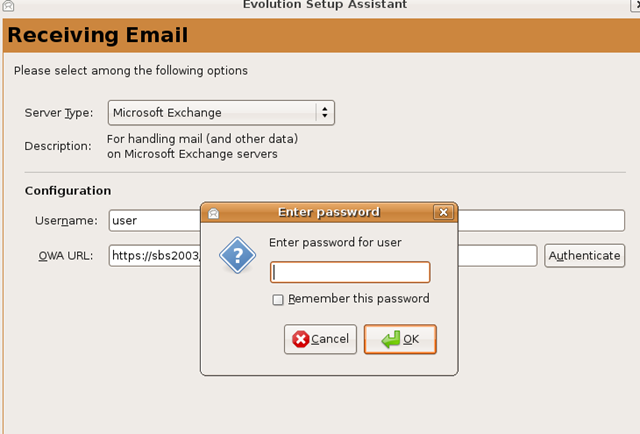
Once you click on Authenticate and enter the password, you should be able to see the “Forward” button. It would no longer be grayed out.
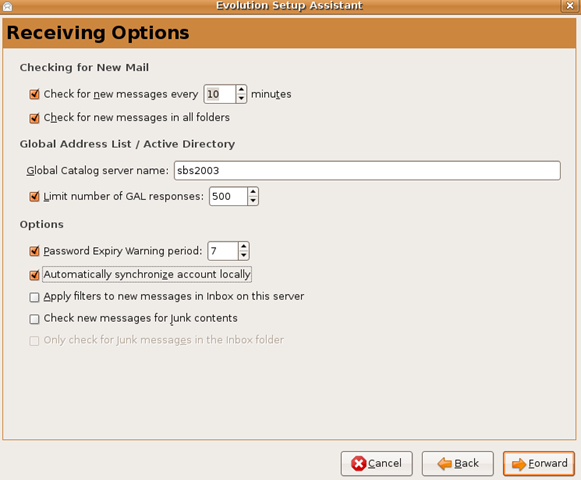
Next you have receiving options, you can fill appropriate response here, no rocket science here, actually anywhere in this article!
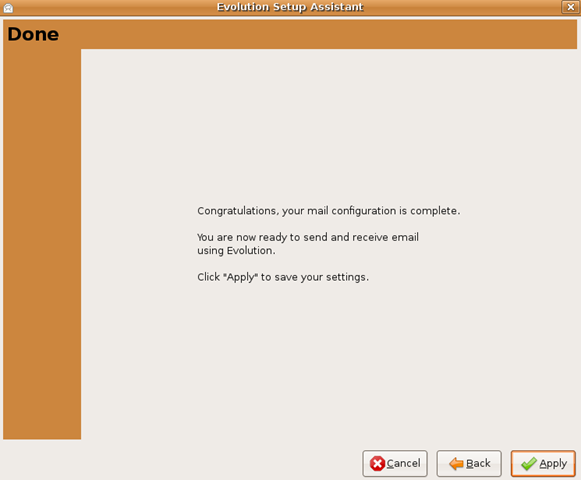
Now when you click on ‘Apply’, Evolution will open and ask for password again;
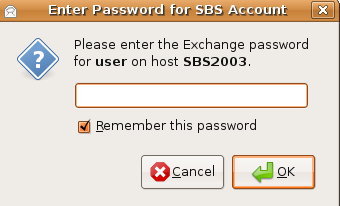
Once you check on “Remember this password” you should not be asked for it again.
You will see the new mail icon once configured cos you have two email from SBS administrator! :) 
Accessing companyweb
Here you simply need to enter the URL and enter the password once.
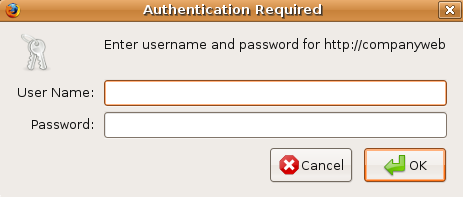
You can choose to remember the password, so that you wont have to enter it all the time.

Done!

Adding shares.
You can add commonly used share simply by going to Places>Connect to Server.
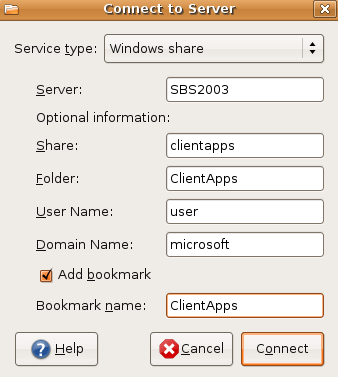
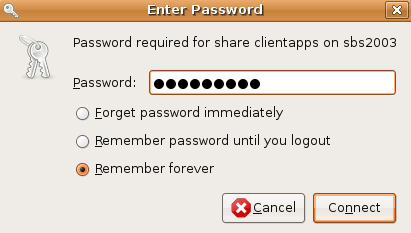
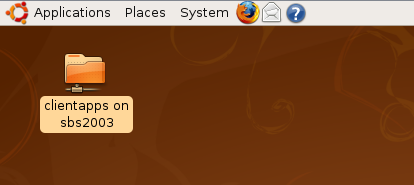
Now you can easily access the shares.