Shutting down a Azure VM with Azure Automation
Recently I was asked how to shut down an Azure VM with Azure Automation, it can be a slightly daunting task, due to the fact that you have to use credentials whether or not its a certificate or PSCredentials.. So figured I would write up a post to show how to do this with PSCredentials.
Creating the account
In order to use PSCredentials instead of a certificate, we need an account to use. Lets start by creating an account.
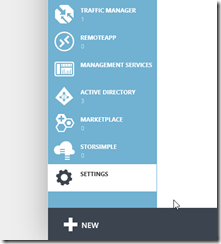
Log into the Azure Management Portal and click on Settings.
Take note of the Directory listed for your subscription, this is important because you could have multiple Azure Active Directories configured.
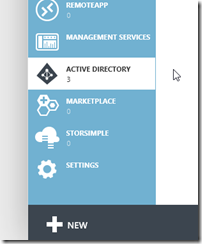
Next click on Active Directory on the side bar.
Click the Arrow next to the Name of the Azure Active Directory you saw in the Settings tab earlier.
Click on Users and then click Add User at the bottom of the page.
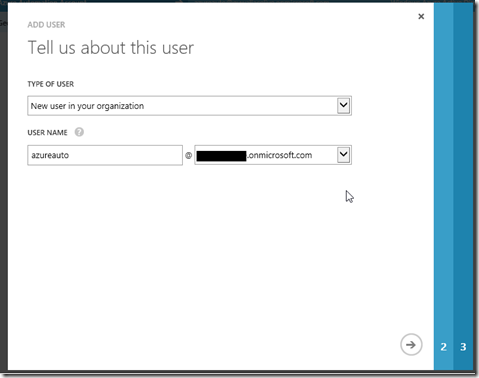
Follow the wizard by choosing “New user in your organization” as a type of user, give the user a username, click the right arrow
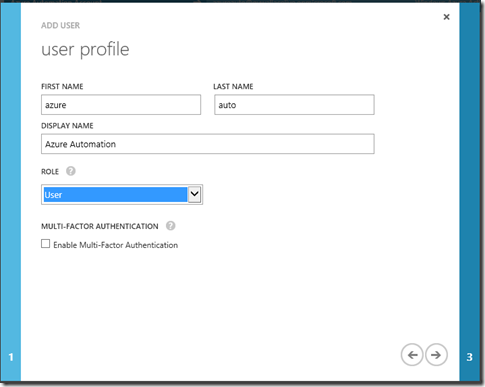
Now define the profile components for the account, fill out the appropriate information (First Name, Last Name, Display Name) for the Role choose User
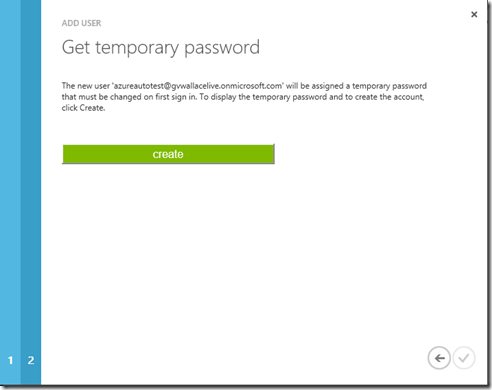
Finally on the last page click Create
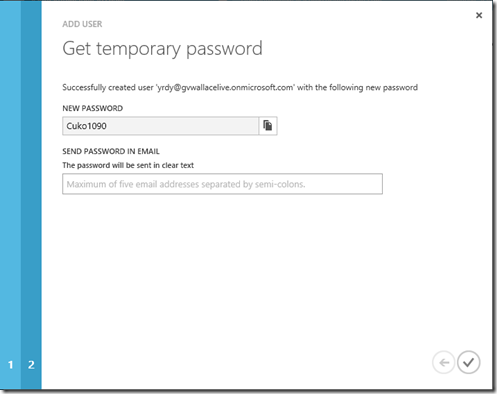
On the next page you will be presented with a temporary password for the user. At this point go to https://azure.microsoft.com and log into the Management Portal with the user created, you will be prompted to change the password.
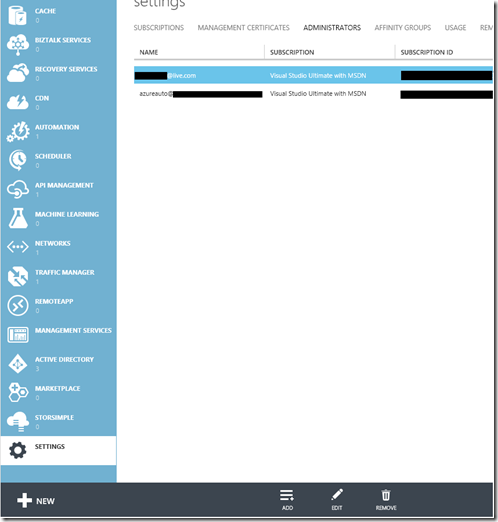
Next go back to the Azure Management Portal with your administrator credentials and click Settings –> Administrators and click Add
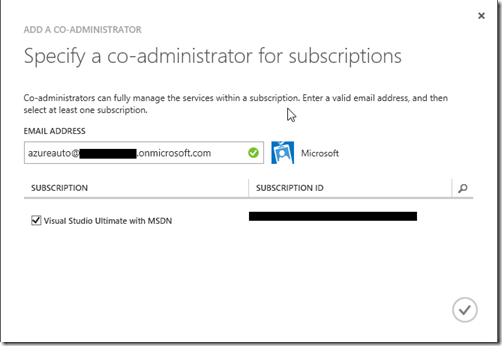
Type in the email address of the account you created, choose the subscription they should be part of and click the Check box. The Automation Account needs administrator rights to run.
Configuring Automation
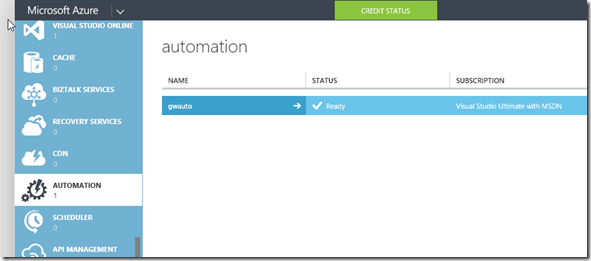
Now we are ready to configure the automation, it is assumed that you have already created an Azure Automation account for the following steps. Click the Automation tab on the left of the Management Portal and click the arrow next to your Automation Account
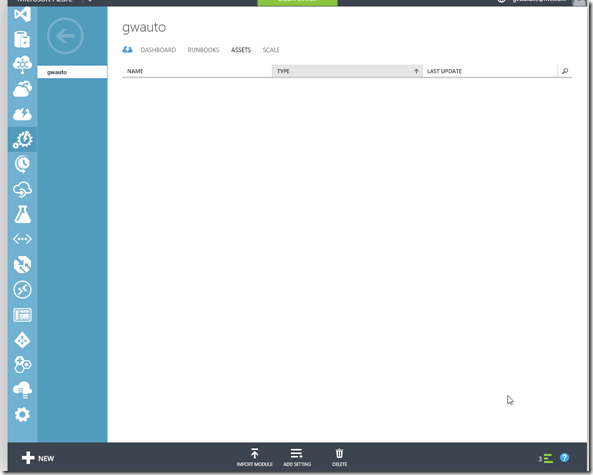
Click Assets and click Add Setting at the bottom
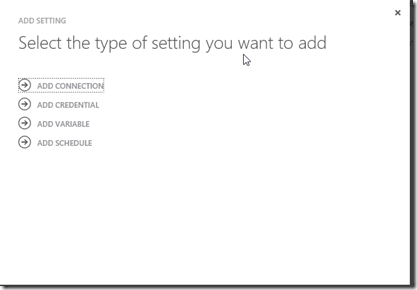
For the Setting choose Add Credential
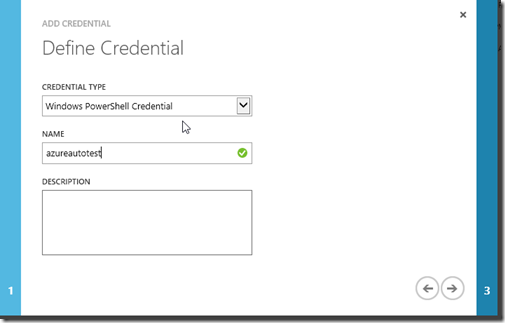
For the Credential Type choose Windows PowerShell Credential and give the credential a name, click the right arrow.
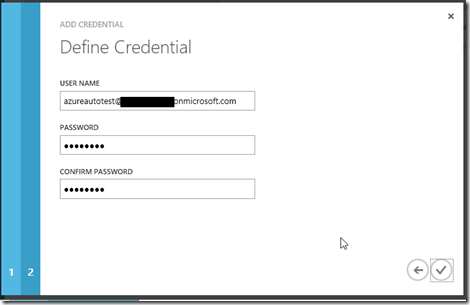
Now put in the username and password for the account we created earlier, and click the Checkbox
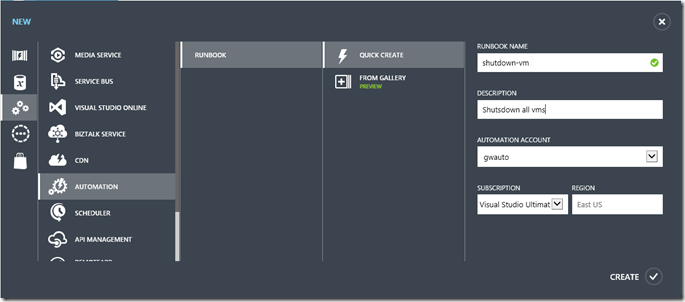
Now from the bottom left corner of the screen click the Plus sign , choose Automation, Runbook, and Quick Create. Give the runbook a good name and description and click Create
Next click the Arrow next to the newly created runbook to go to the runbook details.
Click Author and now we are ready to create the runbook.
Paste the following code into the designer, where the Name for Get-AutomationPSCredential is the Name of your credentials you created earlier. You can always click (Insert, Setting) at the bottom of the window and choose Get Windows PowerShell Credential and is will show you all the credentials you have. This will also paste in the command to get the credentials.
 workflow shutdown-vm
{
    $Cred = Get-AutomationPSCredential -Name 'Azure Auto'
    Add-AzureAccount -Credential $Cred

InlineScript
    {

    Select-AzureSubscription -SubscriptionName "Visual Studio Ultimate with MSDN"

    $VMS = Get-AzureVM

    foreach($VM in $VMS)
        {
        $VMName = $VM.Name
        Stop-AzureVM -ServiceName $VM.ServiceName -Name $VM.Name -Force
        Write-Output "Shutting down VM :  $VMName "
        }
    }
}
Now it is time to test, if you have VMs just click the Test button
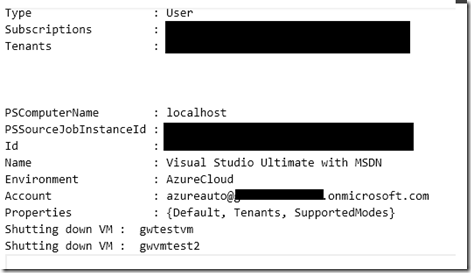
Finally once you test, you should get output similar to below.
Hope this helps someone out there.
