Exchange Online migration reporting
This article is a follow-up to the Mailbox migration – Do it yourself guide article. It is also a product of your direct feedback, so thank you!
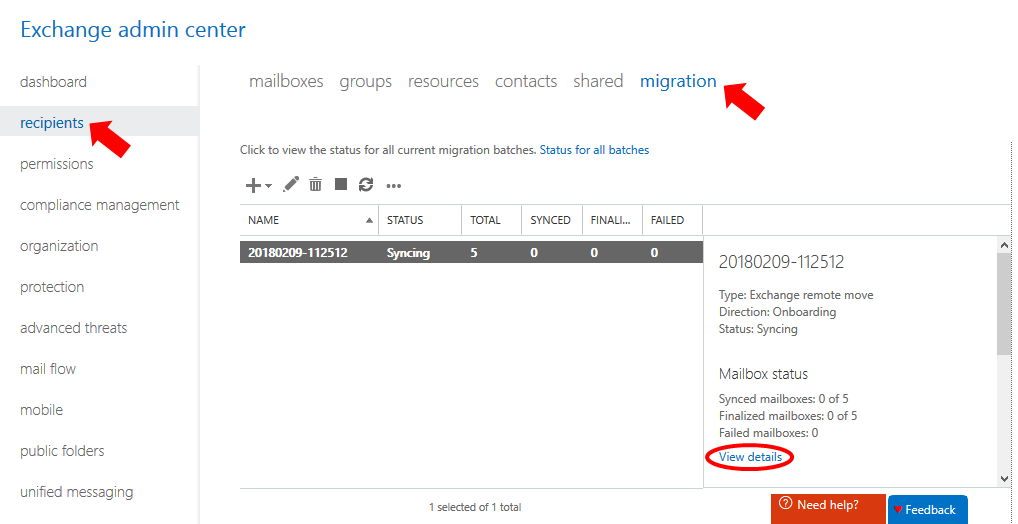
Every migration batch you create is listed at the Exchange Online Admin Center (EAC, recipients, migration). You can open the migration batch details and scan for the information you need or you can use PowerShell to get specific details:

You can also use PowerShell to create more elaborate reports. In this post I will show a migration reporting tool you can use as example for your customized reports.
A sample tool for migration reporting
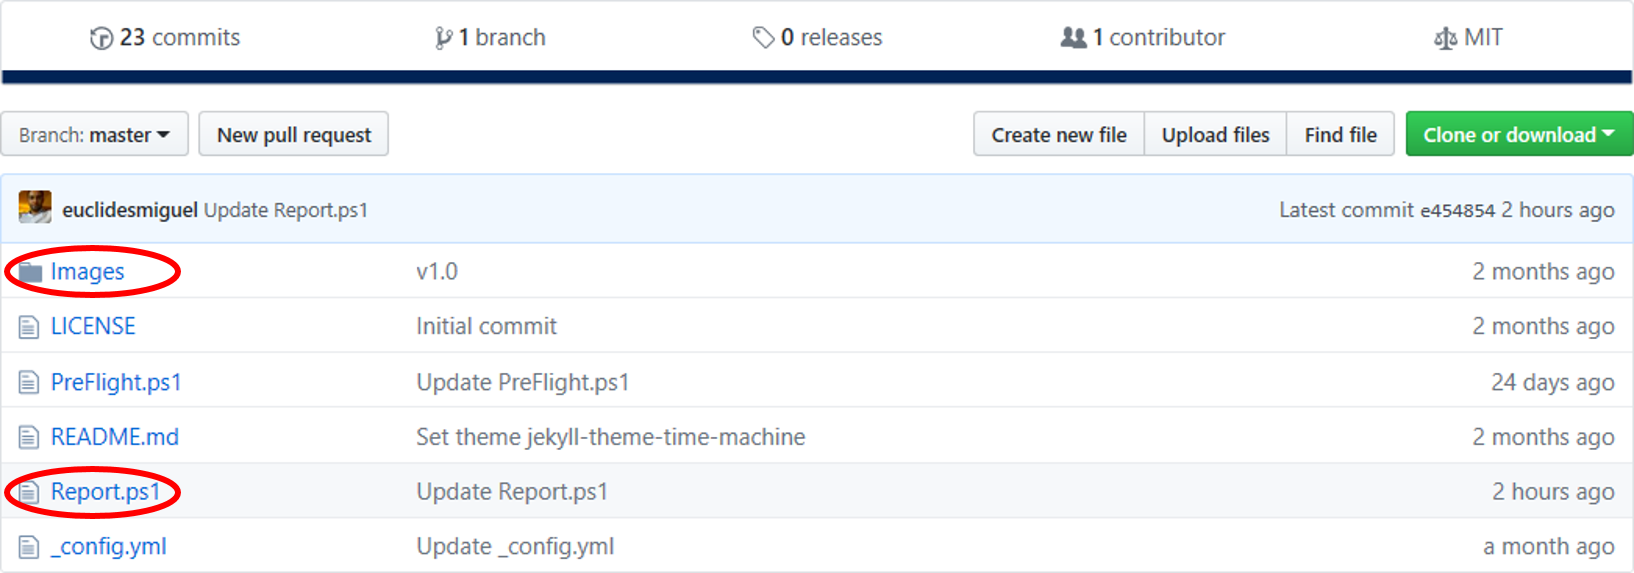
The first thing you need to do is to download the reporting tool. It is available at Pre-flight, in GitHub. You must download the script itself and the images folder:
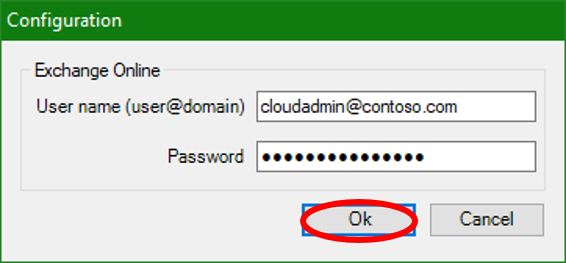
Now you run the script and click the Configure button, which will open a graphical interface:

You enter your cloud credential, click Ok…
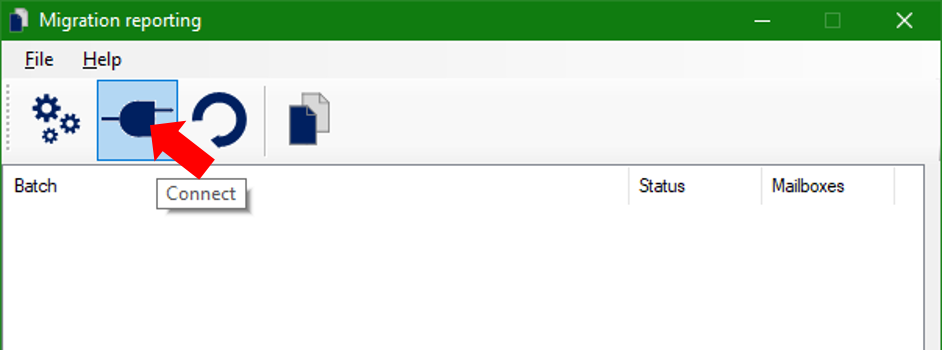
And then click the Connect button:
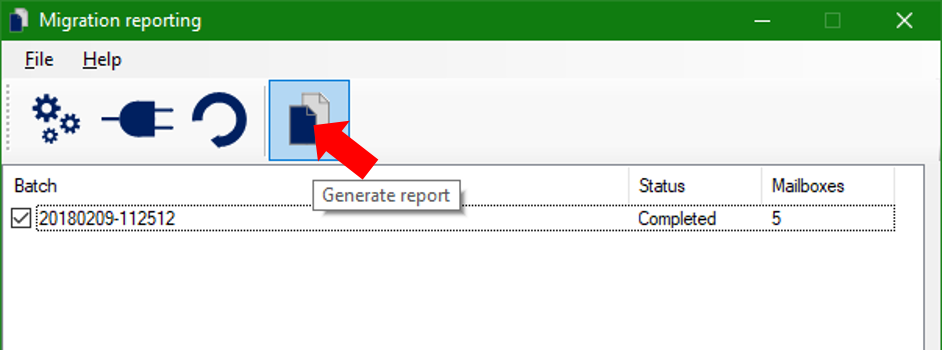
Now you simply select the migration batches you want to report and click the Generate report button. Note that all the batches are selected by default.
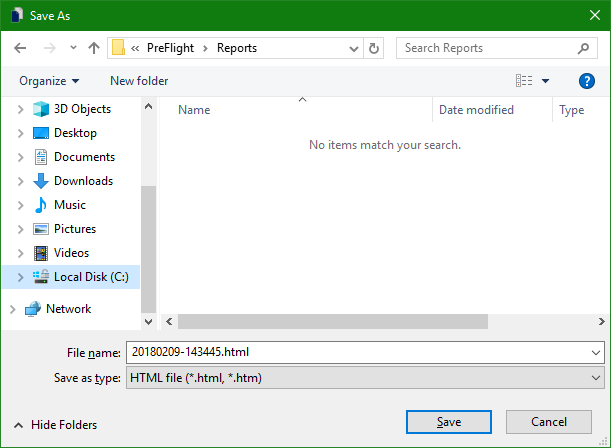
It will open a dialog, where you select a folder, name your report and click Save:
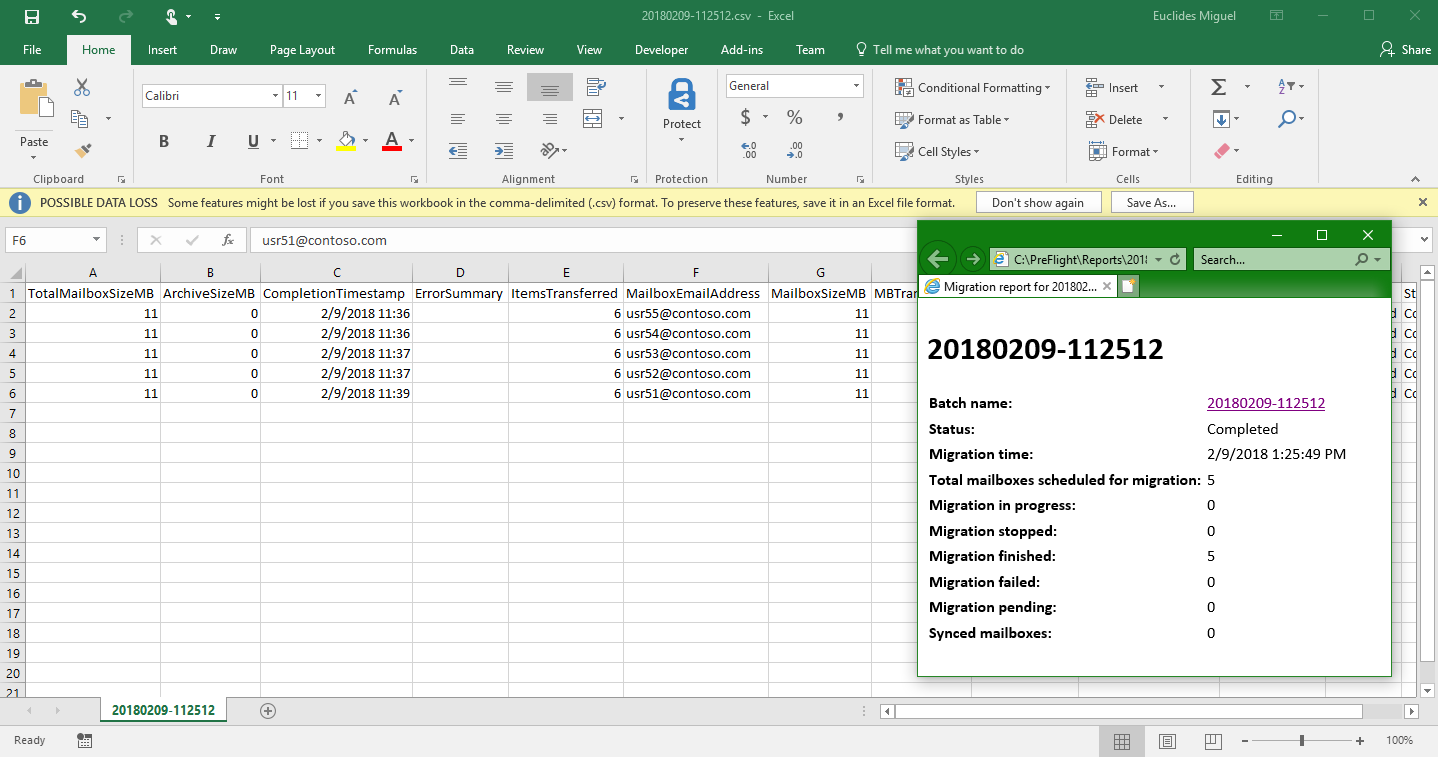
That’s it! Now the toll will get the details for each request inside the selected batches and write:
- An html with general information
- A CSV for each batch with detailed information
Now please leave your feedback: Tell us what you like, what you do not like or what you think this sample tool should do.
Thanks!