Contoso University - create and configure
The first step is to create and configure an Azure Web App and Azure SQL Database. If you already have one then you can skip this step.
I have used a project called Contoso University which can be downloaded from here.
- Unzip the folder and you'll find another folder called C#. Extract this and perhaps change the name to ContosoUni.
[gallery size="full" link="file" ids="145"]
- We'll need to create some resources to publish our project into e.g. an Azure SQL Database. You can either create all the resources manually or you can edit this script and change the lines that will be specific for you.
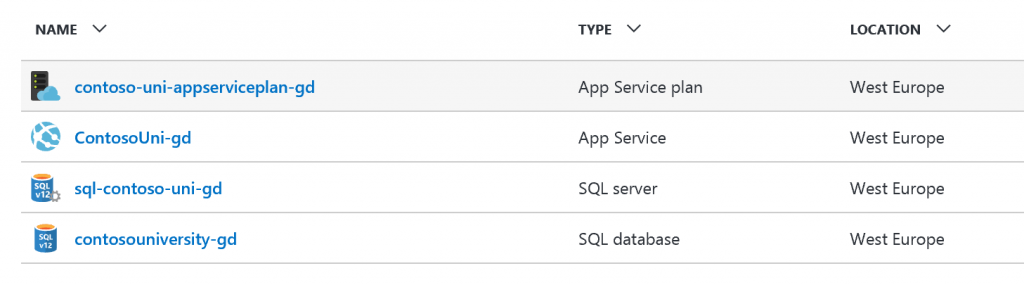
- When the script completes you should see the following resources in Azure:
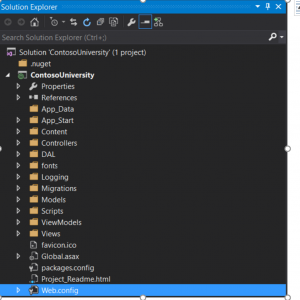
- Now open the Visual Studio project. You'll be prompted a couple of times; click OK and we'll configure the project to work with Visual Studio 2015.
- Next you will need to edit the Web.config file
- And change v11.0 to MSSQLLocalDB (as below). From
<connectionStrings>
<add name="SchoolContext" connectionString="Data Source=(LocalDB)\v11.0;Initial Catalog=ContosoUniversity2;Integrated Security=SSPI;" providerName="System.Data.SqlClient" />
</connectionStrings>
To:
<connectionStrings>
<add name="SchoolContext" connectionString="Data Source=(LocalDB)\MSSQLLocalDB;Initial Catalog=ContosoUniversity2;Integrated Security=SSPI;" providerName="System.Data.SqlClient" />
</connectionStrings>
- In Solution Explorer, right click the project and choose Manage NuGet Packages
- A yellow bar will appear stating "Some NuGet packages are missing ..." - click the restore button at the end of this yellow bar
- Save and exit Visual Studio
- Open Visual Studio (Visual Studio needs a restart after restoring the NuGet packages
- On the menu bar, choose Tools, NuGet Package Manager, Package Manager Console
- In the Package Manager Console, enter Update-Database
- Build the solution
- On the menu bar, choose Project, Contoso University Properties, and select the Package/Publish SQL tab
- Change Configuration (top item) to Release
- Click Enable This Page
- Click Import from Web.config
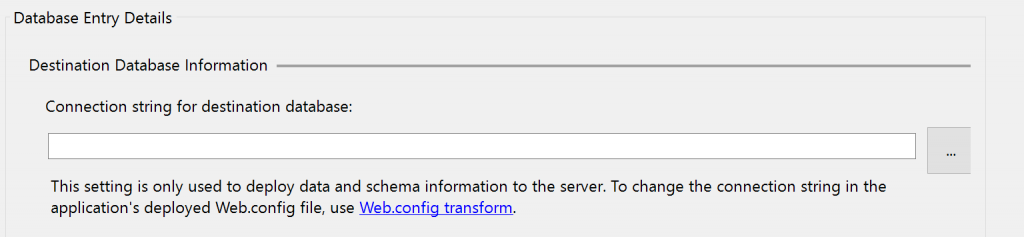
- In the text box for Connection String to destination database: click the ellipse button at the end of the empty text box to configure ...
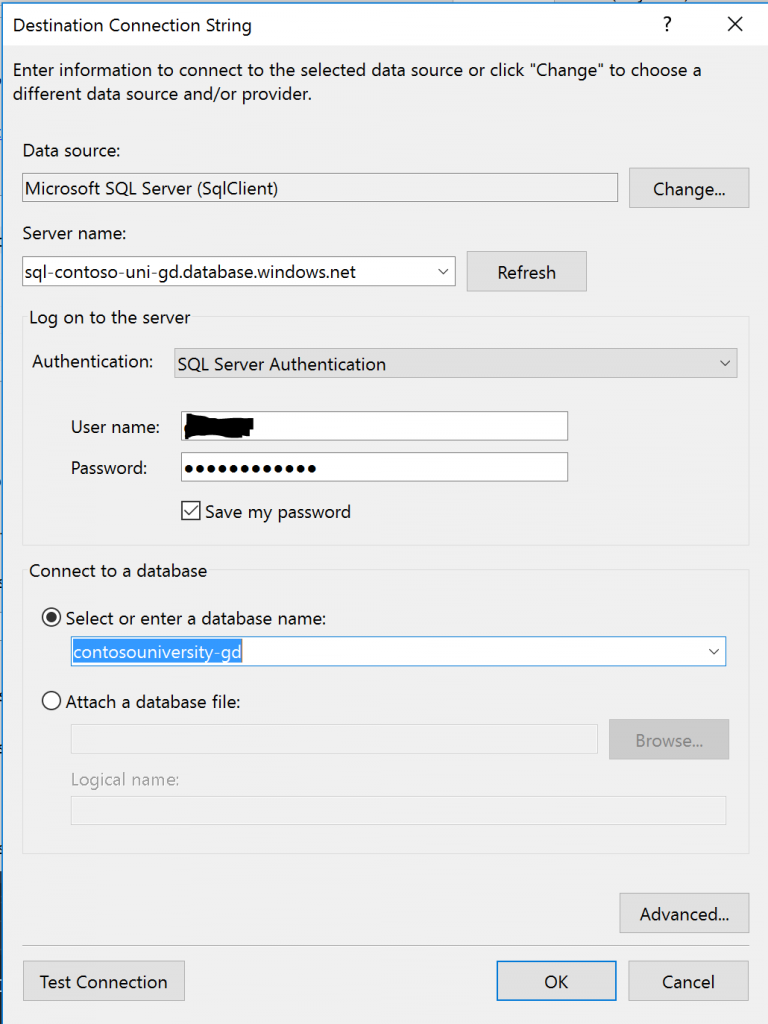
- Enter the details for the Azure SQL Database that we created with the PowerShell script (or which you created in some other way).
- Change the Database Scripting Options to Schema and Data
- Save and Build
- Publish to Azure
- Select Microsoft Azure App Service
- Select your Subscription
- Select the Resource Group
- Select the Web App
- Click OK
- On the Publish window that pops up, you are on the Connection tab - click Validate Connection
- On the Publish window select the Settings tab and ensure that:
- Configuration states Release
- File Publish Options (leave deselected)
- Database - Enable the new database publishing improvements
- Re-enter the connection details to the Azure SQL DB as listed above
- Check both items under this:
- Use this connection string at runtime
- Execute Code First Migrations
- Click Publish
- You should now see the website with some data populated
- In the next article, I'll look at monitoring this with Operations Management Suite using the Azure Metrics that are in Public Preview