Find the sending client IP for messages sent from an Exchange Online mailbox
I recently worked with an organization that had a single Exchange Online mailbox become compromised. The mailbox credentials were stolen, and the attacker used them to send mail directly from the mailbox. This organization was going through a security analysis of the compromise and wanted to obtain the IP(s) that connected to this mailbox to send the outbound mail. No problem.
This article only focuses on an Exchange Online mailbox, and not a mailbox stored in an on-premises mail environment.
There are various ways the connecting IP can be found, but in this article I’m focusing on two of them. The first, using the regular Exchange Online Message Trace, and the second, using the Exchange Online Extended Message Trace.
Message Trace
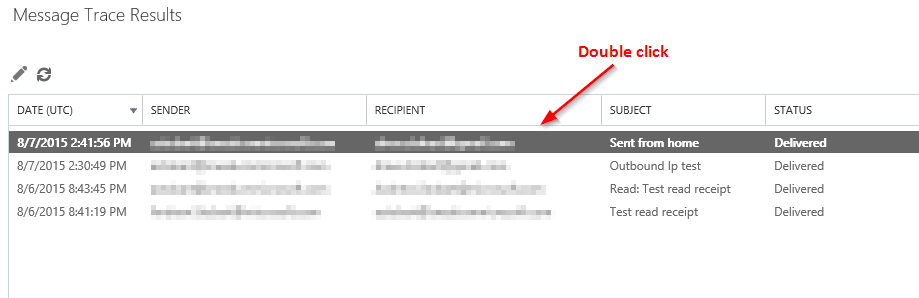
In the Exchange Online portal, perform a regular message trace (select a date range of either past 24 hours, past 48 hours, or past 7 days). Scope the trace on the compromised sender and then click search.
Once the results are displayed, double click an entry to get more information.
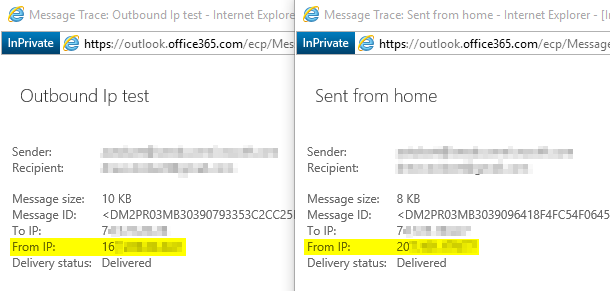
The above screenshot shows two different messages that were sent from the same Exchange Online mailbox. The one on the left was sent from the Outlook client on my work computer, the right message was sent from my home using OWA. The From IP field shows the public IP that was used to connect to the Exchange Online mailbox to send the message.
If many different IPs are sending many messages from the Exchange Online mailbox, the regular message trace doesn’t work so well for finding them all. Unless of course you like clicking through results one line at a time…
This is where an Extended Message Trace is better.
Extended Message Trace
An Extended Message Traces provides a CSV file which can be analyzed with ease through Excel. For an attack that connected with multiple IPs and sent lots of messages, this is the way to go.
In the Message Trace tool, set a custom date range and ensure the starting date is at least a week in the past (this is the key to enable the extended trace). Add the compromised sender, and check off the box Include routing events and routing details.
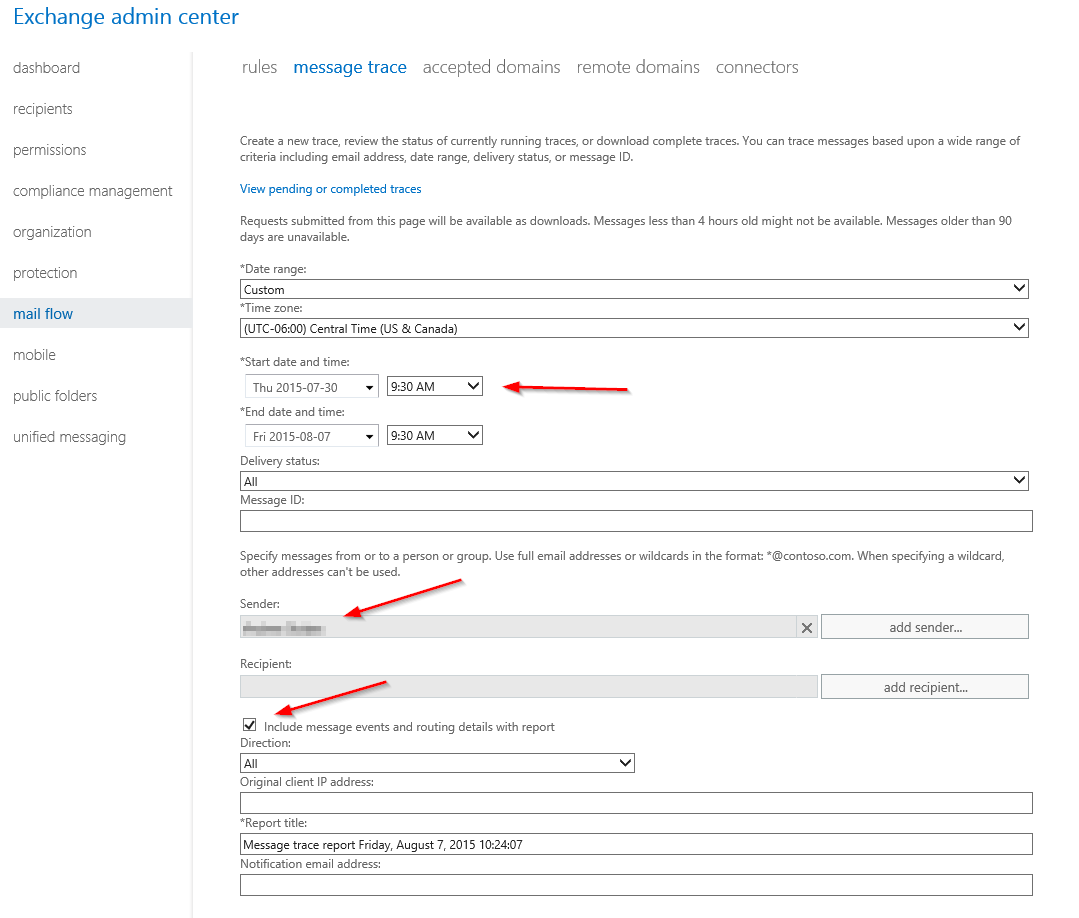
These traces typically take at least an hour to complete. Once completed, you can download the CSV file at the link View pending or completed traces on the above page.
For more information on running a message trace see Run a Message Trace and View Results.
When you first open the CSV with Excel the data will look like a mess.
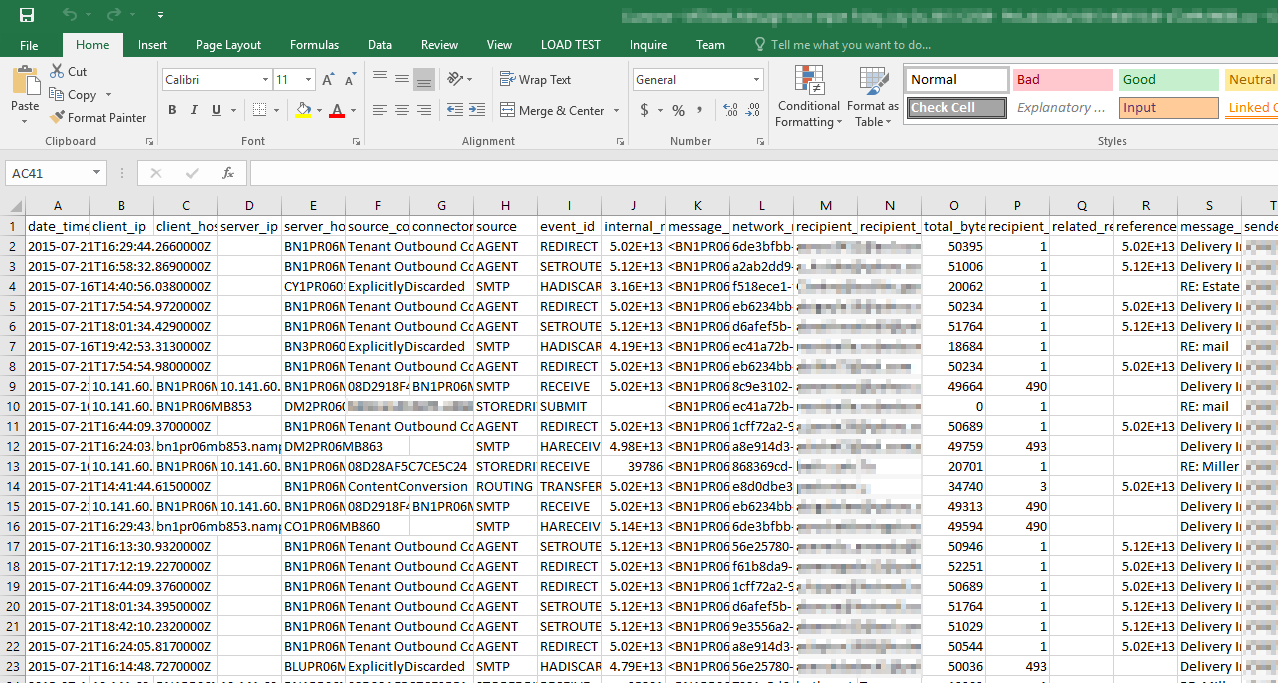
Don’t worry, we can prune down the information. For example, the CSV file that I’m working with here has over 10,000 rows. Here’s what I do to prune it down to find all of the unique IPs that connected to this mailbox to send outbound mail.
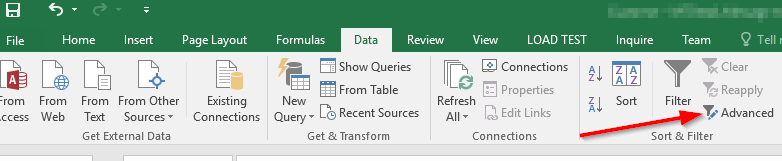
On the Data tab in Excel, in the Sort & Filter section, click Advanced.
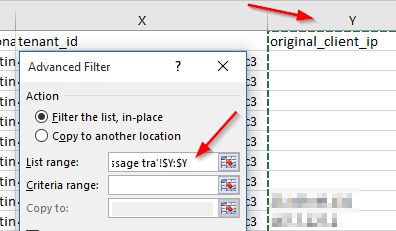
On the Advanced Filter window, select the original_client_ip column for the List range.
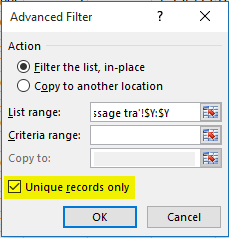
Finally, check off Unique records only and then click OK.
I am now left with a column showing the IPs that sent mail out from this Exchange Online mailbox (whether sent using the Outlook client, OWA, a phone, or another mail client).
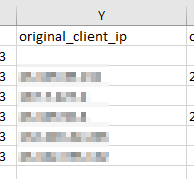
I can copy the unique IPs out of this view for easy sharing.
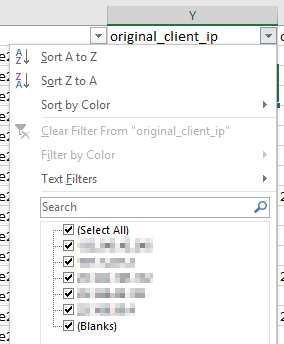
We also could have done a regular Filter in Excel on the original_client_ip column to see the IPs, however we can’t easily copy out of this window, and if we apply this filter we won’t see unique entries like we do using the above method.
Keep in mind that a lot of attacks come from zombie computers which hide the original IP of the attacker. Attackers will also often use proxies to hide their IPs, but for those curious about the final IP that connected to an Exchange Online mailbox to send mail, the above will get you that information.
Also keep in mind that this does not apply to on-premises mailboxes that are protected by EOP, this only covers Exchange Online mailboxes.
Cheers!