Building my EMS Lab – Part 1: Setting up the Infrastructure
Microsoft is becoming a mobile-first, cloud-first company, and the centerpieces are the Enterprise Mobility Suite and Office 365.
Beyond the vision is a lot of technology, which I like to experiment with in my role as a technical presales. In the upcoming series of posts, I’d like to walk you through how I set everything up, starting from scratch.
Where I got the inspiration?
Milad Aslaners posts on “Building an EMS Lab in one day” have been very inspirational and some parts in this guide are identical. The initial idea was to write out the videos he made, but I found that the tools released in the mean time (AD Sync and AD Connect) provide a much nicer experience.
What are we building?
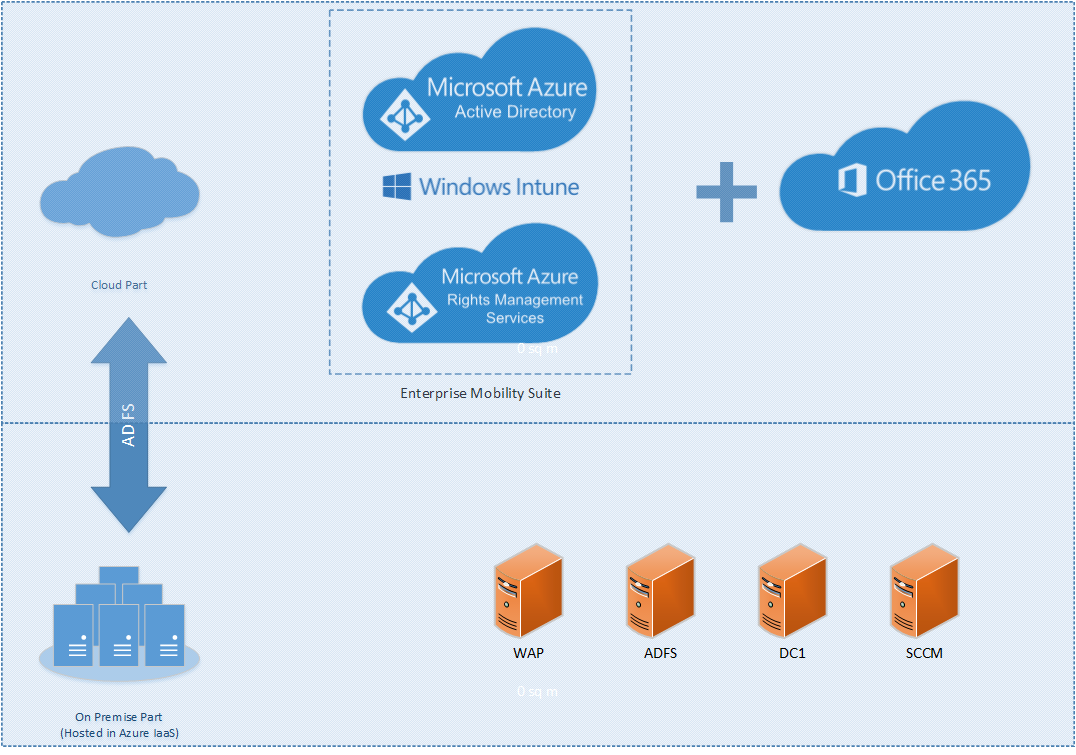
The lab is set up in three big parts:
Setting up the infrastructure (this post): because I actually don’t have 4 servers sitting around in my house (only 1 actually, and it’s a production environment J), I set it up on Azure IaaS. The steps within the VMs are identical whether they are hosted on premise or on Azure IaaS, with some caveats that we’ll point out.
Setting up the on-premise components: configuring the domain controller (DC1), active directory federation services (ADFS), the web application proxy (WAP) and the Configuration Manager server (SCCM).
Setting up the cloud part: once we have connected the on-premise part to the cloud the hard part is over. Here we set up the EMS components and Office 365 for the full mobility experience.
Prerequisites
You need a couple of things that are not trivial to obtain and may incur a cost, depending on what you/the company you are working for will provide you:
An Azure account – you can get a free trial here
A domain name with access to the DNS records – for example with GoDaddy, approx. 10 EUR/yr
An SSL certificate for that domain (preferably a wildcard one) – approx. 250 EUR/yr at GoDaddy
NOTE: If you are a Microsoft employee, click here to get an Azure account, here to get a domain name, here to get modify to the DNS records and here to get an SSL certificate.
Steps
NOTE: For simplicity: if a field is not described, leave it to the default value.
Decide on the name of your lab
I chose emdemo.be, and will be using this throughout the guide. You can Find & Replace this with your labname unless indicated otherwise.Open your Azure admin console
Go to Settings > Affinity Groups > Add
- Name = EMDemo, Description is whatever you like it to be. Location = West Europe (choose the region that is closest to you)
Go to Cloud Services > New > Custom Create
- URL = EMDemo.cloudapp.net, Affinity = EMDemo
Go to Storage > New > Quick Create
URL = EMDemo, Affinity = EMDemo
I chose “Locally Redundant” for cost reasons, but you are free to choose whatever you like
Once your storage account is created, drill down (by clicking on the ‘->’) and click Containers
Click Add (not New)
Type “VHDs”
Go to Virtual Network > New > Quick Create
- Name = EMDemo, Location = West Europe
Go to Active Directory > New > Directory > Custom Create
Name = EMDemo, Domain Name = emdemo.onmicrosoft.com, Country = Belgium
Create an Azure AD Admin Account
In your newly created directory, click Users > Add User
New User in your Organization
NOTE: This will be your cloud administrator. To make your life easier, use the same username as your on-premise administrator, but they will both live their separate livesRole = Global Administrator
Set the Azure AD Admin Account
Open an in-private browsing session, browse to https://myapps.microsoft.com
Log in with the credentials provided
Choose the admin password
Go to Virtual Machines
We’ll create 4 virtual machines: DC1, ADFS, WAP, SCCM. The process for creating them is identical:
Choose New > From Gallery > From Gallery
Choose Windows Server 2012 R2 Datacenter, click Next
Choose the latest release date, type the VM name, choose a tier (I used Basic for cost reasons), choose a size (I used A2 to have some speed but they also cost a bit more), choose a local admin user & pw and click Next.
Pro-tip: don’t choose an account that you will be using later throughout the demo (eg. your first name). This will be your admin account and it is not recommended to run demos using your admin account. I used Wouter (and will use it throughout the guide) but I recommend you choose something else, eg. emdemoadmin.
Choose cloud service = EMDemo, storage account = EMdemo, click Next. And Next again to create the VM.
NOTE that you can only create one VM at a time so this takes some time.
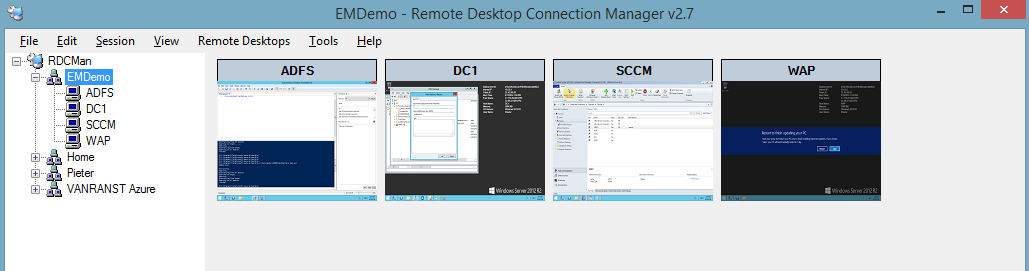
Once your VMs are up & running it’s time to connect to them
Use RDCMan to easily switch between them (Microsoft employees: look here for the latest version)
The address you need to connect to is emdemo.cloudapp.net, with the admin credentials you provided. You can find the port number for RDP when you drill down in your VM > Endpoints > Remote Desktop > Public Port
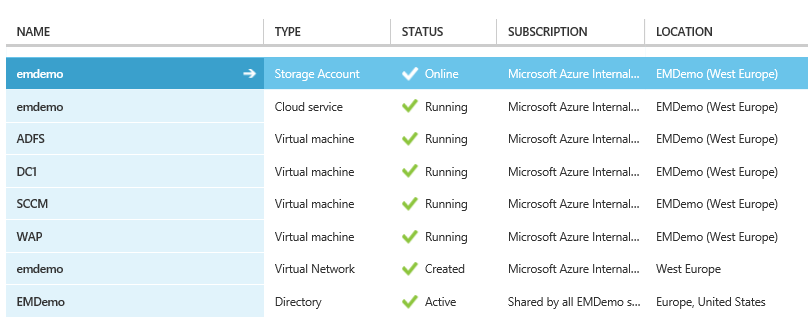
The End Result
Your Azure components should like like this, which gives you the following VMs. Click here to go to the next part.