Tiered Storage: Second Step - Creating My Virtual Disk and Volume
In earlier posts I talked about why we purchase storage the way we do, I showed you my zany storage sub-system, and I talked about my goals for testing Storage Spaces with Tiered Storage.
In my last post, I showed how I created a Storage Pool.
Now I’ll walk though defining a virtual disk and a volume using the available wizards in Server Manager.
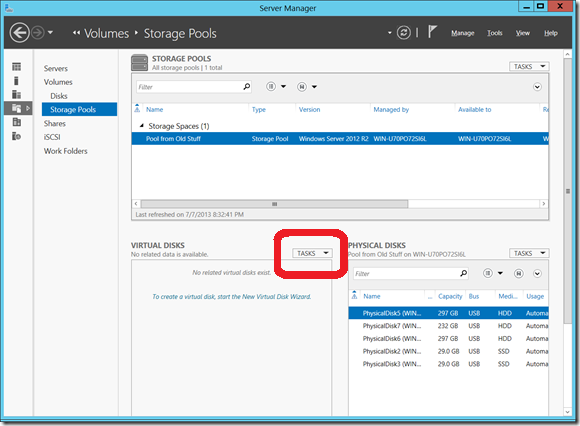
Start by going to Server Manager and opening up the File and Storage Services, and selecting Storage Pools on the left side of the screen.
In the VIRTUAL DISK window, select TASKS and click on New Virtual Disk:
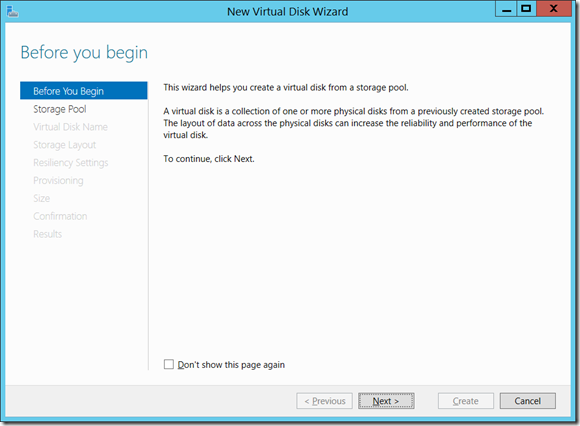
This opens the New Virtual Disk Wizard – you can read and then hit Next:
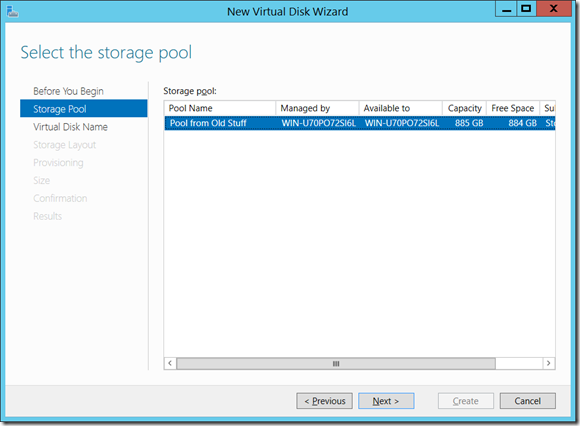
A virtual disk is created from an existing storage pool…I have only one, so hitting Next is a good option:
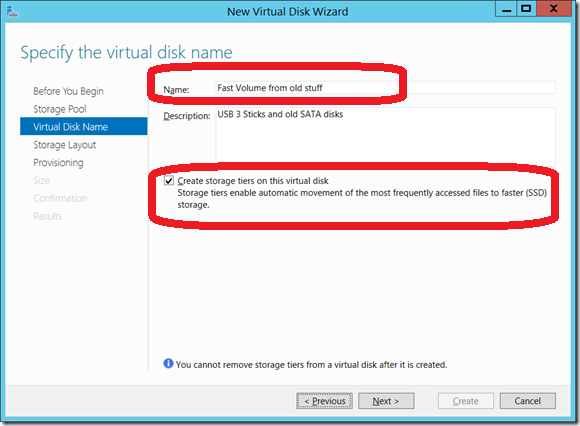
The next screen allows you to assign a name to your virtual disk, as well as let Windows know that you would like create storage tiers on the virtual disk (use those two separate media types defined in my previous blog post to optimize performance):
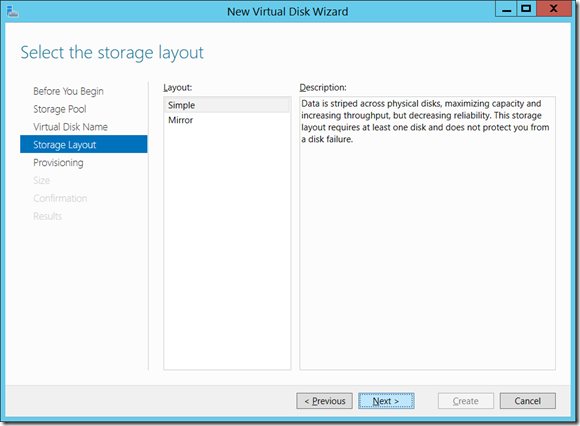
The storage layout must also be selected. With my storage, I was allowed to select either a “Simple” striped layout or a mirror (simple in this case has no fault tolerance…but I don’t need that right now for my testing) :
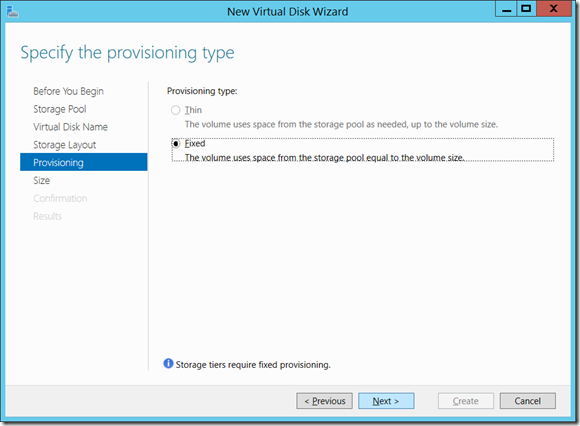
In some configurations, Storage Spaces allows you to enable “thin provisioning” of volumes…I don’t have that option here, based on my setup, but it’s a wonderful capability:
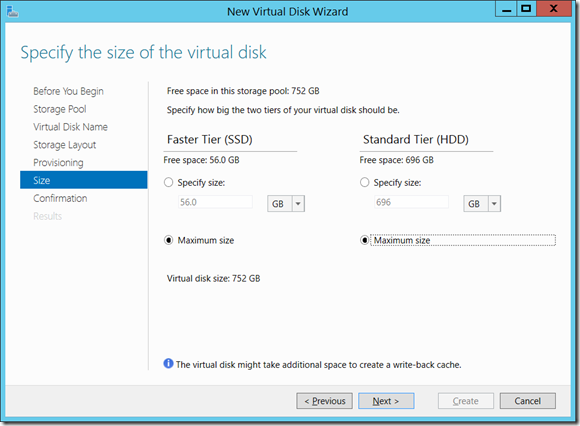
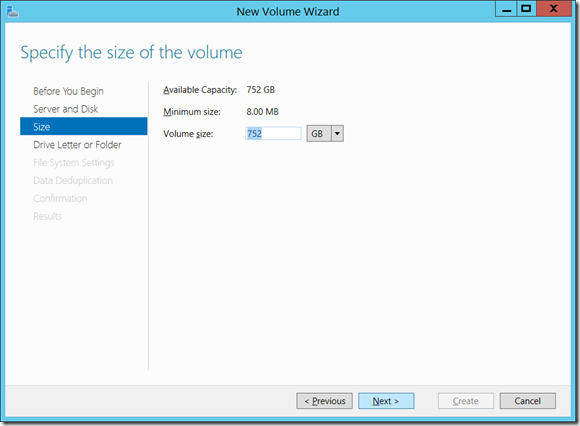
I defined my virtual disk to be the maximum size it could be, based on the available capacity of my storage pool:
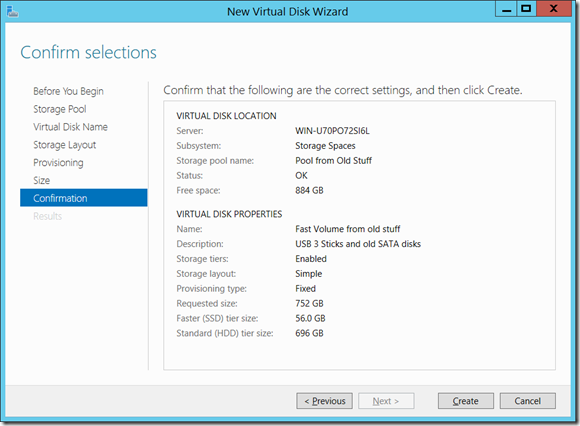
The Wizard provides the opportunity to review the virtual disk options, and then create the disks:
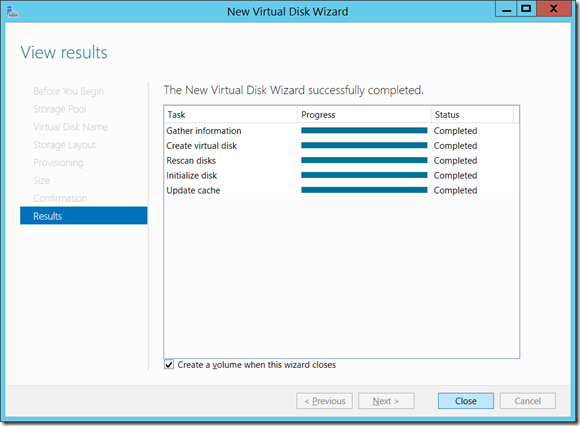
The progress, and lastly the results are displayed once the virtual disk is created (note the check box to start the New Volume Wizard at the bottom):
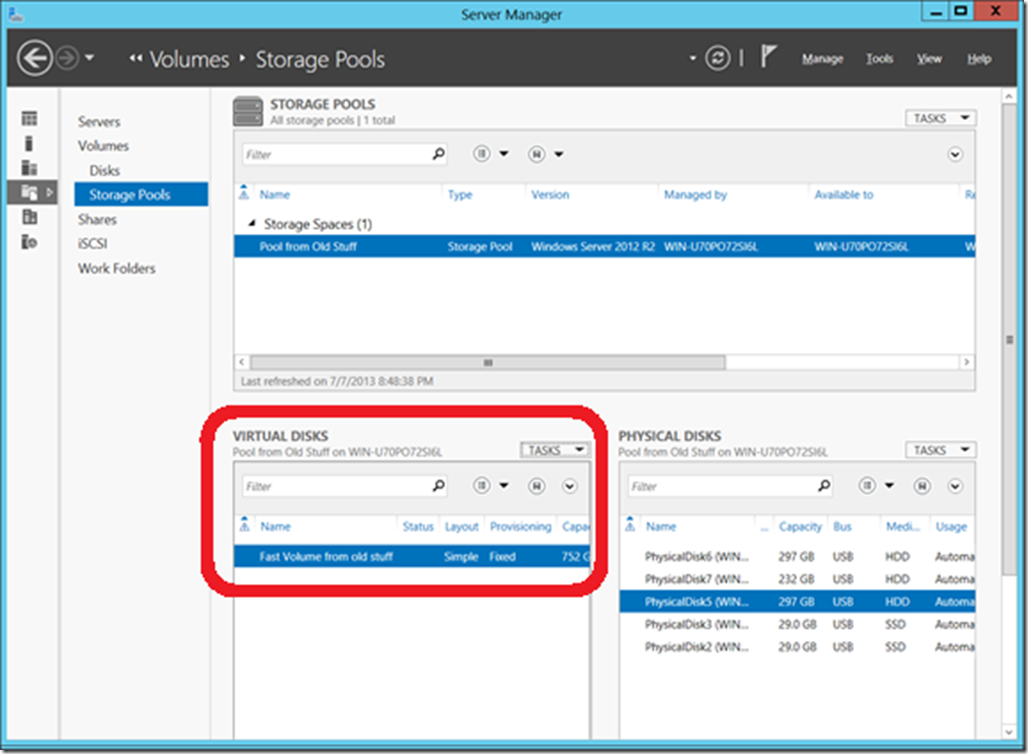
Now the new virtual disk has been created, and is visible within the storage management interface:
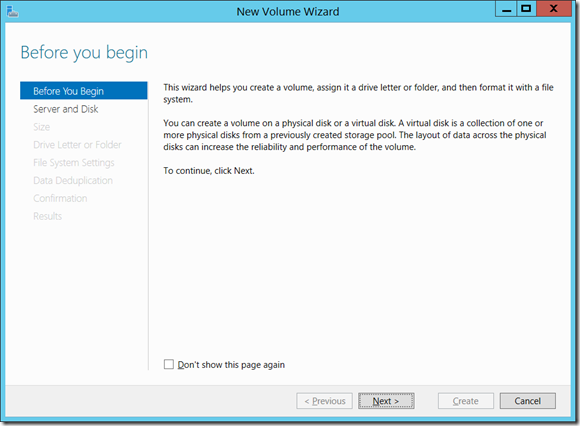
As noted, the New Volume Wizard will kickoff by default after a new virtual disk is created:
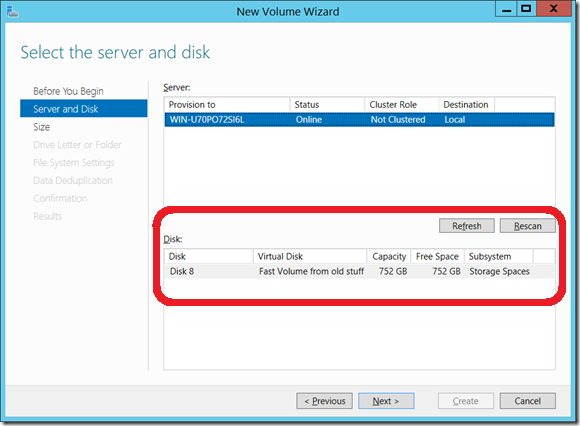
…and our new virtual disk is there on which to create our volume:
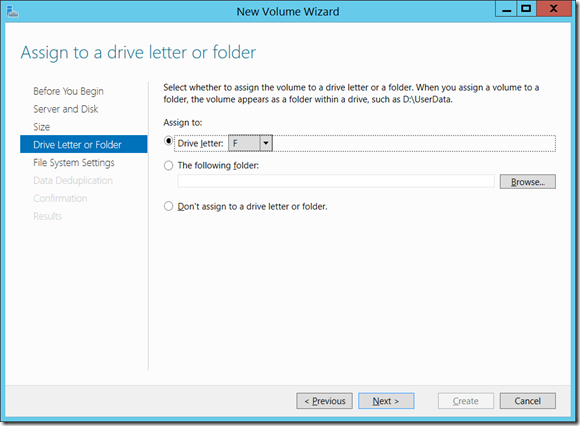
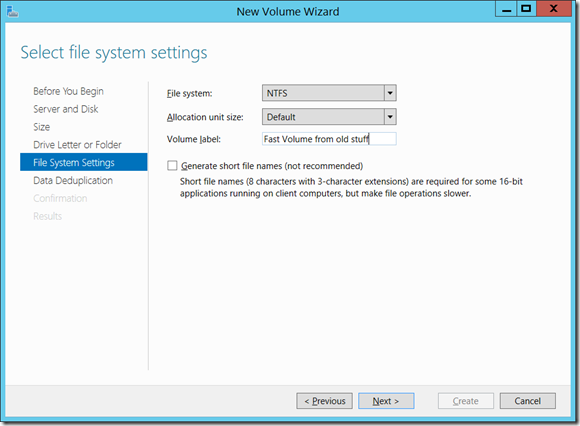
Just like with a physical disk, I can create multiple volumes (if desired) on a virtual disk, up to the capacity of the virtual disk, as are the options for assigning a drive letter or mounting the volume as a folder, picking a file system, and assigning a volume label:
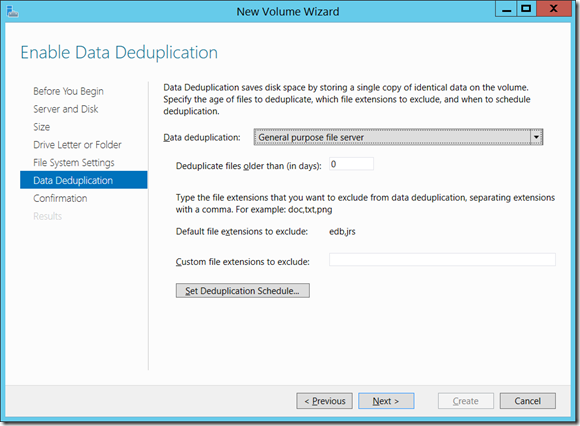
One option you may not have run into previously, is the option to enable Data Deduplication. What’s new in 2012 R2 is the ability to specify the “type” of depuplication – dedup for general purpose file server services, or for hosting VMs for VDI:
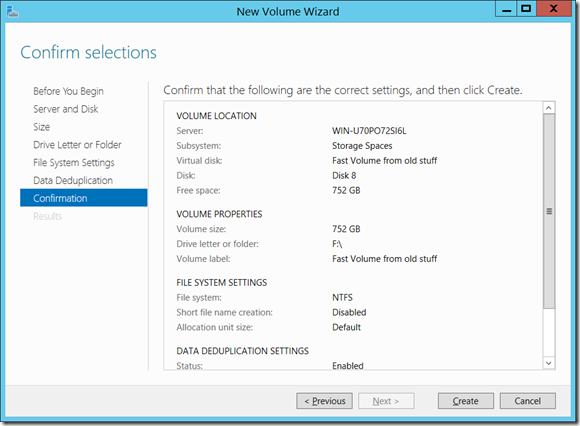
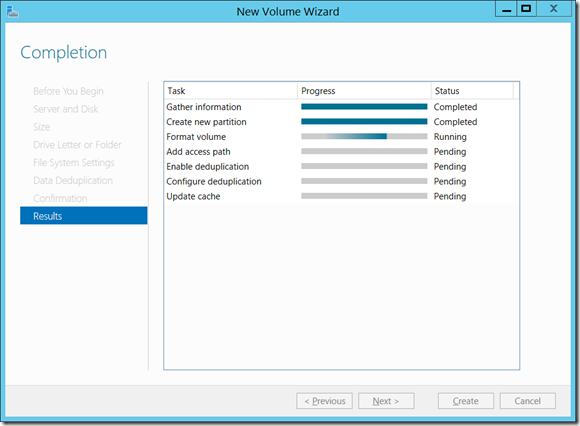
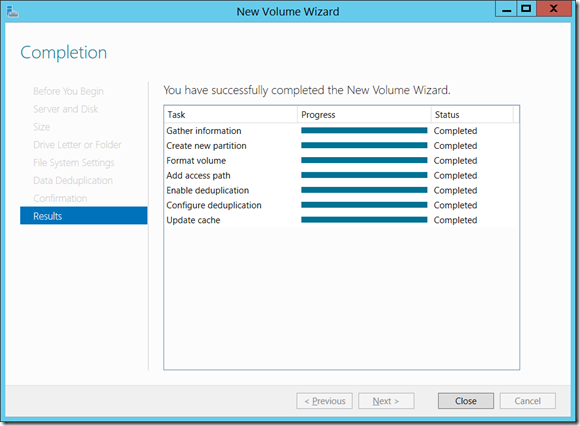
Once again you’ll see a summary screen detailing the options for the volume to be created, followed by progress and completion status:
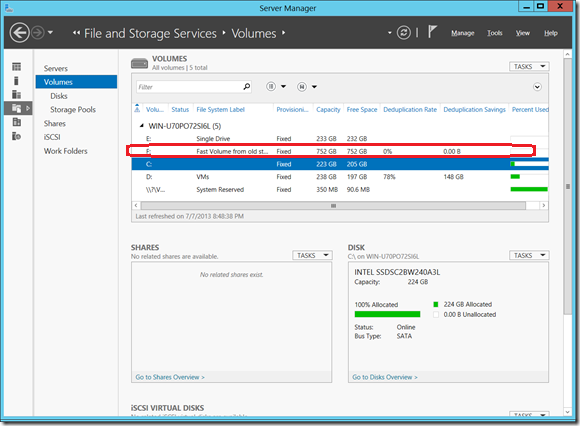
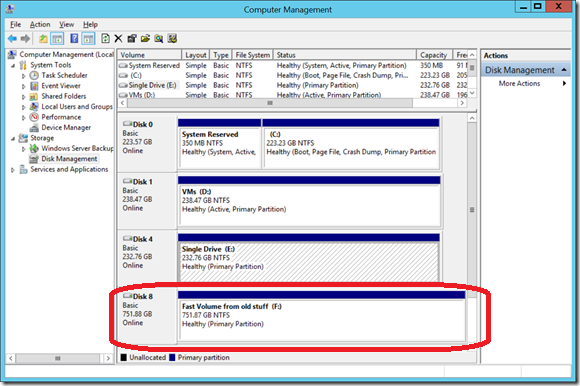
The new volume hosted on tiered storage is now available and visible in all those common places we might want to see it:
That’s it! That’s all that I needed to do to create and use my high-performance, coffee table-based storage sub-system!
I’m going to take a break now for a couple of days, and see what questions and comments come in.
Let me know what you think about this tiered storage walk-through, as well as what else you might want to see me test.
-John
