Curious Greg builds a Lab–Part II
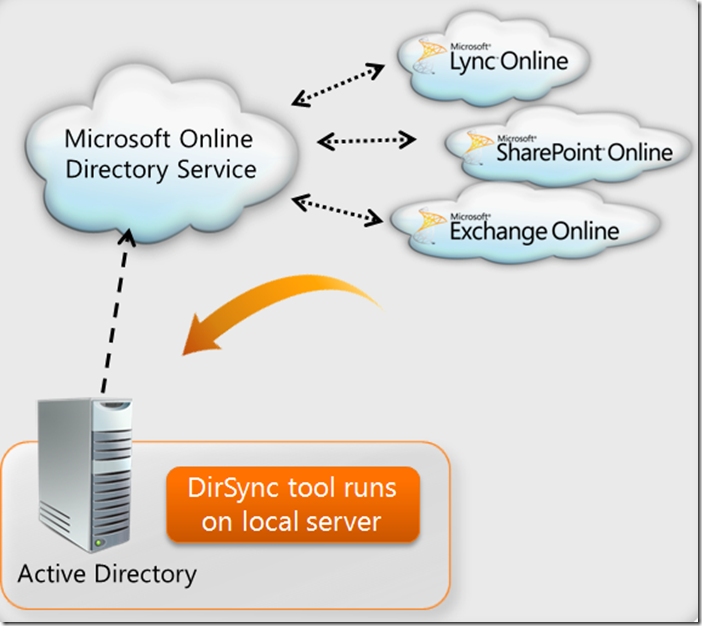
In part II of our series I’ll be discussing Directory Synchronization (DirSync). This is where Curious Greg can get into a lot of mischief. See with DirSync everything in the connected on-premises forest is synchronized to the cloud.
Activating Dirsync.
1. Go to https://portal.microsoftonline.com.
2. Log on using your administrator credentials.
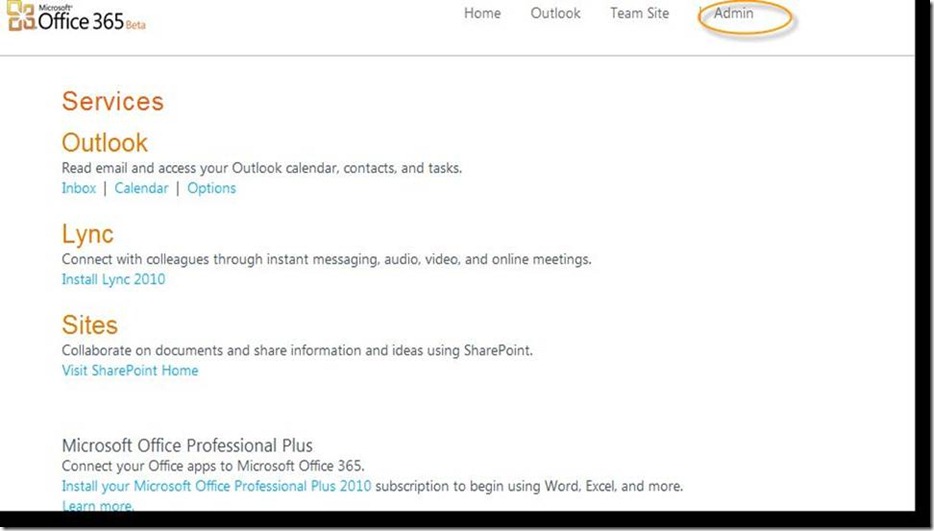
3. On the Office 365 portal, click the Admin tab
4. On the Admin portal, click Users.
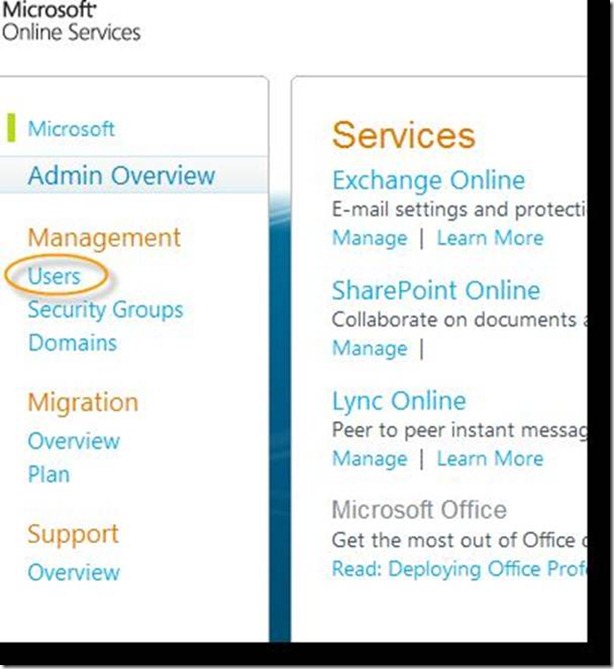
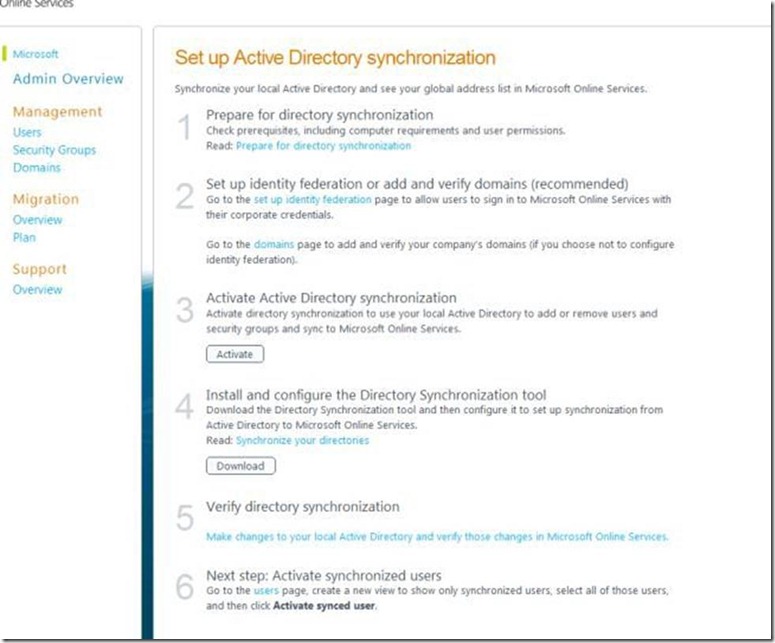
5. On the Users page, click Activate next to Active Directory synchronization. Synchronization is deactivated by default.

6. Activating DirSync launches the Set up Active Directory synchronization roadmap. The page provides a list of DirSync implementation considerations and action items. From this page, review the prerequisites, prepare the domain, and install and configure Identity Federation.
Installing the Active Directory Synchronization Tool.
This section discusses how to install the tool and enable it in your cross-premise environment.
*Note The Active Directory Synchronization Tool must be installed on a 32-bit machine that runs Windows Server 2003 Service Pack 2 or greater.This is change soon but for now this is required.
To install DirSync:
1. Go to https://portal.Microsoftonline.com and log on with your administrator credentials.
2. Click the Admin tab.
3. On the Admin portal, click Users.
4. Under Install and configure the Directory Synchronization Tool, click Download.
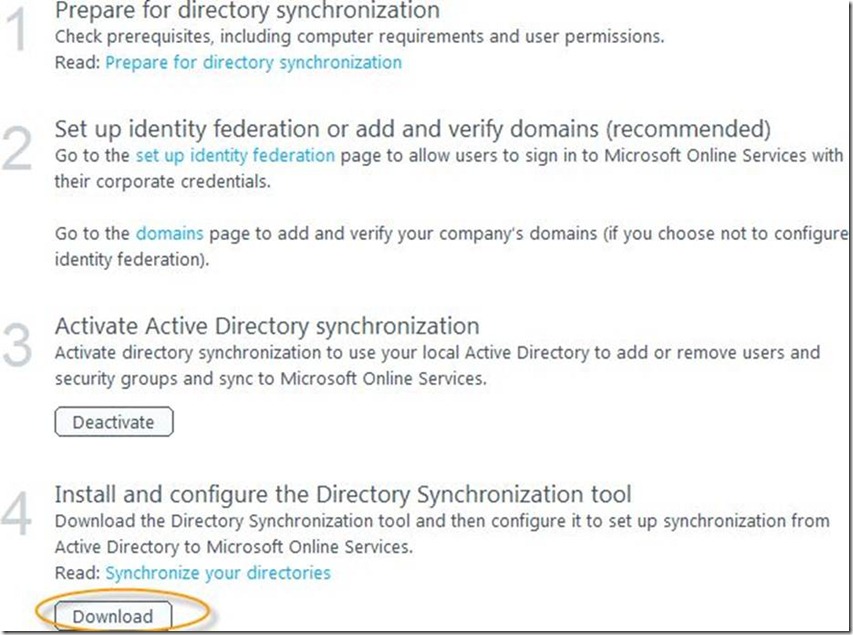
5. Save files locally to the computer.
6. Double-click the downloaded .msi file and click Next.
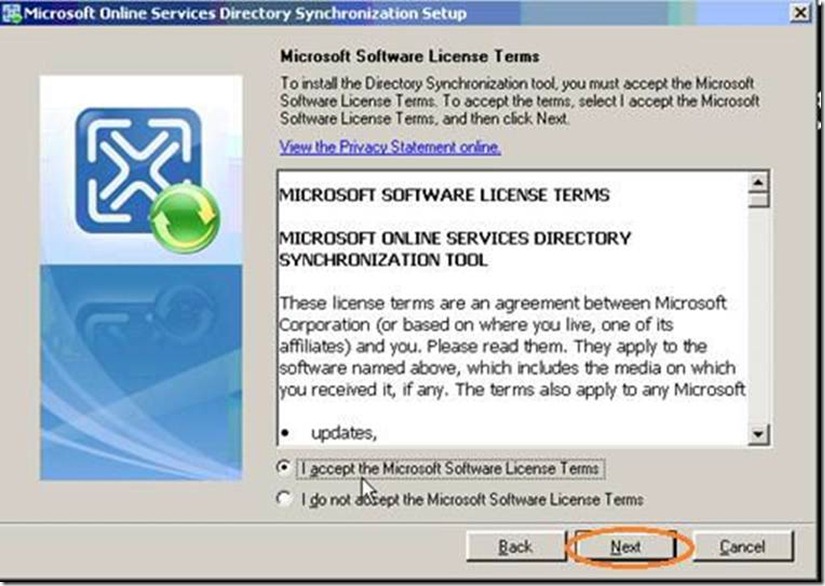
7. On Microsoft Software License Terms, click I accept the Microsoft License Terms, and then click Next.
8. On Select Installation Folder, click Next.
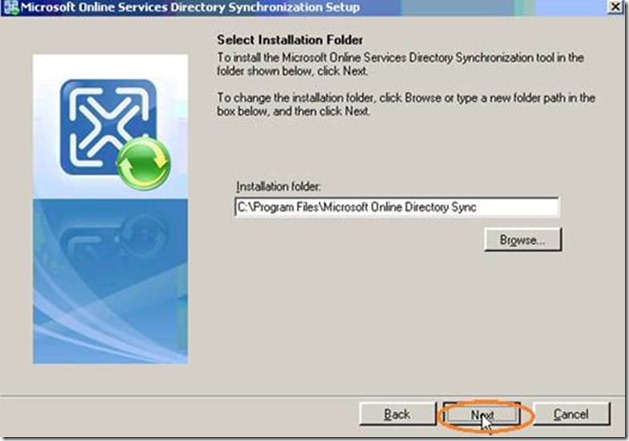
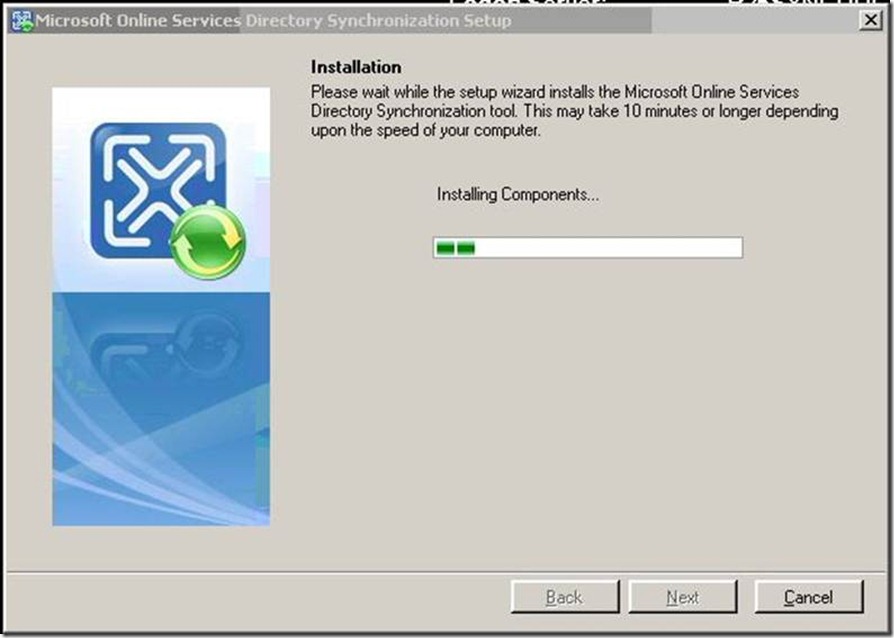
9. Installation displays installation progress.
10. Select the Start Configuration Wizard now check box, and click Finish to launch the configuration wizard.
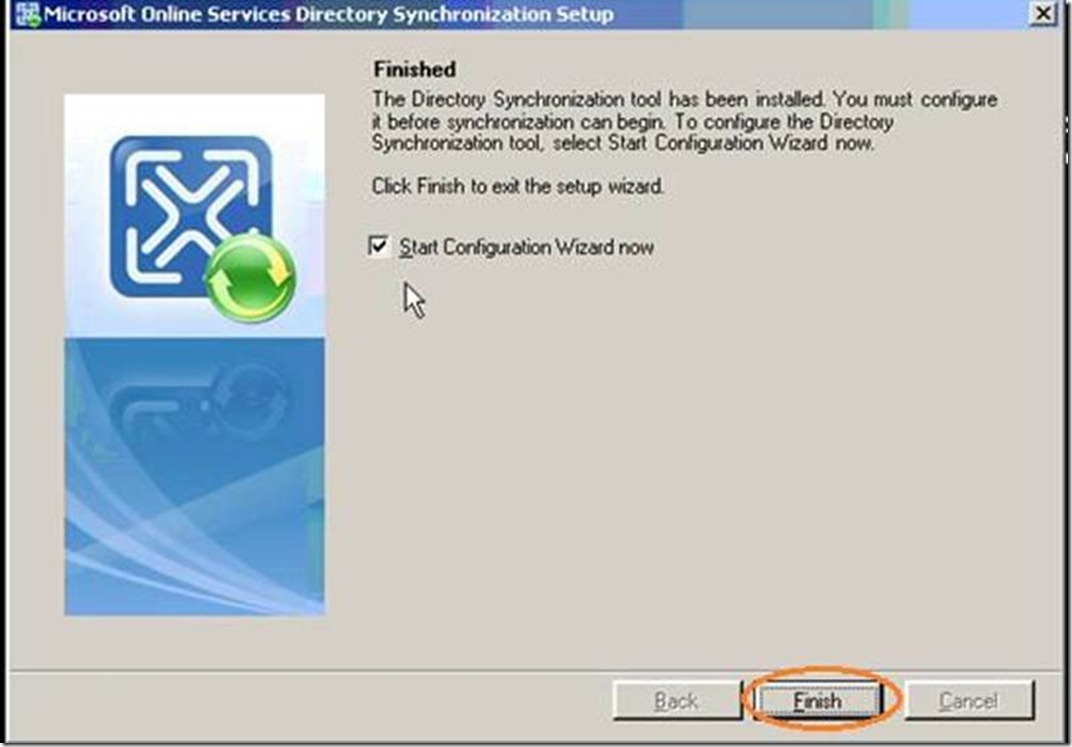
That’s it you can either wait the 3 hours until next sync or force a synchronization event.
Force Sync.
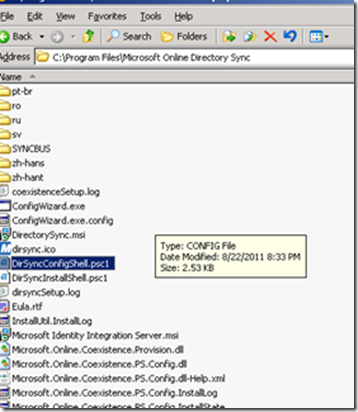
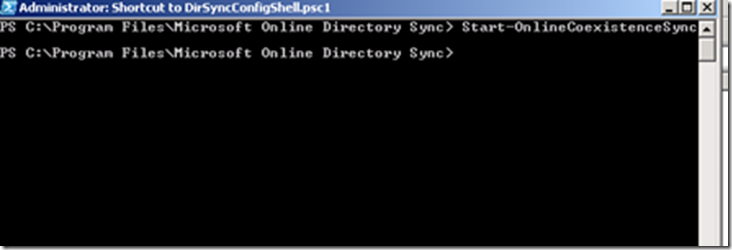
1. Open the directory structure below and double-click on ‘DirSyncConfigShell.psc1’. This will open powershell.
Check Directory Sync.
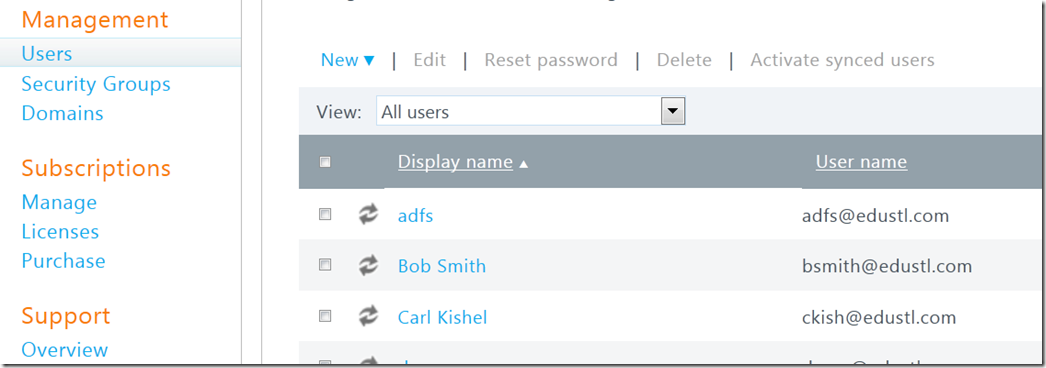
1. Open the admin portal and on the left column select ‘Users’.
2. Here you should see the double-arrows indicating that these are sync’d users. To delete these users you must delete them from Active Directory.
Next blog will be on Hybrid Exchange configuration. Take care.
