Mailing Systems in CRM 2011 Demystified - Part 3
 Aishwarya Ramachandran continues her series of articles on Mailing Systems in CRM 2011 Demystified with the third and last article in the series now.
The earlier parts can be accessed from the links below.
The third part of this series covers configuring the E-mail Router to use a forward mailbox .This allows one central mailbox to monitor, instead of monitoring the mailbox of each user who needs Microsoft Dynamics CRM e-mail capabilities.
For large organizations configuration of 2 profiles for each user would prove to be a tremendous load on the server with the email router.
When you use forward mailbox monitoring, incoming messages are processed by Microsoft Exchange Server or the POP3 server and the E-mail Router in the following sequence:
- A message is received by a Microsoft Dynamics CRM user or queue mailbox, on either the Exchange Server or the POP3 server.
- A rule in the user's mailbox sends a copy of the message to the Microsoft Dynamics CRM forward mailbox.
- The E-mail Router retrieves the message from the Microsoft Dynamics CRM forward mailbox and sends it to the computer that is running Microsoft Dynamics CRM Server 2011.
You can find information on the forward mailbox in this document:-
How can we set up a forward mailbox from O365?
Step 1:
Create a forward mailbox as a user in your O365
1. Create a user in O365 by first navigating to “Users and Groups” in the O365 portal
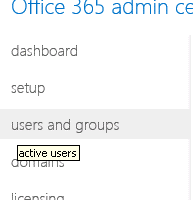
Fig: 1 – Navigating to “Users and Groups” in the O365 Portal
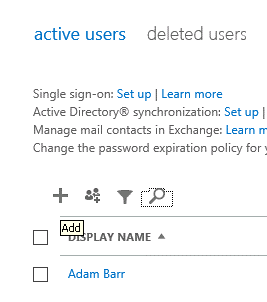
Fig: 2 – Creating a user by clicking on the “+” sign
2. You can go ahead and create a new user by clicking on the “+” sign above all the users of O365
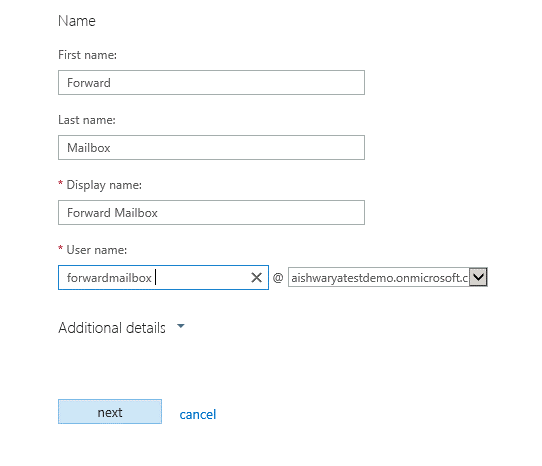
Fig: 3 – Filling out the details of the user with the forward mailbox ID
3. Ensure that when you go ahead and fill out the details of the new user specify the email address of the forward mailbox that you wish to create.

Fig: 4 – Filling out the details of the user with the forward mailbox ID
4. The next window would prompt you to fill out the role and the location of the user in O365.
PS: It is not mandatory that this user needs a role in your CRM organization.
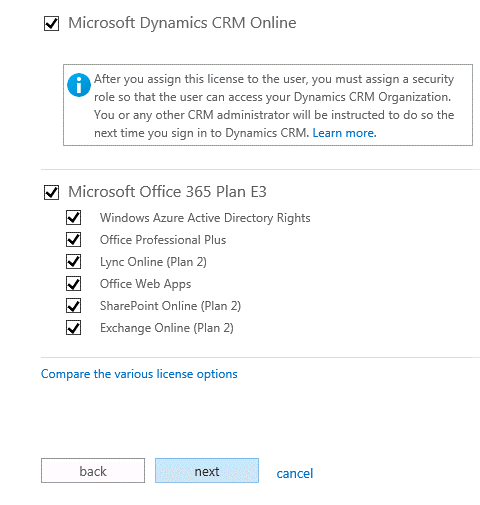
Fig: 5 – Getting a license for your user
5. This window would get a license for your user with the forward mailbox.
PS: It is not mandatory that this user must have a license in CRM online
Post this you would receive the password of this user in your admin account.
Step 2:
Ensure that the user is configured to utilize ‘E-mail Router’
To configure you should navigate to:-
Settings >> Administration >> Users >> *Open the user’s record’ >> Scroll to the middle and look for “Email access type – Incoming”

Fig: 6 - A section of a user record in CRM online
The email address given in the user record must be approved by the CRM Administrator.
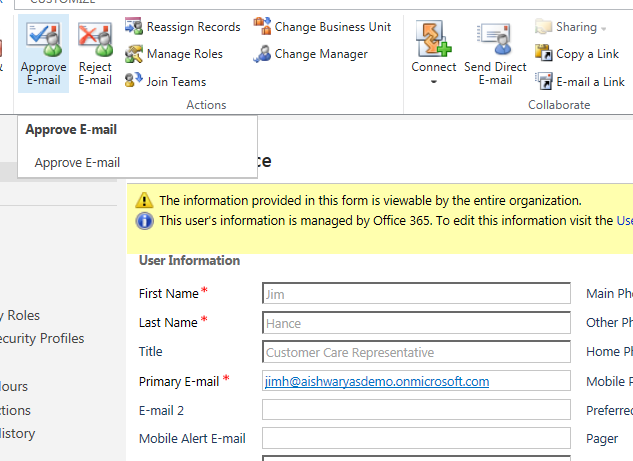
Fig: 7 - Approving a user’s email ID from within the users record
Step 3:
Once you have created a forward mailbox and configured your user to utilize the forward mailbox, the next step would be to create a forwarding Rule in your User inbox
1. Login to the users O365 portal and click on “Outlook” tab present on the top middle.
2. Once you see the OWA go ahead and click on the users options beside the settings icon on the top right as seen in the snapshot below
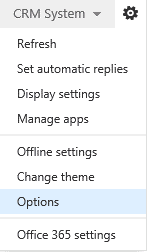
Fig: 8-Click on “Options” when you log on to the users OWA
3. Click on “Organize Email” that can be found on the sidebar
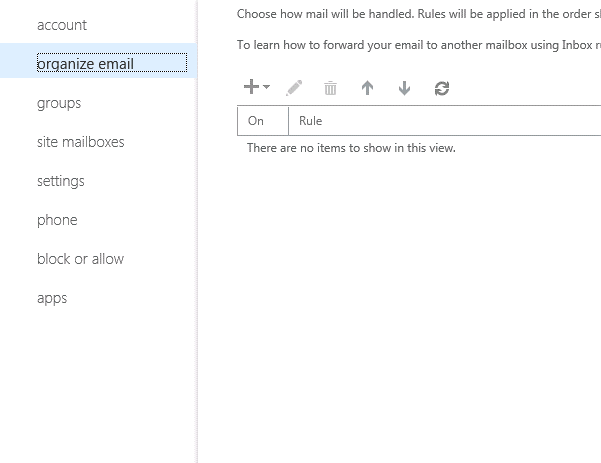
Fig: 9-Click on “Organize Email” when you log on to the users OWA
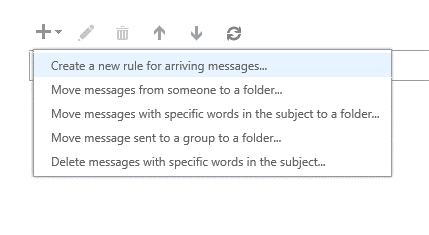
Fig: 10-Click on “Organize Email” when you log on to the users OWA
4. Create a rule for “Create a new rule for arriving messages” as shown in the snapshot above.

Fig: 11-The window above would be seen once you go ahead and create a new rule
5. The above window would ask which messages this rule must be applied to. Click on “More Options” you see at the bottom of the window.
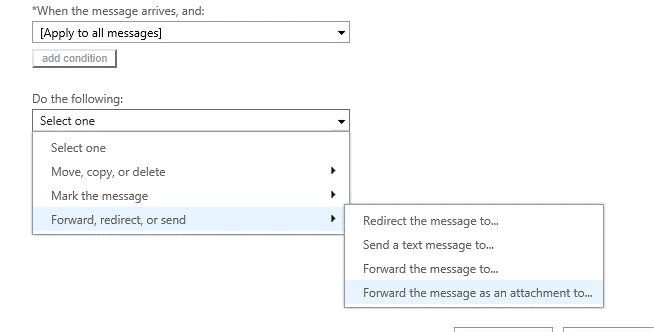
Fig: 12-The above options would appear once you click on “More options” as suggested in the previous point
6. Select on “Forward the message as an attachment”
7. The next window would prompt you to select a mailbox to which you would like to forward all the users emails to.
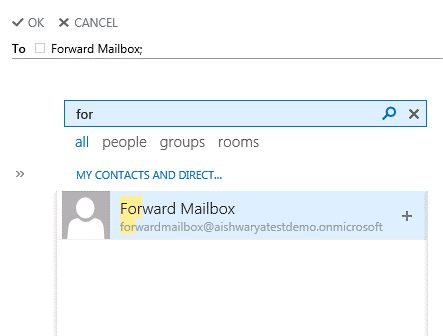
Fig: 13-Selecting the user with the forward mailbox
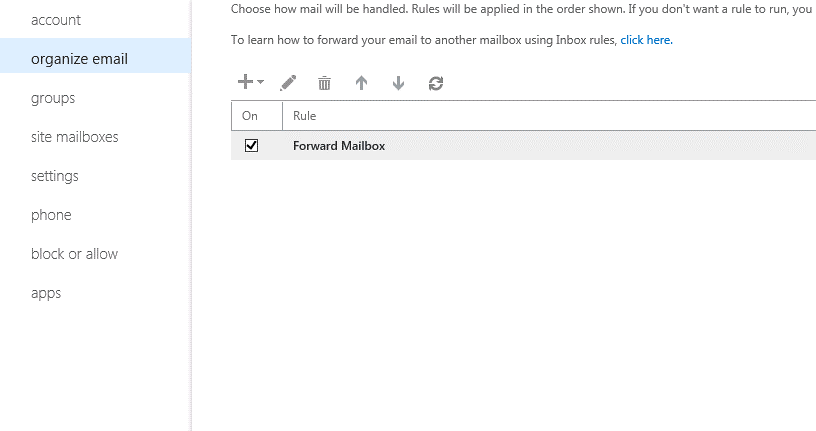
Fig: 14-A rule is created in the users inbox
8. The above snapshot shows the rule created where the user’s emails would be forwarded to the forward mailbox.
Step 4:
Create an incoming and outgoing profile exclusively for the forward mailbox
1. Create an incoming profile for the Forward mailbox as shown.
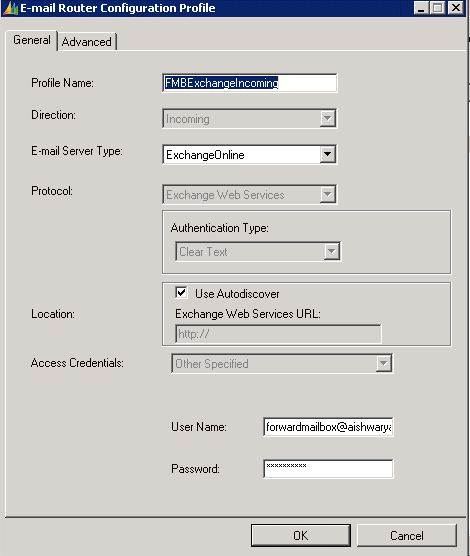
Fig: 15-Creating an incoming profile for the forward mailbox
2. Create an outgoing profile for the forward mailbox.
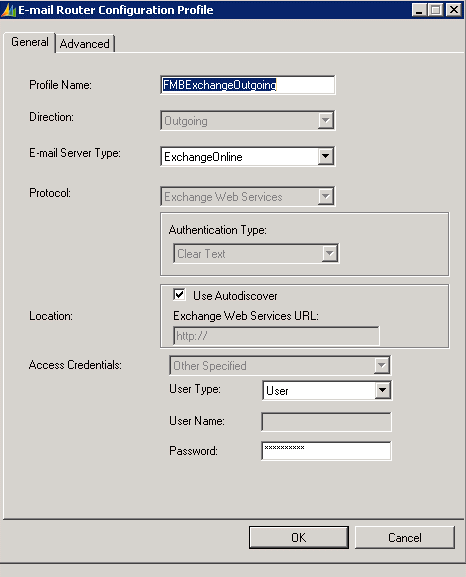
Fig: 16-Creating an incoming profile for the forward mailbox
3. Creating a new deployment for in the email router.
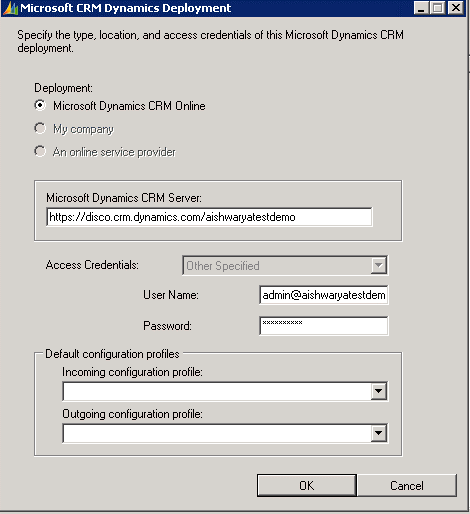
Fig: 17-Deployment in the email router
4. Once you go ahead and load the data you would get all the users that use the email router as the outgoing or the incoming profile.
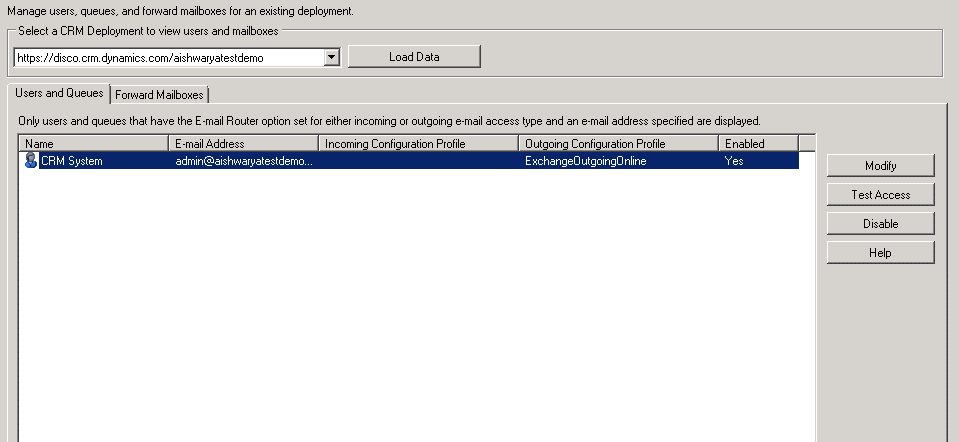
Fig: 18-All the users that would be pulled up when data is loaded
5. If I open up the user record we can see that the incoming would be greyed out (as in the CRM system I had chosen the email router)
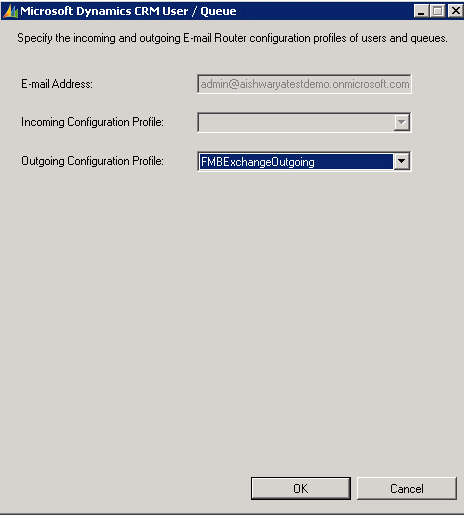
Fig: 19-The window I would see if I double click the “CRM System” user

Fig: 20-Go ahead and click on the tab “Forward Mailbox”
6. Beside the “Users and Queues” tab you would see another tab called the “Forward Mailbox”
7. Go ahead and click on “New” under the “Forward Mailbox” Tab.
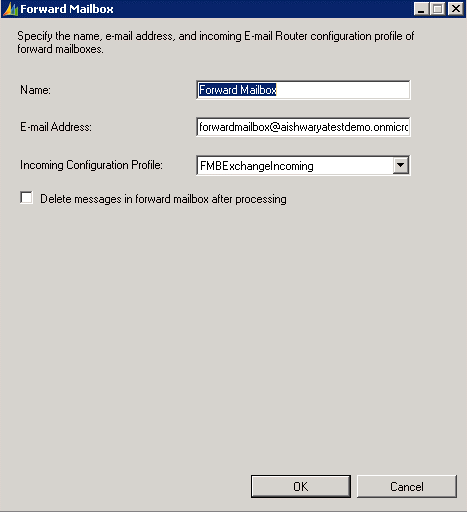
Fig: 21-Create a new profile for the new forward mailbox
8. Once a new profile is created you would see this profile under the “Forward Mailbox” Tab
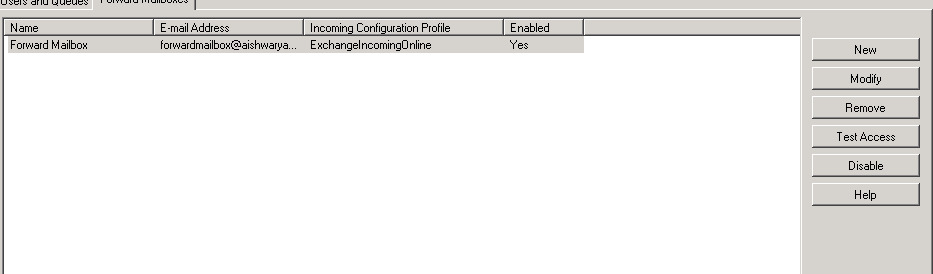
Fig: 22-The new forward mailbox created
9. Once this is done go ahead and test access and the forward mailbox would be configured.
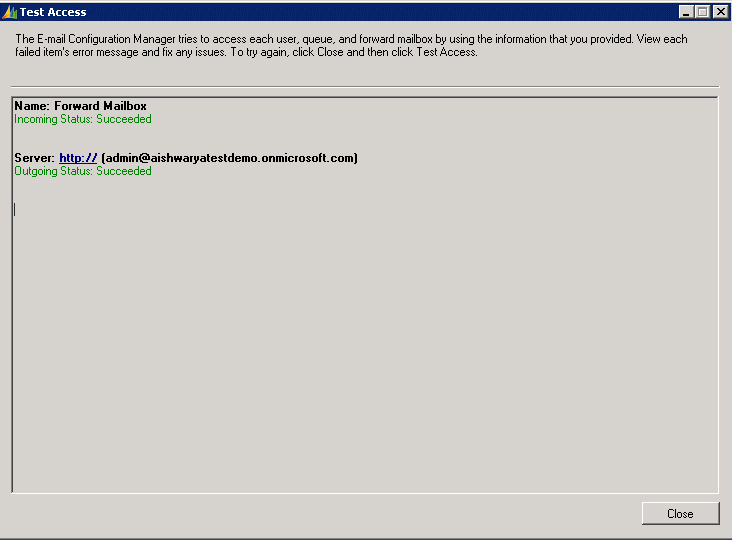
Fig: 23-Test access succeeded for the forward mailbox
Tips:
- When an email is sent to this user a copy of the email would remain in the forward mailbox; Provided that the “Delete messages in forward mailbox after processing” is not checked(Fig 19)
- Sometimes a setting would have to be done in order to view all these emails in your CRM system.
- Go to your users CRM system and click on “Options” on the top left
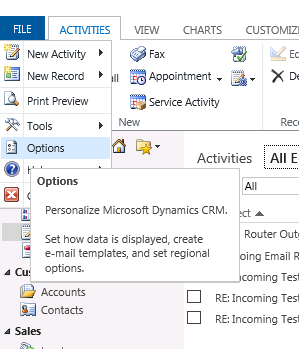
Fig: 24-Click on “Options” found at the top left
-
- Ensure that the “Track” setting is set to “All e-mail messages”
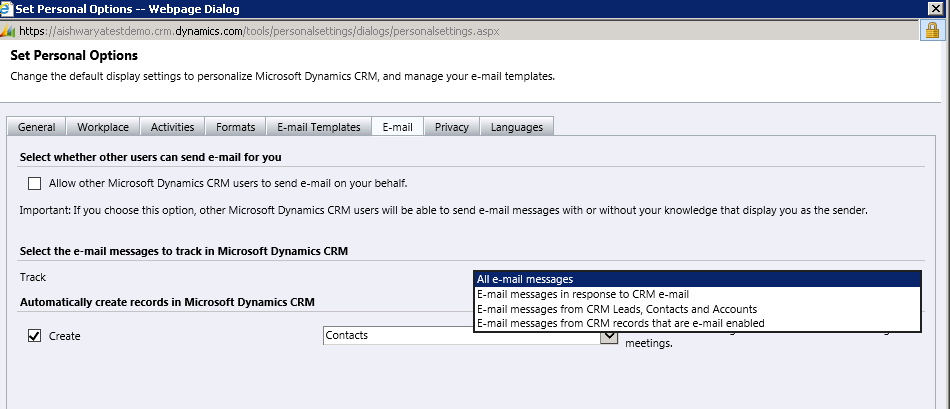
Fig: 23-Ensure that all the emails messages are tracked
Now your forward mailbox has been set and all the emails should get tracked and received in the user’s mailbox. The huge advantage is that there is now only 1 mailbox to monitor!