Mailing Systems in CRM 2011 Demystified - Part 1
 Note: Credits to Aishwarya Ramachandran for this series of articles.
This is the first part of the series of articles that we are planning to publish on Mailing Systems in CRM 2011 Demystified.
CRM online does not have a mailing system of its own.
There are 3 options for sending and receiving Emails with Dynamics CRM Online:
- Use the Outlook Client directly.
- Use the Outlook Client started in the background and sending mails from the CRM Web-Client
- By using only the CRM Web-Client in conjunction with the Email Router
There are 2 possibilities to connect Dynamics CRM Online with Exchange Online:
- By using the Outlook Client
- By using the Email Router
Configuring CRM online + Exchange online + Outlook Client
Step: 1
Ensure that the user is configured to utilize ‘Microsoft Dynamics CRM for Outlook’
To configure you should navigate to Settings >> Administration >> Users >> *Open the user’s record’ >> Scroll to the middle and look for “Email access type – Incoming”
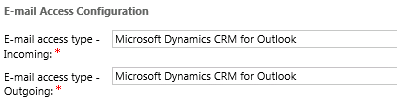
Fig: 1 - A section of a user record in CRM online
Step: 2
The email address given in the user record must be approved by the CRM Administrator.
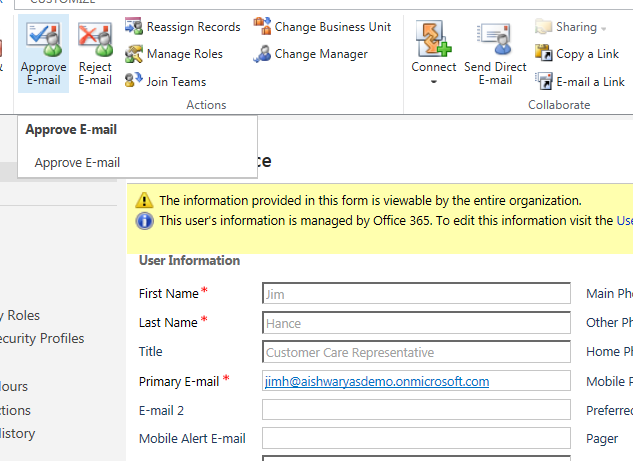
Fig: 2 - Approving a user’s email ID from within the users record
Step 3:
There are 2 methods to view this mailbox in outlook
- Create a new profile in Outlook
- Add a new account in Outlook
Create a new profile
Control Panel >> Mail >> Show profile
After adding a profile you can prompt for outlook to request which profile you would like to open.
Add a new account in Outlook
File >> Add new account
Once you add your O365 address and give in your password, a mail box would be created.
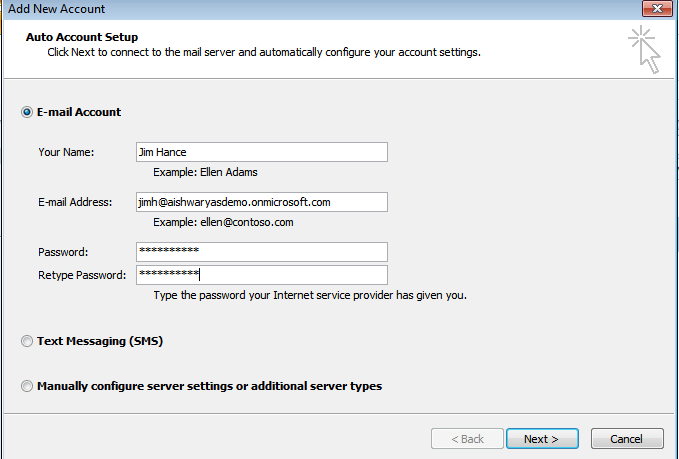
Fig: 3 - Adding a new account to Outlook 2010 client
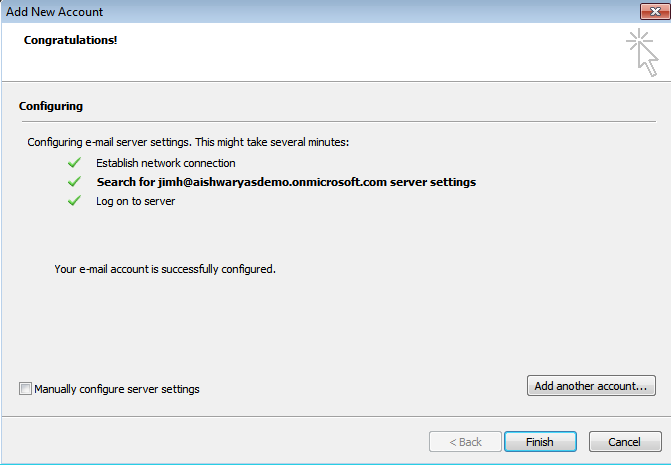
Fig: 4 - The outlook client authenticates the credentials and connects to Exchange online
Step 4:
Download the Microsoft Dynamics CRM 2011 for Microsoft Office Outlook (Outlook Client)
Once you go ahead and download the file the setup would prompt you to restart outlook.
Run the ‘Configuration Wizard’ you see in your Program Files (Another method to run the configuration wizard would be to open your outlook as well)
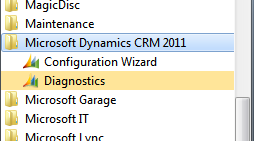
Fig: 5 - Opening the Configuration Wizard from the Start Menu
The configuration wizard would pull up the wizard below.
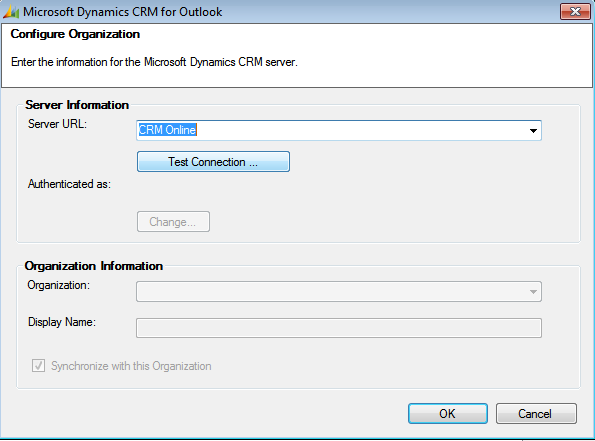
Fig: 6 - Wizard
Change the ‘Server URL’ to CRM online
Authenticate as a user who is a CRM Administrator
Go ahead and ‘Test Connection’
Once the connection has been tested, it would pull out all the organizations that is part of the O365 account.
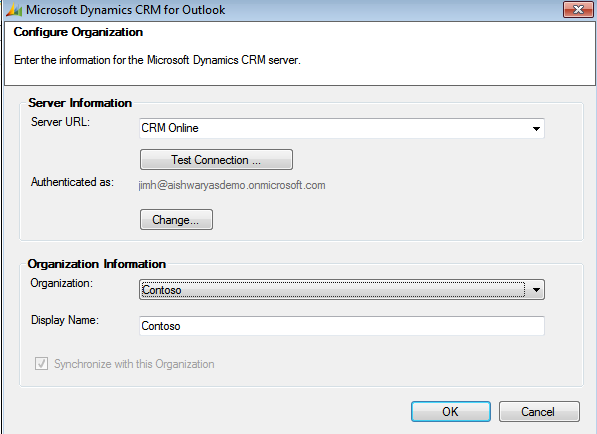
Fig: 7 - Configuring an organization for your Outlook Client
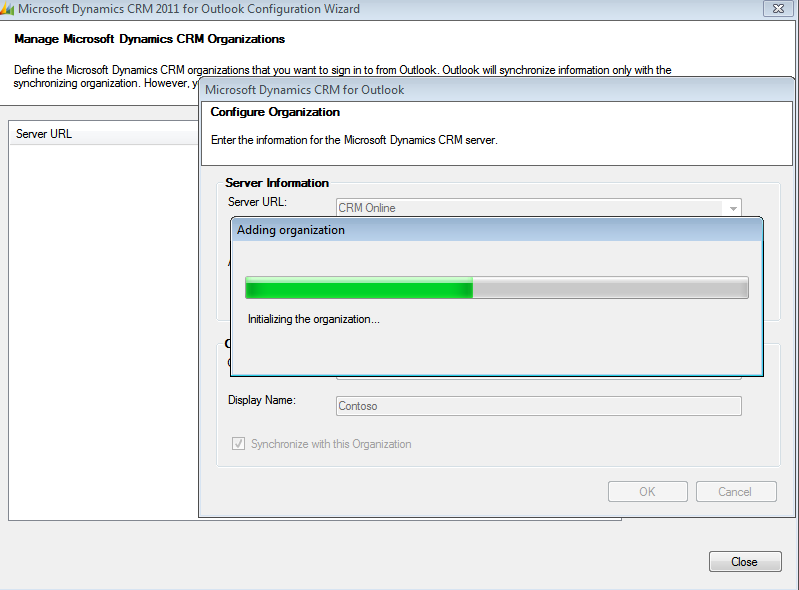
Fig: 8 - Once the credentials are given, the organization would be synchronized with Outlook
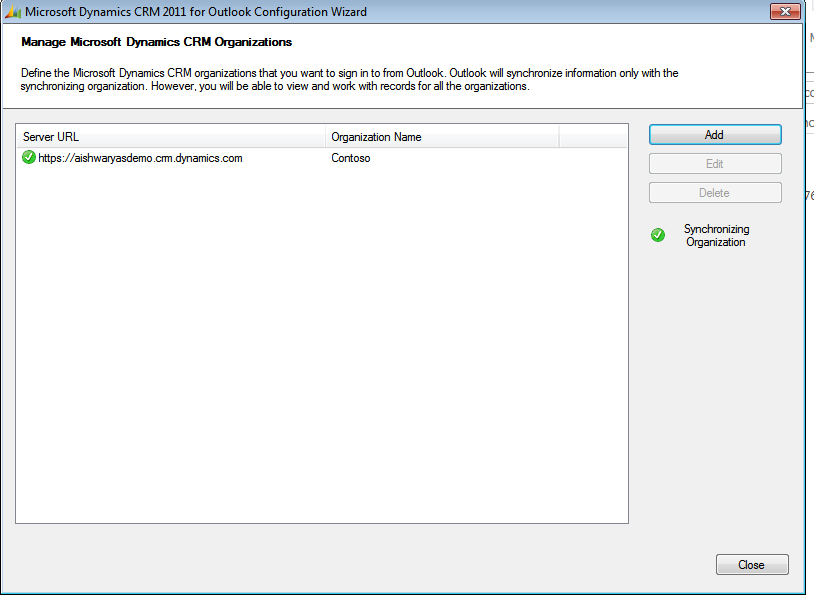
Fig: 9 - Confirmation window
Now if you go ahead and restart your outlook, you will find a new tab to synchronize your CRM organization.
Once that is done, you will find ‘Contoso’ CRM organization as part of your Outlook.
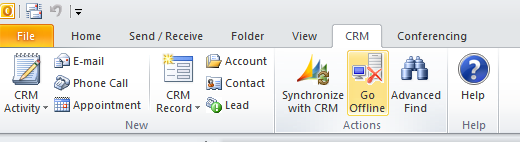
Fig: 10 - CRM tab within your Outlook
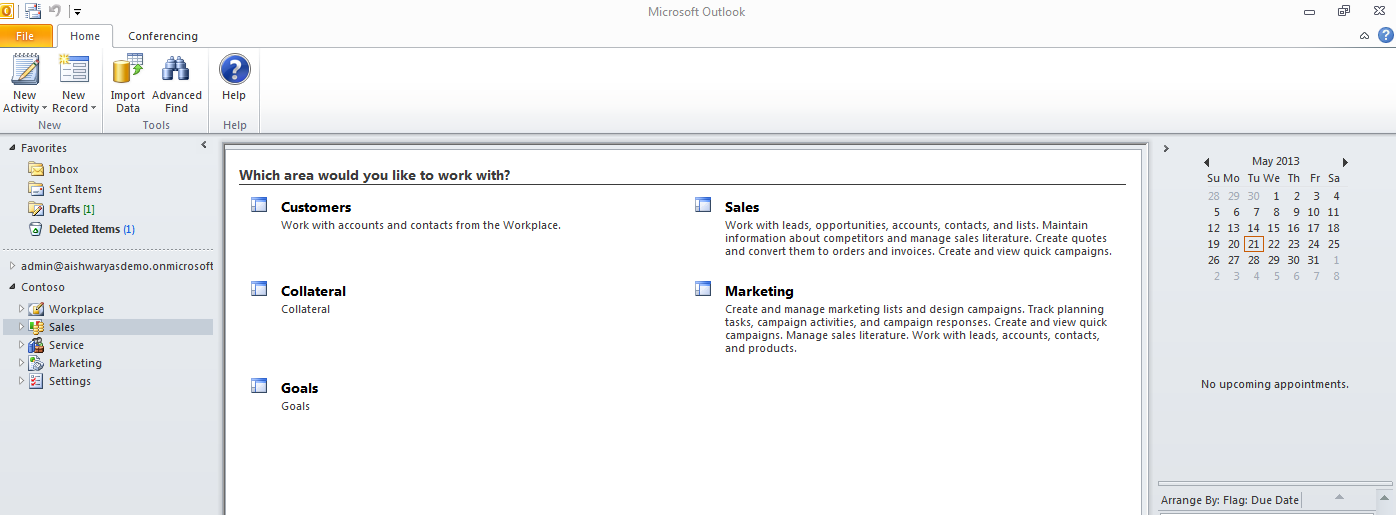
Fig: 11 - On the left both emails as well as your CRM organization can be viewed
Post which you can
- Track emails received by CRM contacts
- Set emails regarding a contact/account/lead in CRM
- Convert emails into leads
You can even use the Outlook Client started in the background and sending mails from the CRM Web-Client
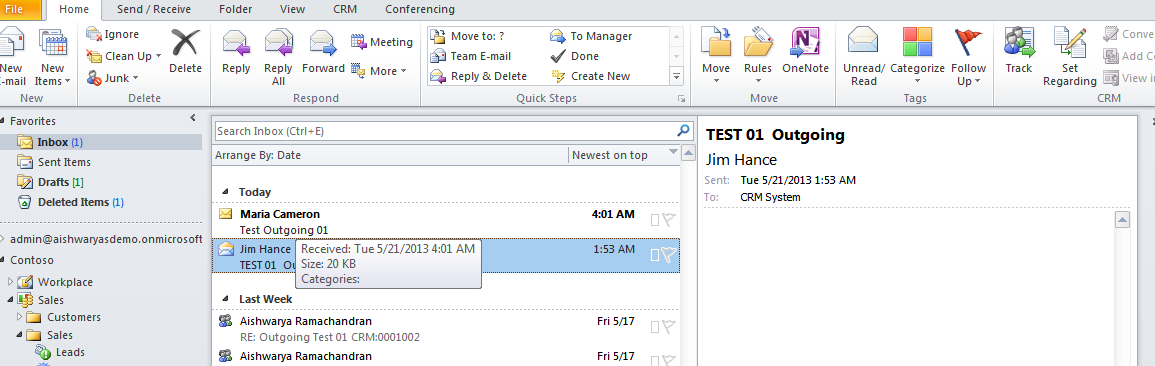
Fig: 12- On the top right of the above snapshot, you can go ahead and ‘track’ or ‘set regarding’

Fig: 13 - The snapshot above shows an example where an email has been tracked to an associated contact.
I hope this helps. Please keep watching for the second part of this article which would be on configuring Email Router for Exchange.