Deploying Custom .MSU Updates with SCCM (and SCUP)
The Problem:
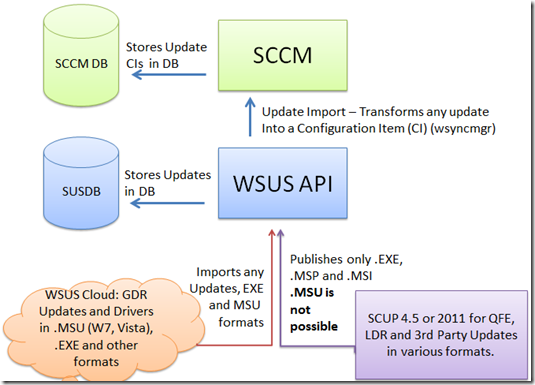
Local Publishing of .MSU files by using System Center Updates Publisher (SCUP Version 4.5 or 2011) is not possible. It is not supported by the WSUS product team. Is is not an SCCM issue. The WSUS services is designed to only import and trust .MSU files which are coming from the Microsoft Update Cloud service. And within there are only so-called GDR (General Distribution Release) updates which undergo a more expensive and thorough testing and certification process compared to LDR (Limited Distribution Release) and QFE (Quick Fix Engineering) updates.
However, there are Windows 6.x (Vista, 7, Server 2008, Server 2008 R2) Updates which are shipped in the .MSU format and customers would like to deploy them by using SCCM Software Update Management instead of SCCM Software Distribution.
The Solution:
I managed to setup a functioning workaround as follows:
Step 1: Download the Update you want from Microsoft.com
Step 2: Extract the Updates Contents and locate the .CAB File
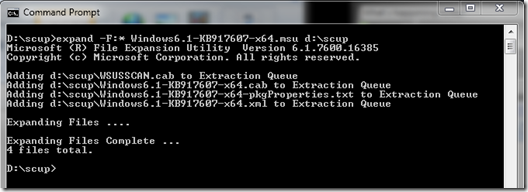
To extract the update, use the “expand –F:*” command.
Locate the .cab file of the update:
This cabinet file is actually the update. All other stuff just serves the WUSA.exe and the WSUS detection logic. As we’re rebuilding that stuff in SCUP, we don’t need it anymore. The .CAB file contains the update and is digitally signed – enough for SCUP.
Step 3: Create an .EXE file containing the .CAB file and the DISM installation command:
Yes, we can use the DISM.exe tool to deploy the update by using “online servicing”. The update is in this case not “installed” to the operating system. It is rather “serviced” to the “servicing stack” (CBS, CSI, trusted installer) of the operating system which has been introduced with Windows 6.x. Normally DISM.exe is used to integrate updates into offline .WIM files. But with the /online parameter, it can also be used on a running OS:
dism.exe /online /add-package:<path>Windows6.1-KB917607-x64.cab /quiet /norestart /logpath:c:\917607msu.log /loglevel:2
You might want to test the installation prior to packaging the .EXE
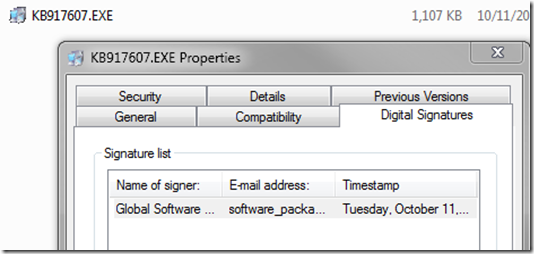
Now bundle both, the .CAB file and the DISM install command into an executable file. Make sure that the file is digitally signed (code signing) and that this signature is trusted (trusted publisher) at the clients:
Step 4: Create a custom update within SCUP
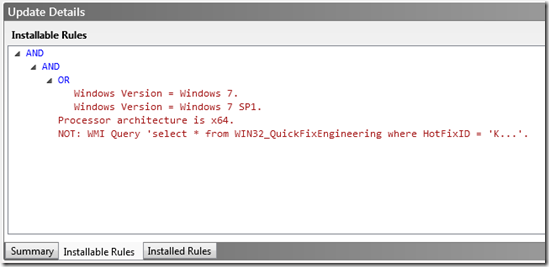
Create a custom update within SCUP and use some simple rules to trigger the update. For Windows 7 update, from my experience, the WIN32_QuickFixEngineering query works fine for all OS updates, even GDR updates:
Step 5: Publish, Synchronize, Deploy, Enjoy
Please Note: Things posted on Blogs are never official Microsoft support statements.


