VorlonJS - A Journey to DevOps: Release Management with Visual Studio Team Services
If you have any question about this blog post series or DevOps, feel free to contact me directly on Twitter : https://twitter.com/jcorioland .
This post is part of the series “VorlonJS – A Journey to DevOps”
Introduction
In the previous articles of this series, we discuss about how to use the VSTS build system to do continuous integration to validate that the code builds each time a commit is done on GitHub. This build also generates some artefacts: the application code with its node.js dependencies (modules) and some scripts (in the DeploymentTools folder) that allow to automatically create infrastructure (Infrastructure as Code) on Microsoft Azure and deploy the application.
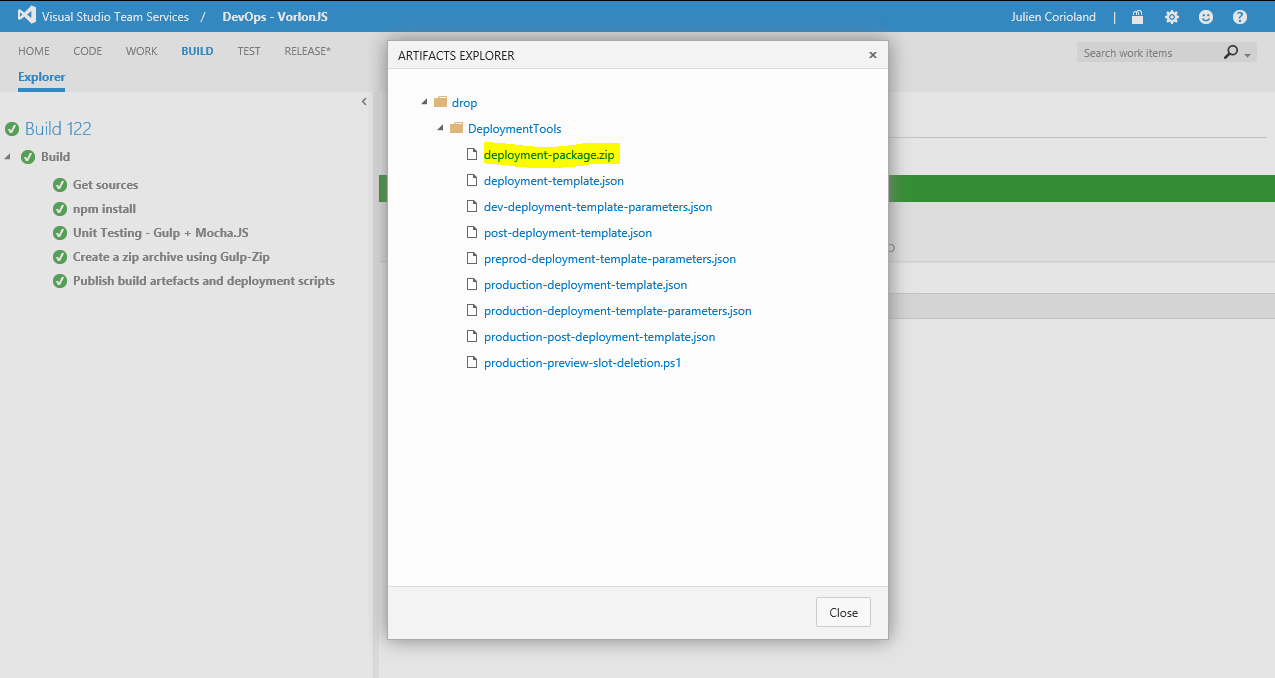
As you can see on the previous capture that shows the artefacts produced by the build, there is a deployment-package.zip archive and some JSON and PowerShell scripts.
The zip archive contains all the application code and its dependencies. It’s the archive that can be deployed on an Azure Web App, using Web Deploy. The JSON scripts are Azure Resource Manager templates that we’ll use to create different environments like development, pre-production or production.There is also a PowerShell script that will be used to delete a deployment slot on the production Azure Web App.
NB: you can browse these scripts directly on our GitHub repository : https://github.com/MicrosoftDX/Vorlonjs/tree/dev/DeploymentTools
In this blog post, we will discuss how it is possible to use these artifacts in Visual Studio Team Services Release Management in order to build a release workflow that will automatically deploy the application across different environments.
Connect your Microsoft Azure subscription to Visual Studio Team Services
In the same way that you have connected your GitHub account to be able to get the code during the build, you need to connect your Microsoft Azure subscription to the Visual Studio Team Services to deploy the application automatically, using Release Management.
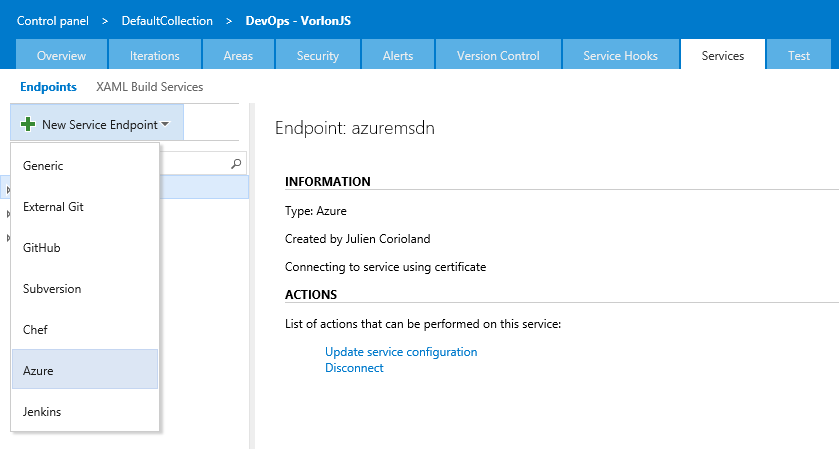
Go to the settings of the team project using the  button at the top right of the window and then select the “Services” tab. You can add a new connection to you Microsoft Azure subscription:
You can directly use your Credentials to connect your subscription. To get your subscription id, put your mouse over the info sign and click the “publish settings file” link that appears under the field:
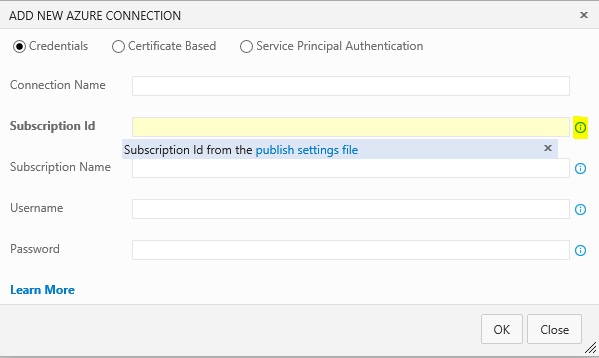
NB: You do not have an Azure subscription yet? You can create a new one and try it for free during one month following this link.
Work with release definition
The first step in using VSTS Release Management is to create a release definition. First, you need to go in the RELEASE* tab.
NB: the * is because Release Management is in preview at the time I am writing this series.
Click the  button in the left pane to create a new release definition. You can choose to start with an existing template or from an empty definition:
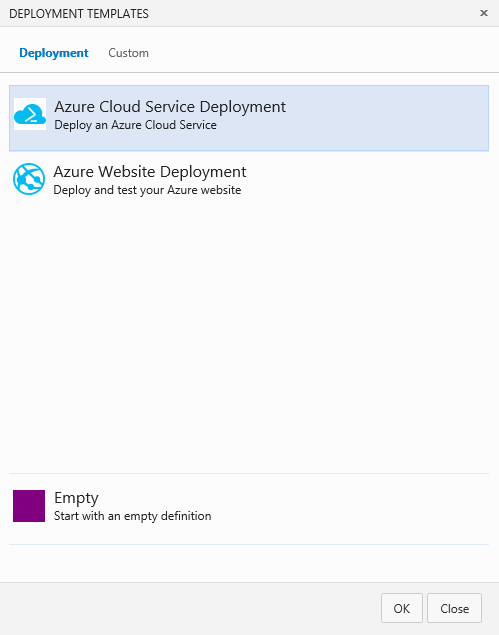
In this case, I have started from an empty one. The designer looks like the one you have used to define a new build, but there are few additional steps before starting to define the release workflow.
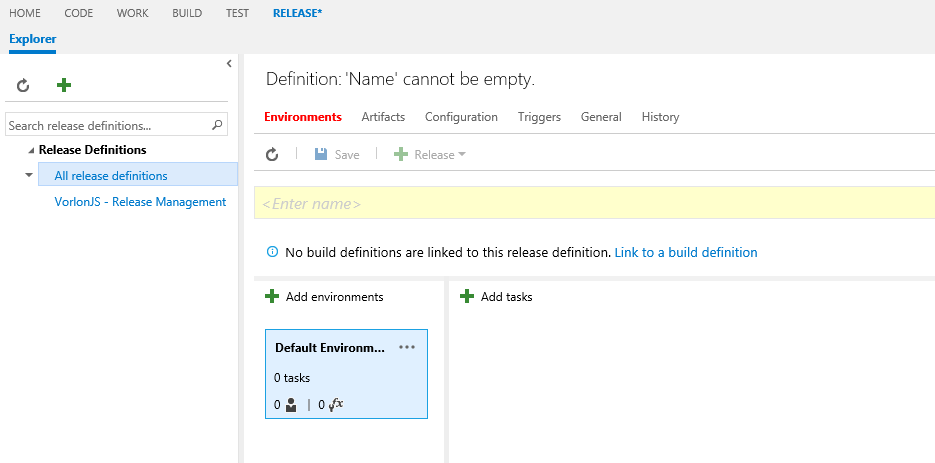
First, you need to give a name for this new release definition and link it to a build definition by clicking on the link “Link to a build definition”, under the name field.
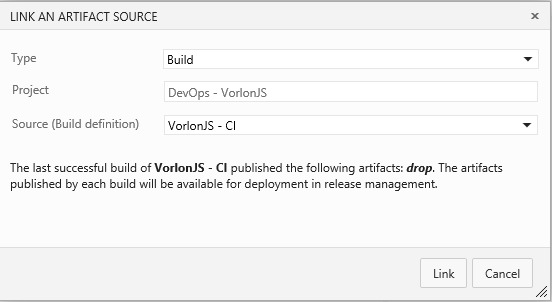
This step is really important because it will allow to use the artefact published by a build to be used in the release workflow. In the case of Vorlon.JS, we linked the continuous integration build to be able to use the deployment package and scripts that where published in the last step of the build. It also allows to trigger the release each time the build is completed successfully, if you want deploy the application continuously.
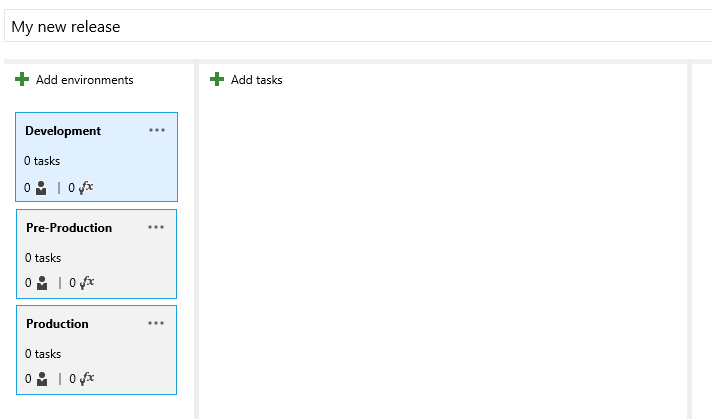
Now, you can define the different environments where the application will be released. In this case, we have three environments: Development, Pre-Production and Production. To add a new environment, click on the “Add environments” button a name to each environment you have added:
NB: if the steps are the same for each environment, you can define the first one and then clone it from the “…” icon menu:
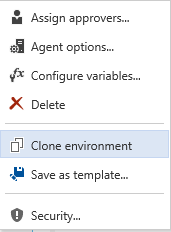
NB: the “Save as template…” entry allows to create a template from this environment definition. The template will be available when you create a new release definition / environment.
For each environment, you can define a set of tasks that will be executed. Like for the build system described in a previous post in this series, there are a lot of predefined tasks that you may use. To add a new Task in a given environment, click on the  button:
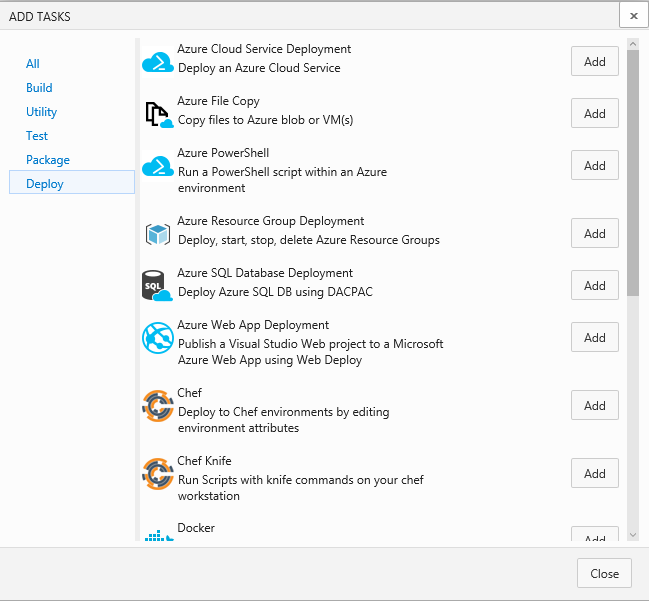
For example, you can choose to use the task “Azure Resource Group Deployment” that allows to create or update a new Resource Group from an Azure Resource Manager JSON template or “Azure Web App Deployment” that allows to deploy a web application using Web Deploy. There are also task that will help you to handle deployment using external tools like Chef or Docker, for example.
The screen below details the different steps we have configured for releasing Vorlon.JS in the Development environment:
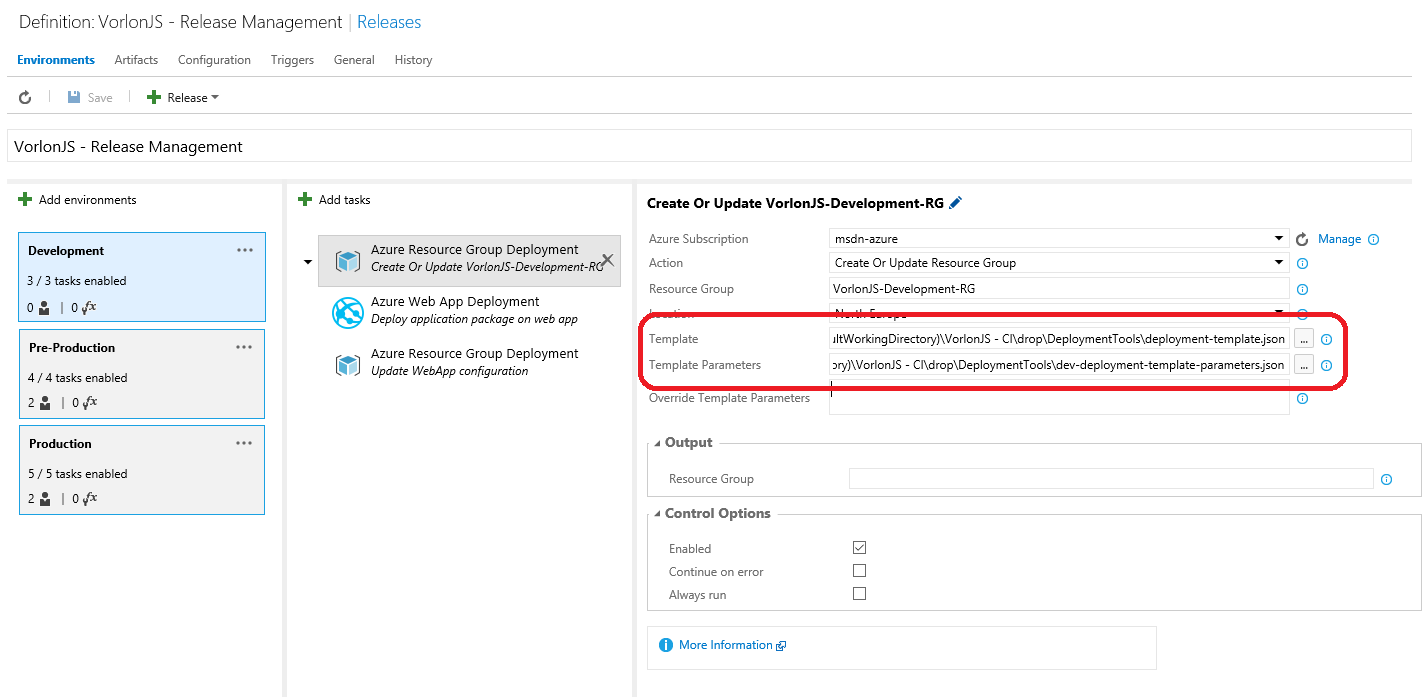
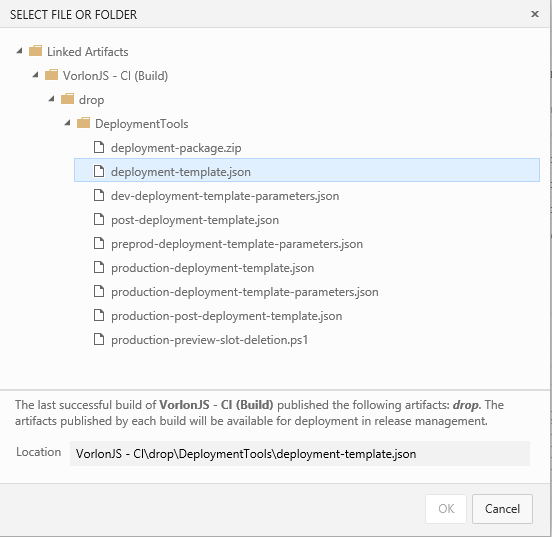
The first step will create or update a resource group named “VorlonJS-Development-RG” using the deployment templates published by the Continuous Integration Build. You can directly browse the artefacts published during the build and choose the files you want to use by clicking on the “…” button :
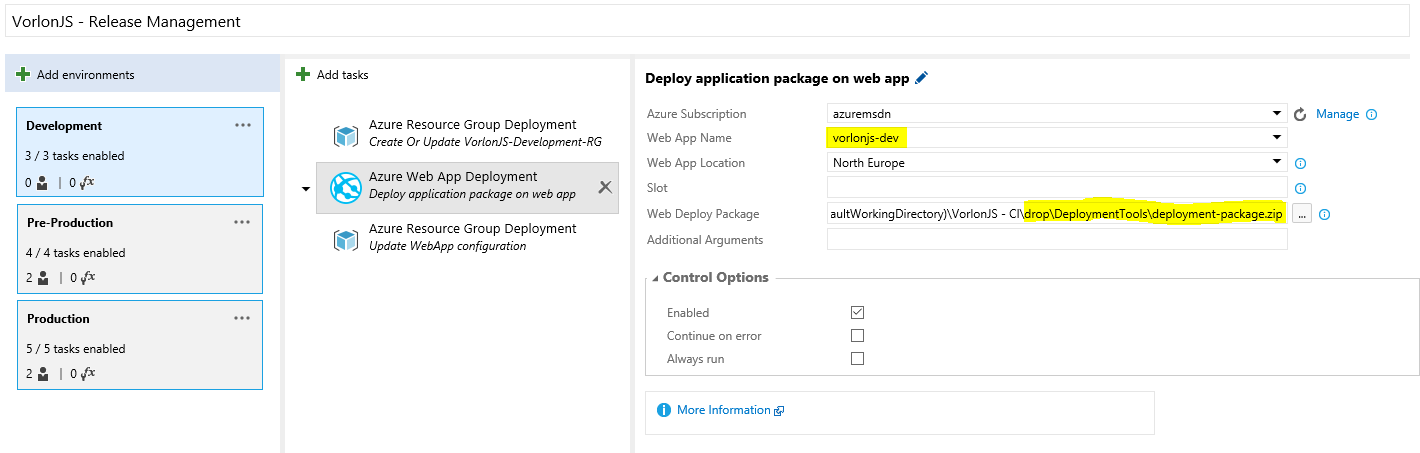
The second step publishes the application in the Azure Web App that was created in the first step, using the deployment-package.zip archive created during the build:
The third step update the configuration of the Azure Web App using an Azure Resource Manager template.
You can also use the “Azure Resource Group Deployment” task to remove a resource group. In the Vorlon.JS release workflow, we wanted to dispose the infrastructure as soon as the environment is not used anymore. So, the first step of the Pre-Production release workflow is to remove the Development environment. We also remove the Pre-Production environment as soon as the deployment to the production environment is started:
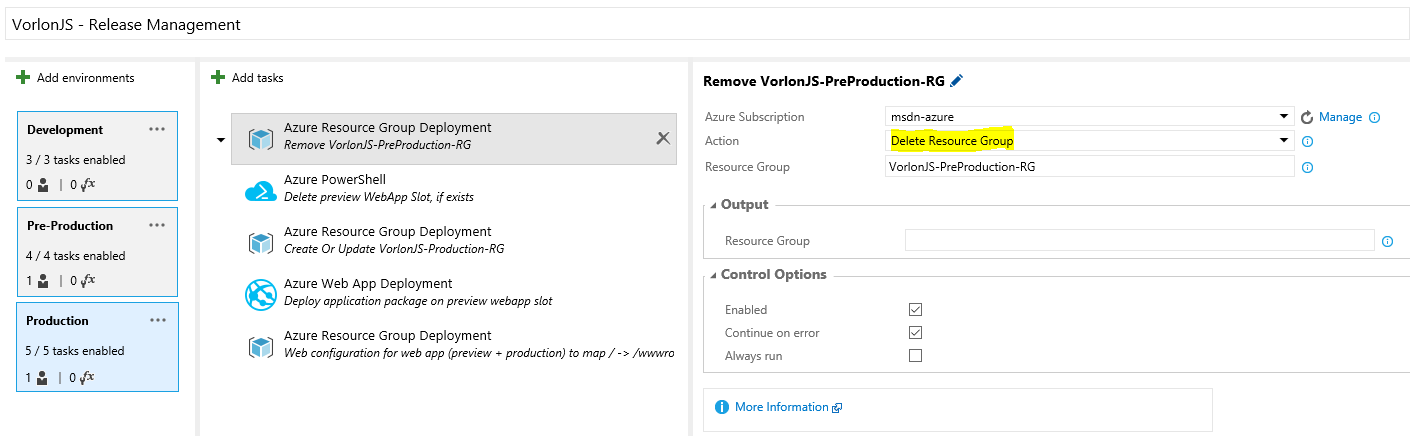
In this way, we can optimize our usage of Microsoft Azure and do not keep unused application / infrastructure running.
Once you have configured all your environments and all the release steps, click the  button in the toolbar to save the release definition.
Assign approvers
Each environment represents a group of steps in your release workflow. Because you may want to have some control between the transition from one environment to the other, you can assign approvers before the deployment (pre) and after the deployment (post).
In the case of Vorlon.JS we have configured approvers before deploying to the pre-production and the production environments. To do that, click on the “…” icon of the environment you want configure and choose “Assign approvers…”:
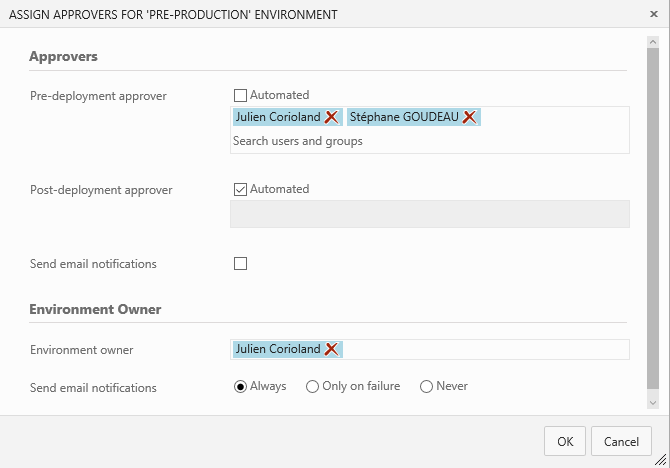
In this case, the deployment to the Pre-Production environment will not be started until me and Stéphane approve the Development deployment. This feature is really important in the case you have different teams working on each environment.
For example, you may have the developers’ team that validate the Development environment to make sure all is ok before sending the app to Pre-Production. Then a QA/Testers’ team that will execute some UI or load tests on the Pre-Production environment, before starting the deployment to the Production environment with the approval of a product owner.
Configure Continuous Deployment
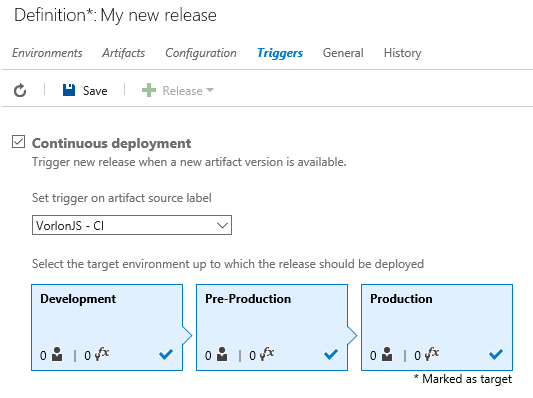
Another cool feature of Release Management is Continuous Deployment. If you want, you can tell VSTS to create a new release each time the linked build is completed successfully. To do that, go in the Triggers tab and check Continuous Deployment. You need to choose the build and the target environment:
Create a new release
Once you are done with your release definition, you can test it by creating a new release. To do that, click on the  button in the toolbar and choose Create Release:
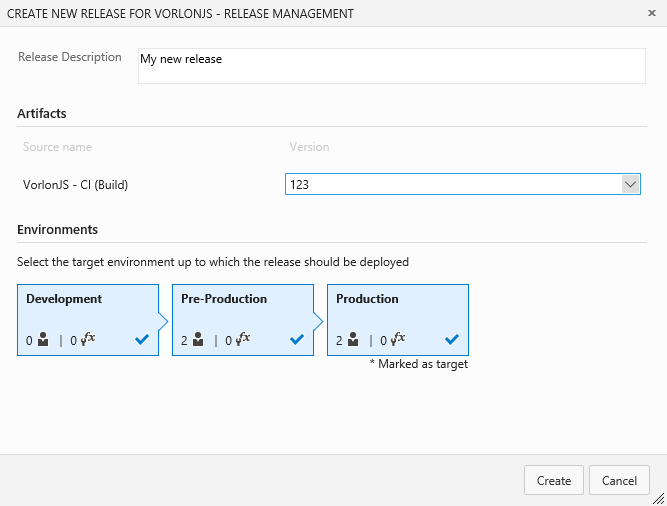
Click Create and wait for the release to start.
Get the status of a release
You can get the status of a release by double-clicking on its line in the Releases table. On the summary tab, you have an overview of the status of the release:

Here, the release has succeeded in the Development environment and an approval is pending to continue to the Pre-Production environment. It’s possible to approve or reject the release by clicking on the link in the yellow bar:
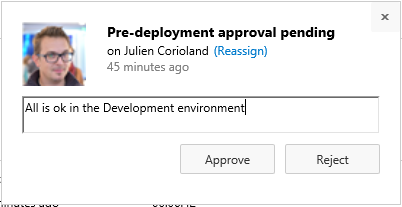
If you are satisfied by the application deployed in the first environment click Approve, else you can Reject the release (the other environments will not be deployed!).
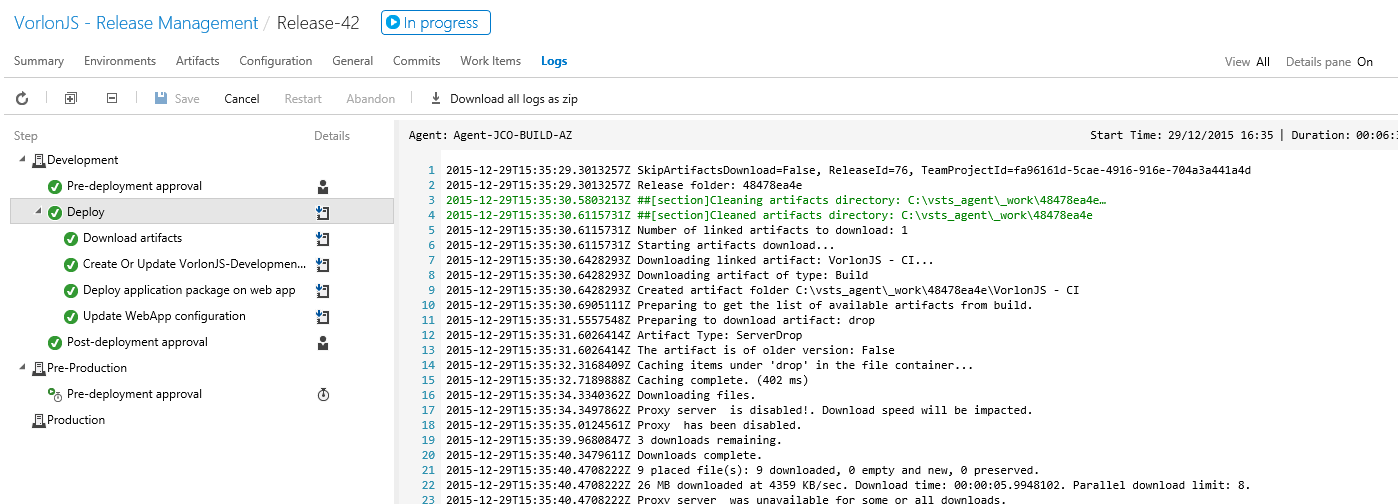
The Logs tab allows you to get detailed information about each step of the release:
You can also have a pig picture of a given release, by clicking on its name in the left pane and the on the Overview tab:
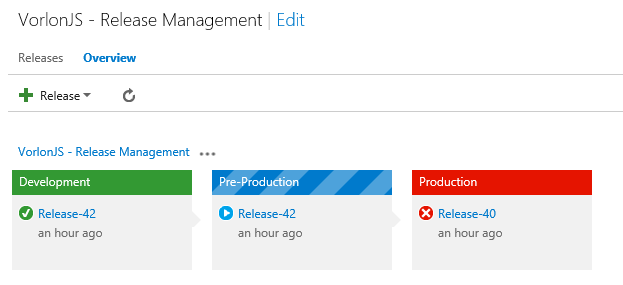
Here, you can see that the Release #42 has been successful in the Development environment, is pending in the Pre-Production environment and that the Release #40 has been rejected in the Production environment.
Conclusion
You can now implement release management for your own applications and use it to improve the way you deliver new features to your customers, automatically. But, deploying an application in the production environment is not the last step of its lifecycle! Now, you need to get information about this application. You may want to get some diagnostic or usage information to be able to improve it continuously.
There are several tools that will help you to get this kind of information and that we have used on Vorlon.JS. We will describe them in the next posts!
Stay tuned!
If you have any question about this blog post series or DevOps, feel free to contact me directly on Twitter : https://twitter.com/jcorioland .