Sequencing the System Center Configuration Manager 2012 Administrator Console with App-V 5.0
*Update 12/11/2013 – Sequencing the Configuration Manager 2012 Admin console is not officially supported. Attempt the steps below at your own risk!
Hello again folks! Today I’m going to step you through how to use App-V 5.0 to sequence the Configuration Manager 2012 Administrator Console. In this example, I’m also installing SP1 and CU1 so the console will be the latest and greatest (as of today). If your ConfigMgr Administrator Console is not at this exact same version, these steps should still work for you, however I have only tested it on 2012 SP1 and 2012 SP1 CU1.
A shout-out goes to Senior Premier Field Engineer and App-V Guru Ryan Cobb for his assistance along the way with tackling this one!
If you haven’t yet deployed the App-V 5.0 client out to your ConfigMgr 2012 SP1 clients, be sure to visit my blog posting here to see how that is done. Enough of that, let’s get on with the fun stuff!
Step 1: Sequencing the ConfigMgr Admin Console
Pre-reqs! In order to successfully accomplish these steps, you will need to first download MDOP 2012 or 2013 from your volume license site (of course you must have an MDOP license for this to be downloadable) and grab the bits from the App-V directory. You will need to install the App-V Sequencer on a clean and pristine client OS. I prefer using Windows 7 SP1 in a Hyper-V environment so that I can quickly and easily revert it to a previous checkpoint, thereby allowing me to sequence applications efficiently without having to re-install the OS each time.
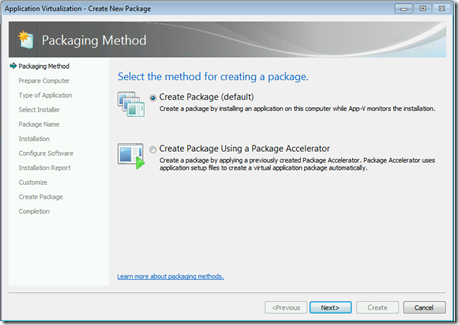
So, go ahead and launch your App-V Sequencer!
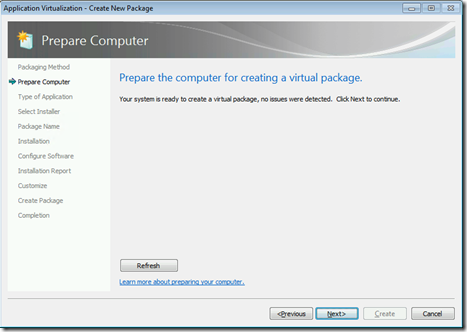
At this point, the App-V Sequencer will check for the following conditions:
- Windows Search Service (stop and disable)
- Antivirus Client (disable)
- SMS Agent Host Service (stop and disable)
I also recommend having a clean & pristine Windows Sequencer PC with these settings applied just before taking a snapshot/creating a checkpoint of it. Additionally you also may want to insure the Configuration Manager Client Health scheduled task is disabled or it may unexpectedly fix your disabled SMS Agent Host service in the middle of sequencing your application and begin deploying apps and updates to your nice clean OS!
After correcting any issues that might have been identified during the preparation check, click Next to proceed.
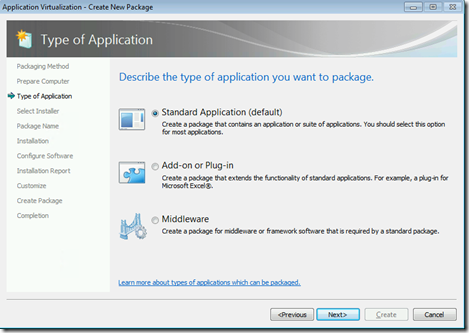
Select “Standard Application (default)” and click Next.
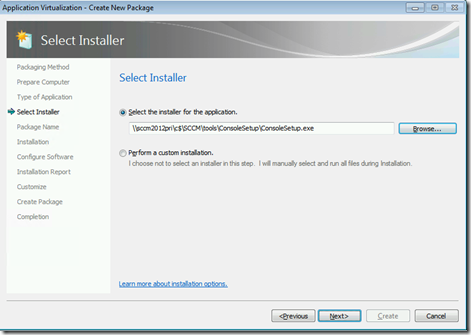
Browse to the path to the ConsoleSetup.exe in the Tools sub-directory of your ConfigMgr 2012 installation and click Next.
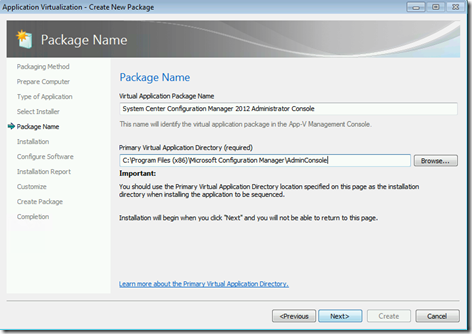
Enter the Virtual Application Package Name and Primary Virtual Application Directory paths.
NOTE: The Primary Virtual Application Directory must be the same location that the application will be installed to. Click Next.
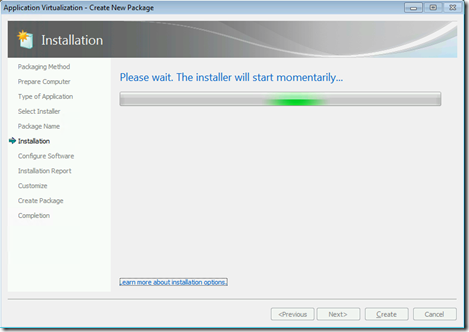
The App-V Sequencer will begin executing the ConsoleSetup.exe momentarily. It’s not quite long enough to grab a soda, so stay put!
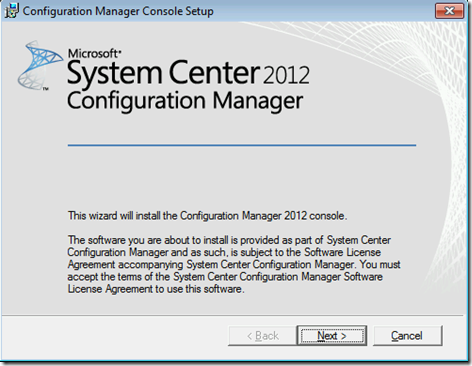
After the Configuration Manager Console Setup screen appears, click Next.
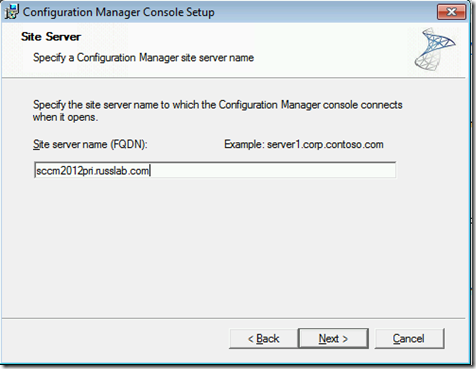
Enter the FQDN of the site server you want the Admin Console to automatically connect to when launched, and click Next.
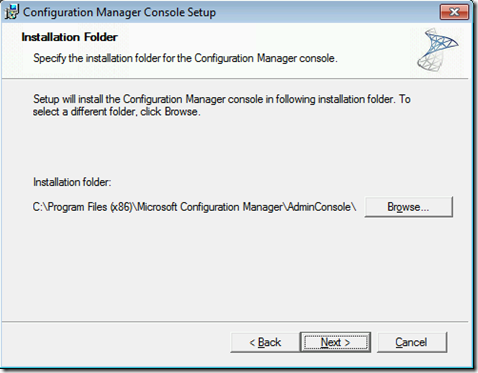
For the Installation folder, enter the same path as you entered in the Primary Application Virtual Directory above. Click Next.
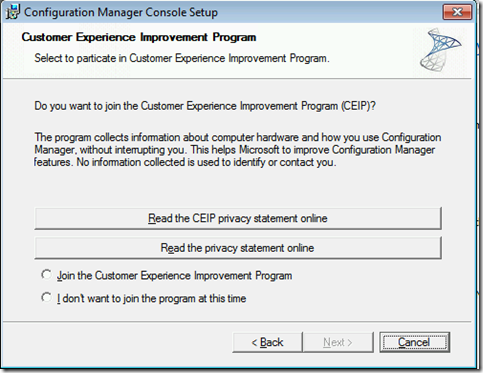
Select the appropriate radio button as you desire for the CEIP and click Next.
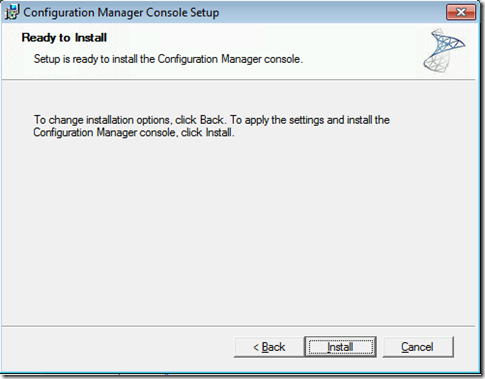
Now click Install, and prepare to virtually be amazed!
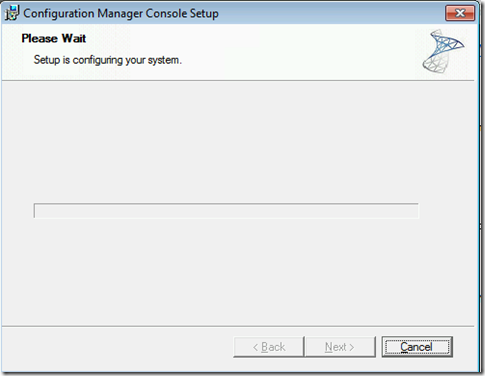
Now the Configuration Manager Admin Console will begin installing using our options.
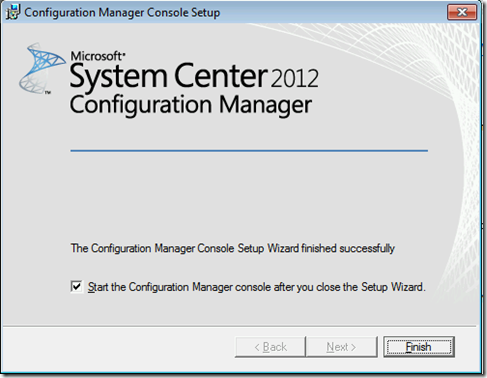
Click Finish once the install is completed. Uncheck the “Start the Configuration Manager console after you close the Setup Wizard” box and click Finish. The App-V sequencer will give you a chance to execute the Admin Console and Remote Control apps, so it’s not required to do so at this point.
Next, install KB2817245 which is the CU1 update for SP1. If you are not on CU1, you can skip this step. The most important thing to remember is that you want your console to be at a compatible version with your site server, or you may experience regular console crashes due to version incompatibilities.
When you originally installed KB2817245, if you allowed it to automatically create its packages, the hotfix needed should be located in \siteserverSMS_XXXhotfixKB2817245AdminConsolei386. Replace ‘siteserver’ with your site server’s FQDN, and XXX with your site code.
Once again, uncheck the “Start the Configuration Manager console after you close the Setup Wizard” box, and click Finish.
Check the “I am finished installing” and click “Next”.
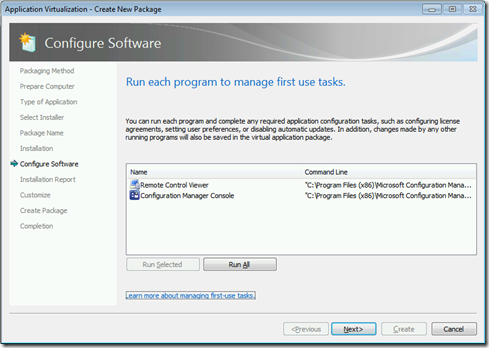
The Sequencer will collect system changes and the Configure Software dialog will appear.
Click “Run All”. The Configuration Manager Remote Control console and Admin Console will launch.
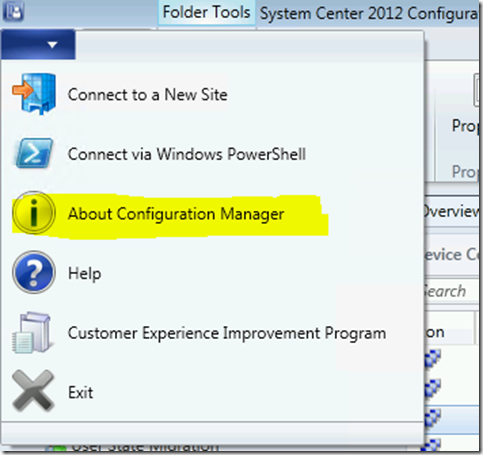
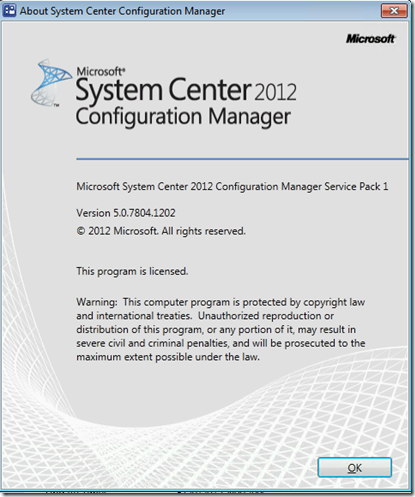
If you click the drop-down menu in the upper left corner, and select “About Configuration Manager”, the Configuration Manager Admin Console version should be 5.0.7804.1202 which is the SP1 CU1 version.
Once this is confirmed, fully close both applications and click Next in the App-V Sequencer wizard.
Once again, the sequencer will collect system changes.
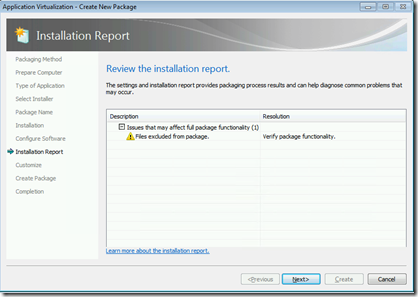
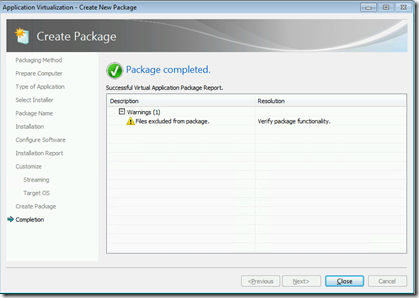
The “Installation Report” dialog will appear warning you that some files were excluded from the package. Review this is desired (this message is expected and normal), and click Next.
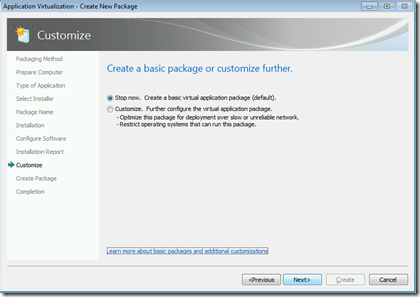
Unless there is additional customizations you desire to make at this point, leave the “Stop now” radio button and click Next on the Customize dialog.
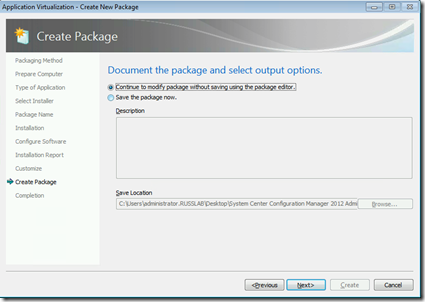
Select “Continue to modify package without saving using the package editor” and click Next.
Another warning about files being excluded from the package will appear. Again, this is normal, so just click Close.
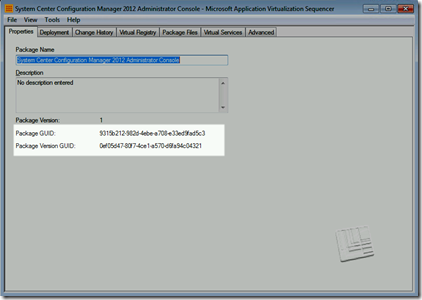
Now you will be on the Properties tab of the App-V Sequencer. Copy both the Package GUID and Package Version GUID information into your favorite text editor.
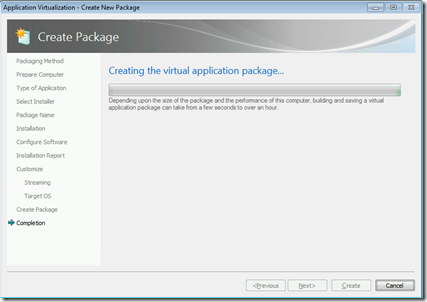
Feel free to review the settings in your sequenced Admin Console, and when finished, click “File” and “Save” and save the package to your ConfigMgr applications & packages sources share. Once done saving, exit out of the Application Virtualization Sequencer application.
Step 2: Creating the Application in Configuration Manager 2012
Now, start up your non-virtual ConfigMgr 2012 Administrator Console and go to Software Library / Applications. Click “Create Application”.
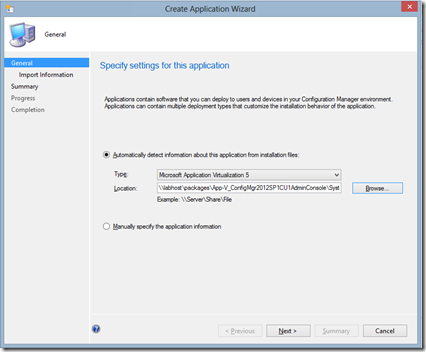
When the “Create Application Wizard” appears, select “Microsoft Application Virtualization 5” for the Type, and for the location, browse to the folder you copied the contents of your newly sequenced Admin Console to, and click Next.
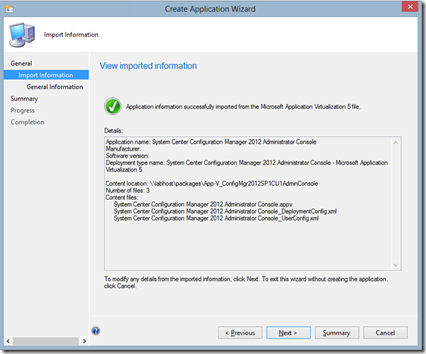
Review the imported information, and then click Next.
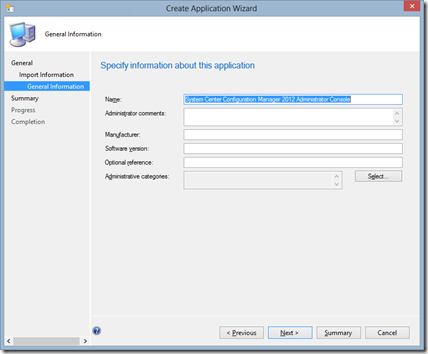
If desired, populate any additional information about the application and click Next.
Confirm the settings, click Next and then click Close.
At this point, with the large majority of applications, you are normally ready to deploy and begin testing. Fortunately (or unfortunately, depending on your view), this is your lucky day. I’ve sequenced ConfigMgr 2012 Admin Console (with and without SP1 and CU1), and found that using the console without ANY modification of the XML files included within the package directory, you will have issues with the console crashing. For example, if you right-click any collection, and click “Properties”, you will get a .NET crash. This is a known issue with a few specific applications which can be worked around by changing the target path of the shortcut of the application.
*NOTE*: This is NOT, and should NOT be considered to be a permanent or long-term workaround to this issue. By doing these steps, you will also have to insure that you follow them again each time you upgrade this specific sequenced application. By hard-coding the shortcuts in the XML files, an update to the sequenced version will not automatically launch the new version when deployed to the clients. Instead the old version will launch, and you will need to manually update the modified shortcut paths within the XMLs in order to insure your clients are running the new version. (The “VersionGUID” value is all that will need modified to match each new version you create.)
Using your favorite text editor, open up the {appname}_DeploymentConfig.xml file which is located inside the package directory with the .appv file that was just created.
Scroll down until you find the section just under “<Shortcut>” that appears as follows:
<Shortcut>
<File>[{Common Programs}]Microsoft System Center 2012Configuration ManagerConfiguration Manager Console.lnk</File>
<Target>[{AppVPackageRoot}]binMicrosoft.ConfigurationManagement.exe</Target>
<Icon>[{AppVPackageRoot}]binMicrosoft.ConfigurationManagement.exe.0.ico</Icon>
<Arguments />
< WorkingDirectory />
< ShowCommand>1</ShowCommand>
< ApplicationId>[{AppVPackageRoot}]binMicrosoft.ConfigurationManagement.exe</ApplicationId>
< /Shortcut>
Next, copy the PackageGUID and VersionGUID which you pasted into your favorite text editor earlier, and paste them into the <Target>…</Target> line so it appears as follows:
<Target>"C:ProgramDataApp-V{PackageGUID}{VersionGUID}RootbinMicrosoft.ConfigurationManagement.exe"</Target>
NOTE: Do not include the {braces} in the path when modifying the XML.
Now, follow these same steps one more time - this time modifying the {appname}_UserConfig.xml file inside the package directory.
This completes the sequencing and application creation part of the Configuration Manager 2012 Admin Console.
Now you can distribute the modified content out to your desired DPs, and deploy the application out to all your ConfigMgr admins! Be sure to create a collection of machines with the ConfigMgr Admin console installed so you can upgrade them easily in the future!
… And be sure to visit my other blog post titled “Deploying the App-V 5.0 client using Configuration Manager 2012 SP1” if you haven’t yet deployed the App-V 5 client out yet. The App-V client itself has some dependencies to set up, so if they are not already installed, this admin console (as well as any other .appv package you create) will not execute!
I hope this is helpful, and thanks for reading!
