Every Question Tells a Story - Mitigating Ransomware Using the Rapid Cyberattack Assessment Tool: Part 3
In the previous two posts in this series, I explained how to prepare your environment to run the Rapid Cyberattack Assessment tool, and I told you the stories behind the questions in the tool.
https://blogs.technet.microsoft.com/cloudyhappypeople/2018/09/10/every-question-tells-a-story-mitigating-ransomware-using-the-rapid-cyberattack-assessment-tool-part-1/ https://blogs.technet.microsoft.com/cloudyhappypeople/2018/09/10/every-question-tells-a-story-mitigating-ransomware-using-the-rapid-cyberattack-assessment-tool-part-2/
Let’s finish up with the final steps in running the Rapid Cyberattack Assessment tool and a review of the output.
Specifying Your Environment
We’ve now finished all the survey questions in the assessment. Now we need to tell the tool which machines to go out and assess as the technical part of the assessment.
There are three ways to accomplish this:
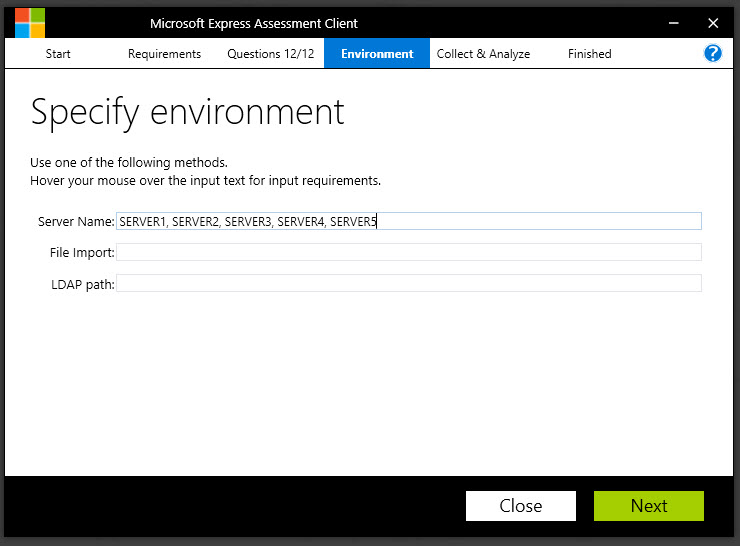
Server Name: You can enter all the names of the machines you want to assess manually in the box, separated by commas, as shown below. This is only practical if you are assessing less than 10 machines. If you’re assessing more than that, I’d recommend that you use one of the other methods or you’ll get really tired of typing.
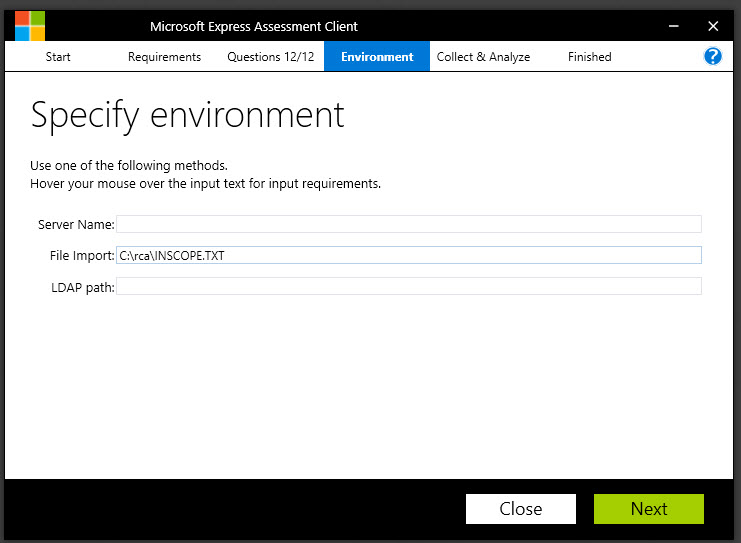
File Import: Let’s say you want to assess 10 machines from 10 different departments. You could easily do this by putting all the machine names into a standard text file, adding one machine per line.
In the screenshot below, I have a set of machines in the file named INSCOPE.TXT, located in a folder named C:\RCA. This is a good way to run the assessment if the machines are spread across several OU’s in Active Directory, which would make the LDAP path method less viable as a way of targeting machines. But again, it could be a lot of typing (unless you do an export from Active Directory – then it’s super easy).
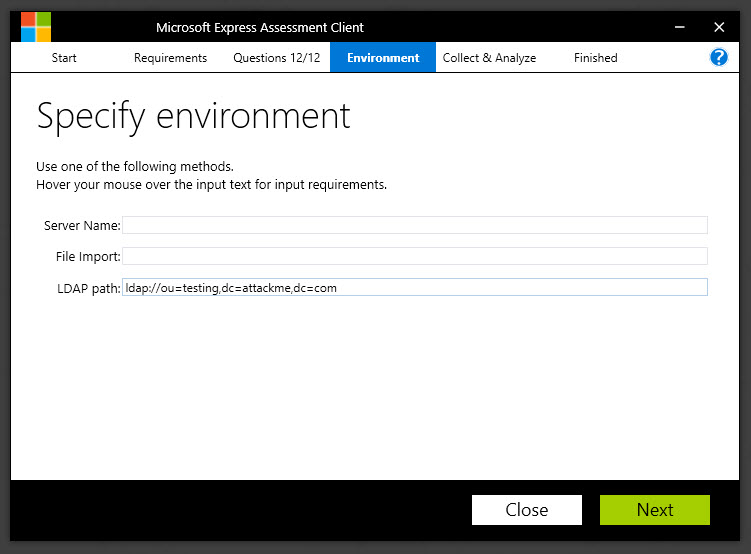
LDAP Path: If you have a specific OU in Active Directory that you want to target, or if you have less than 500 machines in your entire Active Directory and just want to target all of them, the easiest way to do that would be with the LDAP path method. Simply type the LDAP path to the target OU, or to the root of your Active Directory, as shown in the screenshot below:
NOTE: You only define your "in-scope" machines using ONE of the options noted above.
Click Next and run the assessment.
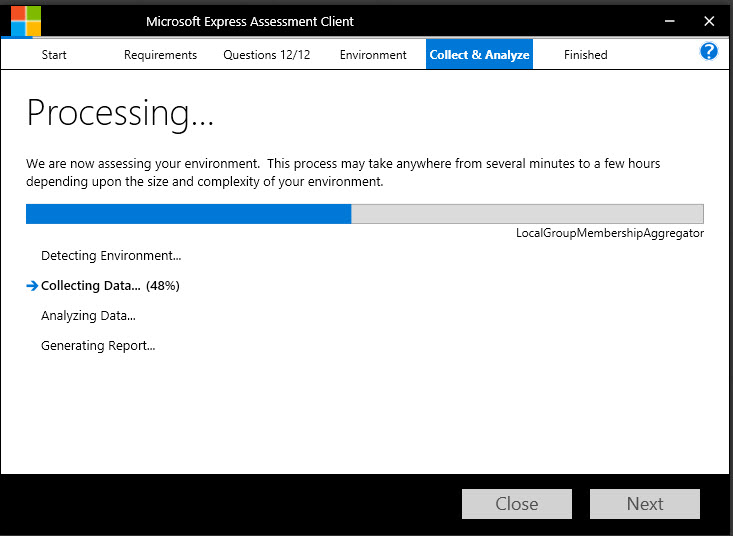
As you see, the assessment goes out and collects data about the machines in the environment, and then it generates a set of reports for you to review.
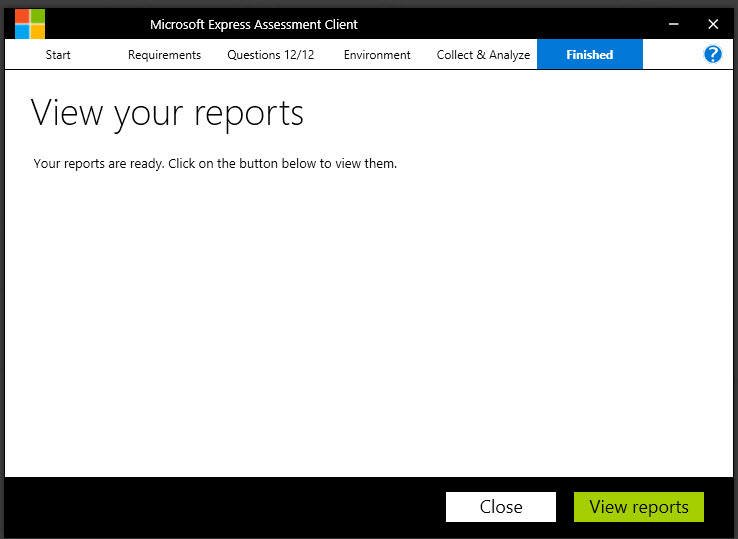
Click on View Reports to see the results of the assessment.
Notice that there are four files created. In my screenshot, you’ll also notice that the files don’t have the “official” Office icons – they just look like text files. This is because I don’t have Office installed on the Azure VM that is running the assessment. I can just copy the machines to a machine with Office installed and open them from there. But as you see, there are two Excel spreadsheets, a Word document and a PowerPoint deck. These are all created and populated automatically by the tool.
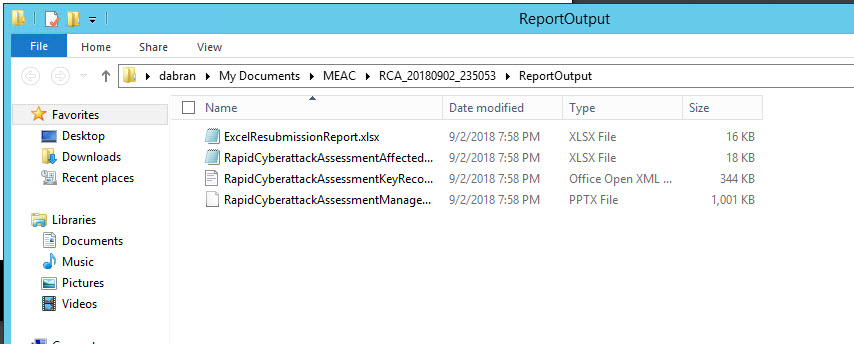
Let’s take a look at the tool’s findings.
Rapid Cyberattack Assessment Affected Nodes spreadsheet
First, let’s open the RapidCyberattackAssessmentAffectedNodes.xlsx spreadsheet.
In this spreadsheet you have several tabs along the bottom. The first tab is named “Host”, and it shows the names of the machines it was able to contact during the assessment, their operating system build version, install date and last boot-up time. All pretty standard stuff.

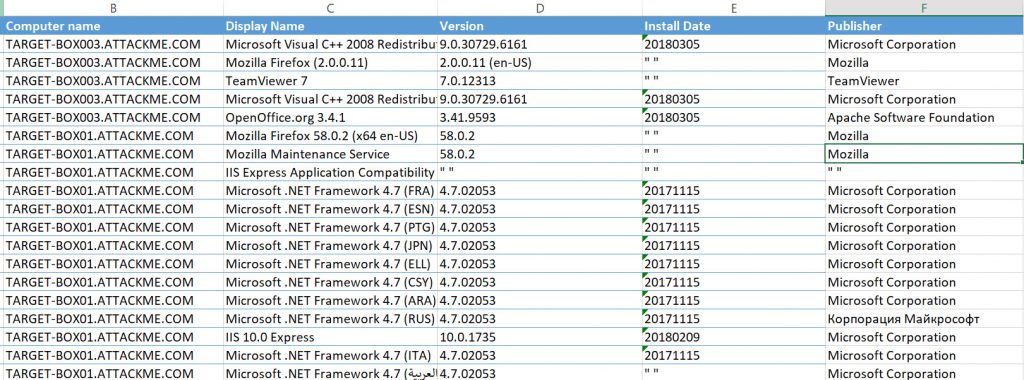
The second tab is for “Installed Products", and this is a comprehensive listing of all the installed software found on the machines in the assessment. This is one way of verifying the question in the survey about whether you are keeping all your apps and middleware up to date. As you can see in my screenshot, there’s some software running on my lab machines that is several versions old, and the spreadsheet tells me which machine that software is running on. This is all stuff that could easily be collected by a network management tool like System Center Config Manager, but not every company has that kind of tool, so we provide this summary.
The third tab is the "Legacy Computer Summary" , which tells you how many of the machines in the assessment are running operating systems that are no longer supported by Microsoft. In my case, I had none. The Active Count and the Stale Count columns simply tell you whether the machine is being logged on to regularly or if perhaps it is simply a stale object in Active Directory and can just be deleted.

The "Legacy Computer Details" tab would give you more information about those legacy computers and could potentially help you determine what they are being used for.
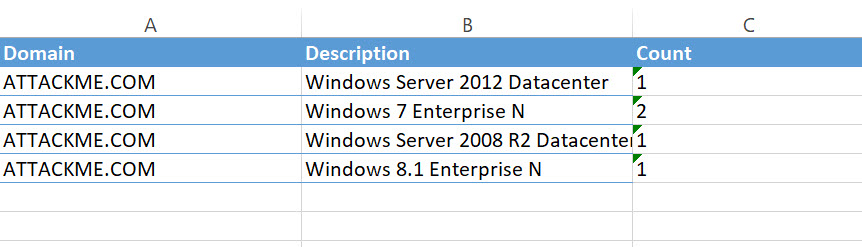
The "Domain Computer Summary" tab is a summary of how many machines on your network are running current operating system versions.
Rapid Cyberattack Assessment Key Recommendations document
Now let’s go to the Rapid Cyberattack Assessment Key Recommendations Word document.
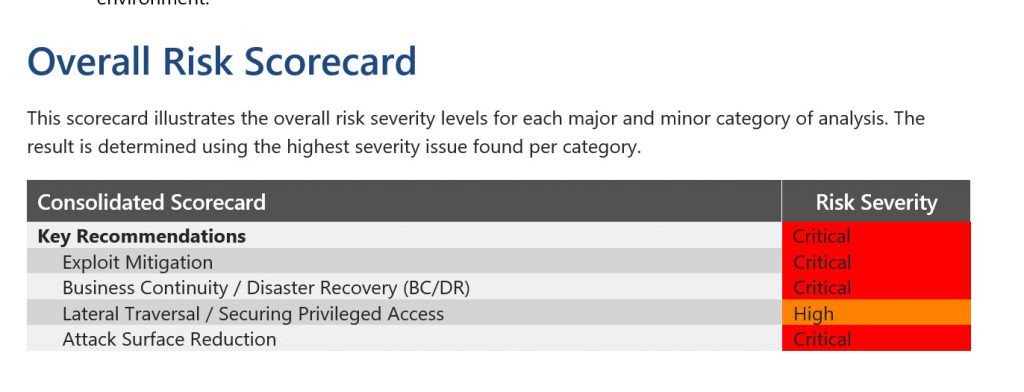
As you can see, this is a nice, professional looking document with an extensive amount of detail that will help you prioritize your next steps. One of the first things we show you is your overall risk scorecard, with your risk broken down into four major categories. In my case, I’ve got some serious issues to work on.
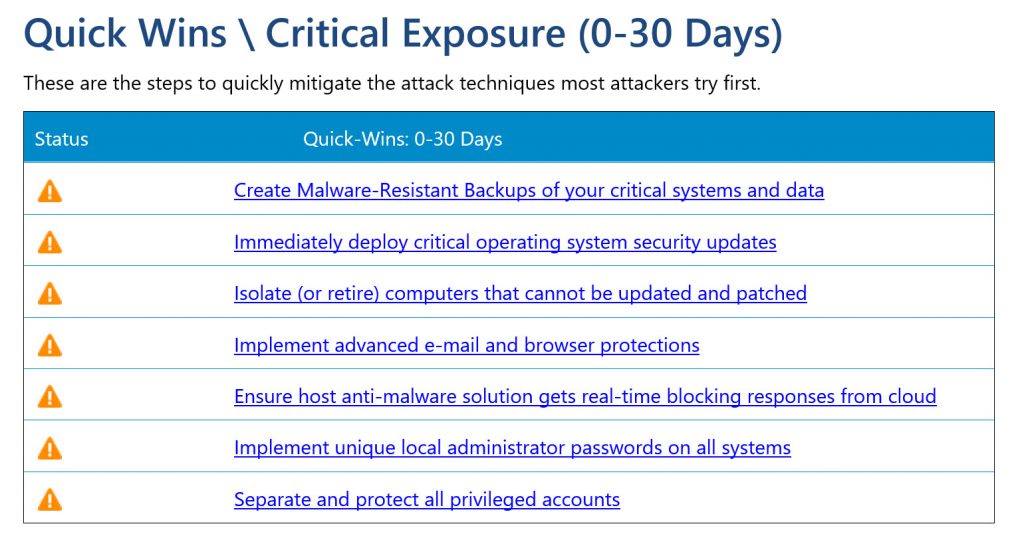
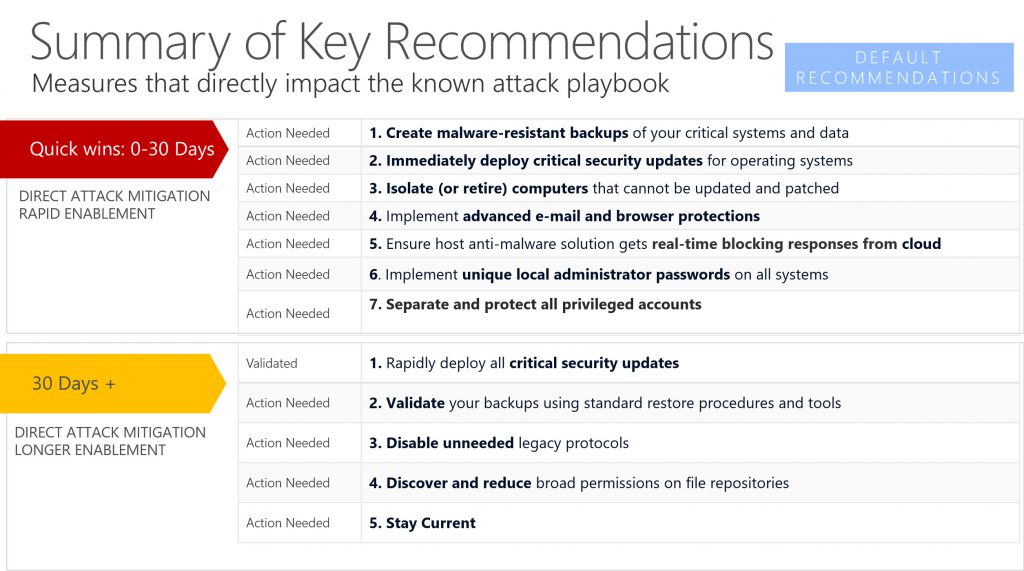
But then we start helping you figure out how to approach the problems. We show you which of your issues are most urgent and that require your attention within the next 30 days. Then we show you the mid-term projects (30+ days), and finally Additional Mitigation Projects that may take a more extended period of time, or that don’t have a set completion date (such as ensuring that the security of your partners and vendors meets your security requirements). By giving you this breakdown, a list of tasks that could seem overwhelming (such as what you see in my environment below) is somewhat more manageable.
We then get more granular and give you a listing of the individual issues in the Individual Issue Summary.
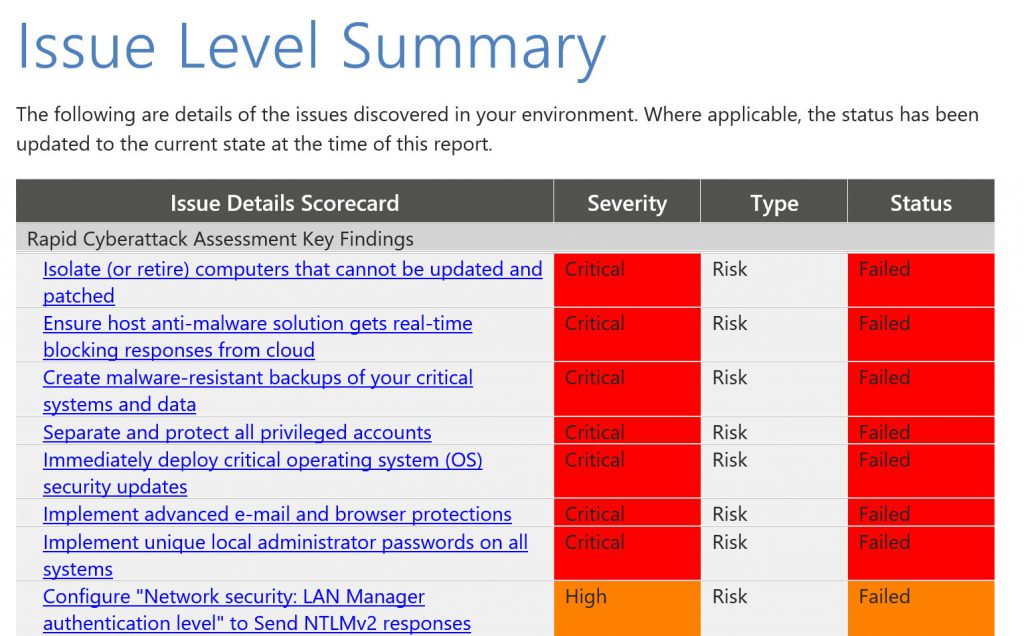
You’ll notice that each finding is a hyperlink to another location in the document, which provides you with a status on the issue, a description of the issue, it’s potential impact and (for some of the issues) which specific machines are impacted by the issue.
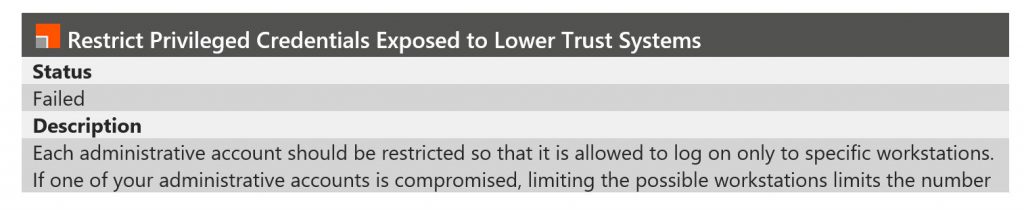
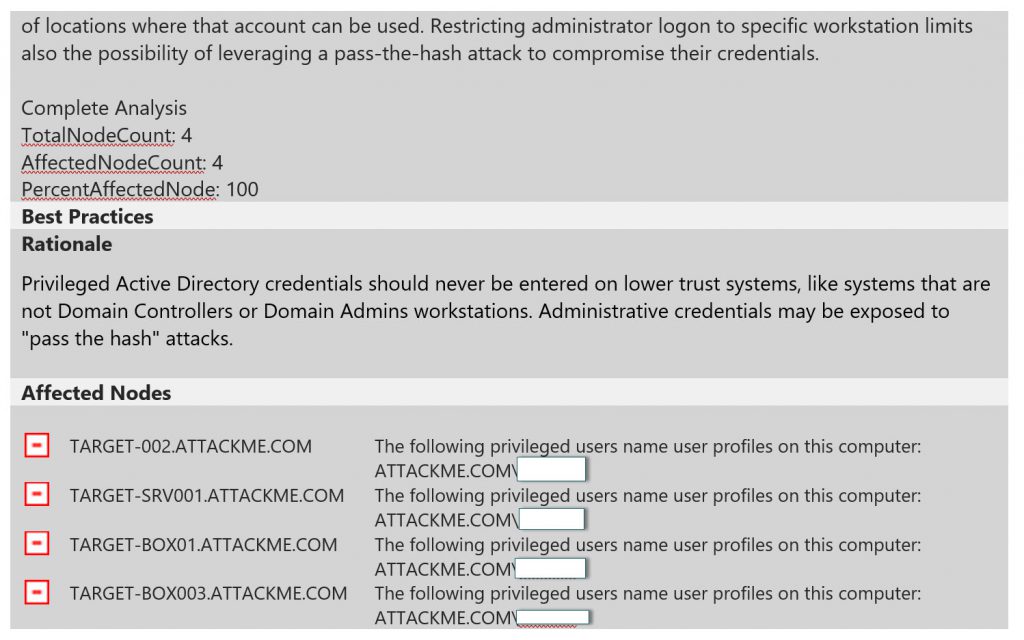
This is essentially the comprehensive list of all the things that should be addressed on your network.
So how do you track the progress on this?
Excel Resubmission Report spreadsheet
That’s the job of the Excel Resubmission Report.xlsx file. This file is what you would use to track your progress on resolving the issues that have been identified. In this spreadsheet you have tabs for “Active Issues” (things that require attention), “Resolved Issues (things you’ve already remediated) and “Not Applicable Issues” (things that don’t apply to your environment).
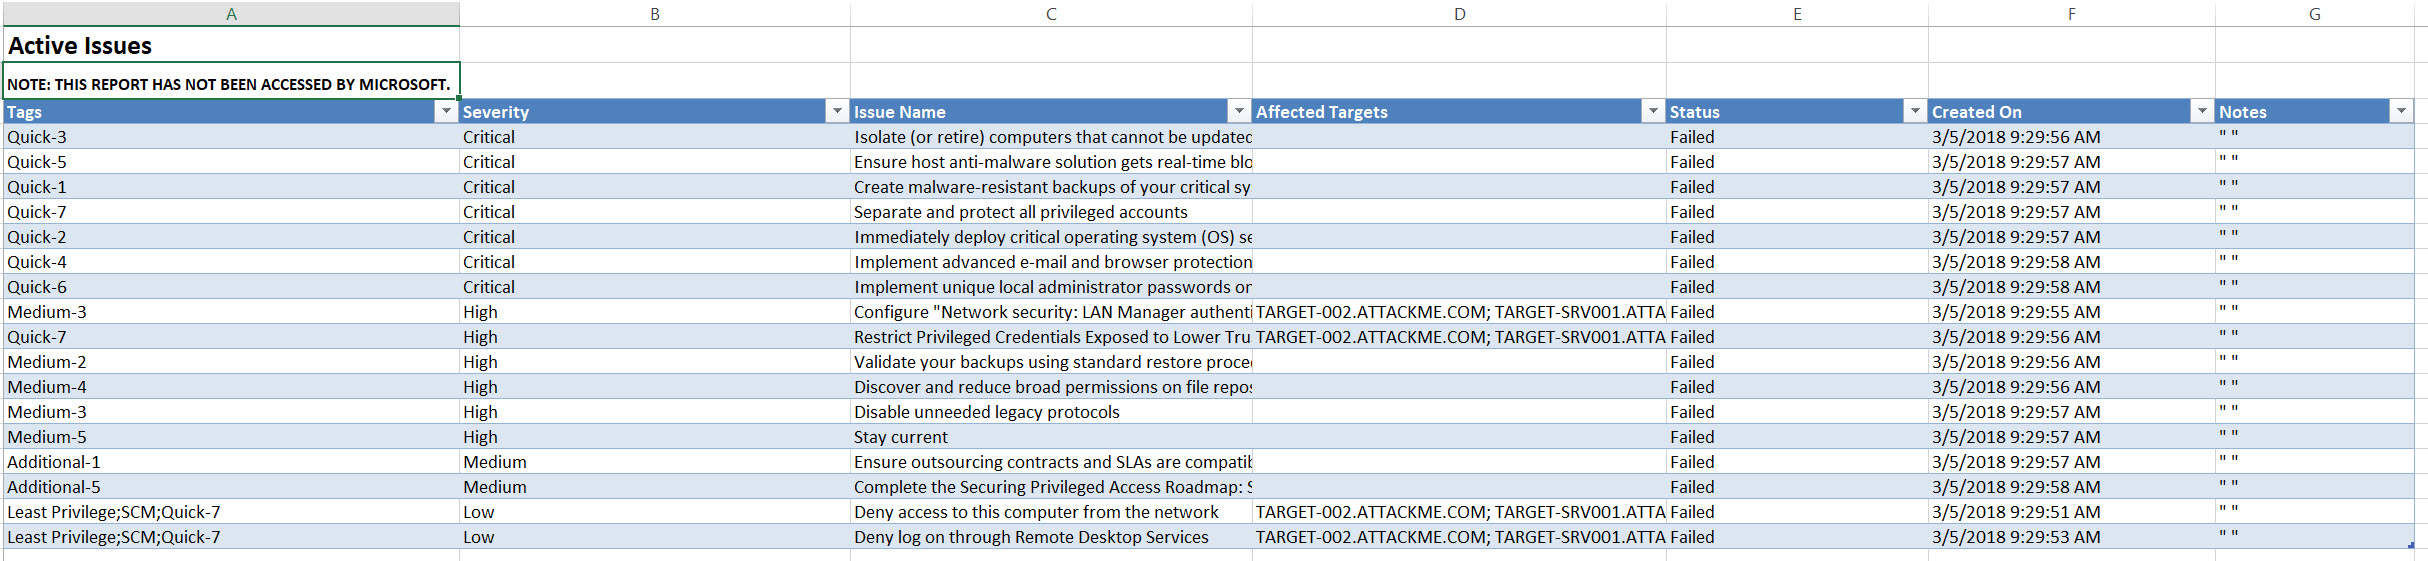
This spreadsheet is a good way for a project manager to see at a high level what progress has been made on certain issues and where more manpower or budget may need to be allocated.
Rapid CyberAttack Assessment Management Presentation PowerPoint deck
This is the deck – only a few short slides – that provides a high-level executive summary of all the things you identified and how you intend to approach their resolution. This is a very simple deck to prepare and can be used as a project status update deck as well.
Every Question Tells a Story
So that’s the Rapid Cyberattack Assessment tool in its entirety. It isn’t necessarily the right tool for a huge Fortune 100 company to use to perform a security audit; there are much more comprehensive tools available (and they usually are quite expensive, which this tool is NOT).
But for the small-medium sized businesses who simply want to understand their exposure to ransomware and take some practical steps to mitigate that exposure, this tool is a great starting point.