Leverage the Microsoft Graph with Azure Active Directory Identity Protection to Identify Network Threats
What is Azure Active Directory Identity Protection?
Azure Active Directory Identity Protection is a feature built into the Azure AD Premium P2 license. The P2 SKU is important if you want to configure SharePoint Limited Access, CAS Proxy, or perform actions related to identity protection or control of privileged identities. The Azure AD Premium P2 (AADP P2) licensing is included with the Enterprise Mobility & Security E5 license, but can be added on to other licensing, such as the EM&S E3 license.
What’s great about it is that it also allows you to use the Microsoft Graph to query your Azure AD tenant and identify potential threats to your organization and even configure an automated response to them. This post will show you how to find these sorts of events in your organization, with a very simple script.
It only takes about 5 minutes to set up, so let’s get started!
What Do I Need to Do This?
For the steps below, I’m using a trial tenant with Office 365 E5 and EM&S E5 licensing (which as mentioned above, includes the Azure AD Premium P2 licensing). This means I don’t have a fully-functioning Azure tenant, where I can set up virtual machines, web apps, containers and so on – but I have enough to do the steps below.
First, I log in to my Office 365 tenant and go to the Admin Centers and click on my Azure Active Directory admin center. I can, of course, just go to https://portal.azure.com and log in there, but this just helps illustrate the connection between the Office 365 tenant and Azure AD.
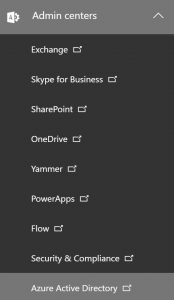
Click on the Azure Active Directory icon and see all the properties of the Azure Active Directory instance that underpins my Office 365 and EM&S tenant. 
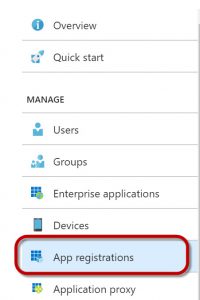
I click on App registrations, as shown below:
Click on New application registration 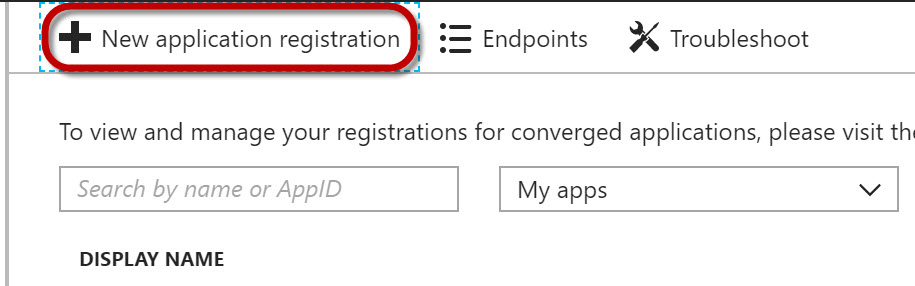
Now I fill in the properties for the new application registration.
The values below will work as shown.
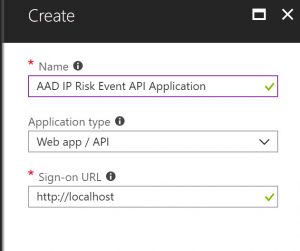
Click Create when finished.
Click on the Settings gear as shown below:
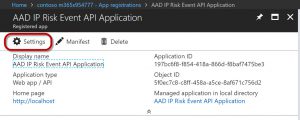
One of the settings is Required permissions .
Click on the arrow to expand this property. 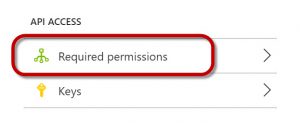
Next, click on Add to set up permissions for connecting to the Graph API. 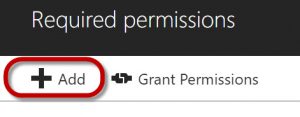
You have the option of selecting which API you want to grant access to.
Click on the Select an API arrow. 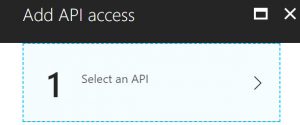
You’ll now see a bunch of API’s that you can connect to.
For our purposes, we’ll choose the Microsoft Graph, which contains security event information. 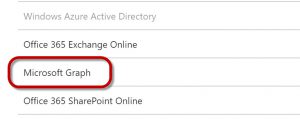
Click Select at the bottom of that pane.
Now click on Select permissions. 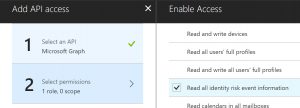
In the Enable access page, scroll down till you see the Read all identity risk event information line.
Click the checkbox next to that line and then click Done.
You should see the Windows Graph in your Required permissions page.
Click on Grant permissions to apply the permissions you just selected. 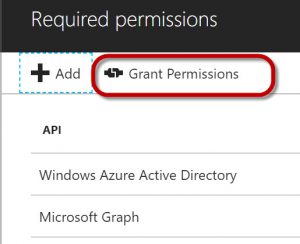
When you click on Grant permissions, you’ll be asked for confirmation, so click Yes if you agree. 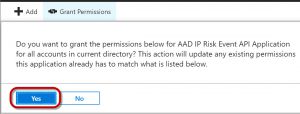
Back in the Settings page of your Application, click on Keys. 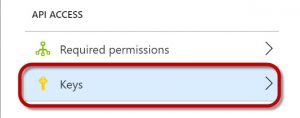
Configure an access key as shown below and click Save. 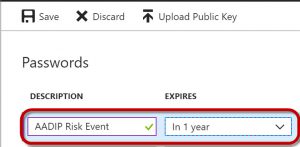
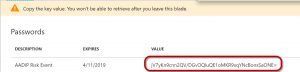
You should see the access key value in the field below.
Copy this key and save it somewhere. You’ll use it in the script as the $ClientSecret variable.
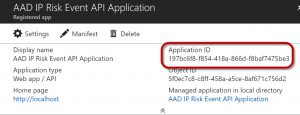
Back on the Properties of the application itself, you will also see the Application ID value.
Copy this value somewhere as well. This will be used in the script as the $ClientID variable.
Use a PowerShell script to connect to Microsoft Graph and Look for Identity Risk Events
The script below can be used to query the Microsoft Graph for identity risk events. You’ll need to fill in the following values:
- $ClientID
- $ClientSecret
- $tenantdomain
For my script, it looked like the screen capture below. 
I deleted the application after running the script so these credentials aren’t valid anymore.
Shown below is the sample script for querying the Microsoft Graph to capture identity risk events.
 $ClientID       = "Application ID value from the Registered App properties page "       # Should be a ~36 hex character string; insert your info here
$ClientSecret   = "Password value from the Keys page" # Should be a ~44 character string; insert your info here
$tenantdomain   = "Tenant name"   # For example, contoso.onmicrosoft.com

$loginURL       = "https://login.microsoft.com"
$resource       = "https://graph.microsoft.com"
$body      = @{grant_type="client_credentials";resource=$resource;client_id=$ClientID;client_secret=$ClientSecret}
$oauth     = Invoke-RestMethod -Method Post -Uri $loginURL/$tenantdomain/oauth2/token?api-version=1.0 -Body $body
Write-Output $oauth
if ($oauth.access_token -ne $null) {
   $headerParams = @{'Authorization'="$($oauth.token_type) $($oauth.access_token)"}
   $url = "https://graph.microsoft.com/beta/identityRiskEvents"
   Write-Output $url
   $myReport = (Invoke-WebRequest -UseBasicParsing -Headers $headerParams -Uri $url)
   foreach ($event in ($myReport.Content | ConvertFrom-Json).value) {
       Write-Output $event
   }
} else {
   Write-Host "ERROR: No Access Token"
}
Once you fill in the appropriate values for your environment, you can run the script in PowerShell and it will find any identity risk events associated with your tenant.
What Information Does It Provide?
In my tenant, it found one identity risk event, as shown below: 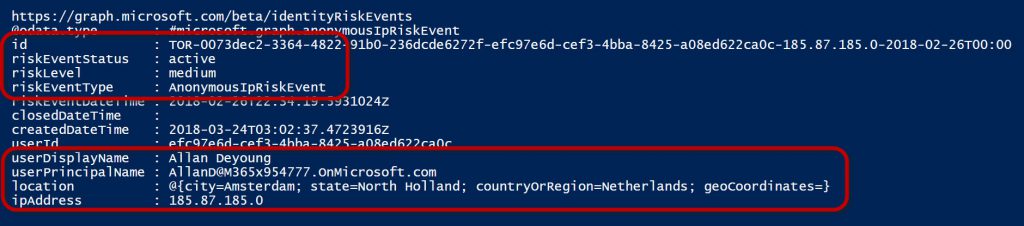
What this tells me is that on February 26, 2018 there was an AnonymousIPRiskEvent that took place using Allan DeYoung’s user account.
It looks like someone logged in with his credentials using a TOR browser, and it was classified as a medium risk event.
Additionally, I am able to see the location where this event took place and the IP address associated with it.
From there, I am able to start tracking down what happened and see if it poses any risk to my network or Allan’s account.
What other types of events would we be able to identify? Microsoft Graph contains identify events such as:
- Impossible travel to atypical locations (Did you log in from New York and then 5 minutes later try to log in from an IP address in Indonesia?)
- Sign-in events from unfamiliar locations (Is the location you are signing in from outside of your typical login patterns?)
- Sign-ins from an infected device (Is the device where the login was attempted communicating with a botnet server?)
- Sign-ins from IP addresses with suspicious activity (Maybe an IP address where a number of login attempts are taking place for lots of different accounts, which could indicate a brute force password attack)
We can categorize the risk events because the Microsoft Graph maintains information related to billions of login events each month. That means we can detect anomalies and determine whether they are just a user who forgot their password three times, or some sort of automated attack against that user’s account.
This is a very simple example, but you could configure something like this to run periodically and dump the events to a SIEM, allowing you to collect all your security related events in a single place and have them reviewed by your security team.
There are LOTS of other event types you can query on using the Microsoft Graph API (and the other application-specific API’s). I encourage anyone who manages the security for a network to take advantage of these API’s and create automated scripts that can capture risk events on your network.