Windows 10, WindowsUpdate.log and how to view it with PowerShell or Tracefmt.exe
Author: Charles Allen
With the release of Windows 10, there is going to be a change to the way the Operating System logs created and how we can view them.
For those of us who are supporting services like Configuration Manager and Windows Update Services to deploy Software Updates, this means a change to how we will look at the WindowsUpdate.log in Windows 10.
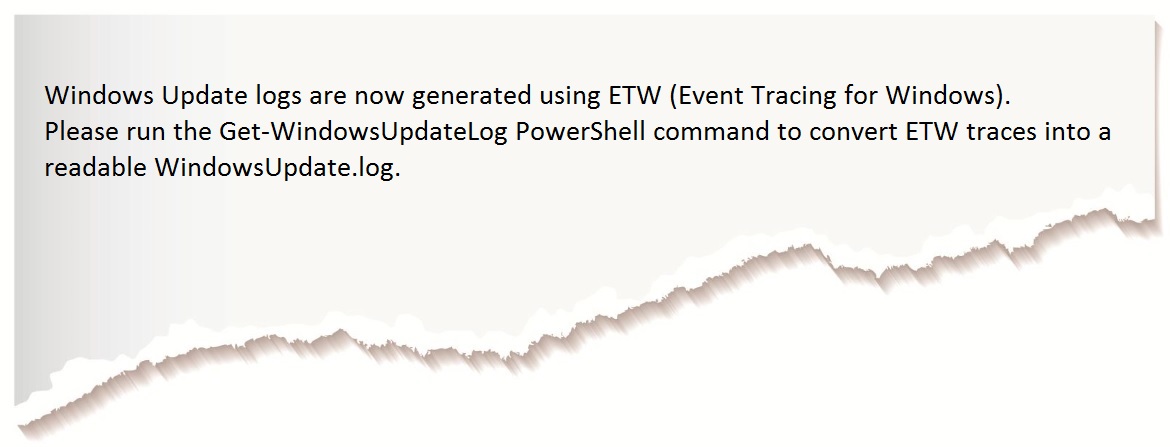
The WindowsUpdate.log is still located in C:\Windows, however when you open the file C:\Windows\WindowsUpdate.log, you will only see the following information:
In order to read the WindowsUpdate.log in Windows 10, you will need to either perform one of two different options.
1) Decode the Windows Update ETL files
2) Use Windows PowerShell cmdlet to re-create the WindowsUpdate.log the way we normally view it
I am going to go ahead and start with the PowerShell cmdlet option #2, as it is my personally preferred method.
Using PowerShell Get-WindowsUpdateLog:
1) On the Windows 10 device you wish to read the WindowsUpdate.log open PowerShell with Administrative rights (I prefer to use PowerShell ISE)
2) Perform the command "PS C:\WINDOWS\system32> Get-WindowsUpdateLog", you will see the following occur:
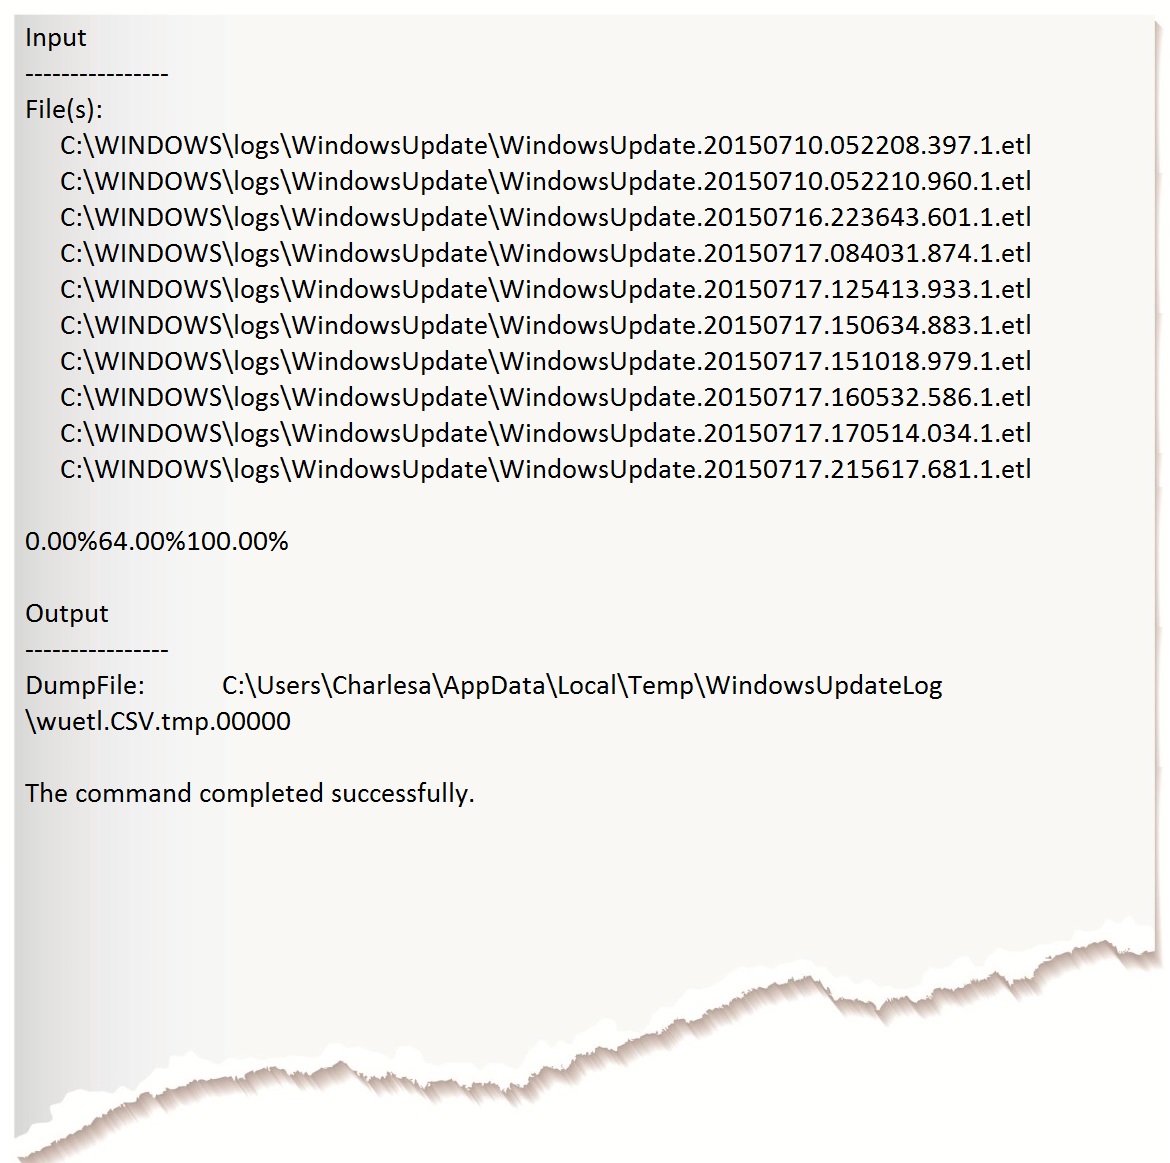
3) This will take a moment to complete, once done, you will see on the desktop a new WindowsUpdate.log file
Please note that the newly created WindowsUpdate.log file from running the Get-WindowsUpdate.log command is a static log file and will not update like the old WindowsUpate.log unless you perform the Get-WindowsUpdateLog cmdlet again.
However, with some PowerShell magic, you can easily create a script that will update the log actively to allow you to troubleshoot closer to real time with this method.
For more information on the Get-WindowsUpdate.log cmdlet, please go here: https://technet.microsoft.com/en-us/library/mt238376.aspx
Decoding the Windows ETL files:
So the other option, is to directly decode the ETL files for getting the Windows Update information during troubleshooting. Lets go ahead and walk through this:
1) Download the public symbols, if you have never done this, you can follow these instructions: https://msdn.microsoft.com/en-us/windows/hardware/gg463028.aspx
2) Download the Tracefmt.exe tool by following these instructions: https://msdn.microsoft.com/en-us/library/windows/hardware/ff552974%28v=vs.85%29.aspx
3) Open an elevated command prompt
4) Create a temporary directory folder, example %systemdrive%\WULogs
5) Navigate to the folder containing the Tracefmt.exe and then copy it to the folder you just created (example copy Tracefmt.exe to %systemdrive%\WULogs)
6) Run the following commands at the command prompt you have open
cd /d %systemdrive%\WULogs
copy %windir%\Logs\WindowsUpdate\* %systemdrive%\WULogs\
tracefmt.exe -o windowsupate.log <Windows Update logs> -r c:\Symbols
For the <Windows Update logs> syntax, you will want to replace this with the applicable log names, space-delimited. Example:
cd /d %systemdrive%\WULogs
copy %windir%\Logs\WindowsUpdate\* %systemdrive%\WULogs\
tracefmt.exe -o windowsupate.log Windowsupdate.103937.1.etl Windowsupdate.103937.10.etl -r c:\Symbols