Advanced Threat Analytics(ATA) deployment Steps. Part-I
[bing_translator]Hello our solution enthusiasts. In this Post, we will go through Advanced threat analytics step by step installation, setup and looking around its capabilities. We will refer this as ATA.
ATA is an on-prem product of Microsoft and helps protect your enterprise in various ways. that could be any anonymous cyber attacks, threats using multiple techniques around your network. Internet is extremely vulnerable to attacks and its our responsibility to keep it secured and get aware of any abnormal and suspicious activities quickly to act. You can read about it here. https://docs.microsoft.com/en-us/advanced-threat-analytics/
As you go through and understand what it is, i will walk you through the installation steps along with Pre and post installation steps.
Don't forget go through Part2 of this blog to understand capabilities of ATA
In this setup, i am using four machines
| Computer name | Description |
| DC | First Domain controller Server 2012 R2 in contoso.com |
| DC2 | Second DC in same forest running Windows server 2012 R2 |
| ATACenter | Windows Server 2012 R2 and is member of contoso.com |
| ATAGateway | Windows Server 2012 R2 and is member of contoso.com |
| Client1 | Windows 7 client and is member of domain contoso.com |
I am using hyper-V to host these machines. Lets start with Activity 1.
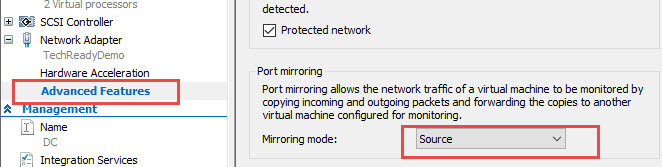
Step1: Configure port mirror on DC
- In Hyper-V manager, go to settings for DC -->Advanced features -->Port mirroring.
- Change the mirroring mode to Source from drop down menu.
- Connect to ATAGateway and note down MacAddress. (Remember to have 2 network adaptor for ATA gateway server and i am checking Mac address of 2nd adaptor named capture)
On powershell, Type "Get-netAdapter -Name Capture"

And that's my second adaptor
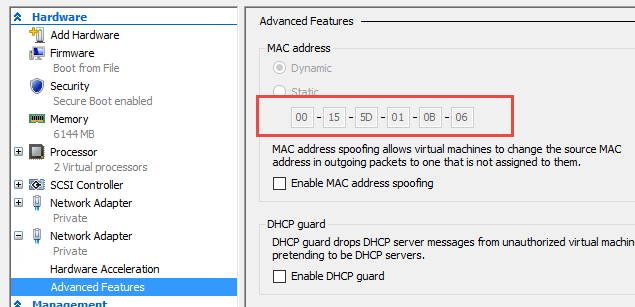
- Scroll down for this adaptor and enable mirroring mode to set it as destination.

- To verify your port mirroring is success and correctly configured, you can use network monitor tool.
Step 2: Validate Service account of ATA
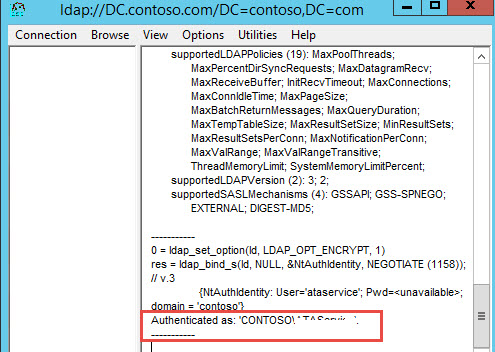
Note: ATAGateway server should be able to query DC via LDAP using the account credentials that ATA is going to use. this is necessary to retrieve the users, computers and other objects. This is a requirement. I will use LDAP connection from ATAGateway to DC using account contoso\ATAService. This account will need read permission to access all object that will be monitored.
- On ATAGateway VM, run LDP.exe
- On connection, client connect on top left corner and enter your DC name. in my case its DC.Contoso.com -->OK
(This confirms, name resolution is working)
- Again click on connection and select Bind -->Bind with credential--> Enter. Input credential (Contoso\ATAservice) and click OK, notice the output as you will be expecting when all is good
Note: If you click on view and expand Tree, you should see objects of domain.
Step 3: Assign Permission to ATAService
Note: ATAService account needs to have read permission on deleted object container in domain.
- On elevated cmd prompt, type the command 'dsacls "CN=Deleted Objects,DC=Contoso,DC=Com" /takeownership' -->ENTER. this will take ownership on deleted object container.
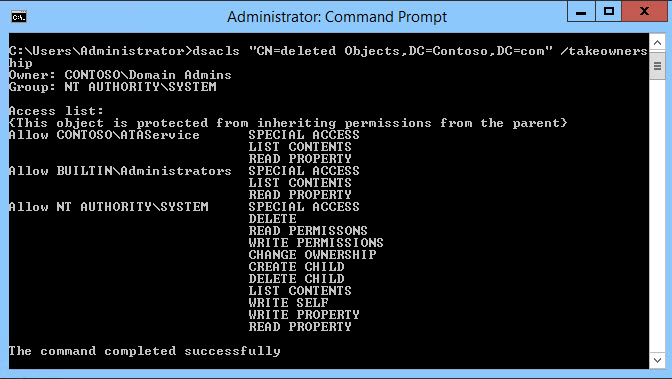
- Again on elevated cmd prompt type: dsacls "CN=Deleted objects,DC=Contoso,DC=com" /G CONTOSO\ATAService:LCRP -->ENTER to grant permission to view objects
Note: Upto this point, we have completed our pre installation steps of ATA. Next we will go with installation. Lets start with Step4
Step4: ATA center Installation:-
- Run the downloaded setup file.
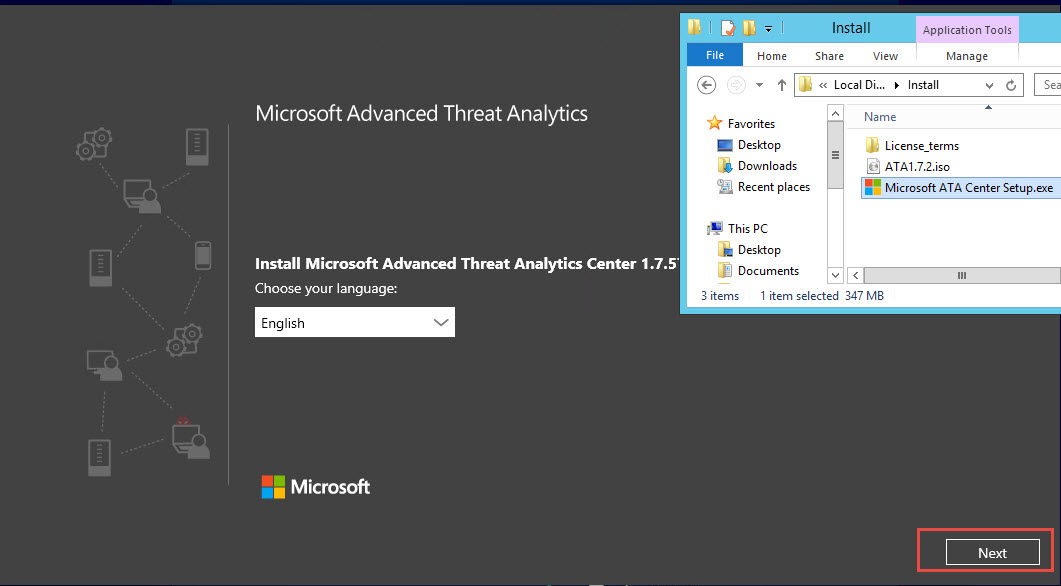
- As you move forward accepting the EULA with default steps and you reach to below page, Enter details.
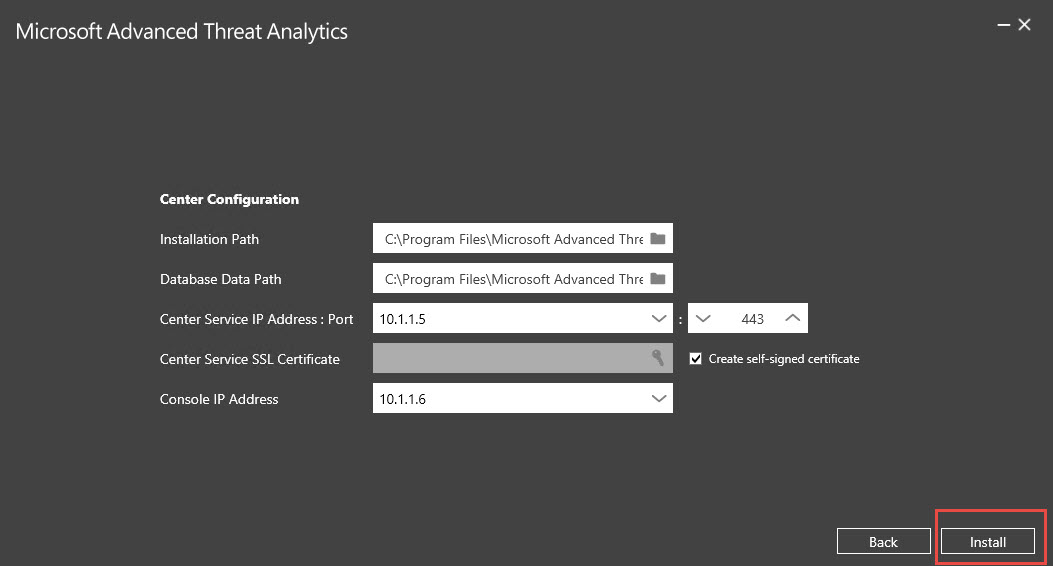
Note:
-
ATA center service IP address is used by ATA Gateway to communicate with ATA Center. ATA console IP is used to connect to ATA console. As you install Gateway, ATA Gateway will register with ATA center using ATA Console IP on port 443
-
In case you have one IP address, you can modify the port number used by ATA center service. ATA console will always use 443
-
In production, we recommend you to use PKI cert instead of self signed certificate.
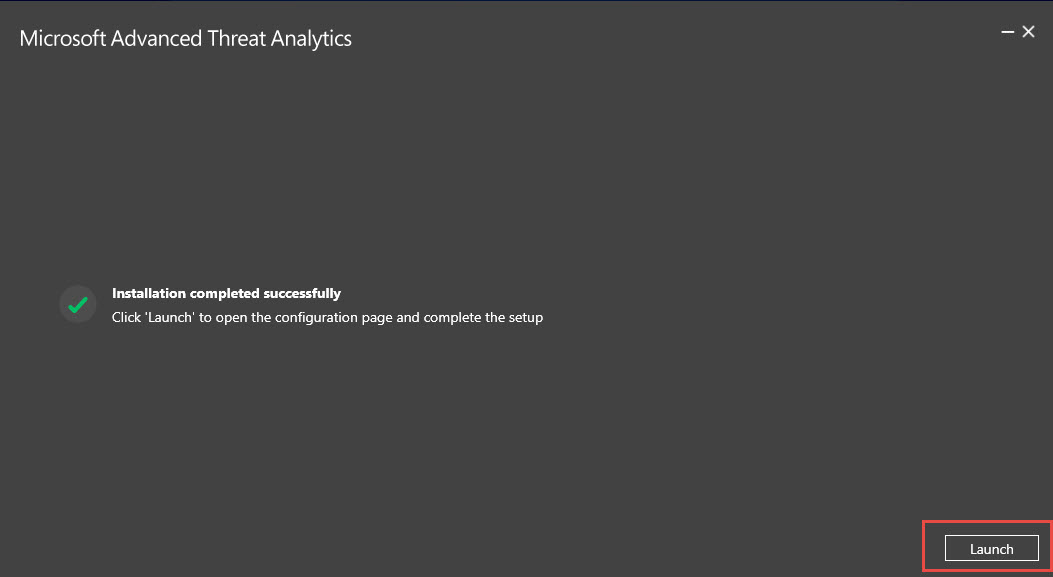
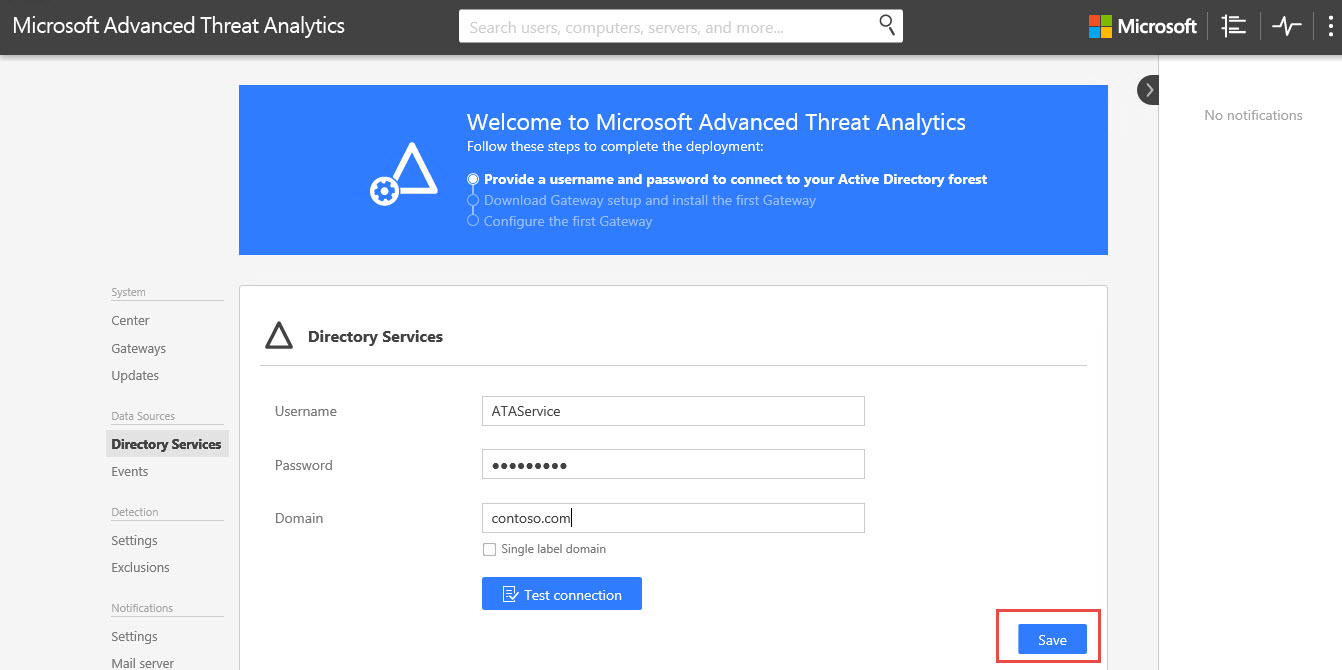
- Launch the page by hitting on launch after completion message. Click Continue to this website(not recommended) hyperlink to continue.
- Enter credential in directory services page
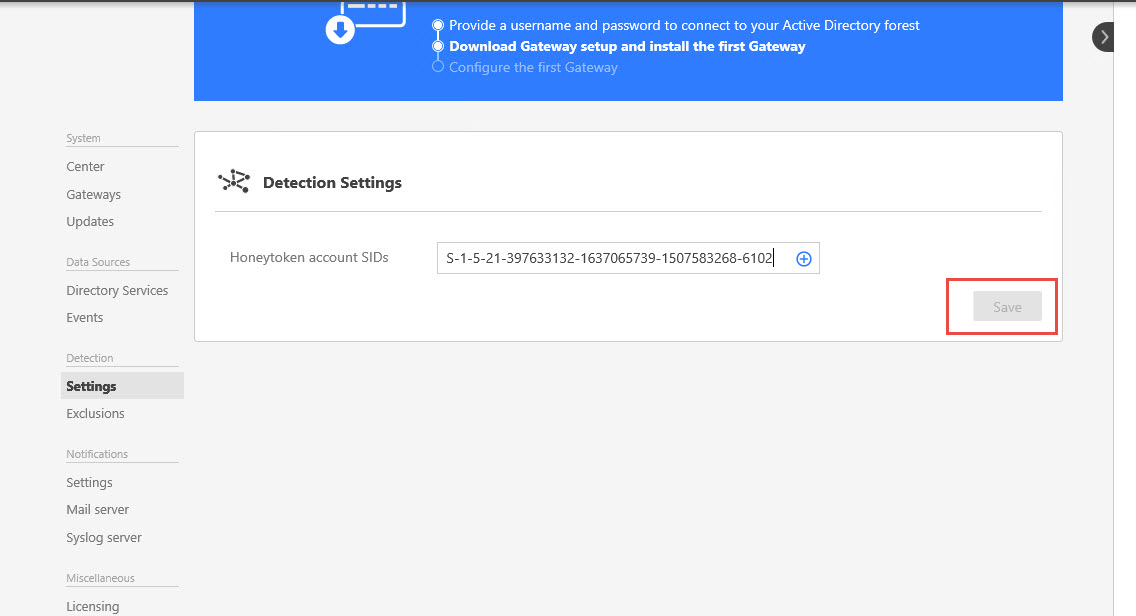
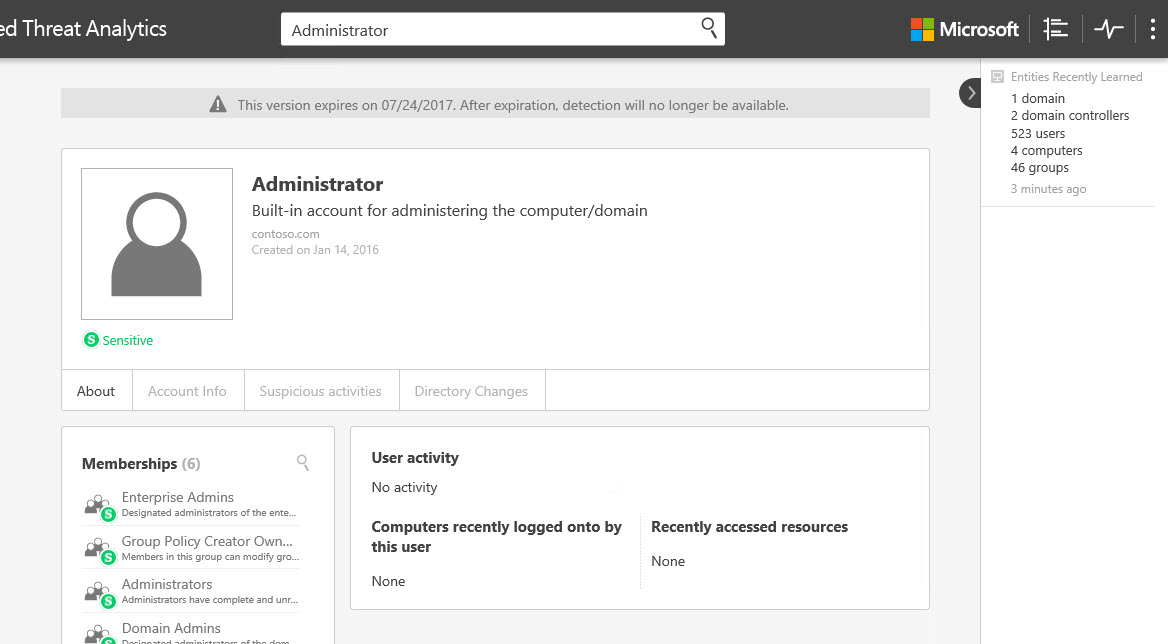
Step 5: Configure HoneyToken user (User that have no activity)
- On PS prompt, type: Get-AdUser Admin -->ENTER to get SID
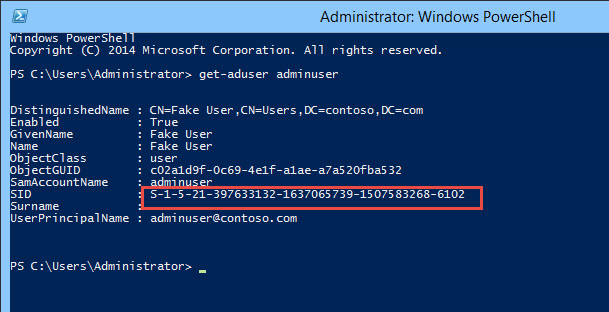
- Copy the SID and paste under detection settings -->Save (Don't forget to hit on + next to ID before saving)
Note: We are done with configuration. Next we will install ATA Gateway
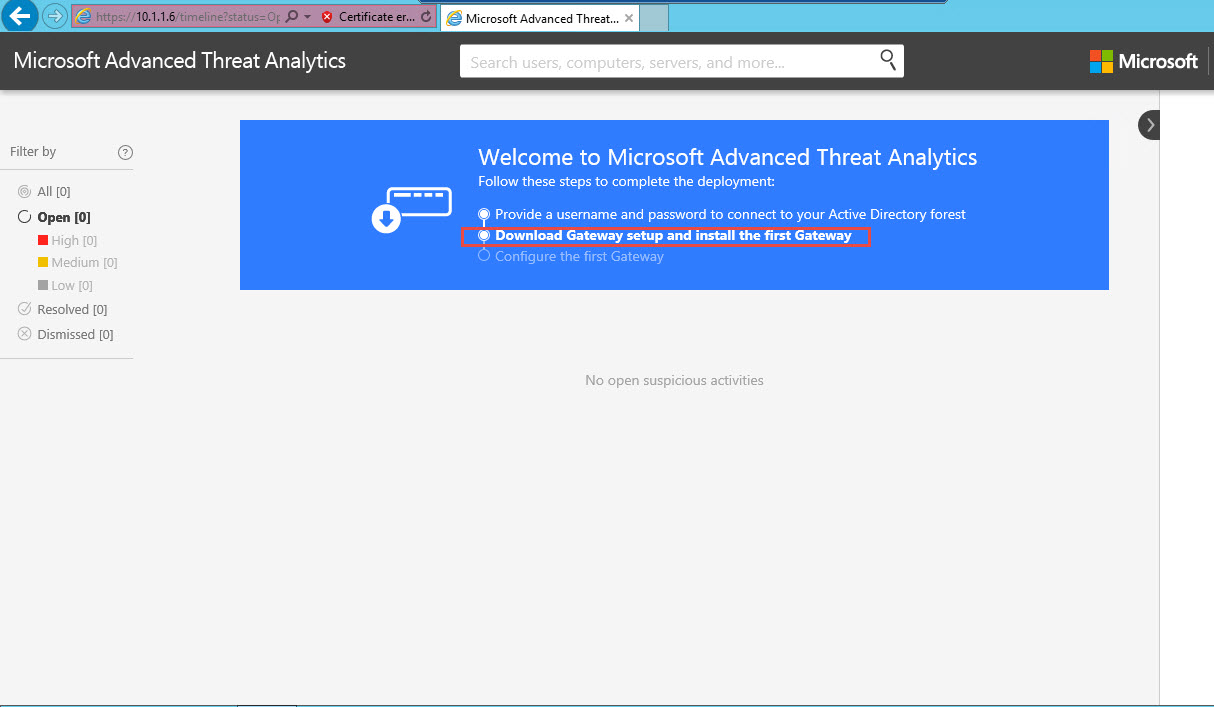
Step 6: ATA Gateway Installation steps.
- On ATAGateway server, go to URL https://10.1.1.6 (Console IP address)
- Click on "Download Gateway setup and install the first Gateway" --> save the file
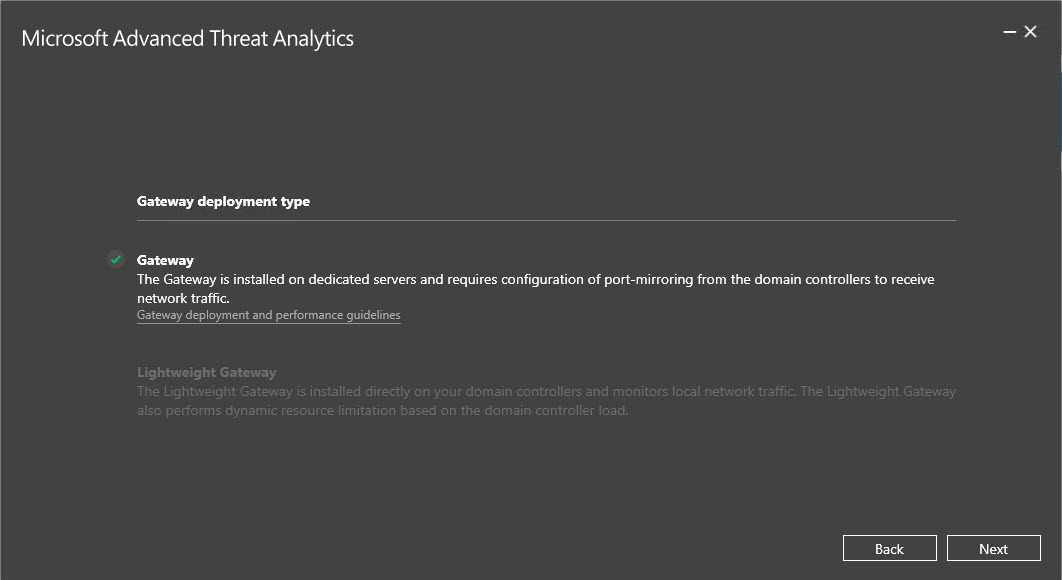
- Extract the file and run the setup.
Note:-. Net framework 4.6.1 has to be preinstalled. if preinstalled, it will avoid reboot while installation of ATA Gateway.
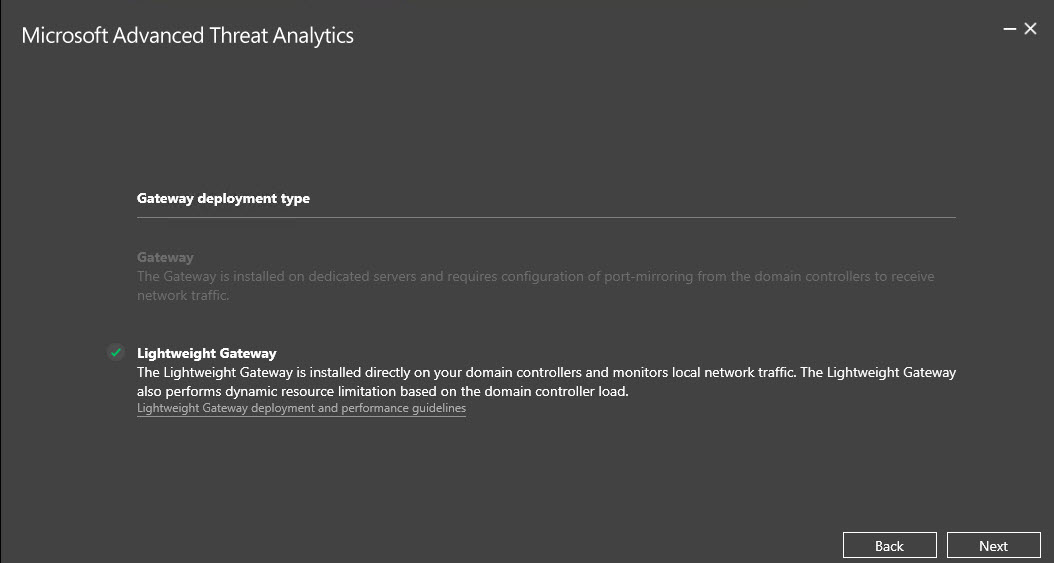
- Select the available option as below after you pass welcome window.
- In the next page, we will create a self signed certificate. and enter user name and password -->Install
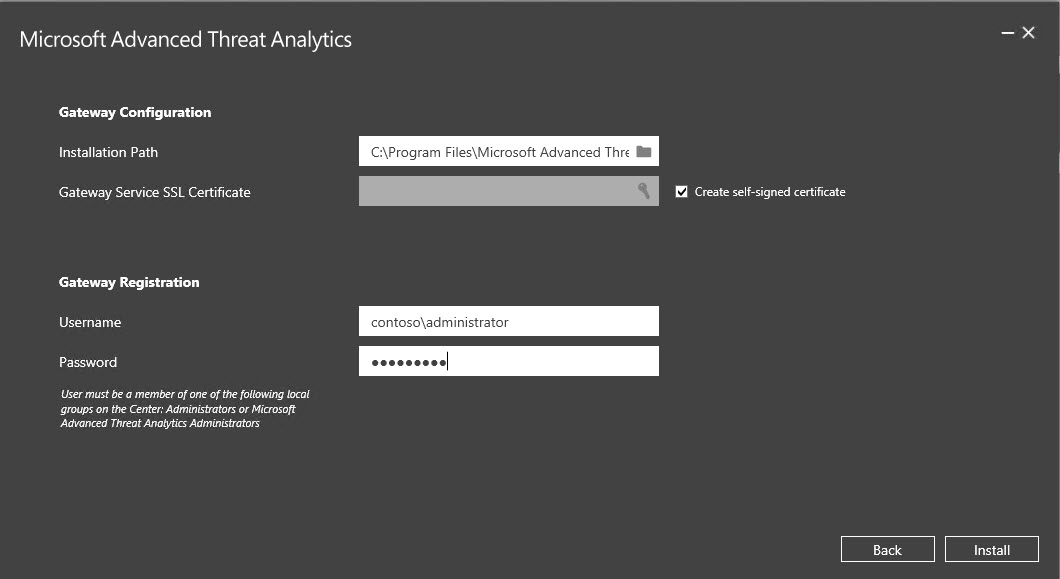
Note:- The user account is set for gateway and is domain admin here.
- Launch once install is completed.
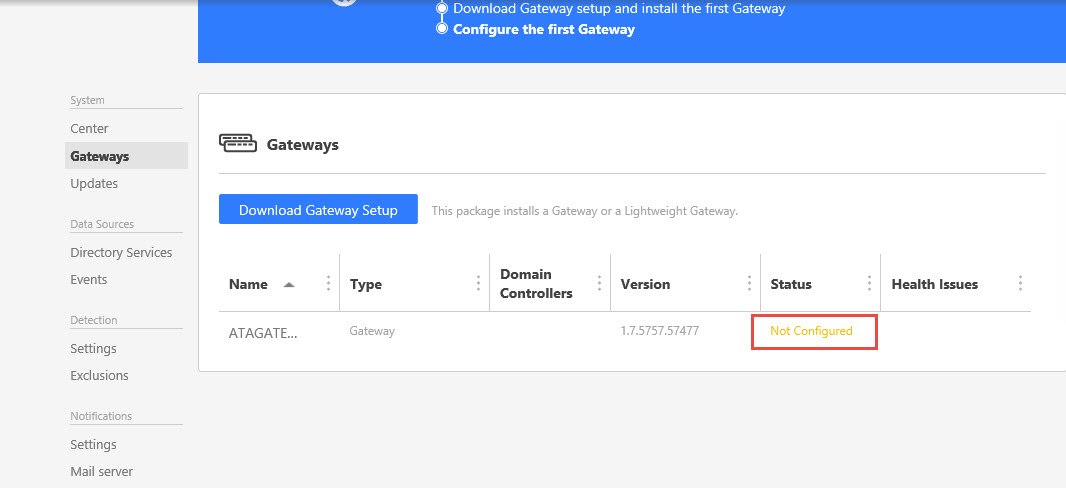
Step 7: Configure ATA gateway
- Once you hit Launch in previous step, the page opens. and you see the status of gateway below. Click on Not Configured
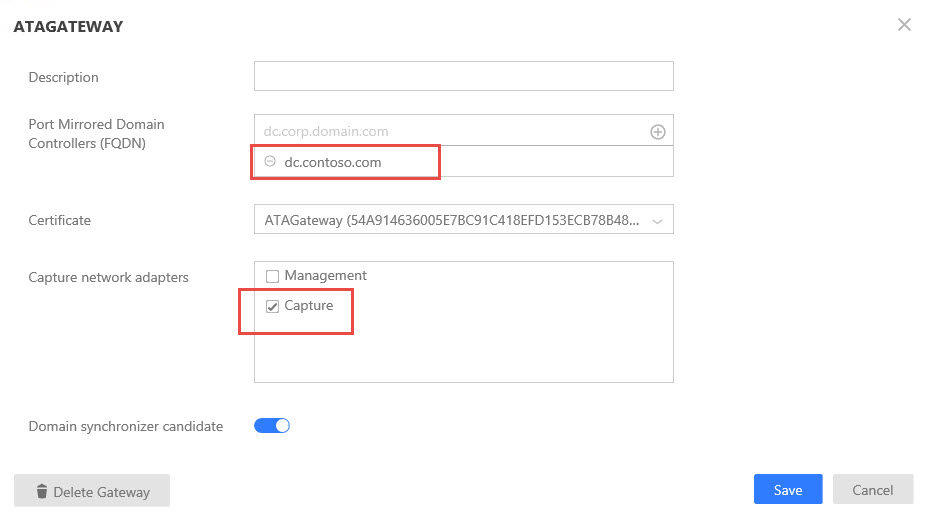
- Enter the information as below. And select Capture check box (Remember 2 network adapter of ATA gateway from above and we are selecting second adapter) -->Save
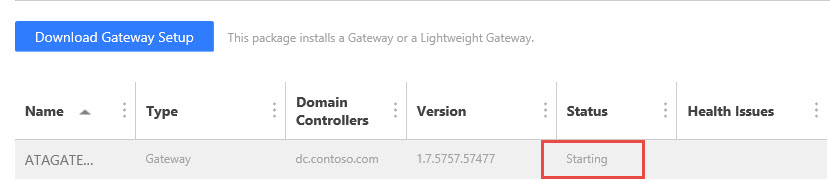
- Verify "Microsoft Advanced Threat Analytics gateway" service is running, this may take long time before it reaches to running from starting.

- Once service is started, verify if user and computer are synced in ATA console.
Note: Once we have ATA gateway installed, we will setup our lightweight Gateway.
Step 8:- Install Lightweight gateway.
- On DC2, browse to console IP https://10.1.1.6 and download gateway setup and save it.
- Run Microsoft ATA Gateway setup.exe. (Remember to extract it and not run from zip file)
- Setup automatically identifies already installed ATAgateway and asks you to install lightweight gateway.
- Enter credential as you did for ATAGateway.
- Once done, service will turn into running.

Note:- First time the service starts will take approx. 15-20 min until it turns from starting to running.
This concludes our Advanced Threat Analytics server setup.
In next blog, we will discuss on how to track suspicious activities across the network. Please check Blog 2.