Creating an OAuth 2.0 authentication token for Azure Data Lake Store
Hi All!
A Data Lake can be defined as a storage repository that holds a vast amount of raw data in its native format until it is needed. My question is, what would be the point of storing all this data if you can't access it easily? Azure Data Lake store, which is Microsoft's Platform as a Service (PaaS) implementation of a Data Lake, allows to, not only store vast amount of data, but also allows you to access the information via multiple channels:
- A POSIX-style permissions (Read / Write / Execute) exposed through the WebHDFS-compatible REST APIs which makes it possible to support HDFS operations like read, write and others.
- A new file system-AzureDataLakeFilesystem (adl://)-for directly accessing the repository. Applications like HDInsight and Data Lake Analytics are capable of using the file system and realize additional flexibility and performance gains over WebHDFS.
The channel that interests me today is the WebHDFS REST APIs; more specifically and the topic of this blog, how to create an OAuth 2.0 application token for 3rd party tools to authenticate via the WebHDFS REST APIs. OAuth 2.0 is an industry-standard protocol for authorization which, in the context for Azure Data Lake, allows a person or application to authenticate to the Data Lake Store. This authentication is the process by which a user's identity is verified when the user interacts with Data Lake Store. See https://docs.microsoft.com/en-ca/azure/data-lake-store/data-lake-store-security-overview for more information on Data Lake Store security.
The following will show how to create an application within Azure Active Directory and configure the appropriate access permissions. Doing so will then give you the ability to use tools like “R” and read data from the Data Lake Store without the need to copy the dataset locally.
Prerequisites:
- Azure Data Lake Store resource created. Follow this guide in order to create a new one: /en-us/azure/data-lake-store/data-lake-store-get-started-portal
- Azure Active Directory. Follow this guide to get you started with Azure Active Directory: /en-ca/azure/active-directory/develop/active-directory-howto-tenant
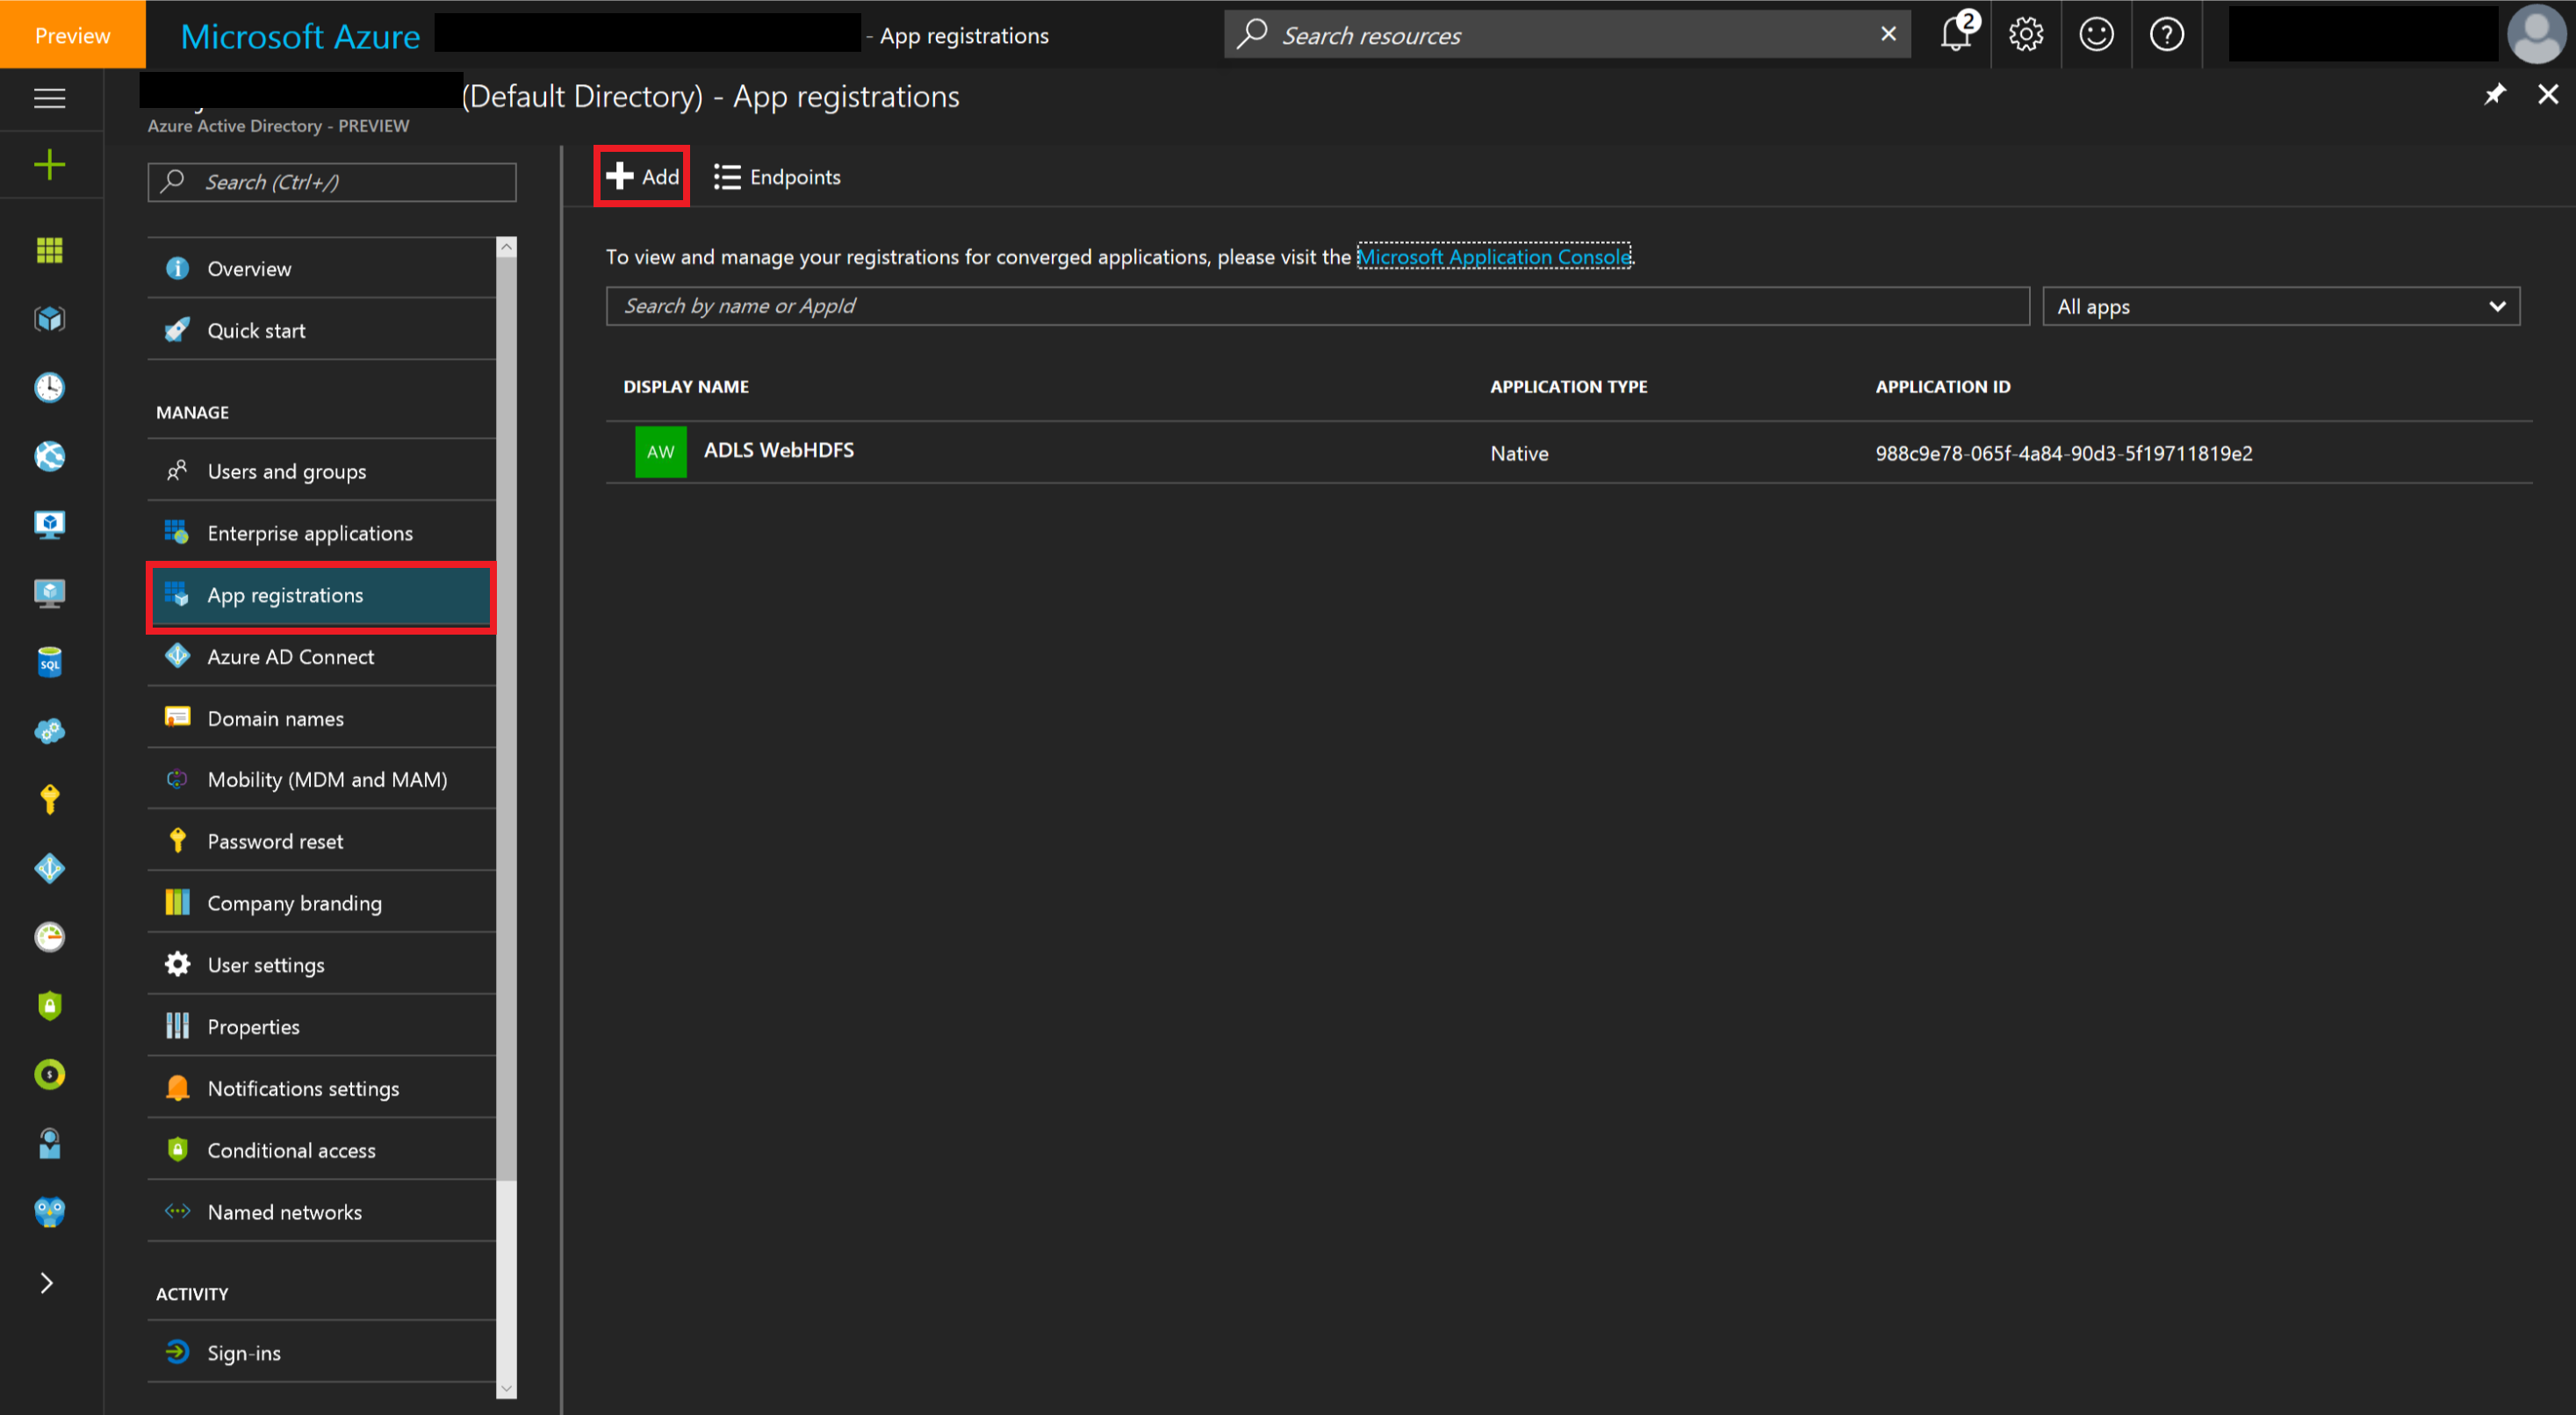
In order to be able to create an OAuth 2.0 token, you will need to register an application within your Azure Active Directory. This can be done by accessing your Active directory in the Azure Portal and perform the following steps:
 |
Creating a new App registration
|
 |
|
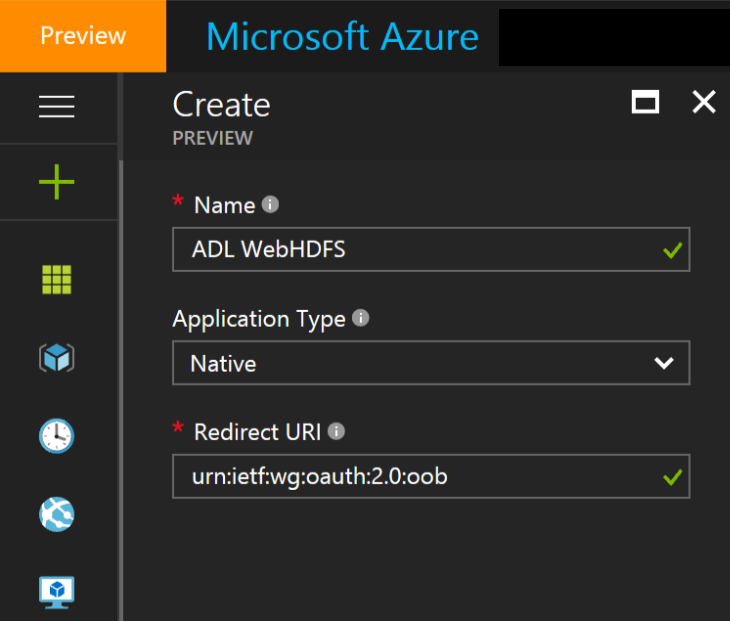
Creating a new registration
|
 |
|
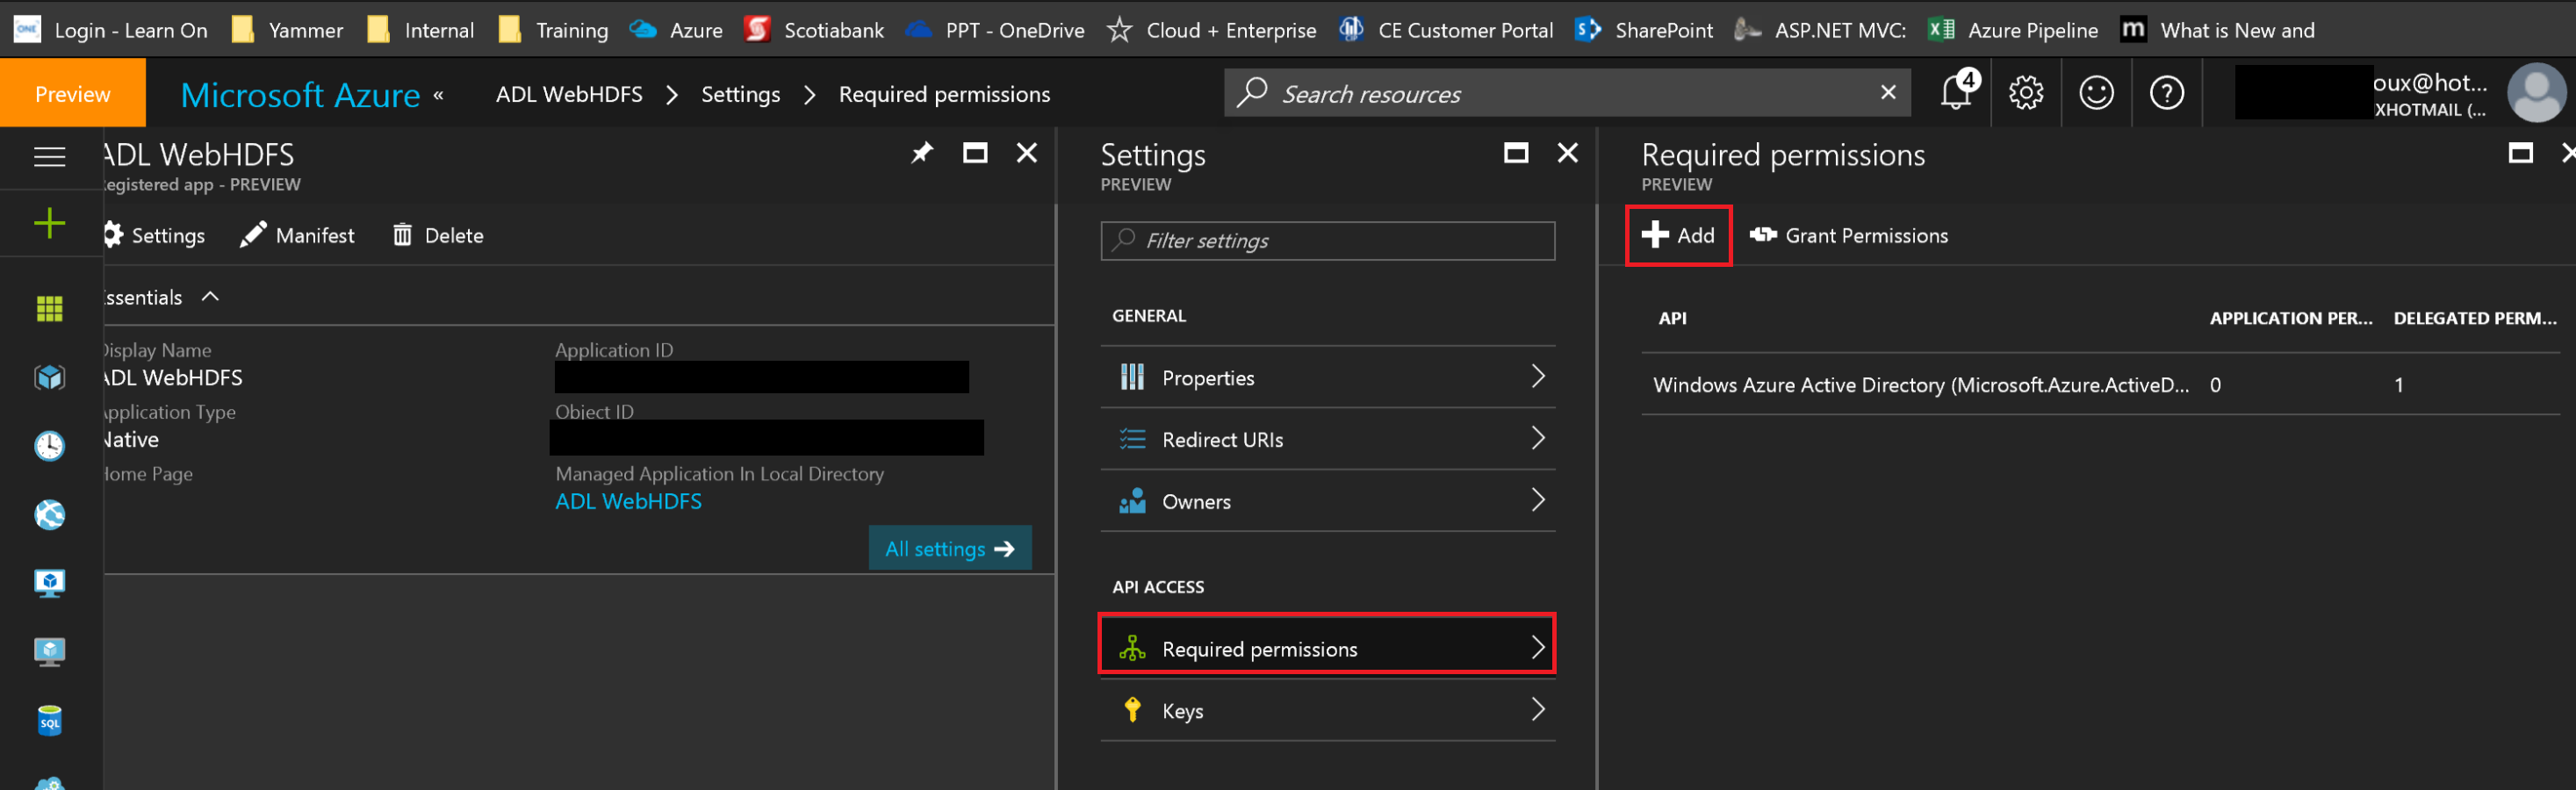
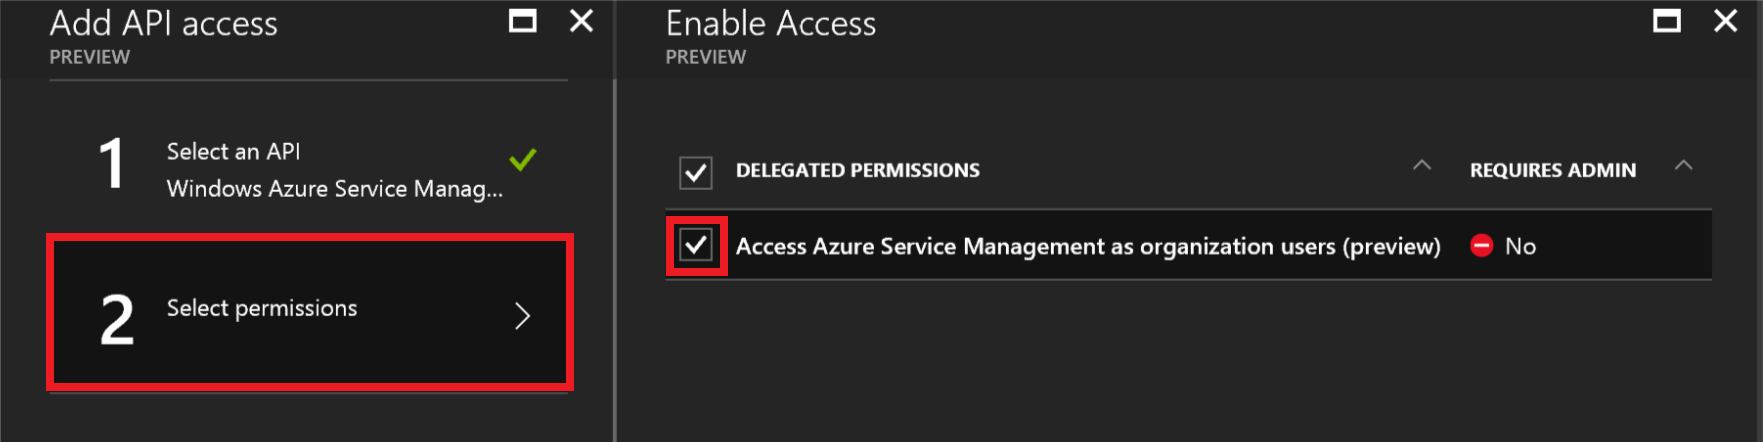
Adding required permissions
|
 |
| |
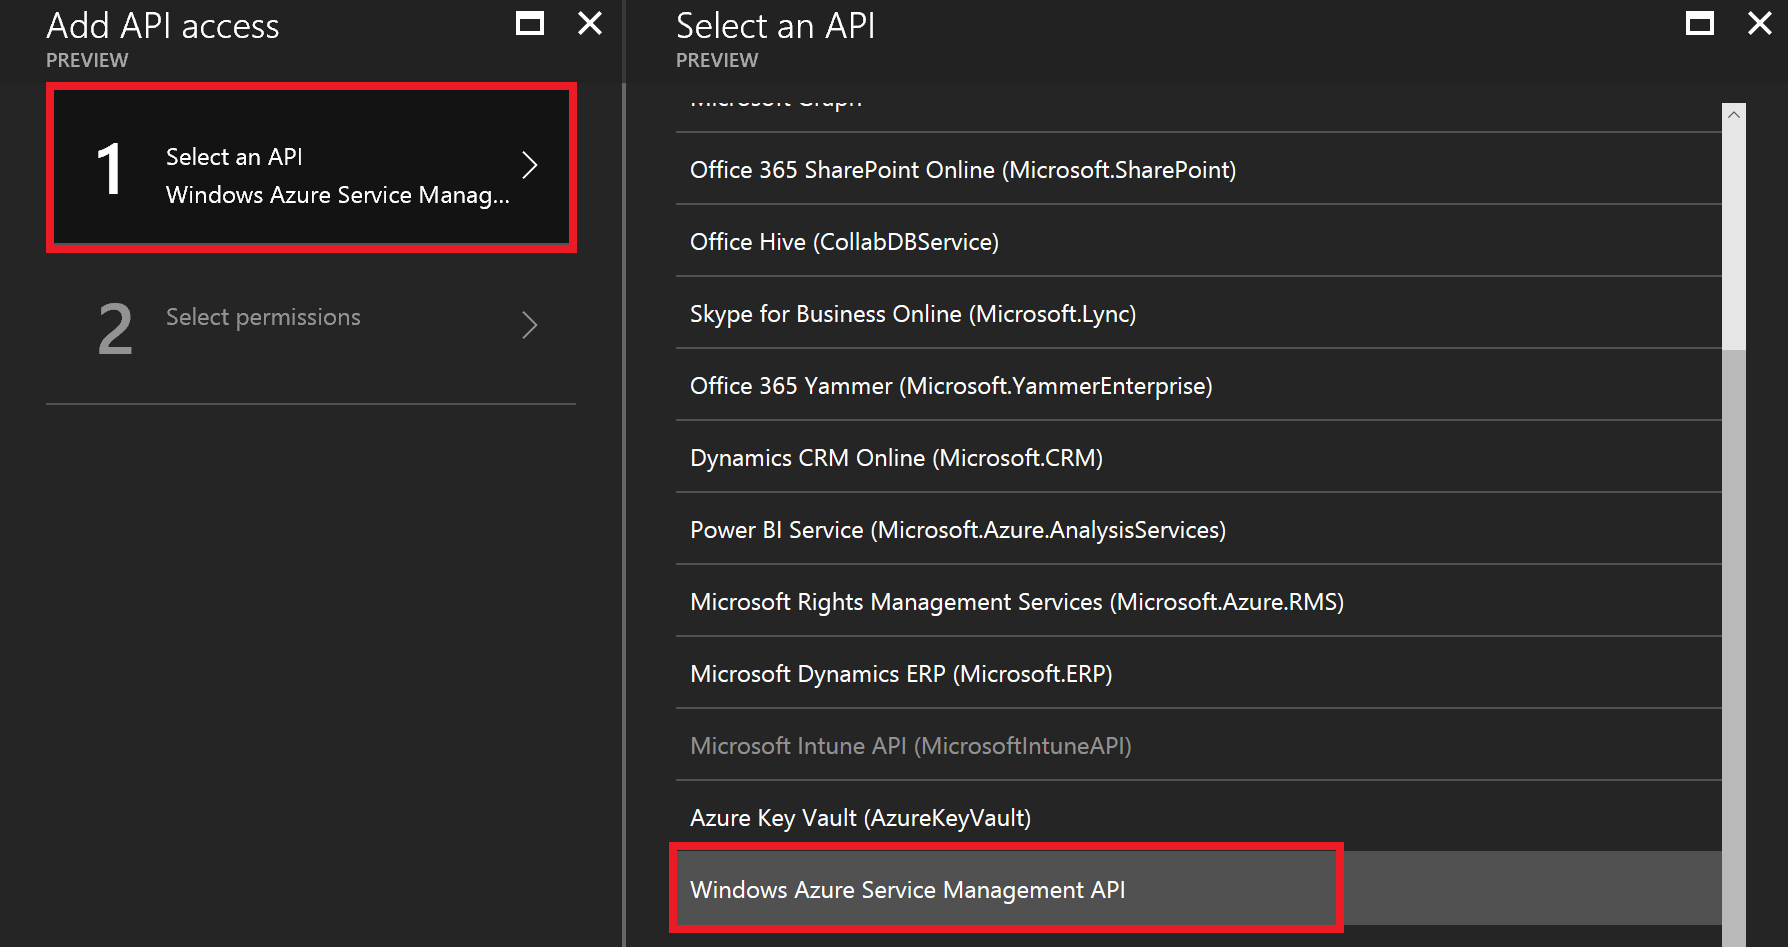
Select an API
|
 |
| |
Enable the delegation
|
 |
|
| Note, at the time of writing this blog, this option was still in preview mode. |
There you have it!
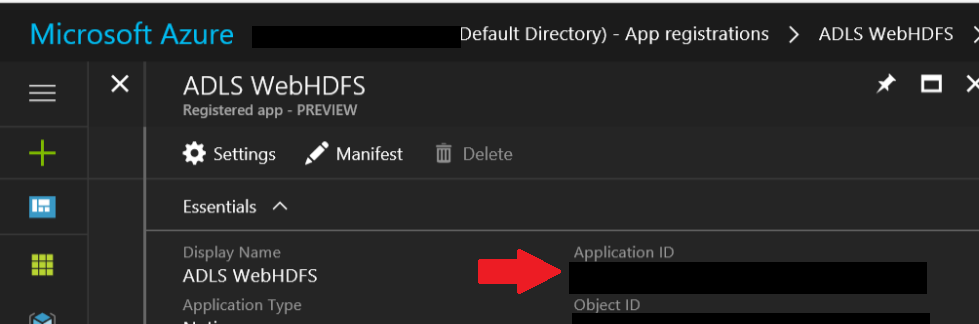
Once you've completed registration, Azure AD assigns your application a unique client identifier, the Application ID.
You can also look at this blog post for an example on how to use this newly created OAuth 2.0 authentication.