Step-By-Step: Enabling Apps to Auto-Trigger VPNs in Windows 10
Have you ever experienced that one app that always requires a VPN connection to operate? It becomes a bigger problem when that app is not frequently used and so the people using said application are not overly familiar as to how to initiate a VPN connection. Thankfully Windows 10 has a solution to address this in the form of applications auto-triggering the VPN connection when required. In this day and age of mobility connectivity, automating this cumbersome step for some is most welcome. The following are the steps to enable this functionality:
Adding VPN Auto-Triggering
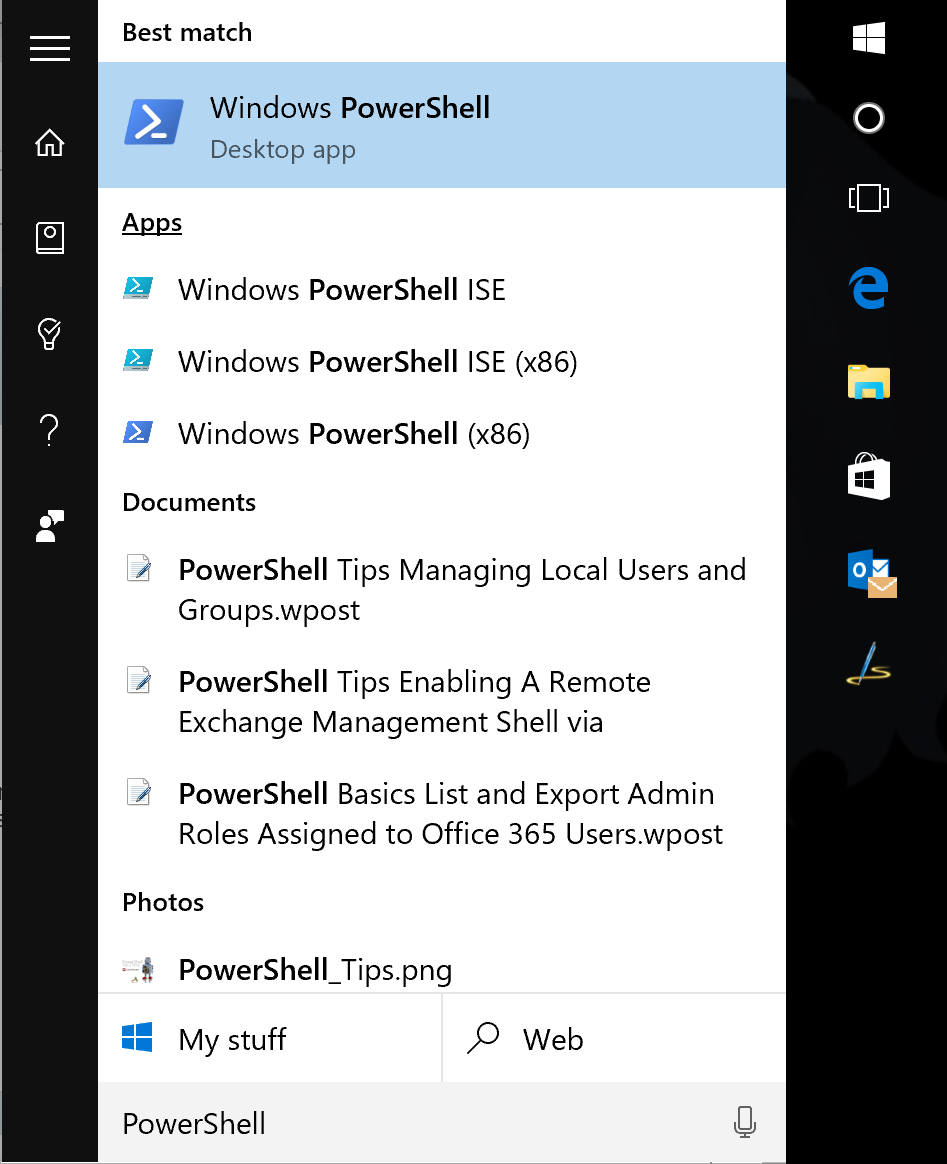
Click the Start Menu button and type PowerShell
Right-click Windows PowerShell Desktop App and select Run as Administrator in the provided sub menu
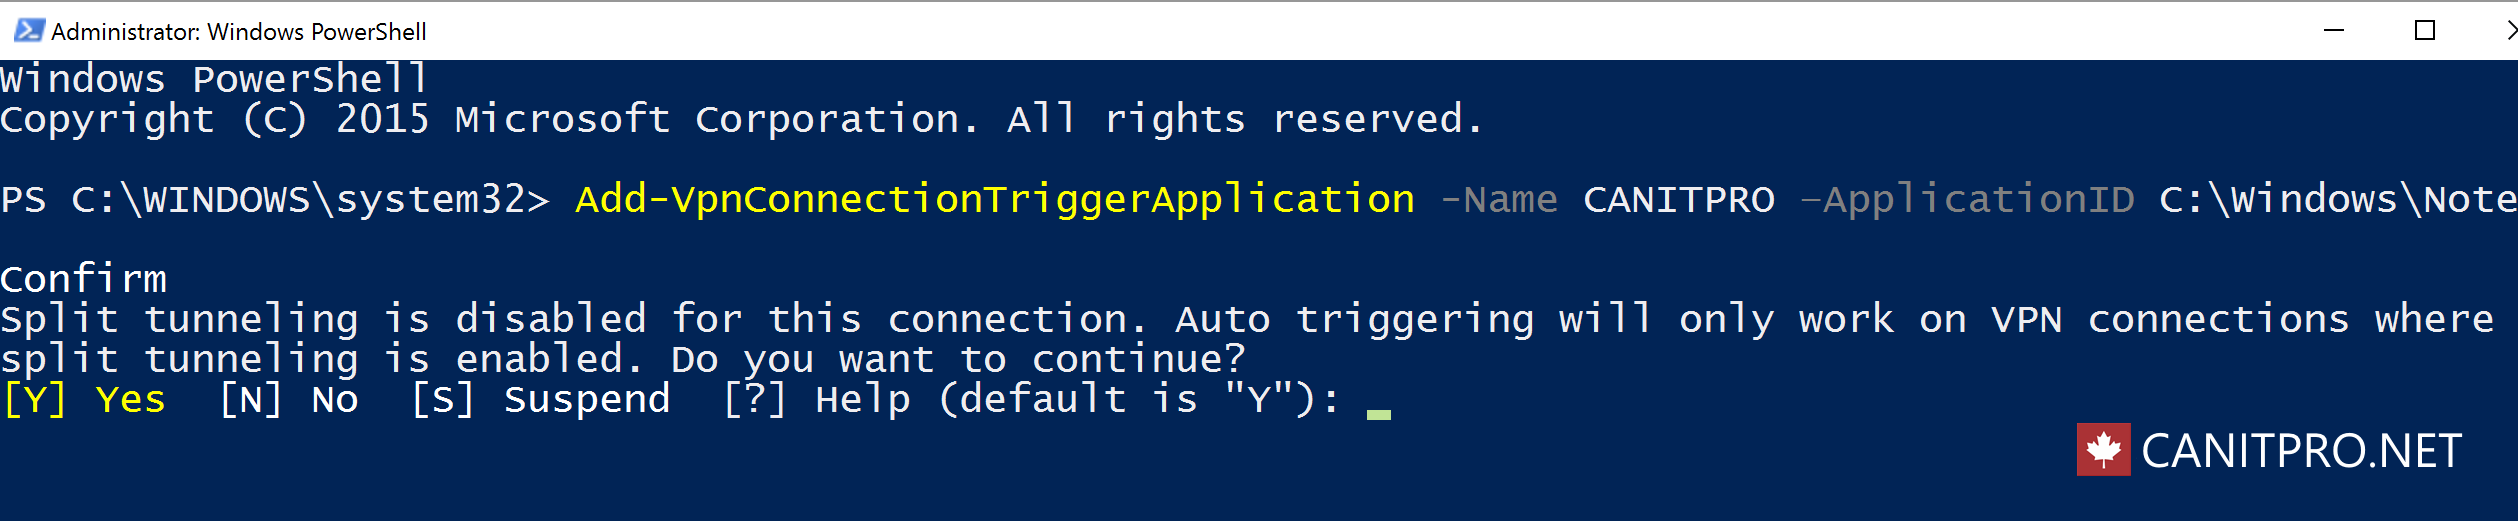
In PowerShell type the following:
Add-VpnConnectionTriggerApplication-Name CANITPRO –ApplicationID C:\Windows\Notepad.exe
NOTE: Be sure to replace CANITPRO with your desired VPN connection and provide the path to your application in the ApplicationID call out
Enter Y when prompted to enable auto-triggering of the VPN
Next Split tunneling needs to be enabled via typing the following command:
Set-VpnConnection -Name CANITPRO -SplitTunneling $True
NOTE: Split tunneling is enabled to stop Windows from forcing all network traffic to be routed through the auto-triggered VPN. Only data for the application autotriggering the VPN will have its data pass through.
It is also advised to set an idle disconnection time which can be done via typing the following command:
Set-VpnConnection –Name CANITPRO –IdleDisconnectSeconds 10
NOTE: The VPN will automatically disconnect after 10 seconds after the application has closed. The time value can be changed as required.
Once completed, type the following command to confirm auto-triggering is enabled:
Get-VpnConnection -Name CANITPRO


Removing VPN Auto-Triggering
Simply type the following command to remove VPN Auto-triggering from the initially setup application:
Remove-VpnConnectionTriggerApplication -Name CANITPRO –ApplicationID C:\Windows\Notepad.exe
Be sure to enter Y when prompted to confirm the removal.
NOTE: Be sure to replace CANITPRO with your desired VPN connection and provide the path to your application in the ApplicationID call out