Step-By-Step: Removing Corrupt Windows 10 Universal Apps via PowerShell
Universal applications, surmised from the evolution of Modern Apps once trapped within the Start Screen in Windows 8, provide a uniform data creation / consumption experience across the Windows 10 platform which includes the likes of desktop, laptop, tablet, smartphone and most recently XBOX. A great overview of Universal Apps from a IT professional perspective can be viewed here:
Like any GUI based app however, errors due to mechanical (hard drive), software, or end users can sometimes occur. While any savvy IT administrator can simply remove said corrupt modern application via the Windows 10 control panel, there is a quicker and more resolute solution. Enter PowerShell, a versatile tool that can enable automation of tasks and can address the trickiest of stubborn Universal Apps that don't wish to uninstall. This post will walk through steps on removing troublesome Universal apps via PowerShell.
Step 1: Run PowerShell as an Administrator
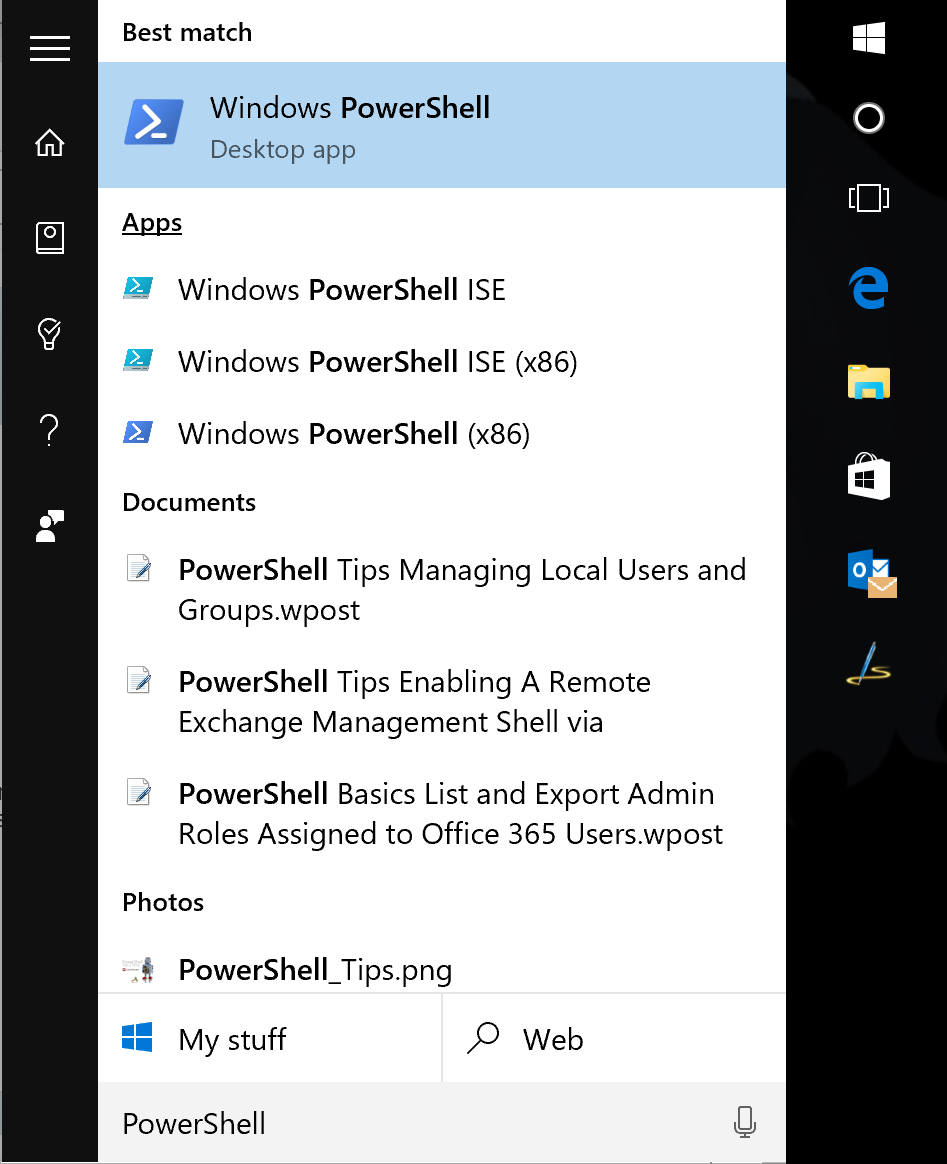
- Click the Start Menu button and type PowerShell
- Right-click Windows PowerShell Desktop App and select Run as Administrator in the provided sub menu
Step 2: Removing the Troublesome Application
- Enter the following in the PowerShell Console: Get-AppxPackage
Note: This will provide a full listing of all the Universal apps installed on this machine. Alternatively, should you know of partially know the name of the application in question, the following could be used: Get-AppxPackage - insert name here
- Copy the value of the PackageFullName variable. In this example it is Facebook.FacebookBeta_8xx8rvfyw5nnt

- Enter the following to remove the Universal Facebook app: remove-appxpackage Facebook.FacebookBeta_8xx8rvfyw5nnt - Confirm
Note: -Confirm is added to the end of the command to provide a confirmation from the individual running the command to ensure the task is to be completed
The Universal app is now removed.