Office 365 Tips: Addressing Shadow Tenant Errors
When adding a domain to your Office 365 tenant, you may run into the following error.
“Sorry, you can't add domain.com here because it's already in use”
This may be due to the fact that someone in your company signed up for a PowerBI trial with their company email address. We see this a lot then a subset of users has a different email address then the rest of the company and you now need to add that domain to Office 365.
In my example, I have opened a trail for PowerBI, using an email address (kelsey.epps@office365testing.org) that hasn’t been registered with my production Office 365 tenant. Now, when I try to add the domain (office365testing.org) to my production Office 365 tenant, I get an error (below in red). This is because the shadow tenant that was created for PowerBI trial is using that domain.
The post below details the process to do an admin takeover of the PowerBI shadow tenant, release the domain and then add to your production tenant.
If you own the domain.com domain and want to manage it, you have a couple of options.

Follow these instructions to remove the domain from the Shadow tenant and add it to your production tenant.
- Navigate to https://powerbi.microsoft.com/
- Enter your email address (that includes that domain that you can’t add to your Office 365 tenant). My example is office365testing.org
- Click ‘Use it free’

- A confirmation email will be sent to your account. Click the link to verify the email address.

- Enter your First Name, Last Name and a password. Click Start

- The PowerBI setup process will kick off and your account will be added to the Shadow Tenant

- Click the Office 365 waffle (app launcher)
- Click the Admin Icon

- This will take you to the admin take over webpage
- Click ‘Yes, I want to be the admin’

- Add the verification TXT record to your external DNS. My record happens to be hosted on GoDaddy, so there are instructions for GoDaddy on the page.


- Once the TXT record is added to public DNS, give it some time for replication. This is generally completed within 30 minutes, but can take up to 72 hours.
- Click ‘Okay, I’ve added the record’

- The process will now go out and verify that the TXT record supplied is added to public DNS. Once completed, your account will be added as the admin for the shadow tenant.

- Click ‘Go to the Office 365 homepage’ or login to https://portal.office.com with your account.
- Once logged into the Office 365 Admin Portal, click Users -> Active Users
- This will show you all the people that have opened trail accounts of PowerBI

- In order to remove the domain, so that we can register it in the main tenant, you need to edit the users and change the UPN to the onmicrosoft.com domain (in my example – office365testingorg.onmicrosoft.com). This is required because none of the users can have the office365testing.org domain in use, if we want to remove the domain from this tenant. It’s recommended that you update all the users and then your admin account.
- Double click a user and change the UPN to the domain.onmicrosoft.com address
- Click Save

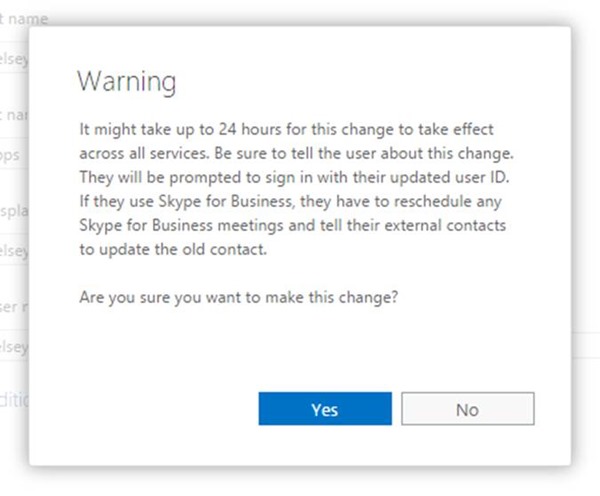
- You may receive a warning. Click Yes

- Repeat for all the users
NOTE: Let your users know they still have their trial accounts, but the user name is now changed. This will allow them to remove their data.
- Edit your admin account the same way
- Click Yes to the warning
- Click OK and sign out of the tenant

- Sign back in with the new user name (user@domain.onmicrosoft.com)

- Click Domains and select the domain you want to remove (this is the domain that you want to add to your other tenant)

- With the domain selected, click ‘Remove domain’

- Click Yes
NOTE: The domain will be removed from the shadow tenant and is not free to add to your tenant (give the process some replication time across the Microsoft backend servers).
- Logout of this tenant
- Login to your production tenant where you were getting the error adding the domain with your admin account and try to add the domain again. This time it should work without giving you the error. Please note that you will have to verify ownership again by adding the TXT record into public DNS.
- Login to the production tenant – https://portal.office.com
- Navigate to domains
- Click + Add domain

- Click ‘Let’s get started –>’

- Add the newly released domain from the shadow tenant
- Click Next

- Verify domain ownership. Since I use GoDaddy, the process will allow me to sign into my GoDaddy account and verify, or use a TXT record in public DNS.

- Success (and I forgot to screen shot the page before clicking next) … The domain is now verified and added to your production tenant. Step through the rest of the steps and now when viewing the domains in the production tenant, you will see it there and verified.
