Step-By-Step: Reducing The Windows 10 Installation File Size Via DISM
Amidst the recent Windows 10 launch, Microsoft has released numerous versions of its latest client offering. These versions include:
- Windows 10 Home
- Windows 10 Pro
- Windows 10 Enterprise
- Windows 10 Features On Demand
Windows 10 Features on Demand has received much interest as many have not had the chance to test out the offering first made available in Windows 8 and 8.1. The features on demand offering provides additional options which can be pre-configure or remove existing options from within Windows 10 installation software prior to deployment. Organizations can also install features from local media or remove features on designated machines after the initial installation is completed. Reducing the size of the Windows 10 installation file has it merits as it reduces the footprint to which an attacker can attempt to gain access to. The smaller installation file size also addresses the need to install Windows 10 on hardware with less storage capacity. Case in point:

Step 1: Mounting and Viewing Attributes of an Offline Image File
- Download and install the Windows ADK for Windows 10
- Run command prompt with administrator privileges
- Type and run the following command:
Dism /Get-ImageInfo /ImageFile:C:\<Insert Installed ADK directory here>\install.wim
NOTE: This provides confirmation of the .wim file to be modified
- Mount the offline Windows image by running the following command:
Dism /Mount-Image /ImageFile:C:\<Insert Installed ADK directory here>\install.wim /Name:"Base Windows Image" /MountDir:C:\test\offline
- Enter the following command to list all of the features available:
Dism /Image:C:\test\offline /Get-Features

Step 2: Removing Windows 10 Features and Payload from the installation file
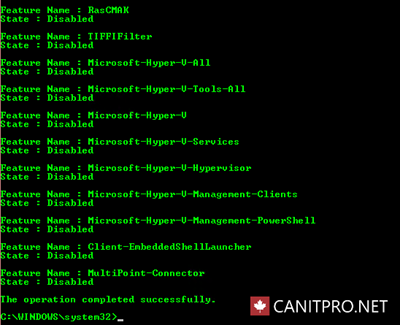
- Enter the following command in the command prompt to remove unwanted features as listed in Step 1.5 above:
Dism /Image:C:\test\offline /Disable-Feature /FeatureName:<enter unwanted feature name here> /Remove
- Repeat the previous step to remove all unwanted features
- Once all unwanted features have been removed, enter the following command to commit the changes and unmount the image
Dism /Unmount-Image /MountDir:C:\test\offline /Commit
Once completed, simply install the reduced Windows 10 Installation file on the desired device.