Step-By-Step: Building a System Center Virtual Machine Manager Lab - Part 1
Curiosity has gotten the best of me recently and this time around System Center Virtual Machine Manager (SCVMM) has peaked my interest. The following is a quick overview of what has been created thus far:
Prerequisites
- A physical server with at minimum 8 (prefer 16) GBs of RAM. This is above the minimum system requirements but will make the install far more manageable and allow for more usable VMs. RAM and HDD are the most critical components in regards to a fully functional lab.
- A HDD with at least 100GB free space
- Access to create at least 4 VMs
- Access to create or use a virtual switch thus enabling the ability to segregate traffic
This setup will allow you to have a fully functional lab environment. This however does not include much free space for VMs. If requirements to utilize the newly created VMs is required, more RAM and storage are required.
My lab is setup as follows:
- Server 2012 R2 server (96 gigs of RAM, 12 cores and 2TBs of storage). The plan is to use it build out series of independent, fictional “companies” to test various software applications and builds. This is the only physical resource used– everything else is virtual
- The physical host contains 4 VMs
- VM1 – DC: Server 2012r2, 2gig dynamic RAM, 25 gig HDD. This is just a plain domain controller to allow account creation/management through AD
- VM2 – Gateway: Server 2012r2, 2gig dynamic RAM, 25 gig HDD. Since I want to use multi-tenants this will help manage the IP spaces and handle some routing and other network tasks
- VM3 – SQL: DC: Server 2012r2, 2gig dynamic RAM, 25 gig HDD. SQL is needed for SCVMM and I chose to install on a separate PC to keep the load separate and (in a real world) allow for faster data manipulation
- VM4 – SCVMM: 2gig dynamic RAM, 25 gig HDD. This is the machine on which SCVMM will be installed
- VM1 – DC: Server 2012r2, 2gig dynamic RAM, 25 gig HDD. This is just a plain domain controller to allow account creation/management through AD
All are connected to an external virtual network
These are the requirements needed to be built in order to exactly duplicate the steps detailed later.
NOTE: this is a lab – you can use as few as one machine or as many as you deem fit for your testing (take a look at TechNet for sizing help). Also note, that not all of this is best practice for production environments but is done to facilitate learning in a lab environment
Step 1: Installing SQL
If you are new to System Center (as I am) then SQL is a very intimidating beast. Fear not – it is really to install and you don’t need to be a DBA to figure it out – trust me.
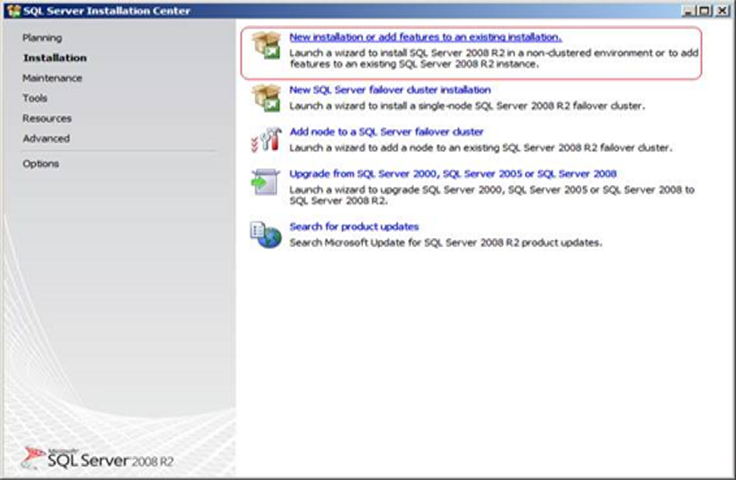
- Download and mount the SQL 2012 Server ISO and run Setup
- Once launched click New installation
NOTE: Amidst the SQL 2012 installation, you will be prompted for updates. Accept and install them as required.
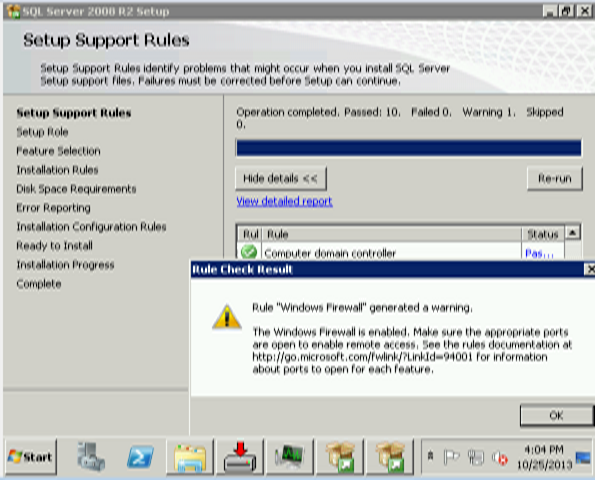
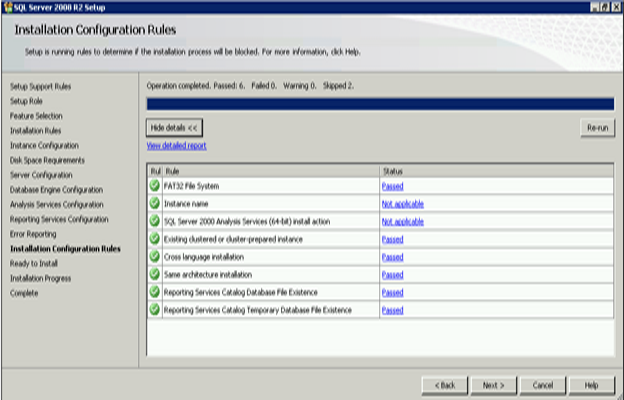
- The SQL installer will run a bunch of tests (up to 10 depending on the version of SQL you are using) to make sure the PC is ready. In my testing I had no errors but did get a warning that the Windows firewall was on and would need to be configured to allow communication between servers.
Once you pass the setup test you will have to pick how to install SQL. I chose all features with defaults
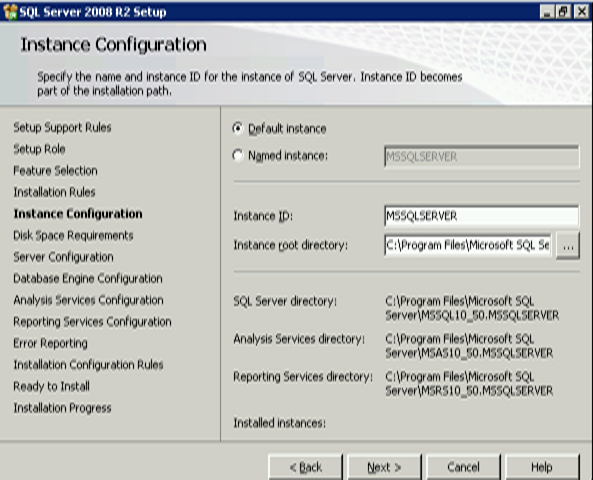
- The SQL installer will again test the machine to make sure it meets the requirements for all the selected components. When it passes you will be able to pick the instance details. You can safely leave the settings at default if you want.
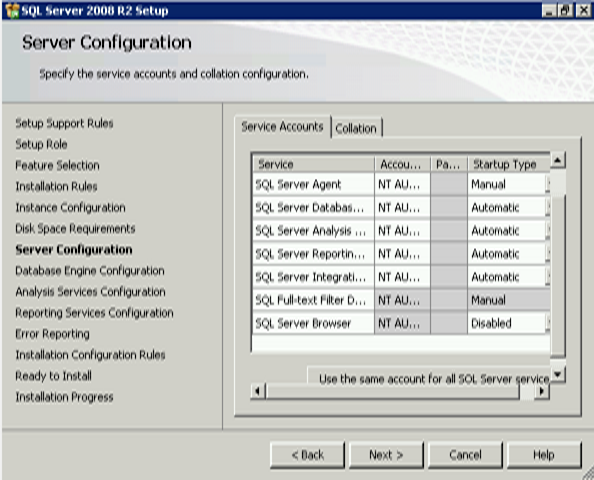
- The next screen is a bit intimidating but it is simply asking if you want to create a series of accounts and configure them. In this lab we will leave them as default but they can be configured as needed in the real world
NOTE: Here is where you can set collation. Basically, it allows for multi-lingual support to be installed. The options are fairly straight forward. We are only using English in our lab so it is not needed here
- For the Database engine you want to choose Mixed mode and enter (and document) the SA account password
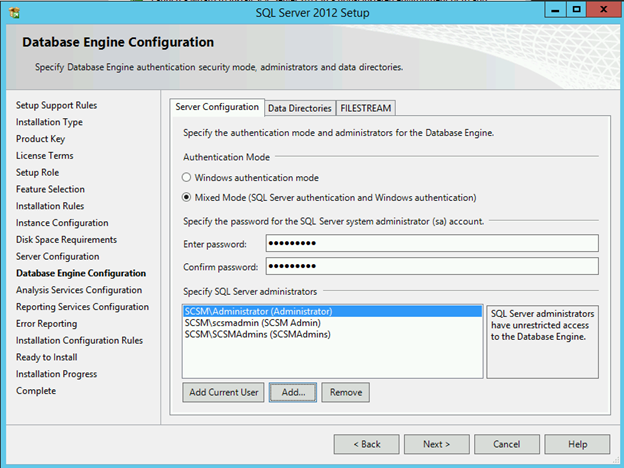
NOTE: We added the domain admin user and a group called SCSMAdmins. The administrator account needs to be explicitly defined for all the features to work correctly. The group makes managing users far easier – just add a new admin user to the group instead of updating SQL itself
- On the next screen (Analysis Services) you will need to give the same users/groups permission as you did on the Database engine configuration

- When prompted to setup reporting services I chose to install and configure reporting server
- Now the Distributed Replay client screen will be displayed. These settings can be left at default values for the lab but may need to be changed in the real world. If prompted to enter users you can only enter users (not groups). In this lab I entered the domain admin account and the SCSM admin account
- You can safely opt out of error reporting on the next screen
- SQL will take some time to install. when it is done you will see the following
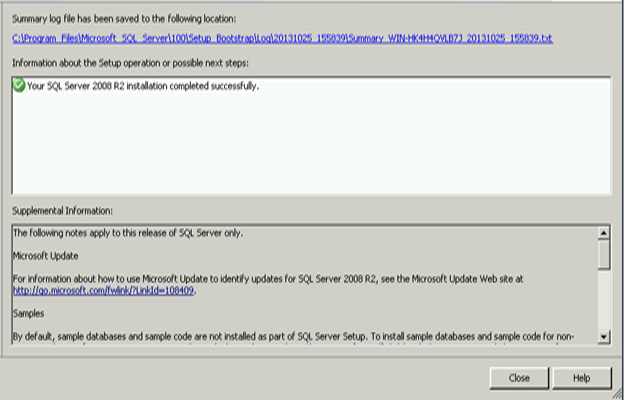
Once completed, servers have been built and SQL is installed. Part 2 of this post will cover detailed steps on installing SCVMM itself. Stay tuned.