Step-By-Step: Managing Windows Server 2012 R2 Via Windows 10

Details are beginning to emerge as to how Windows 10 will empower IT Professionals. What such detail made know recently is the availability of Server Manager specifically made available for Windows 10. Server Manager for Windows 10 provides the same robust capabilities to manage multiple servers, roles and features. An excellent addition to any IT professional's toolkit, Server Manager for Windows 10 provides the same functionality as that found on Windows Server 2012 R2 yet allows you to manage said servers remotely. This Step-By-Step will walk you through enabling this functionality on your Windows 10 client computer.
Step 1: Server Manager Setup
- On the prescribed Windows 10 client computer, download the Remote Server Administration Toolset
- Follow the directions provided via the install wizard and complete the installation
Step 2: Adding Manageable Servers
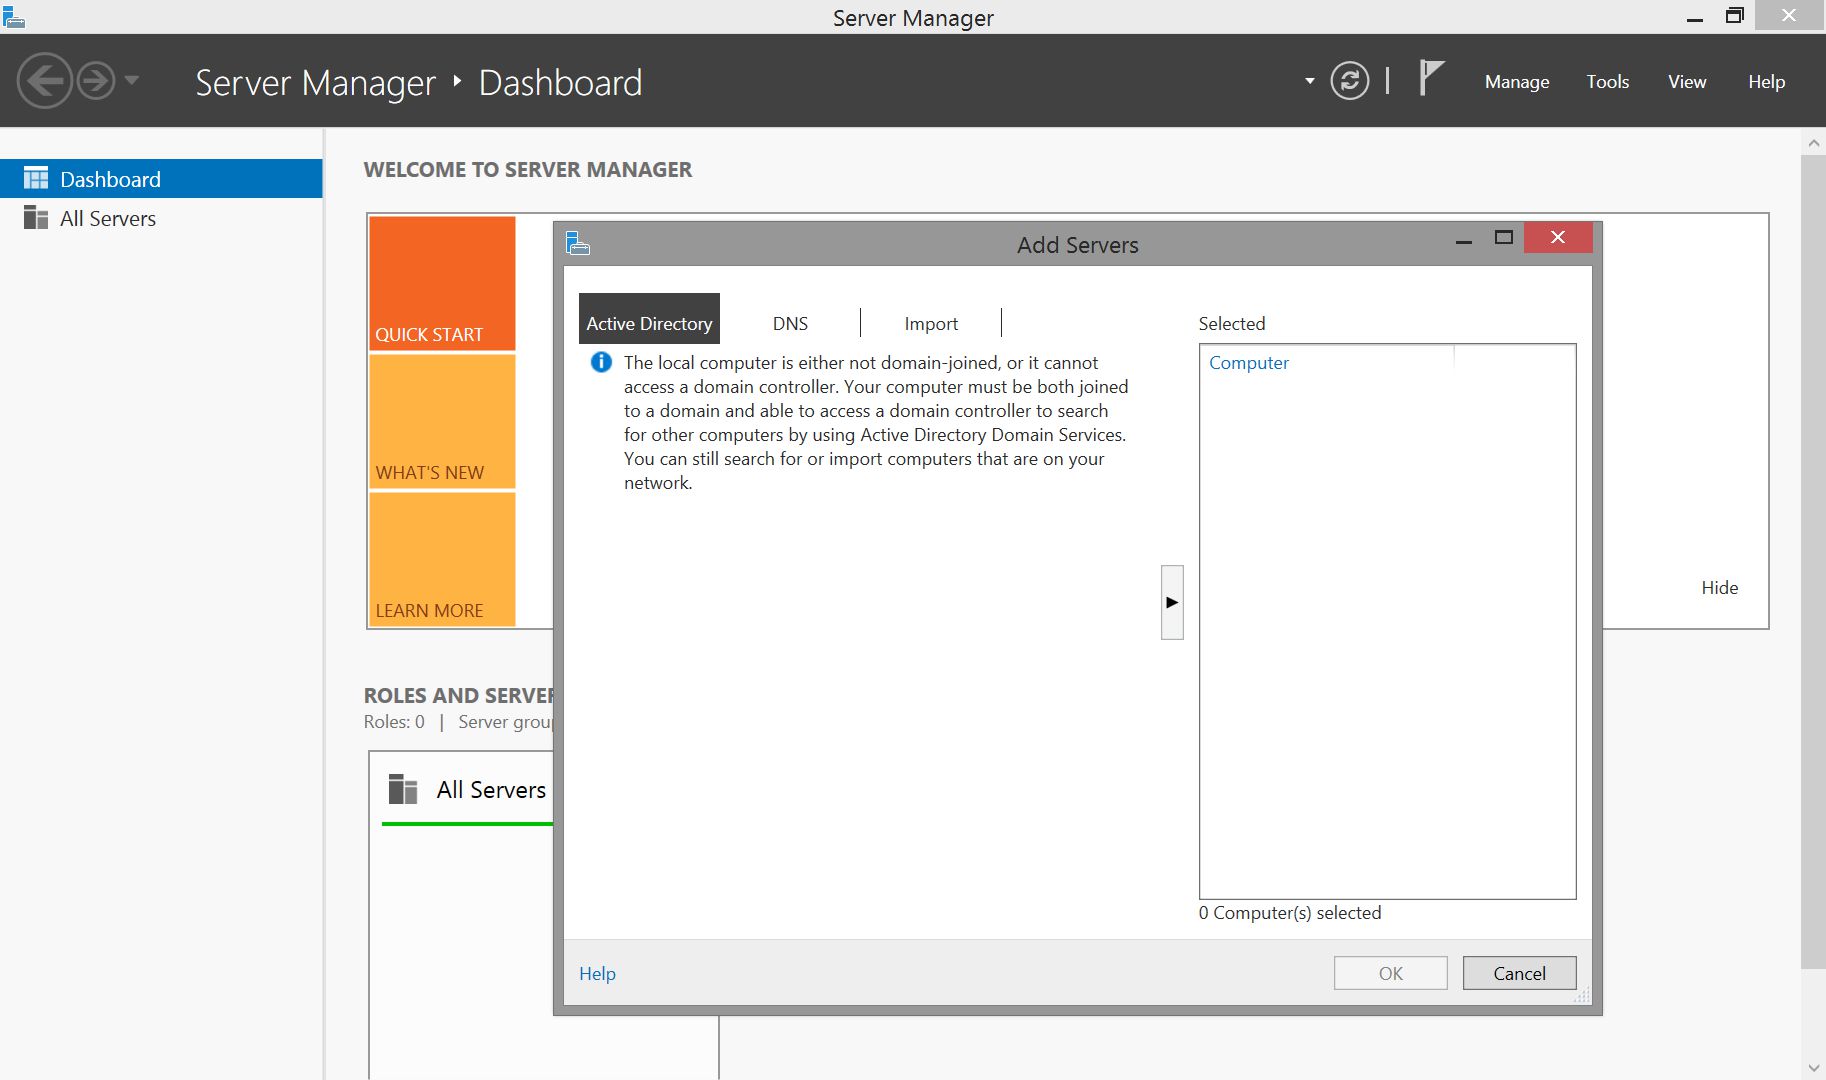
- On the Start screen, click Server Manager. The Server Manager tile is available after you install Remote Server Administration Tools.
Note: Should Server Manager not be visible, scroll upwards on the start screen to view the Apps screen. Find the app, most likely labeled new, and pin it to the Start Screen should you wish. Alternatively, the app could also be found / run by using the Search charm or simply typing Server Manager on the Start Screen. - Once loaded, simply right-click on the All Servers group and begin adding the servers you wish to manage.
Note: Server Management functionality may change when when Windows 10 reaches General Availability.
Now completed, the ability to manage your Windows Server 2012 R2, Windows Server 2012, Windows Server 2008 R2, Windows Server 2008 and to a lesser extent Windows Server 2003 servers from the Windows 810 client is now available. Visit Microsoft Virtual Academy to learn more details regarding Windows 10 Technical Preview Fundamentals for IT Professionals.