Tips on Migrating A Hyper-V Cluster
Microsoft did a brilliant job in creating a procedure to upgrade Hyper-V Clusters from 2012 to 2012 R2. During this simple migration, not a single virtual machine experienced downtime nor did any user notice any performance degradation.
The following steps were observed when completing said migration:
1. Verify that you are able to move the designated VMs
- Networks (you need to have the same configuration on both Clusters, specially the access to the same vLans)
- Available compute on the new Cluster (CPU and memory) for all the vms
2. Remove the node(s) from the Cluster
3. Backup of the System State for each node
4. Upgrade the Operating System to Windows Server 2012 R2
5. Configure the new Server with the same settings
- Networks
- Hyper-V - Virtual Switches, Live Migration, Storage Migration, Hyper-V Replica
6. Build the Cluster
7. Move the VMs from the old cluster to the new one.
8. Verify and complete
When upgrading a Hyper-V Cluster from 2012 to 2012 R2 I always like to perform a test before I move all the virtual machines. In this case I created a virtual machine in the old cluster (without OS) and during the OS installation I moved to the new cluster. When the installation finished the virtual machine was already in the new cluster!
Here is an example, how I did on my last upgrade on a Hyper-V Cluster 2012 with 4-nodes.
During the verification process, I saw that I could run on 2 nodes all my virtual machines. So I decide to remove 2 nodes. If you have a much heavier cluster you should remove node by node.
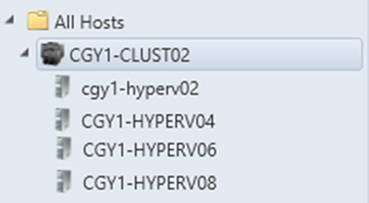
My Hyper-V Cluster 2012 before the upgrade was like this
After I removed 2 nodes (CGY1-HEPERV02 and CGY1-HYPERV04) from the Hyper-V 2012 Cluster, I upgrade the operating system. When I finished all the configuration on each node, I created a new cluster with a new name and IP. In this case I did re-use the same previous names for the nodes. The new cluster did not share the same storage. I use this migration to decommission the old storage solution as well.
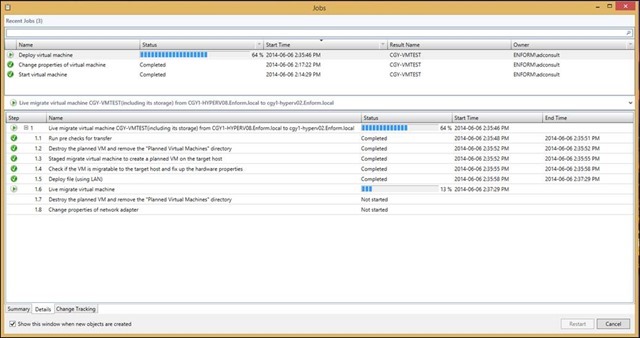
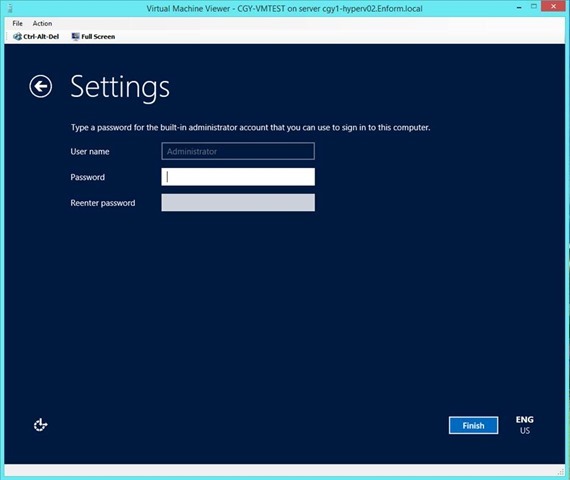
With both clusters running, I started my tests before moving any virtual machine. I created a virtual machine called VMTEST and attached the Windows Server 2012 ISO. While I was installing the OS, I started the VM migration.
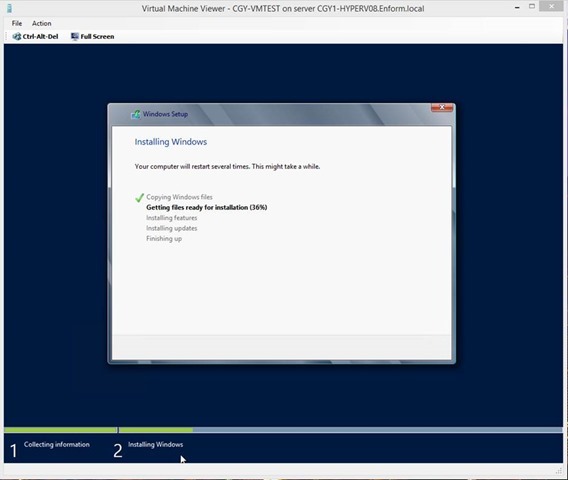
While was migrating from a Hyper-V Cluster to another, the virtual machine was installing the OS.
When the migration was finished I had to reconnect my console session through SCVMM, because now the virtual machine was running on other host.
After the test was completed, I began moving all the virtual machines from the Hyper-V 2012 Cluster to Hyper-V 2012 R2 Cluster.
NOTE: To improve performance I use a 10GB dedicated connection only for Live Migration.
Within one business day, I was able to upgrade a cluster from Windows Server 2012 to Windows Server 2012 R2 without any downtime, during business hours, and be able to arrive in time for dinner with my family.
